All Postal Brain Damaged guides
Sniffing In The VIP Area is the second level of Episode 3: No-Life Matters in Postal Brain Damaged. This page shows where to find every secret and poster in the level, with a screenshot for each one.
Postal Brain Damaged: Sniffing In The VIP Area Walkthrough
Episode 3, Level 2: Sniffing In The VIP Area
Sniffing In The VIP Area has 3 secrets and 4 posters. The first two secrets are easy to miss for good, so save before the bank vault and press the hidden button in the fish tank as soon as you reach it.
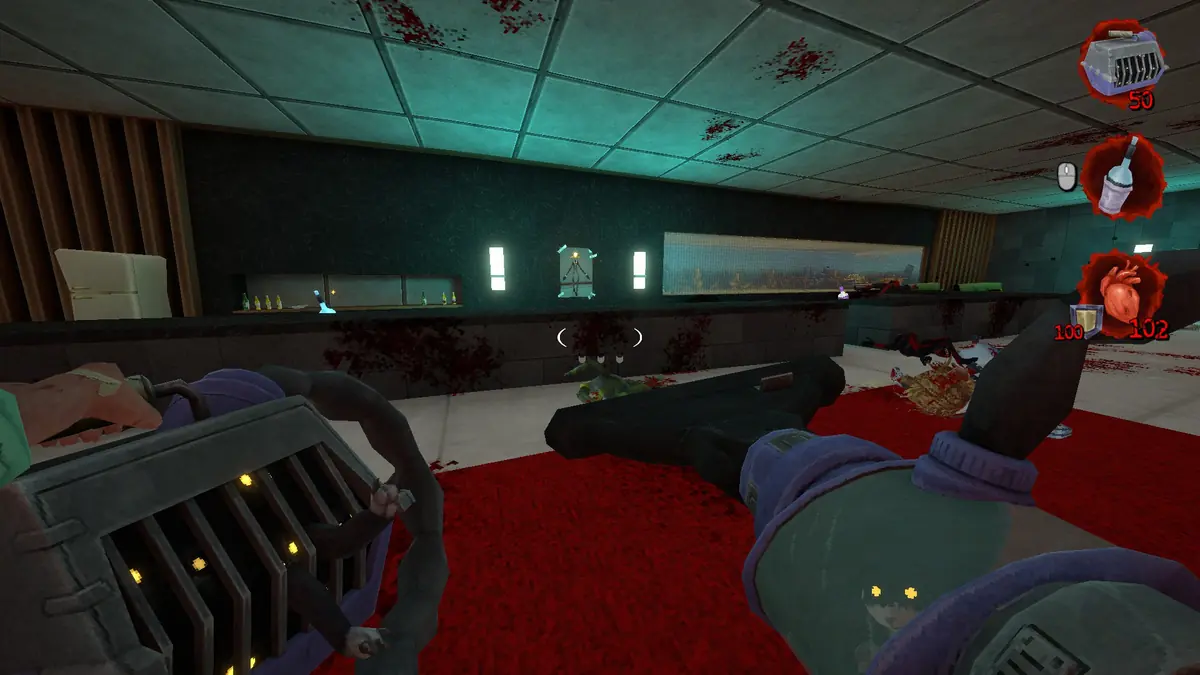
Poster #1: Illuminati
You start in a lobby with a new enemy that is hard to hit and lots of lasers. Clear it and head upstairs to the bar. The poster is behind the bar, next to the fish tank. Remember this fish tank for later.
Poster #2: Leon Dusk
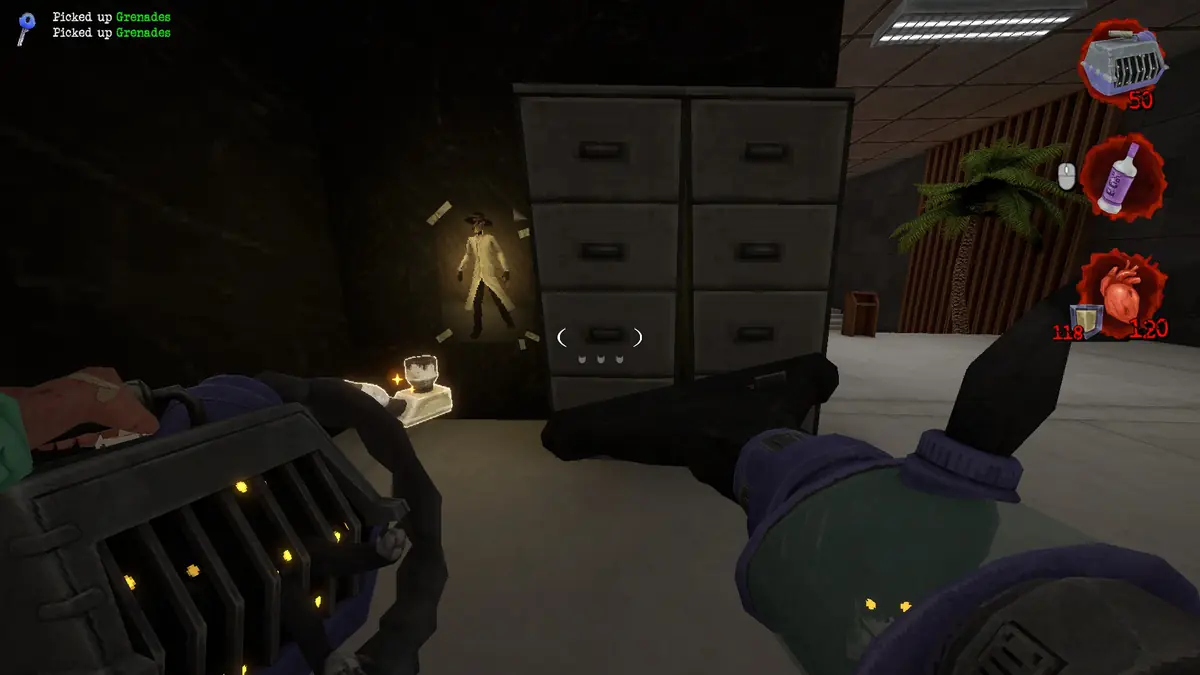
Next you reach an audience area overlooking a rocket launch, with a large group of enemies. Walk up to the window and look to its right: the poster is next to some filing cabinets.
Poster #3: Sniffing In The VIP Area
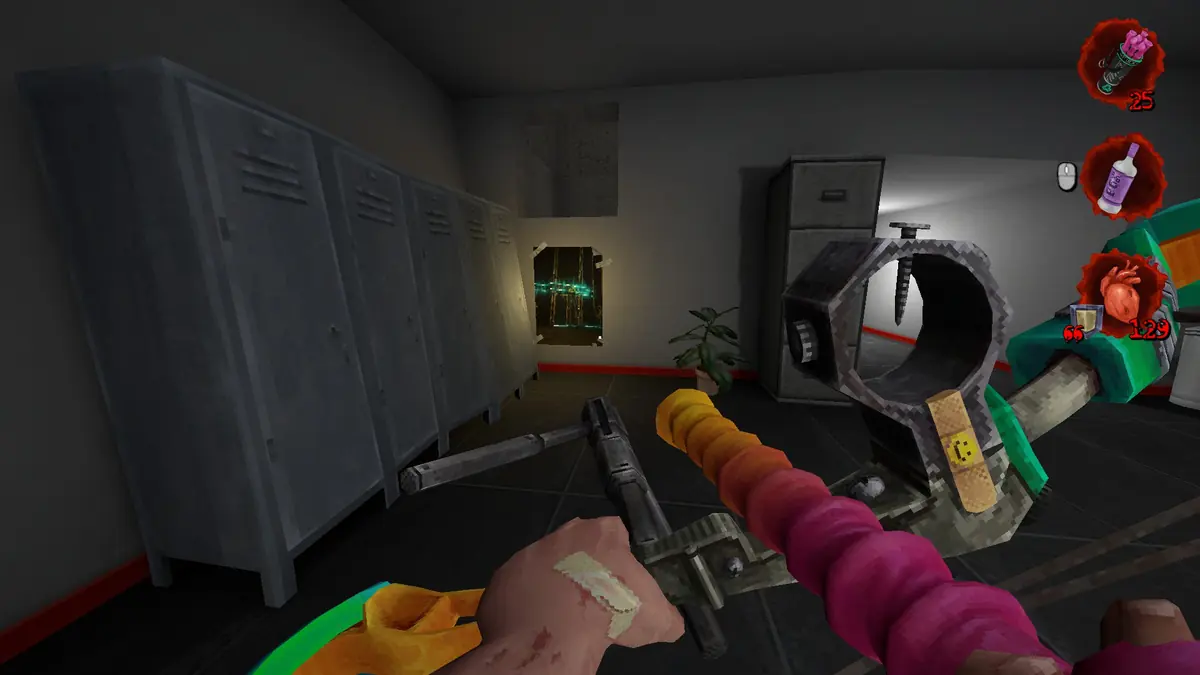
You come to another lobby with a door that needs Bozo’s DNA. Head down to a bathroom that drops you into the sewer. Turn all three wheels to raise the water so you can reach the ladder above.
The ladder leads to a room with a button that switches off the electric gate in the hallway. Look back at the spot you climbed in from: the poster is right underneath it.
Secret #1: Half Life 3
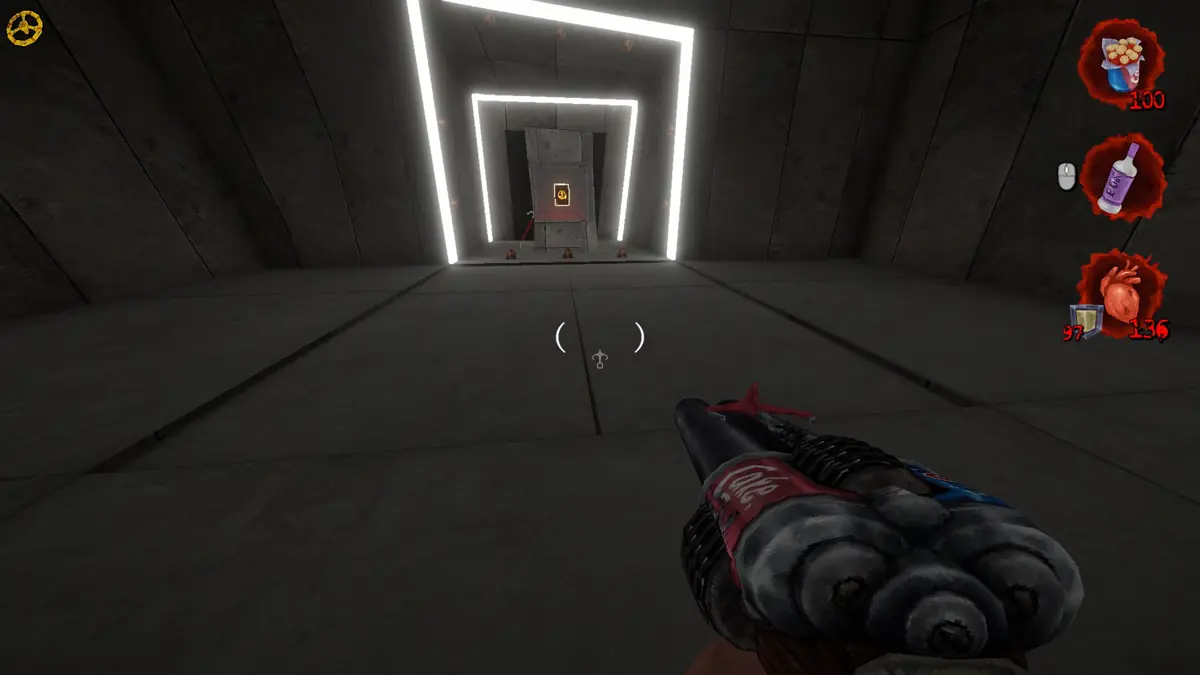
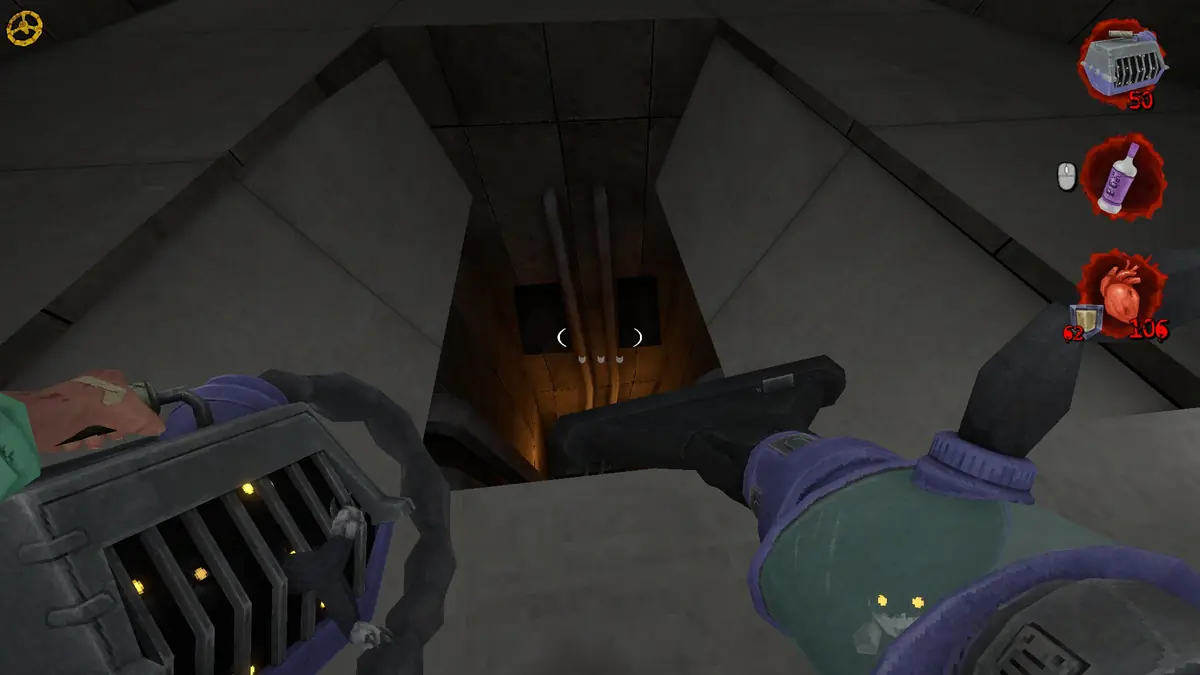
The hallway leads to a bank vault. Once you open it, do not step on the obvious trapdoor. Go around it and jump past the corner. This seals the secret for now, but the trapdoor behind you opens.
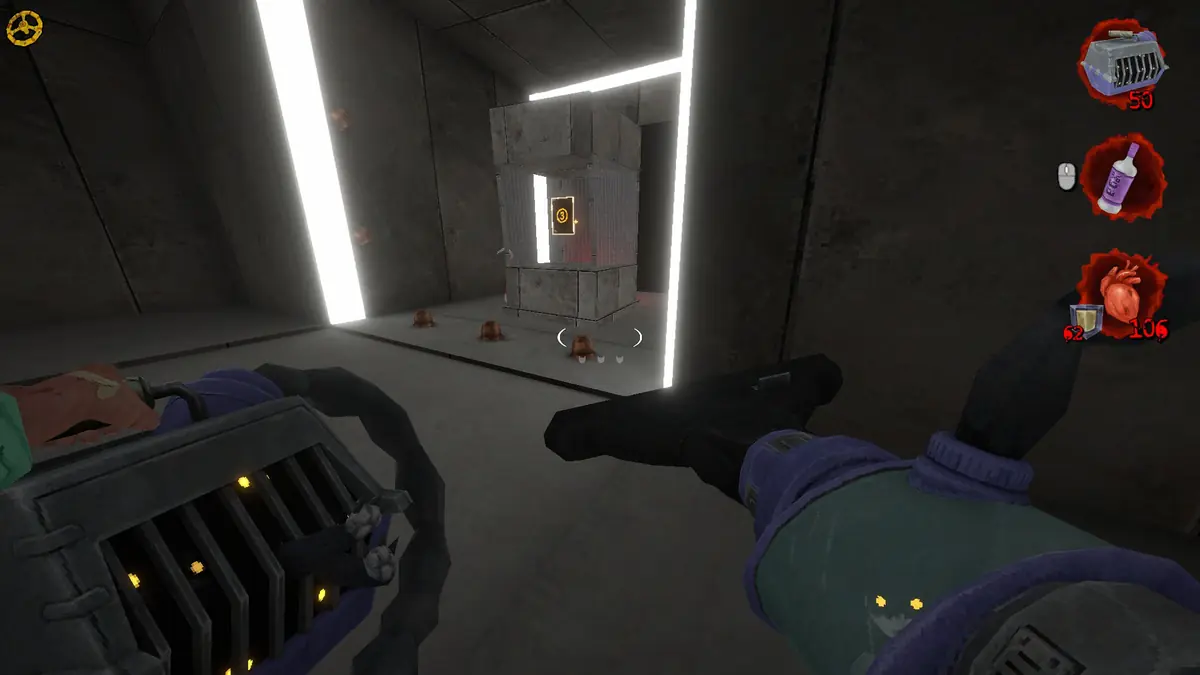
The open trapdoor has two small openings in it. Save here, because this secret is easy to lose. Jump forward into the openings, then follow the vents and the ladder up to a room with three levers.
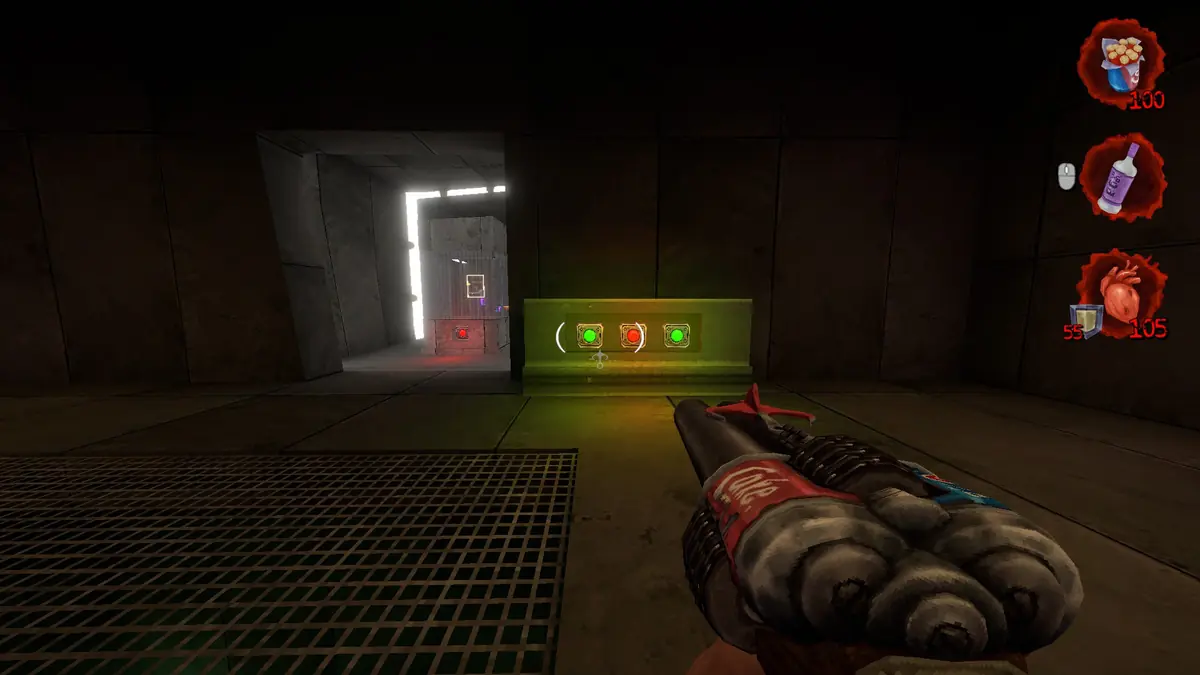
Pull all three levers and three buttons appear on a box. Press the first and third buttons to open the way back to the glass case, then the button at the back to open the case itself. Grab the game and watch out for the timed electric gate that switches on.
Secret #2: Double Akimbo
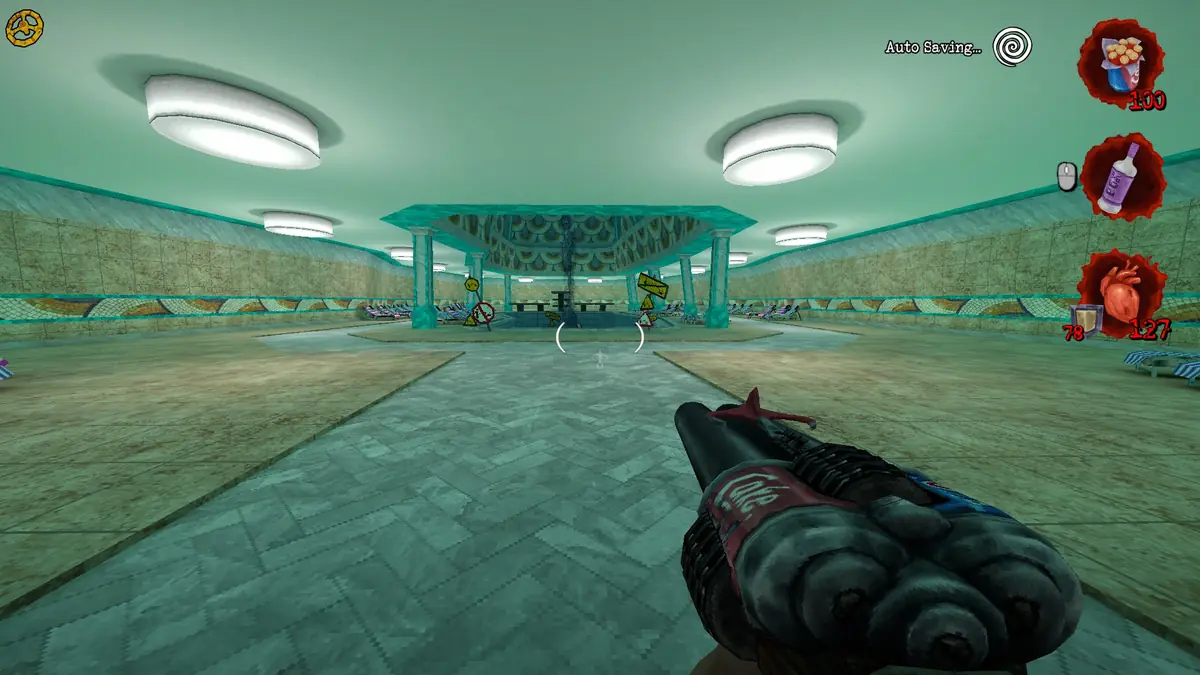
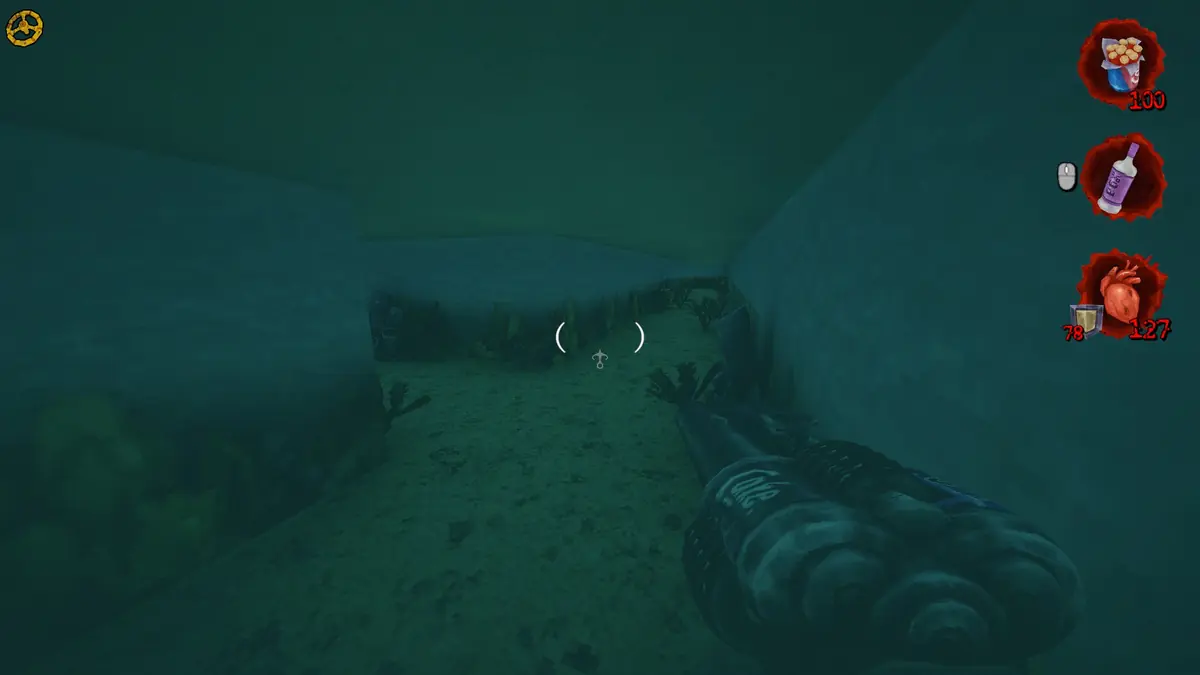
Drop through the trapdoor into the pool area. You need to raise the water to reach a shark’s mouth, and peeing in the pool does exactly that. Swim into the shark’s mouth to enter the aquarium tunnels.
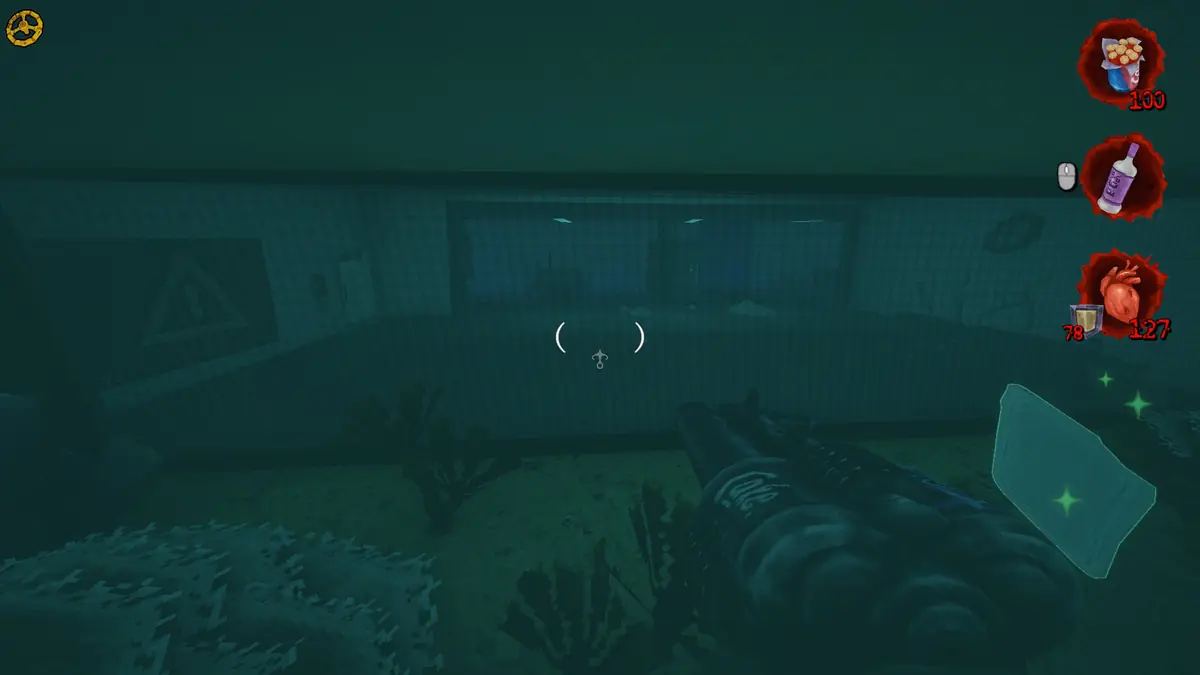
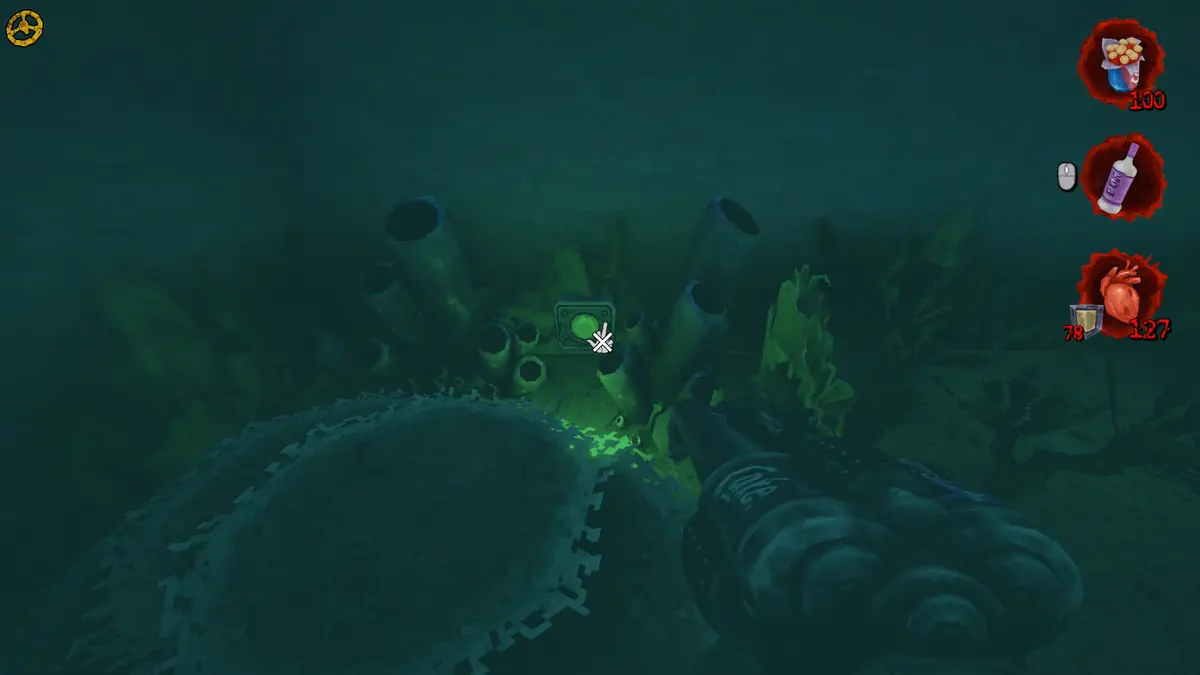
At the first fork, go left. It leads into the fish tank in the bar from the start of the level. Find and press the hidden button inside the tank now, because you cannot come back here once you leave.
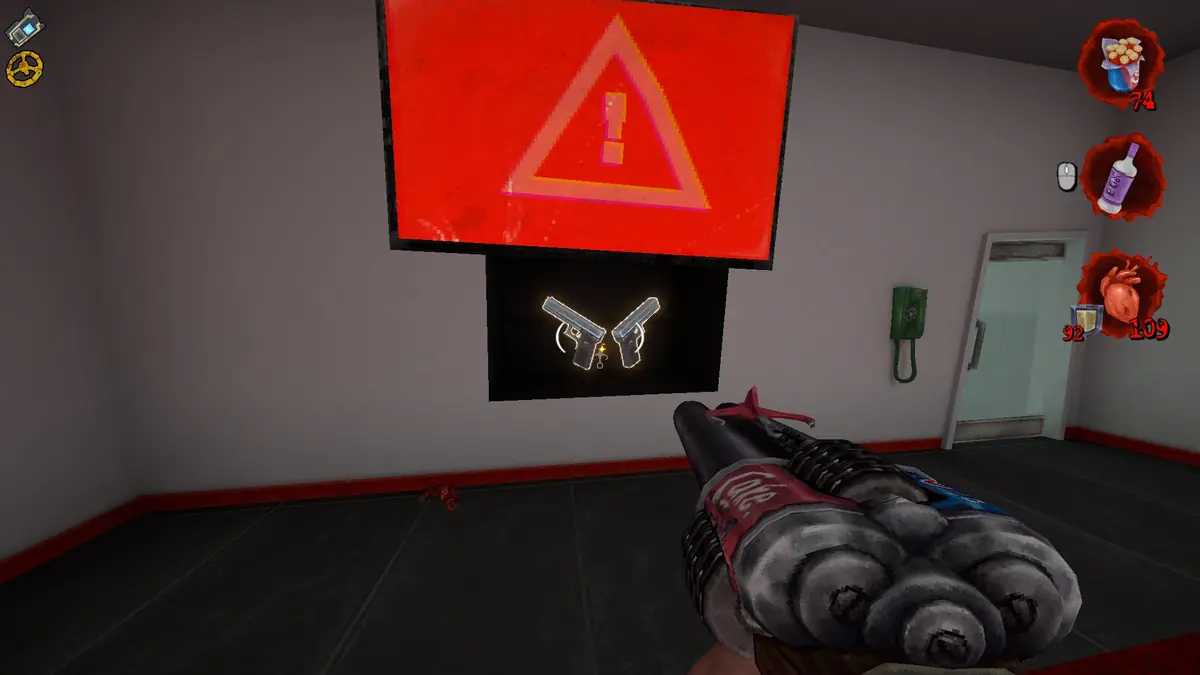
Later, back at the door that needs Bozo’s key, go down to the room with the red screen. The button has revealed a Double Akimbo powerup there; take it to unlock the secret.
Poster #4: Gojira Wanker
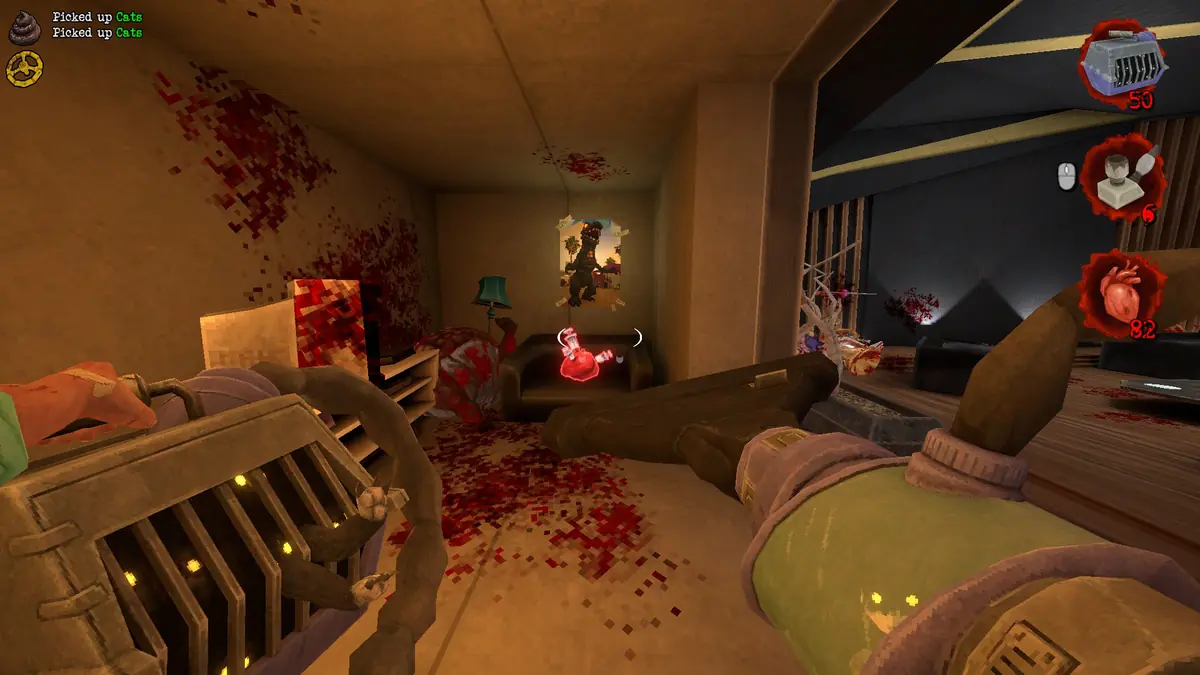
Use Bozo’s key on his private room and play through it until you collect Bozo’s DNA. A large group of enemies spawns. When they are all dead, a door opens. A Farty Pants waits to the right, next to the poster.
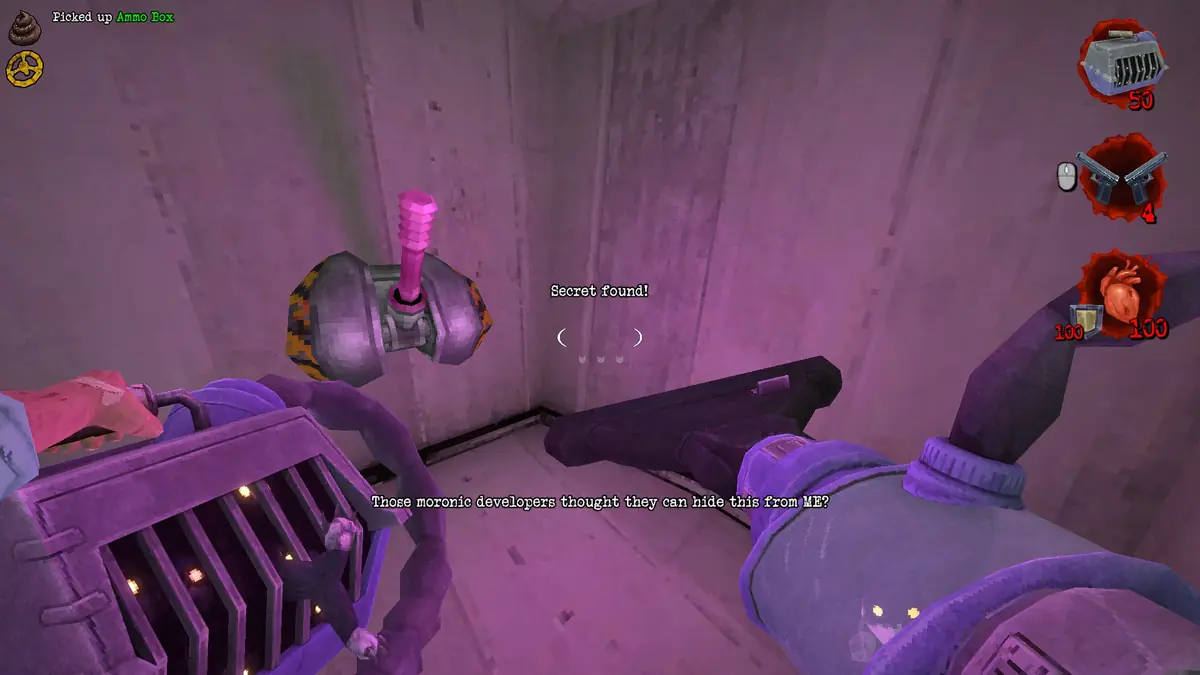
Secret #3: Ammo Box
After the poster, a vent takes you back to a room with a red door. Note the small gap high up in the silo. Drop down and open the red door, watching for three Furry Friends.
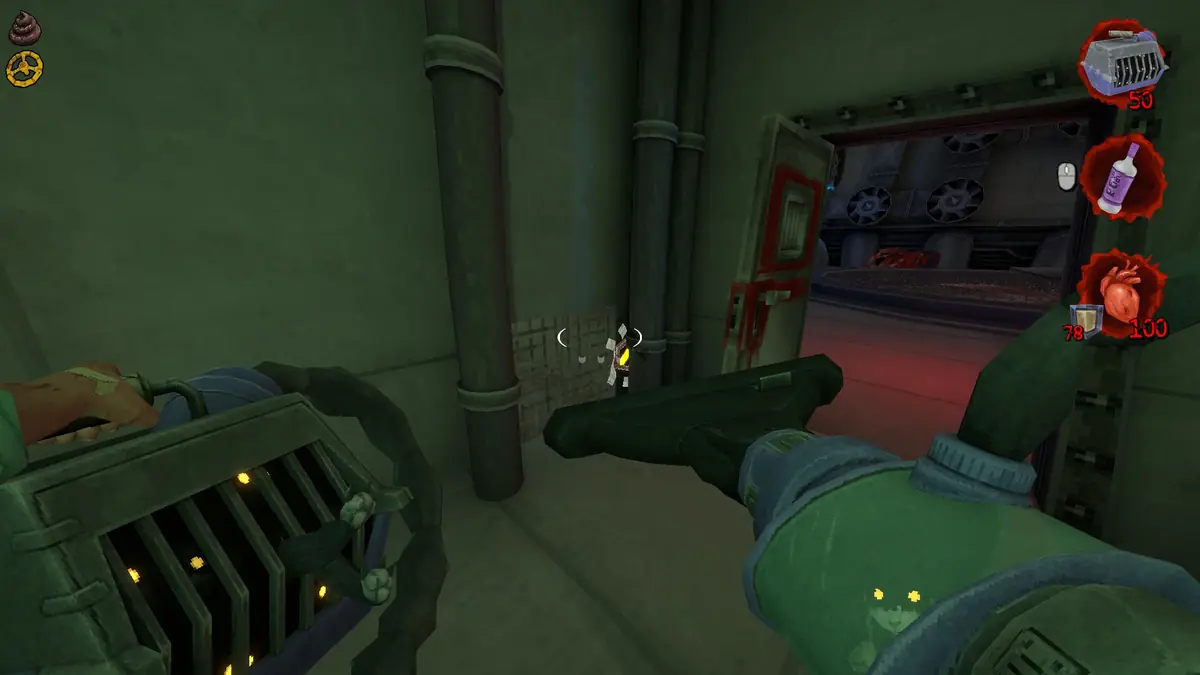
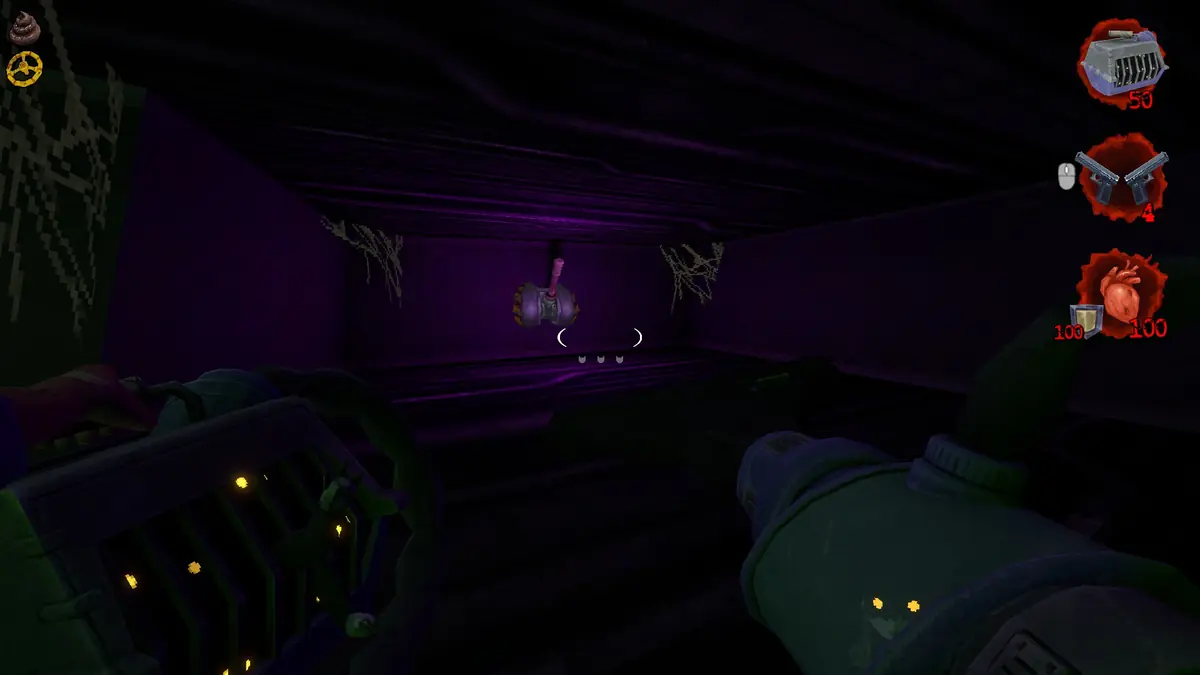
To the right of the red door is a small vent. Hit its lock to open it and crouch inside. It leads to a room with a pink lever that turns on the fan in the silo, blowing air upwards.
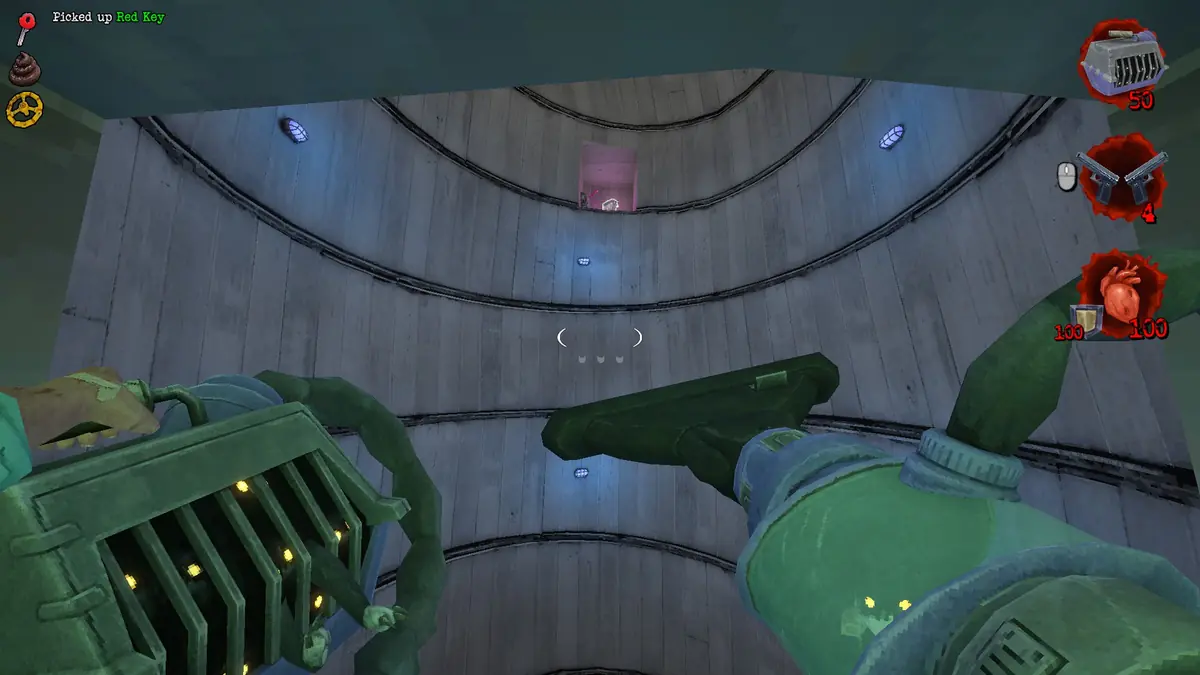
Go back to the silo and float up into the gap. It holds the Ammo Box for the secret, plus another pink lever that turns the air off again.
Back to the Episode 3: No-Life Matters walkthrough for the other levels in this episode.