The Bareback Redemption is the second level of Episode 1: American Dream Gone Wrong in Postal Brain Damaged. This page shows where to find every secret and poster in the level, with a screenshot for each one.
Postal Brain Damaged: The Bareback Redemption Walkthrough
Episode 1, Level 2: The Bareback Redemption
The Bareback Redemption has 6 secrets and 7 posters. Two of the secrets also contain a poster, so you will find them under a shared heading.
Secret #1: Hot Sauce
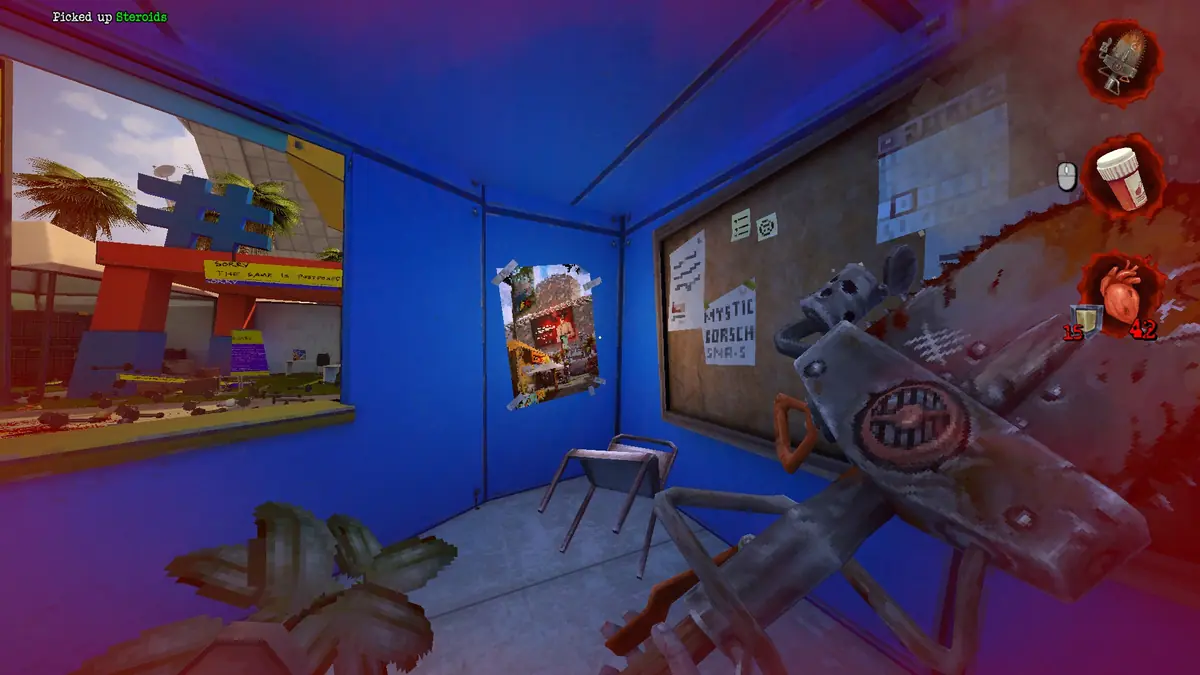
This one is in your cell at the very start. There is a poster of a woman on the wall, but it does not count towards the poster total. Interact with it to crawl through into the next cell and take the Hot Sauce.
Secret #2 / Poster #1: Monkey from Hell
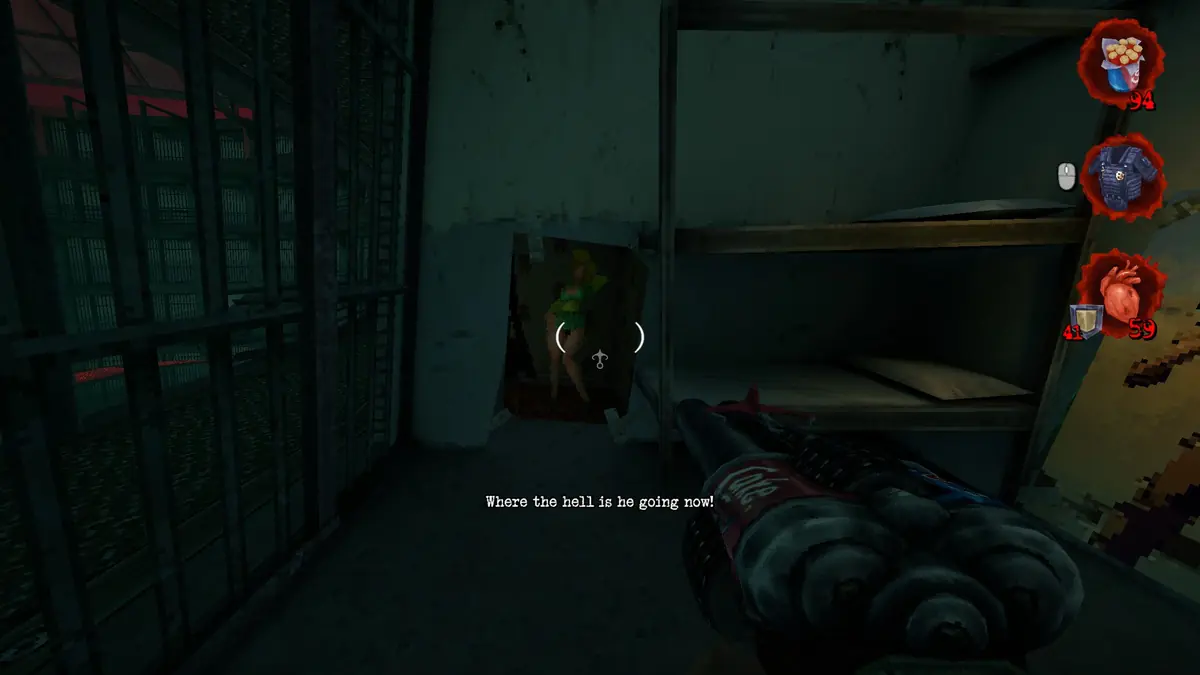
You reach this secret after dropping into the sewers, where enemies throw poo at you. Save here, clear the enemies on the walkway first and leave the prisoners alive.
The alcove can be reached with a careful jump if you follow the angles of the platform. The easier way is to pee on a prisoner so he runs to the edge of the walkway, back away from him, then grapple him with the Super Hooker Shotgun while holding jump. You fly over his head and straight into the secret. A rocket jump also works if you picked up the launcher in the first level.
Pick up the poster before you leave. This is the most awkward collectible in the episode so far, and you will not want to do it twice.
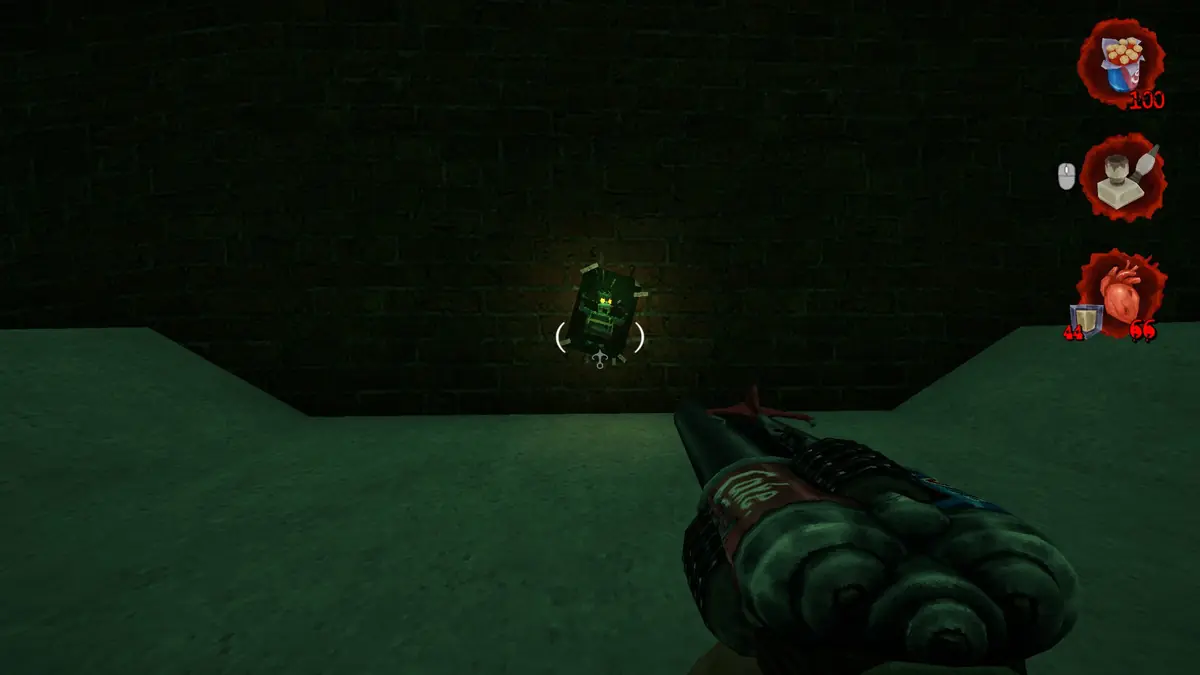
Secret #3: Crack Pipe
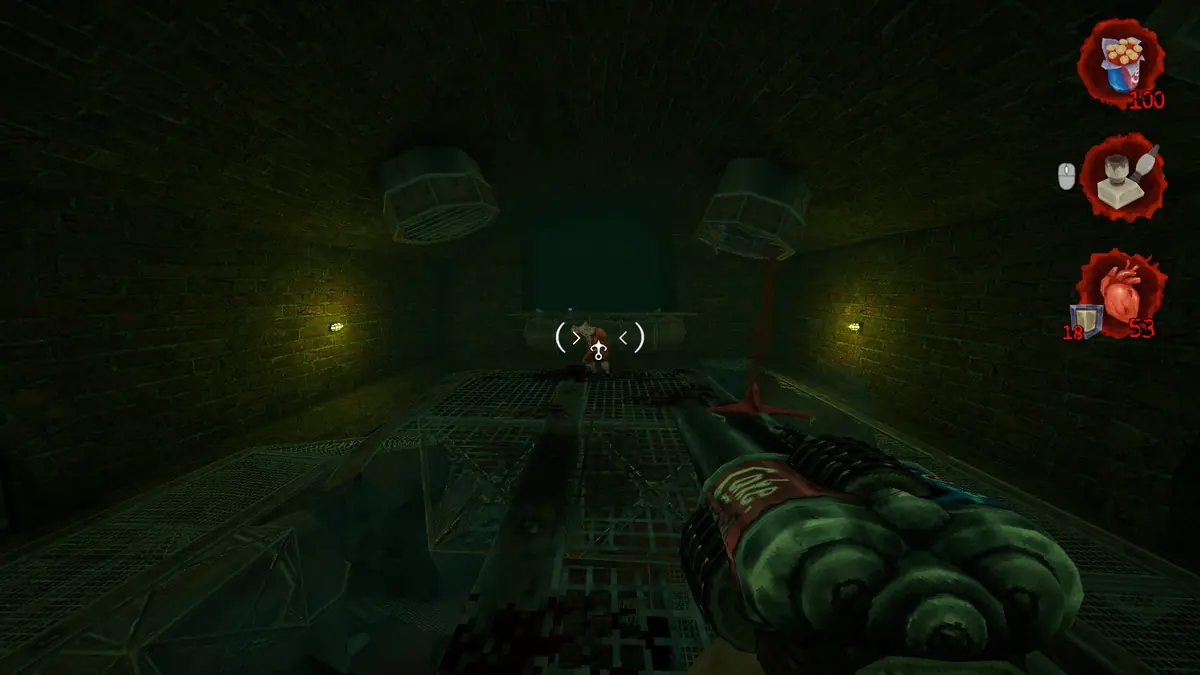
Keep going through the sewers and stick to the left side. Look for a gap that is slightly open, then crouch and walk through it to find a crack pipe.
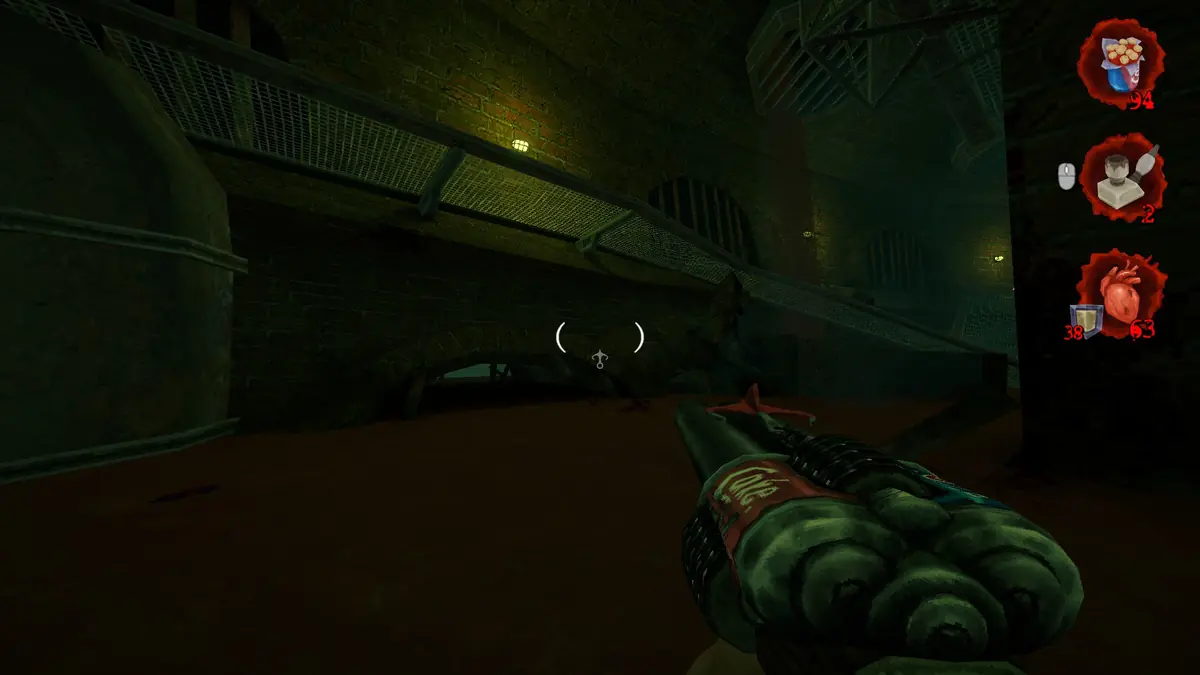
Poster #2: The Bareback Redemption
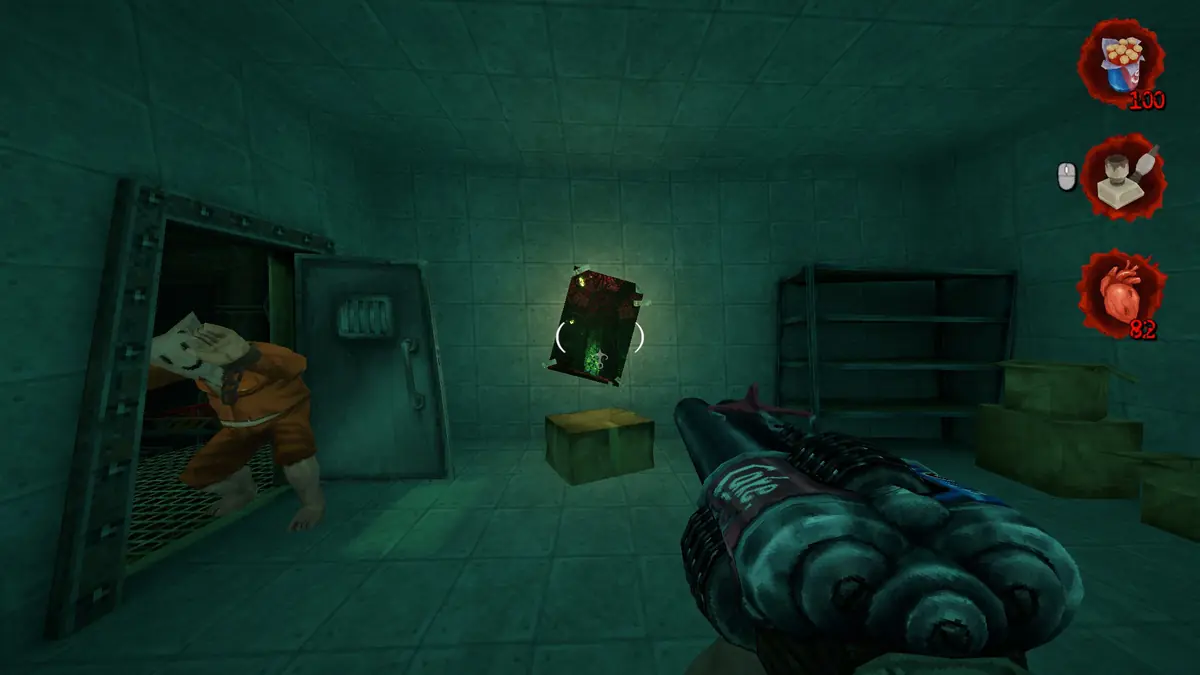
After the annoying monkeys, a cop, a piss toll and a fight with a cage monster, follow the jump pads up into a room lit green, where a cop is beating a prisoner. The poster is next to the door.
Secret #4: Minigun
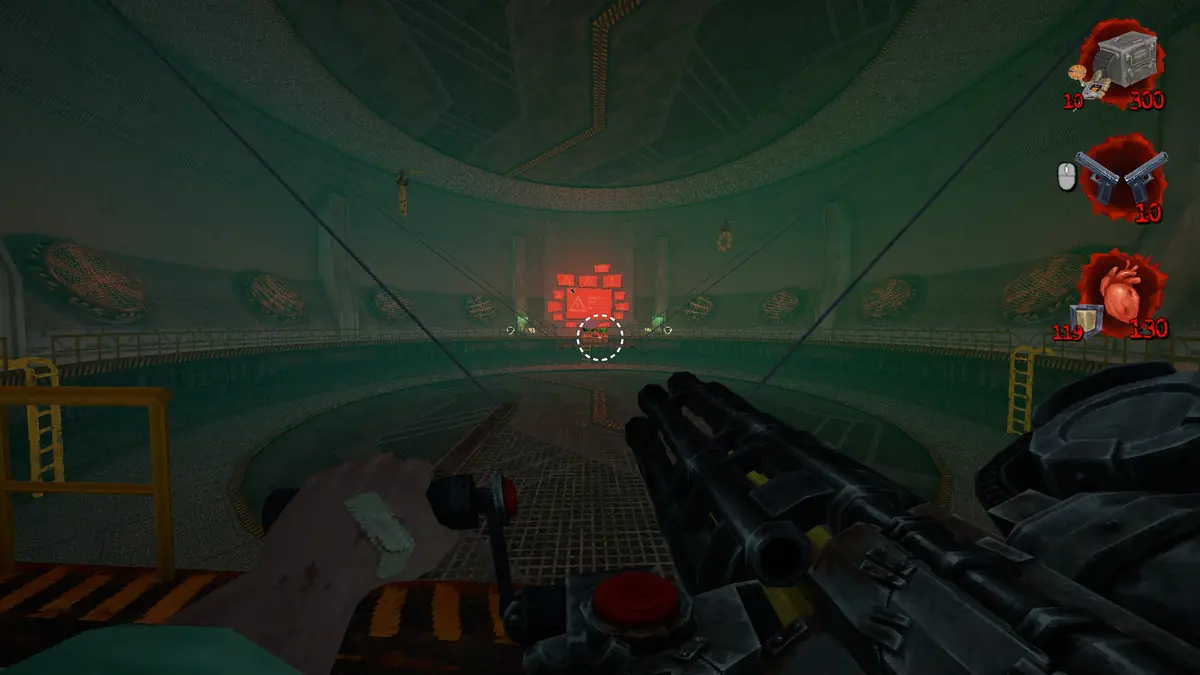
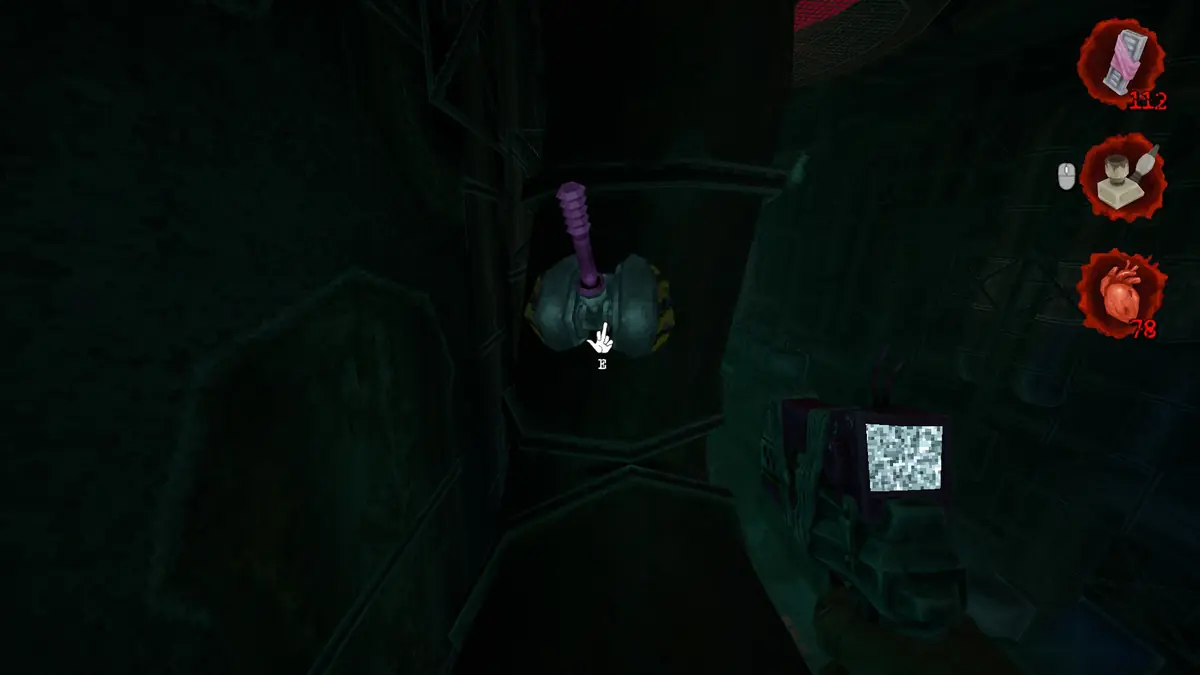
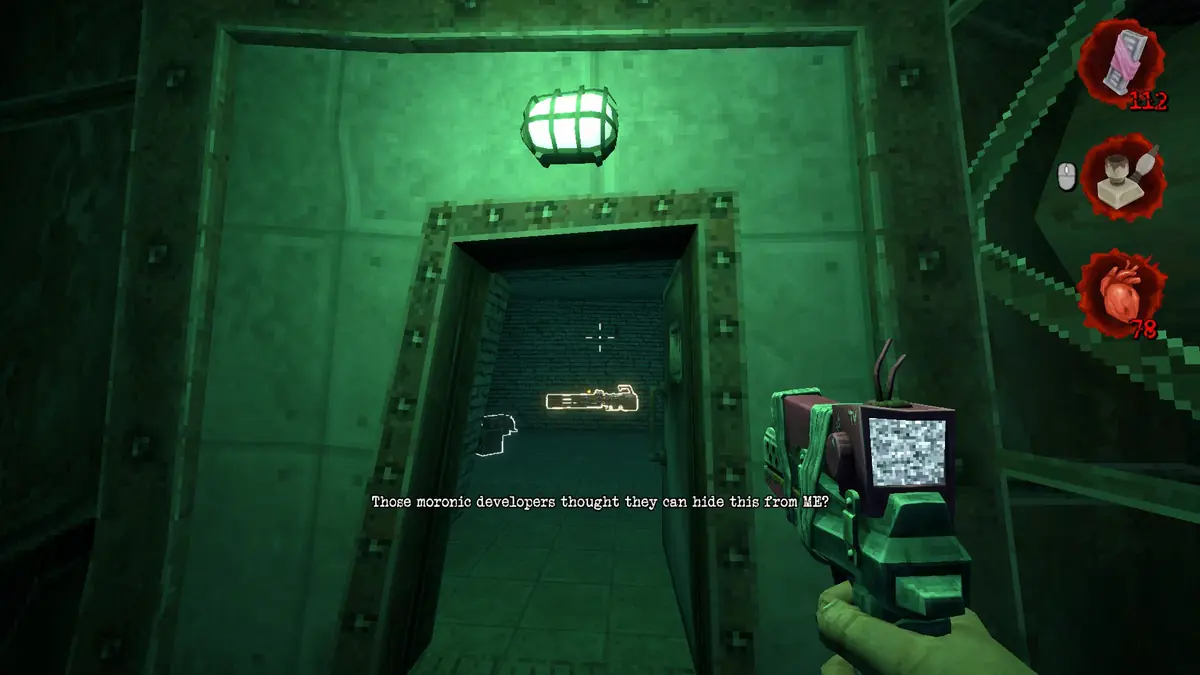
Go back to the jump pad that launches you onto the walkway with the two cops. A pipe runs along the right side of it. Use the pad and strafe gently to the right so you land on the pipe; too much and you sail past it.
On the pipe, pull the pink lever. A door in this area lights up. Go through it to collect a minigun.
Secret #5: Top of Guard Tower
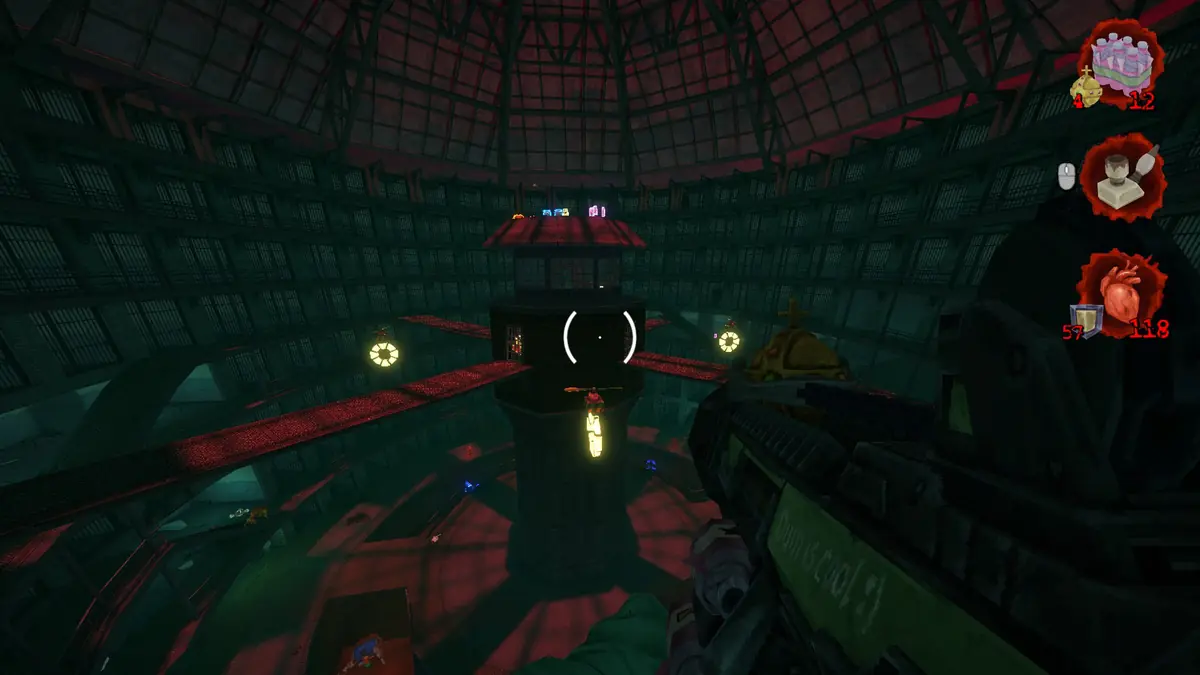
Past the cafeteria is an area with a huge tower and several grapple rings. Fall from high enough, then aim the grapple straight up at a ring so it throws you towards the top of the tower. Expect it to take a few attempts.
Poster #3: Brain F***er Gun 69000
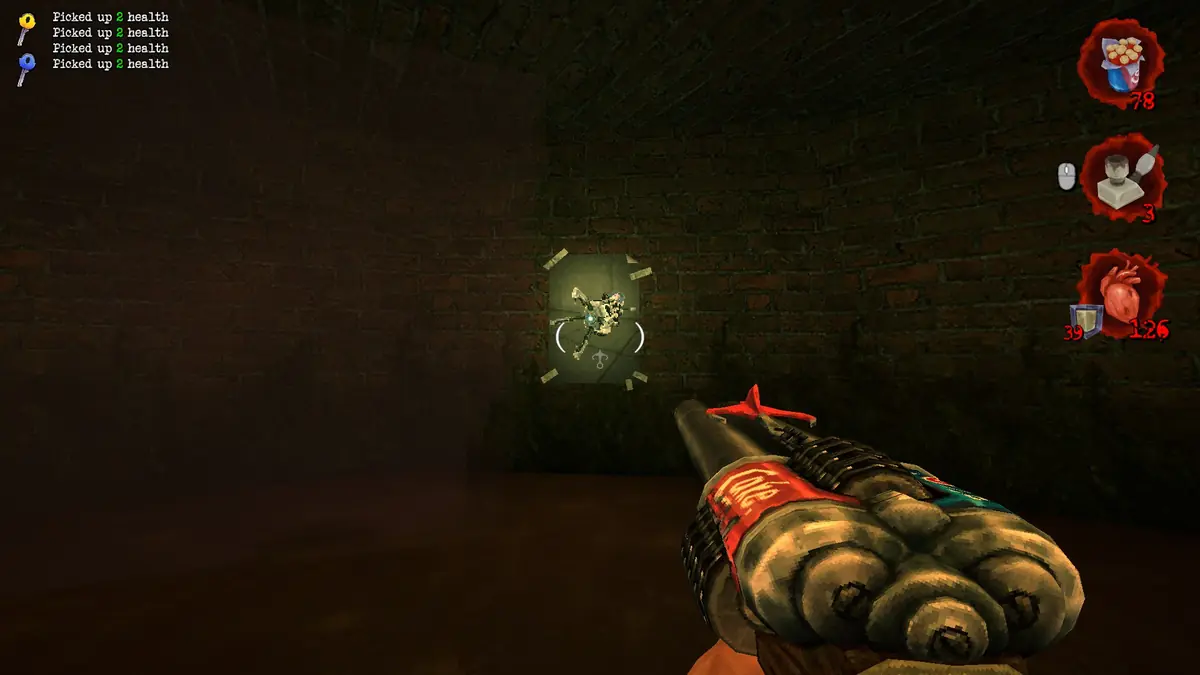
From the same area, drop to the bottom of the tower and head into the middle. The poster is on the wall there.
Secret #6 / Poster #4: Prisoner
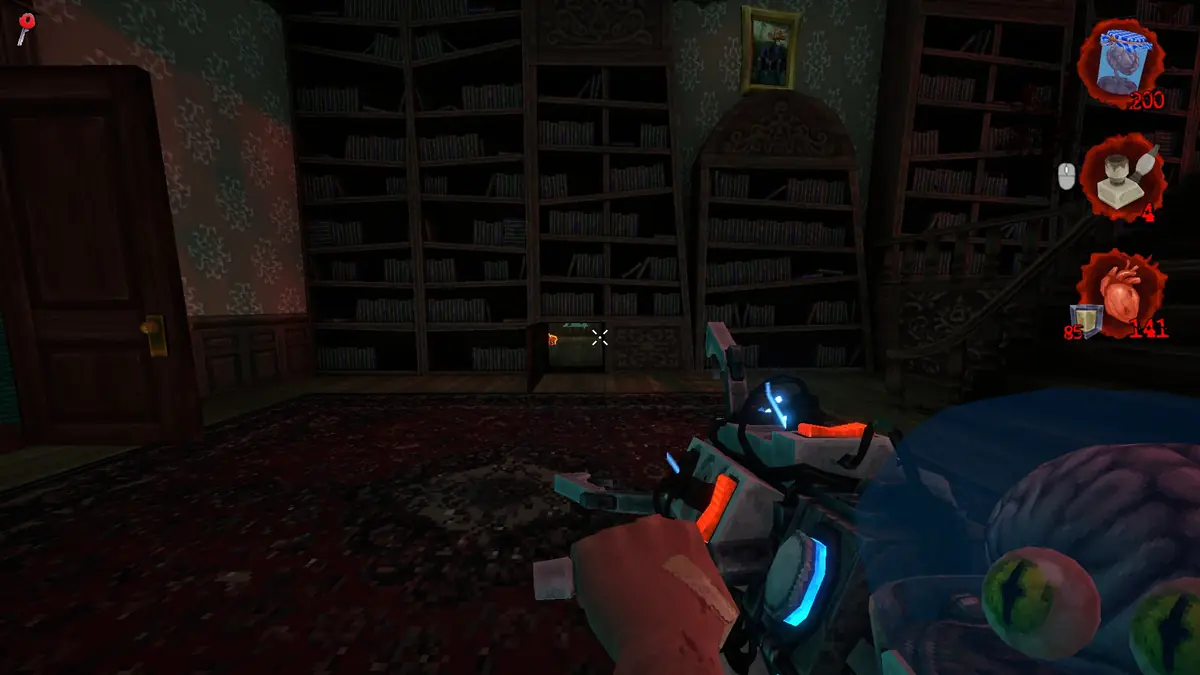
You need a yellow key and a blue key in this part of the level. The secret is in the blue key room: a library where you fight two robots and a gunslinger with a moustache. Interact with the bottom shelves of the bookcases on the left. A small room opens up; crouch to get in, and the poster is in there too.
Poster #5: Cage Monster
With both keys in hand, return to the tower and open the door with the blue and yellow stripes. Take the elevator up to find ammo, a machine gun and this poster.
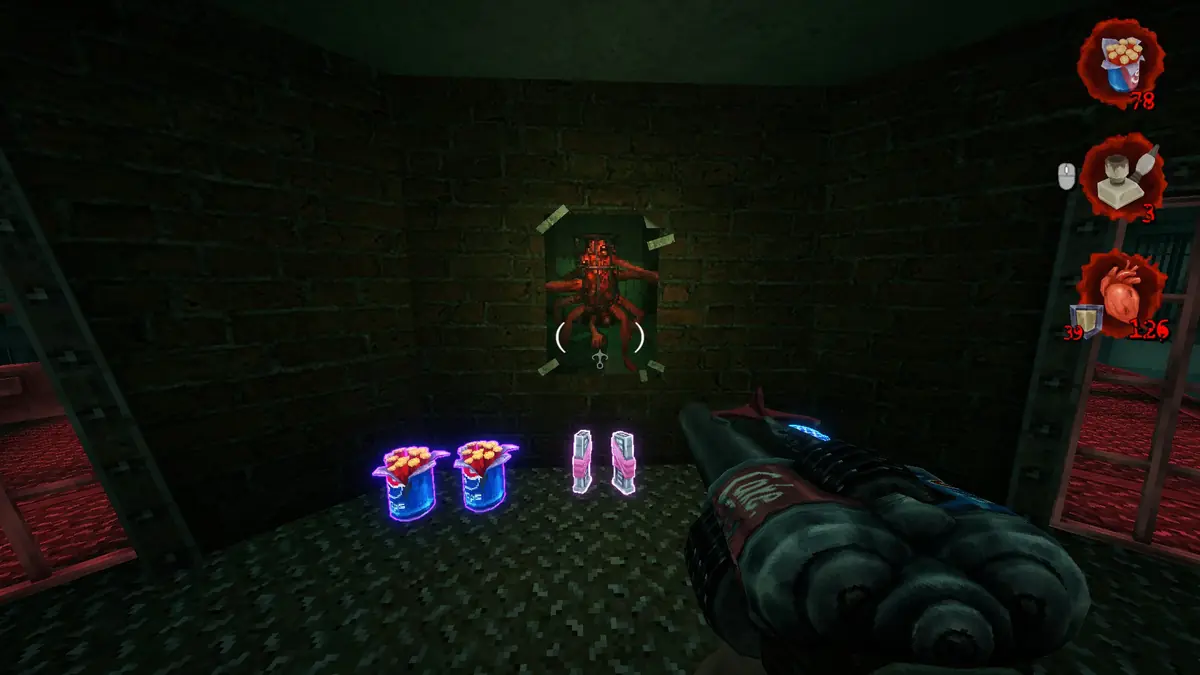
Poster #6: Prison Guard
Survive the waves of enemies that follow, then pay the double piss toll at the gate. Kill the prison guards and press the red button to open the cells, but be ready for the two butt monsters that come out. One of the cells has the poster on its wall, with a few prisoners inside.
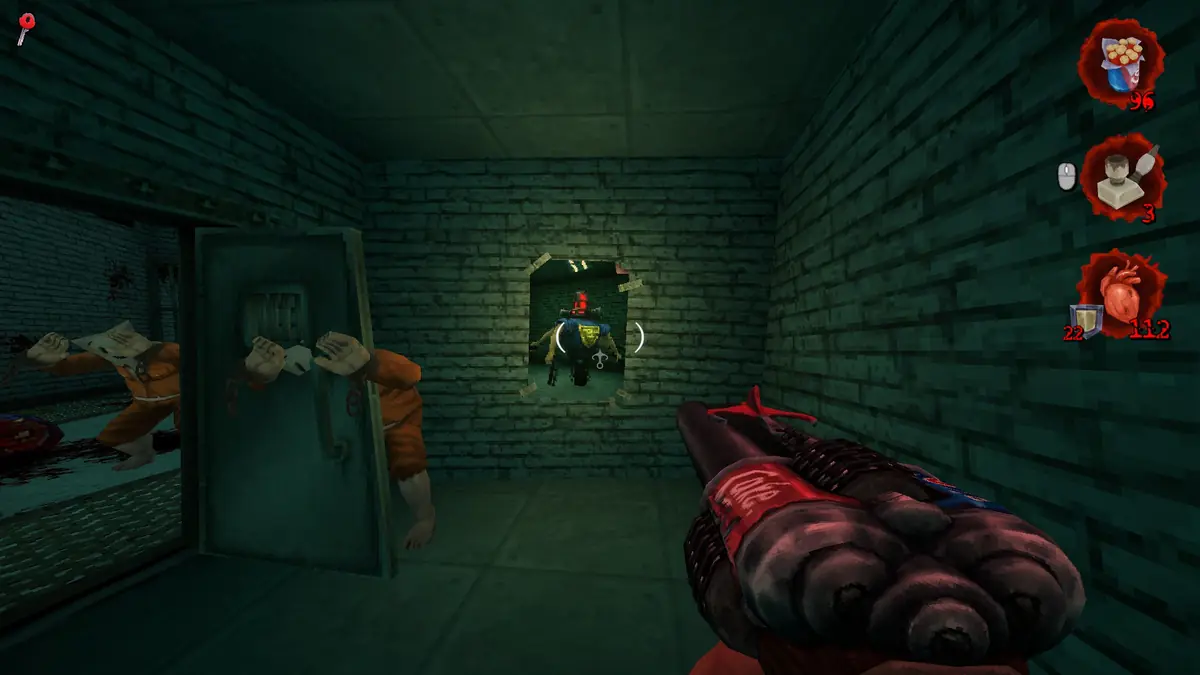
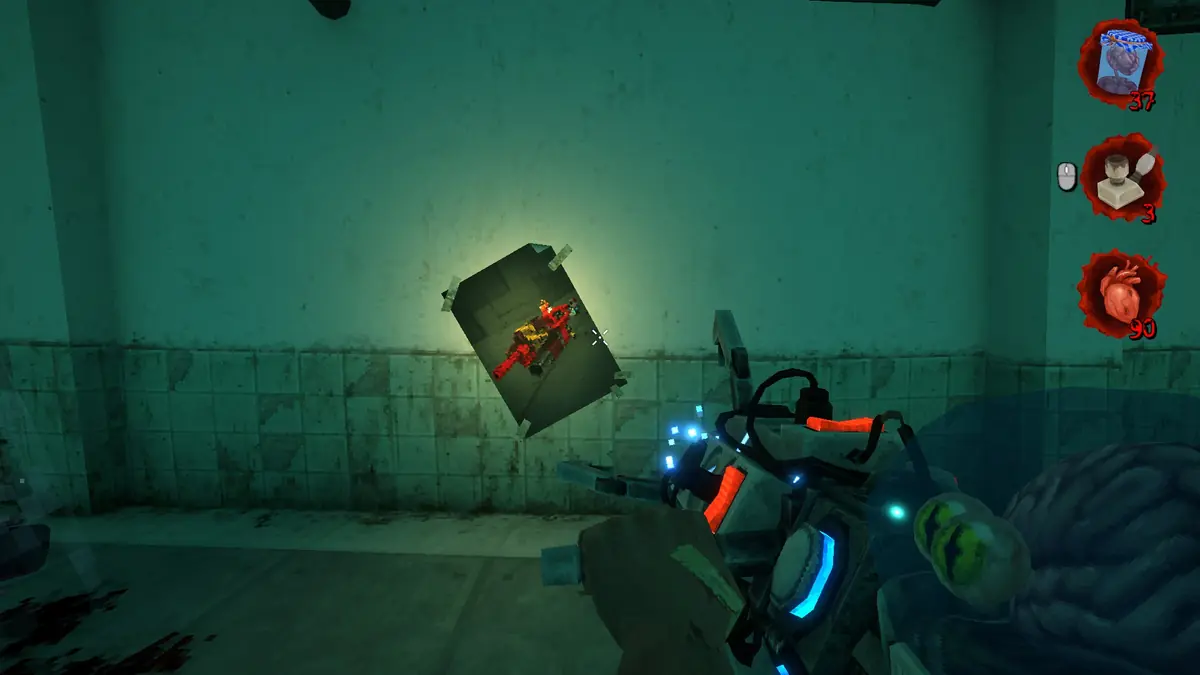
Poster #7: Nailbiter Gun
Once you have the red key, go back to the hallway and use it on the showers. The poster is on a wall, but Burger Boys and prison guards ambush you as you enter.
After the ambush the floor collapses and a cage monster appears. A launch pad spawns at the same time, which helps against the monster and lets you reach the poster if you missed it during the fight.
Back to the Episode 1: American Dream Gone Wrong walkthrough for the other levels in this episode.