All Death at Fleming Manor guides
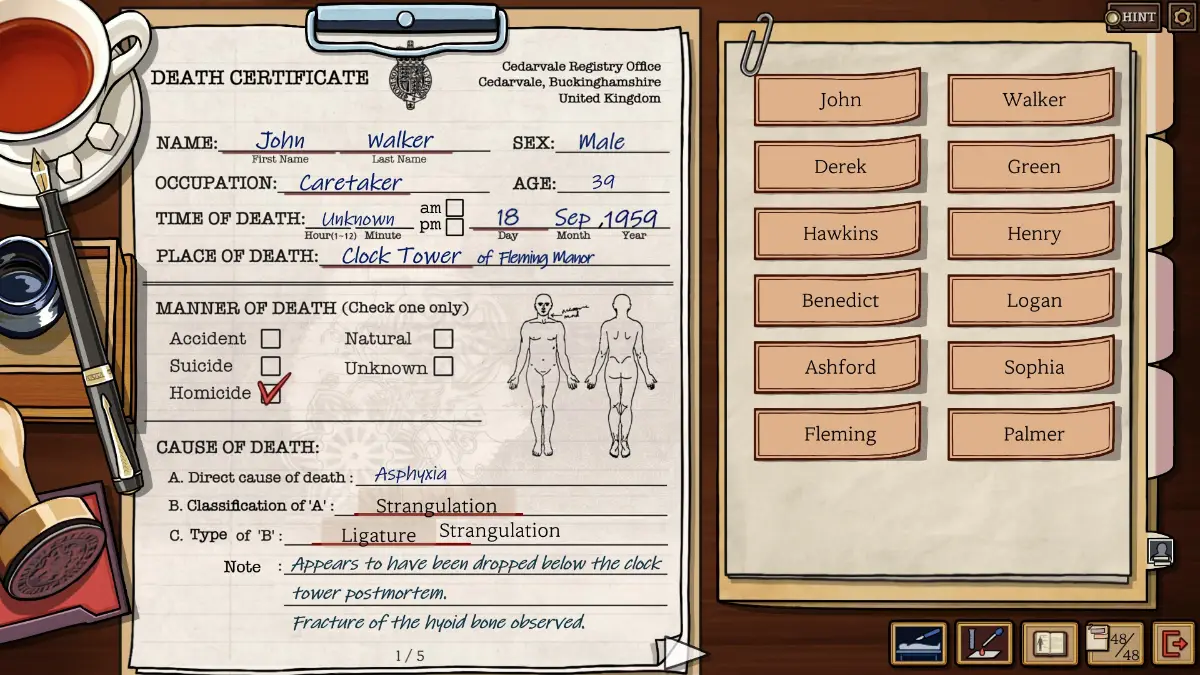
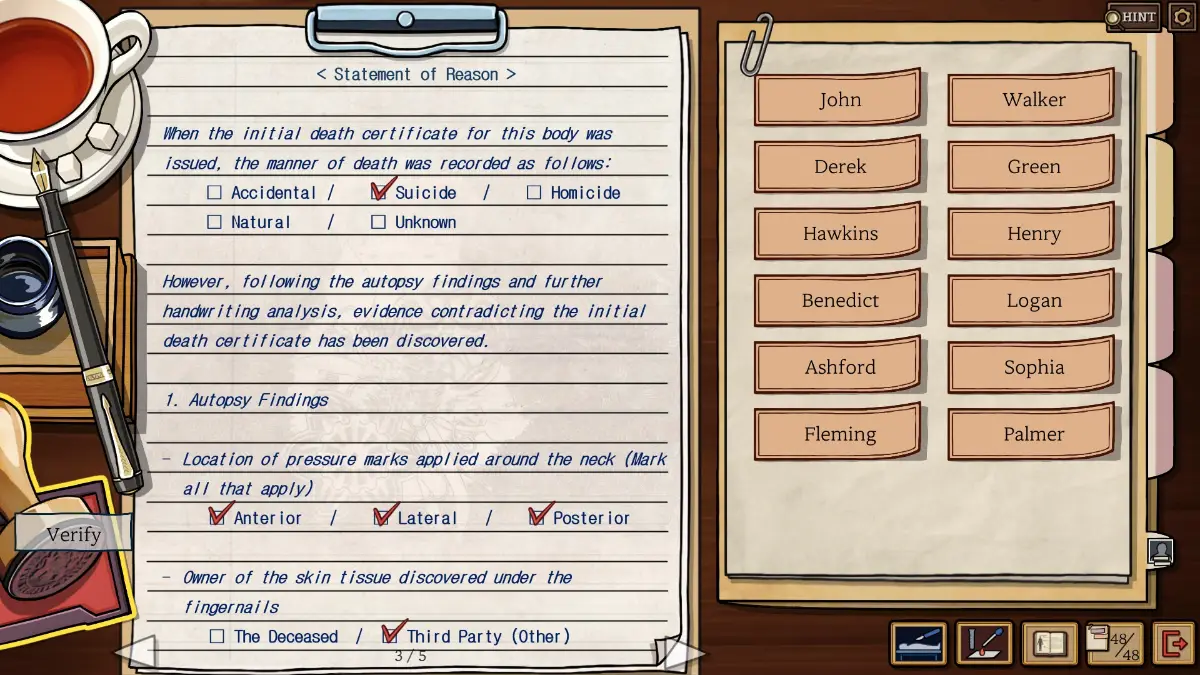
Death at Fleming Manor belongs to the growing family of Golden Idol-style mysteries, but it moves at its own pace. You click on objects in each scene to collect words, fill out a names form, talk to the forensic pathologist, finish a forensic task, and then complete the case paperwork. Depending on the case, that paperwork can be a death certificate, an injury report, or a witness statement.
Each form is checked on its own. When every answer is right, it gets approved. When more than one answer is off, it gets rejected and you only learn how many mistakes there are. After three failed tries, shown as sugar cubes, the tea becomes available and highlights exactly which answers are wrong.
How Cases and Forms Work in Death at Fleming Manor
- Some words can be found on more than one object. Each word below is listed with one source only.
- In many cases, around a third of the words come from the medical book.
- Every form starts partly filled in, and the filled parts show what you still need to work out. In Episode 1, for example, the death certificate has a name but no time, while the injury report has a time but no name. Both ask for the location.
- Some episodes have details at the scene that you should note for the forensic pathologist, such as the victim’s cyanotic fingers in Episode 4. These are mentioned under each episode.
- “Other Means” on a form basically means you don’t know. It is never accepted as an answer.
- Accident: no malice or planning involved.
- Murder: needs both malice and a human hand.
- Suicide: the person did it to themselves.
- Natural: disease or old age.
- The anatomy book covers the medical knowledge each case needs and often tells you what to look for. In the first case, it covers spinal injuries and blood typing. Read it first, since it explains everything the case requires.
Hints for each form start vague and become more direct as you go down the list. The screenshot after them shows the finished form.
Tutorial
Words
Scene 1: Office
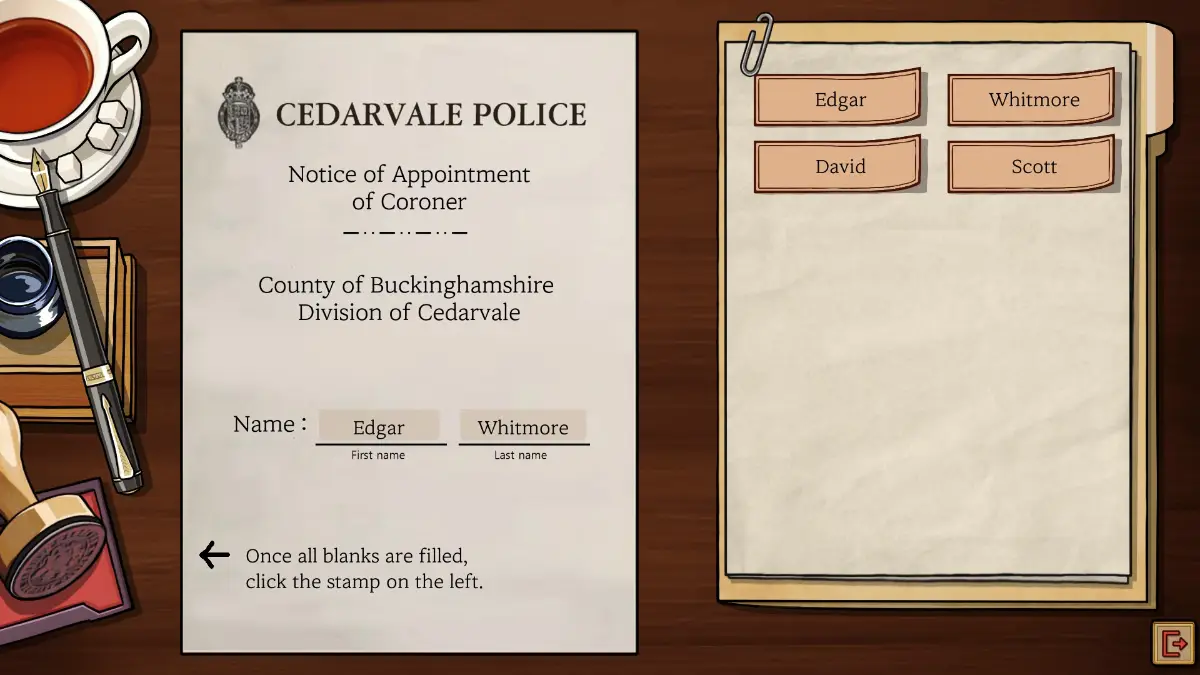
- Board: Edgar, Whitmore, Victor, Hale
Hints
- This part only checks that you understand the controls and can read carefully.
- Think about what your job is.
Episode 1: An Unexpected Accident
Words
Scene 1: Crashed Car
Take note of the passenger side windshield, the alcohol bottle, and the blood on the steering wheel.
- Glovebox:
- Map: Oak Hill, Lakeside Junction, Fieldview Crossroad, Cedarvale Fork
- Rental Car Information: Motor Car (from Motors), Derek, Walker
- Purse:
- Lighter: Brown
- Letter: Daisy, Stockbroker, Lauren
- Newspaper (second page): Doctor, Sophia, Fleming, Nurse, Elenor, Ainsworth, Artist
Scene 2: Crash Site
- Bag:
- Anatomy Book: Rupert
- Notebook: Bike
- Injured Man’s Body: Student
- Wallet, Letter: Electrician
Scene 3: Medical Book
Central, Peripheral, Brain, Spinal Cord, Dizziness, Memory Loss, Cervical, Tetraplegia, Thoracic, Lumbar, Paraplegia, Numbness
Form 1: Names
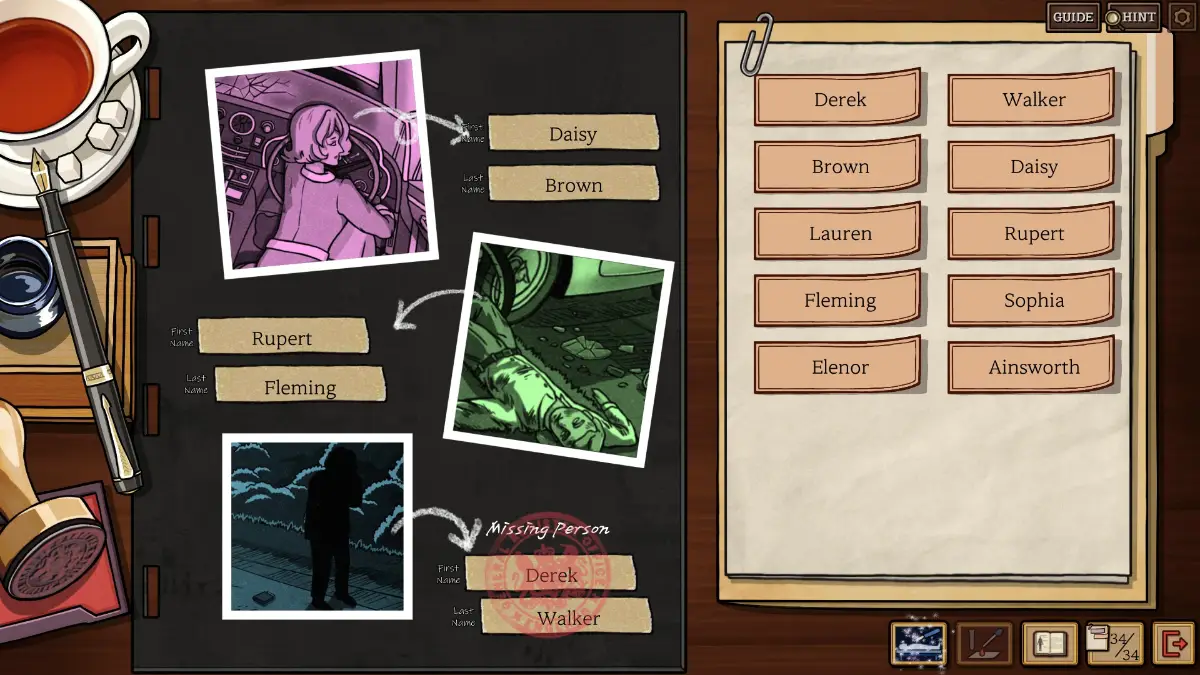
- You need three names: the woman who died in the car, the man who was hit, and the missing person.
- The missing person photo draws attention to the wallet.
- These names are easy to confirm, so the later hints treat them as known.
Form 2: Blood Testing
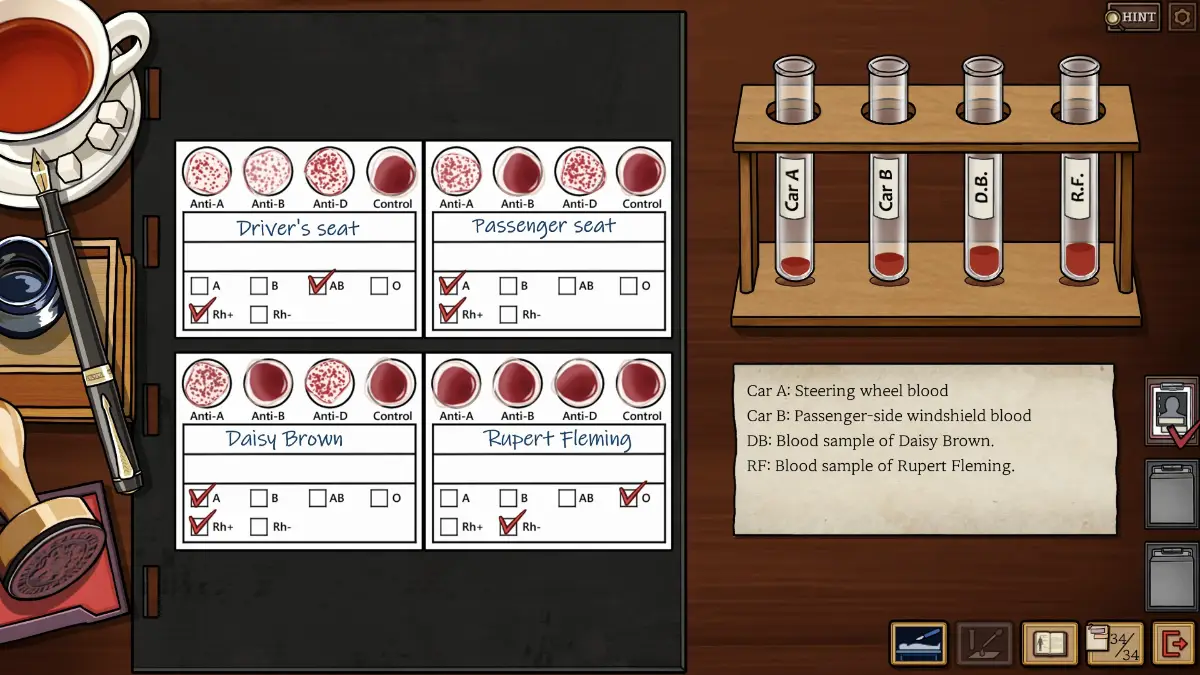
- Once the names are done, you can ask the forensic pathologist about the body and the three questions. If you collected every blood sample, you can run the blood tests by following the chart in the medical book.
- There is no catch here. Just follow the chart.
Hints for Forms 3 and 4
- You need the crash location for both forms.
- The crash happened at a T-junction with a tree at the fork. Look for any other landmarks.
- A lack of landmarks can also tell you where you are.
- The sun was used for directions long before maps. It sets in the west.
- The map may not face the same way as the crash site.
- Oak Hill, Lakeside Junction, and Cedarvale Fork all have a tree at a T-junction, so the crash must be at one of them. The camera only shows fields in the opposite direction, which means there are no landmarks or trees on that side.
- The road opposite the tree leads toward the setting sun, so it is the west road. Turn the map 90 degrees to the right and compare.
Form 3: Death Certificate
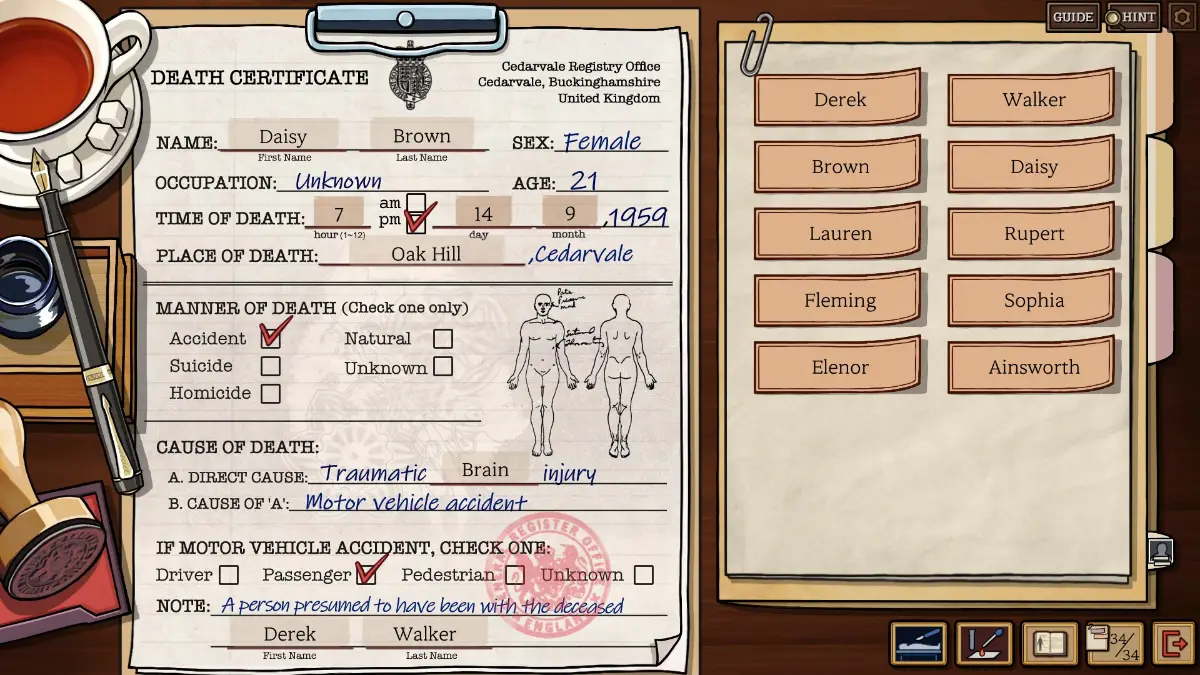
- The form asks for her name, date and time of death, place of death, manner of death, cause of death, her role in the crash, and the name of the missing person.
- The cyclist’s form shows the date and time his injury was reported, which is also the time of the crash. You can also work it out from another source that gives the date and time of the sunset.
- The narration says the blood test results point to foul play. Think about why.
- Two blood group systems matter in medicine: ABO and Rhesus. ABO tells you whether blood has A, B, both, or neither (O). Daisy has only A and Rupert has neither, so neither of them could leave a B antigen behind. What does the AB sample tell you?
- The pathologist found blunt force trauma to Daisy’s head but none to her chest. What did her head hit? The windshield on the driver’s side has no cracks.
- Unless she was forced off the road or the car was tampered with, the crash counts as an accident.
- The key question: Daisy was found in the driver’s seat, but does anything else prove she was driving?
- The tests show blood matching Daisy’s on the passenger side, while the blood at the driver’s seat, where she was found, does not match hers. Put those two facts together.
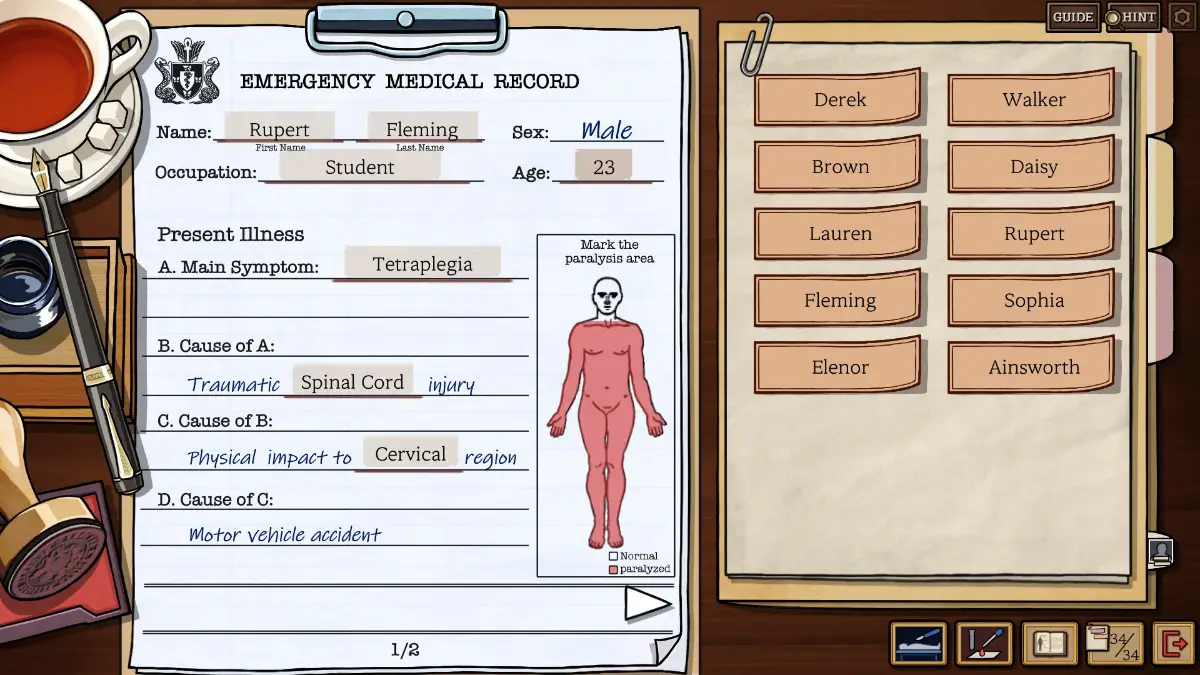
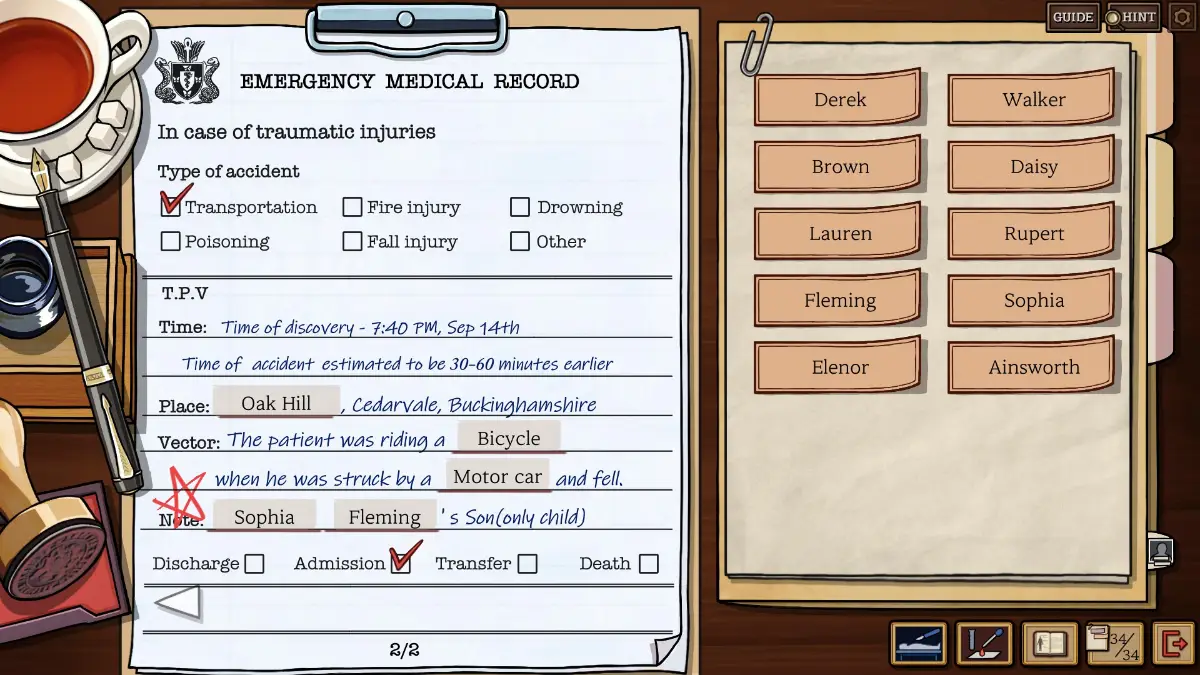
Form 4: Emergency Medical Record
- You have to work out Rupert’s age yourself.
- His dialogue is the only clue to how bad his injuries are and what caused them.
- The type of accident may sound strange at first. Think about which category a cyclist hit by a car would fall under.
- To get his age, subtract the birth year on his ID from the year on the newspaper.
Episode 2: The Clock Tower Incident
Words
Scene 1: Clock Tower
Take note of the suicide note at the spot where he jumped.
- Hanging Body:
- Elite Motors: Elite, Motors, John, Walker
- Letter: Derek
- Clock Repair Manual: Clock Tower, Clockface, Hour Hand, Minute Hand
- Nursing Locker Room (right side):
- Nursing Shift: Nursing
- Locker, Handover Note: Green, Hawkins
Scene 2: Ground Level
- Doctor, Pen: Henry
- Welcome to Fleming Manor: Visitors, Caretaker
- Man on the right:
- Dialogue: Benedict
- Letter: Logan, Ashford, Sophia, Fleming, Inspector
- Logbook: Doctor, Palmer, Basement
Scene 3: Medical Book
Neck, Hypoglossal Nerve, Thyroid Cartilage, Jugular Vein, Vagus Nerve, Carotid Artery, Amputation, Crush, Penetrating, Laceration, Asphyxia, Suffocation, Strangulation, Smothering, Choking, Hanging, Ligature, Manual, Complete, Incomplete, Hypovolemic, Cardiogenic, Distributive, Obstructive
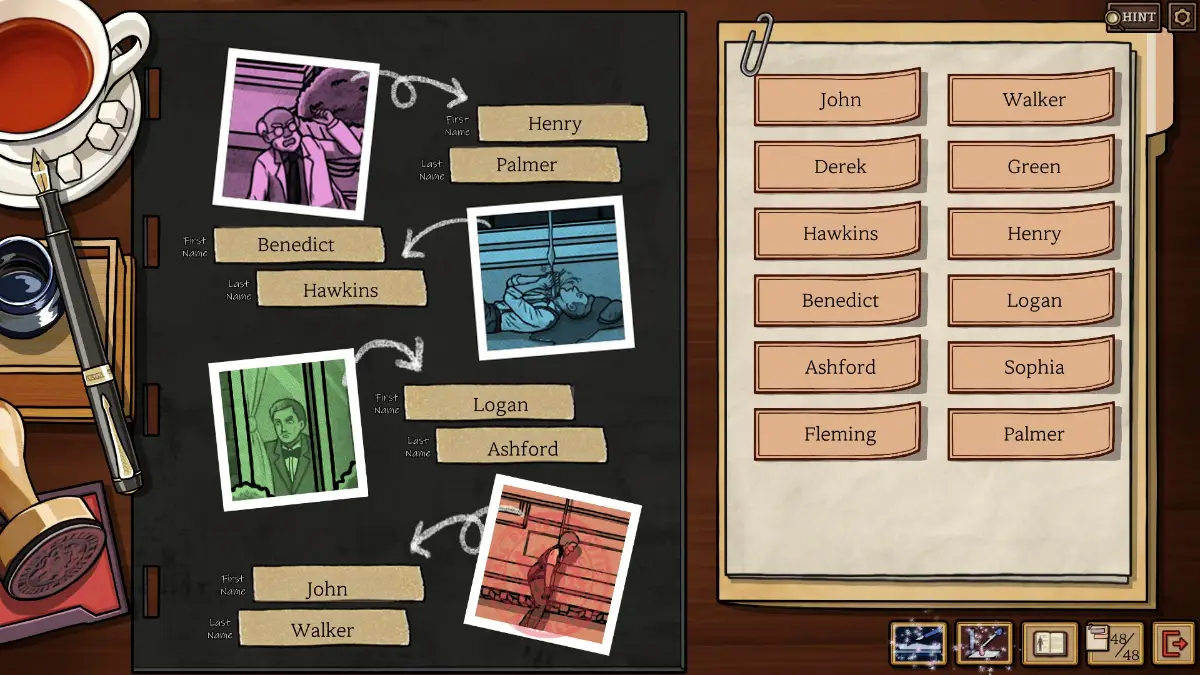
Form 1: Names
Everyone except the man inside has an item with their initials on it.
Form 2: Handwriting Analysis
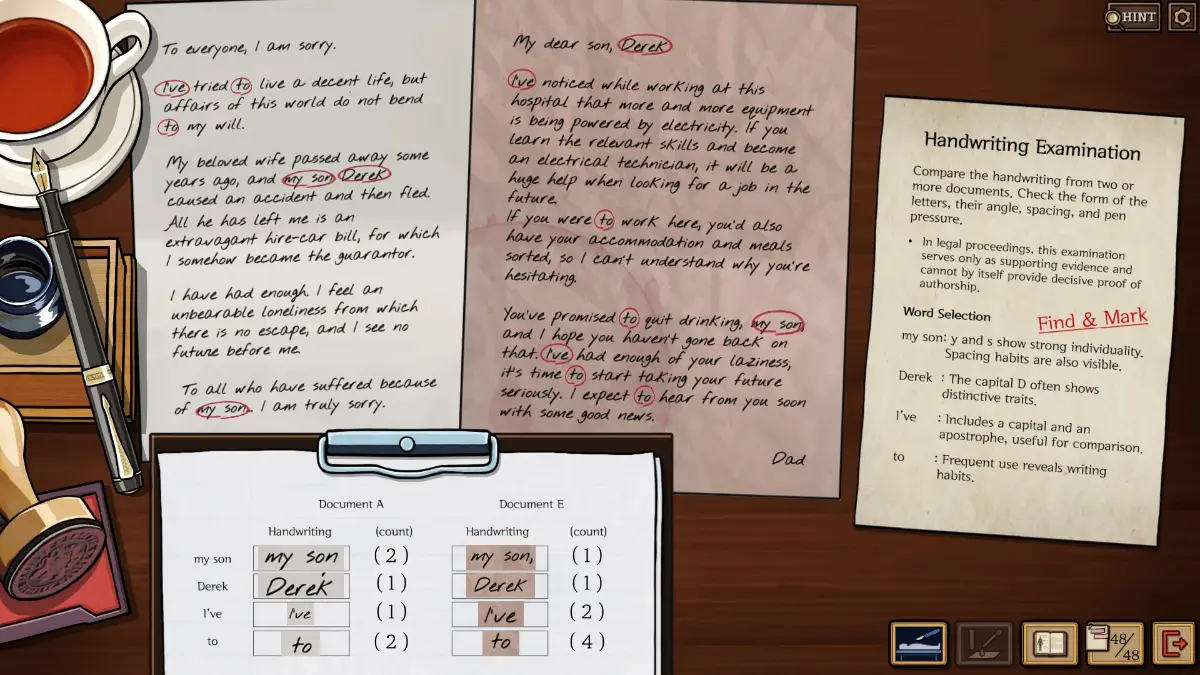
- You need a second document to compare with the suicide note. Has anyone else written to their son Derek?
- The right one is Document E.
- After picking it, click and mark every “my son”, “Derek”, “I’ve”, and lowercase “to”.
- Only count “to” when it is lowercase and comes before a verb. A capital “To” at the start of an address does not count.
- The first document has 6 matching words and the second has 8.
Hints for Forms 3 and 4
- These death certificates are not labeled with a name. Each one has the cause of death filled in and a photo of the victim as its icon.
- Mystery players tend to assume murder. With the evidence you have at this point, though, there really is no sign of foul play.
- The hard part is the date and time of death. Both men seem to have died at the same moment. Don’t forget AM or PM. Form 4 only needs the date, while Form 3 needs the time, AM or PM, and the date.
- The doctor says Benedict had just finished his shift.
- The handover note in the locker, left by Green, makes a point of asking Benedict to post a letter.
- The outgoing mail still has not been picked up.
- One of the victims died by a clock hand, and a broken clock shows the exact time it broke.
- The nursing schedule has only one day when Benedict works right after Green and also leaves before the mail is collected.
Form 3: Hypovolemic Shock Victim
- The tricky part is which part of the neck took the fatal wound. What would cause heavy, urgent bleeding?
- Check the medical book for how a vein differs from an artery.
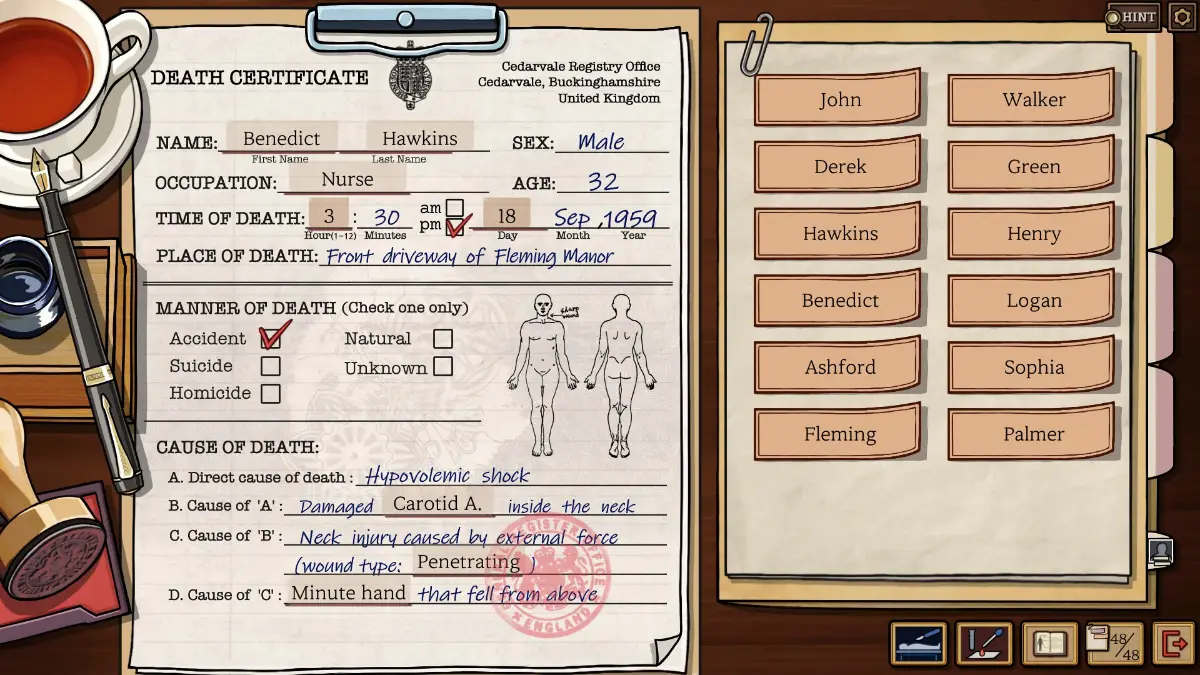
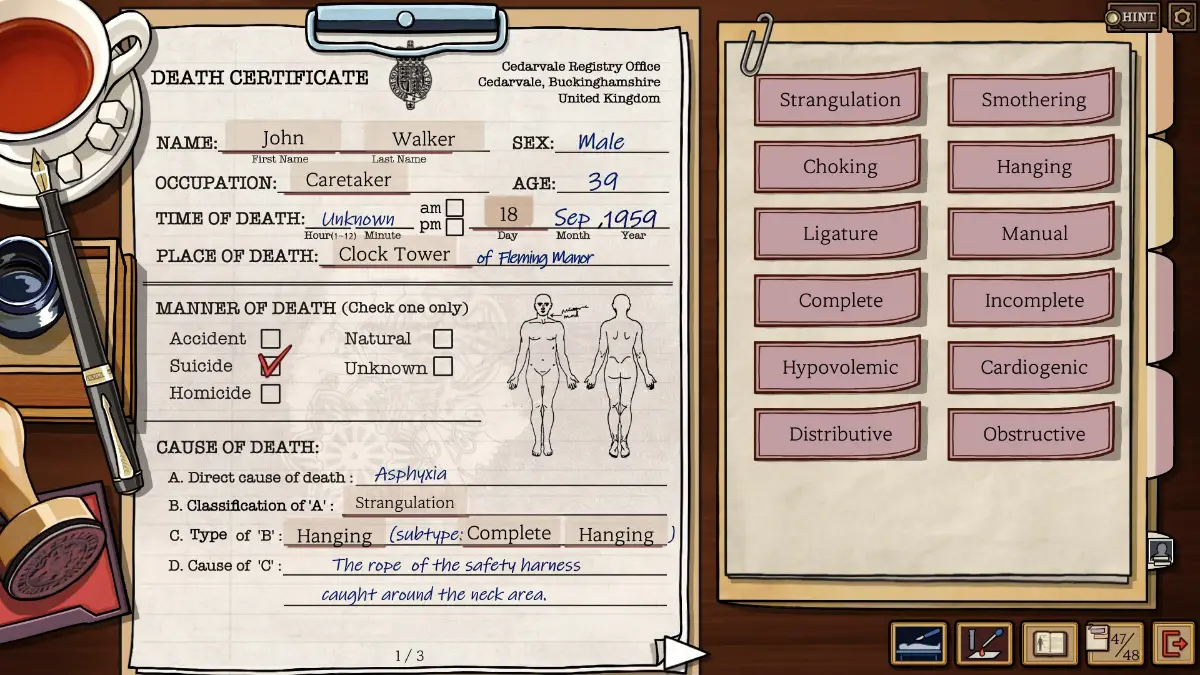
Form 4: Asphyxia Victim
- A fall protection harness does not belong around anyone’s neck, and the manual shows it was not tied the right way. This was not an accidental fall.
- This certificate needs extra detail: first the type of asphyxia, then the specific subtype within it.
- The second page asks what he was repairing. His note mentions a gear.
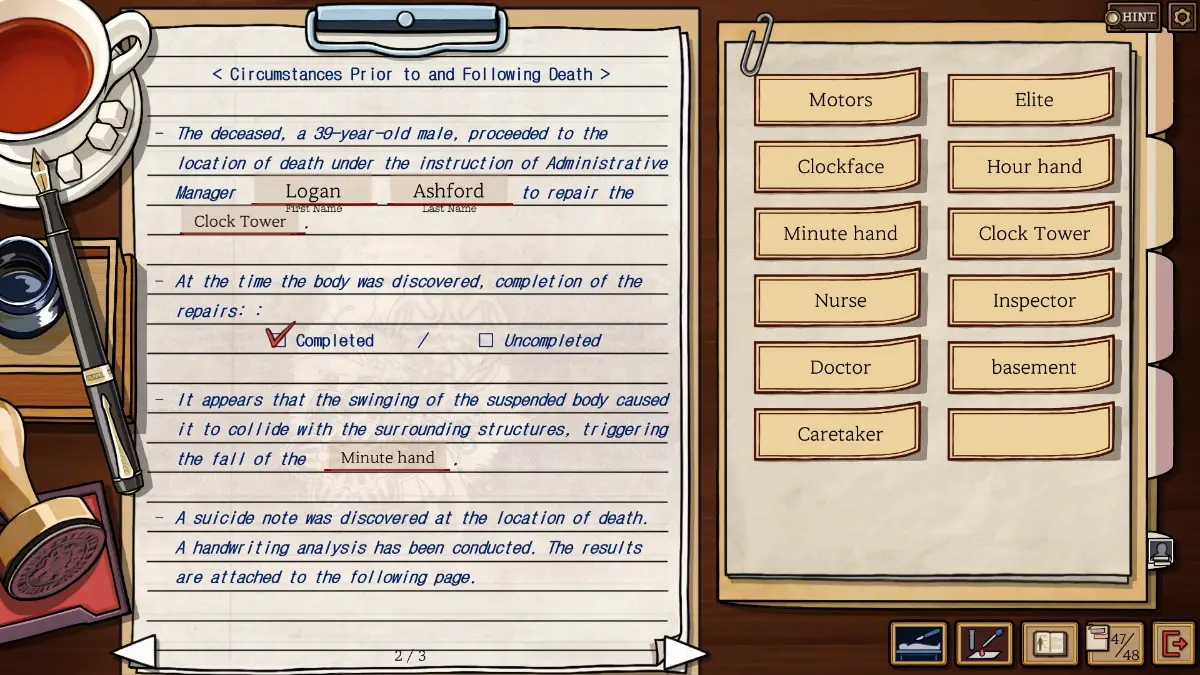
Once both forms are in, the chief inspector asks you three questions. The answers are straightforward:
- Does the handwriting analysis of the suicide note fit with Walker writing it himself? Yes
- Did he have a reason to take his own life? Yes
- Is there any evidence of homicide? No
You can then choose to wait for the pathologist or close the case. The coroner will have more to say either way. Talk to the pathologist and go over the body again. He will send you back to the notes to look for words of six letters or more.
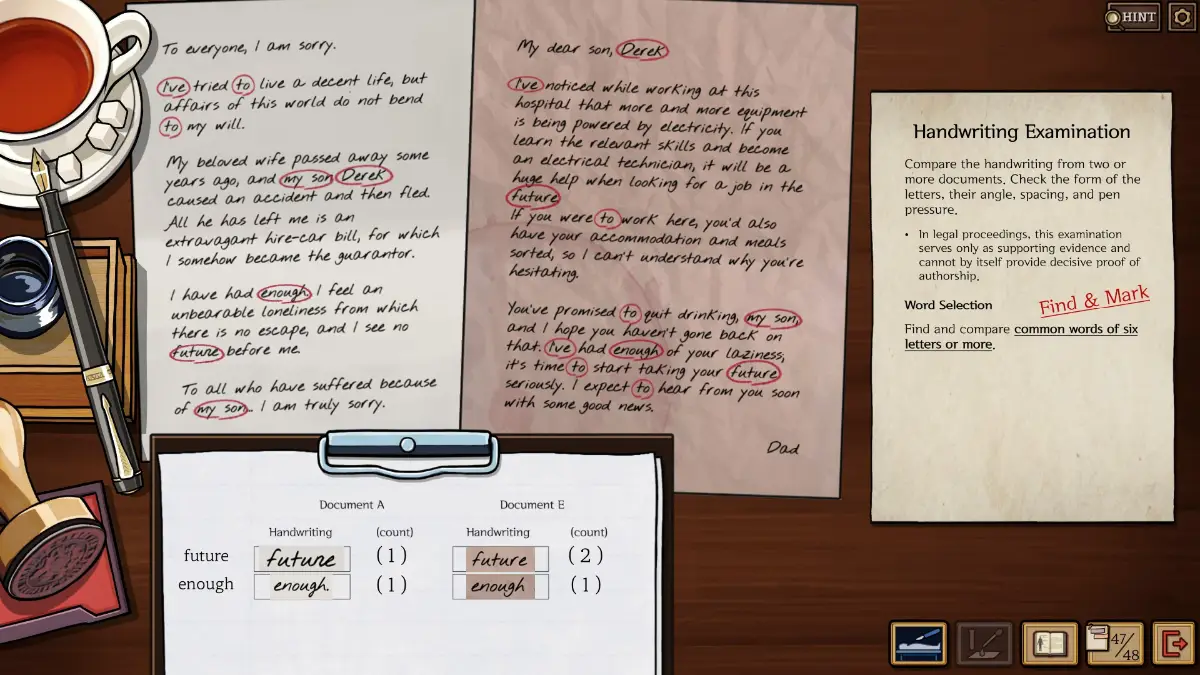
Form 5: Handwriting Comparison Redux
- Two six-letter words appear in both letters.
- The words are “future” and “enough”.
- Mark 2 of them on the first document and 3 on the second.
The new findings mean the earlier ruling has to be revised.
Form 6: Death Certificate Redux
- Fill in the cause of death again, plus a new page explaining why the certificate is being amended.
- He was still strangled with a rope. Only a few details change.
- The reason for amending partly refers to your first report, so enter the original ruling there.
Episode 3: The Iron Scalpel (Part 1)
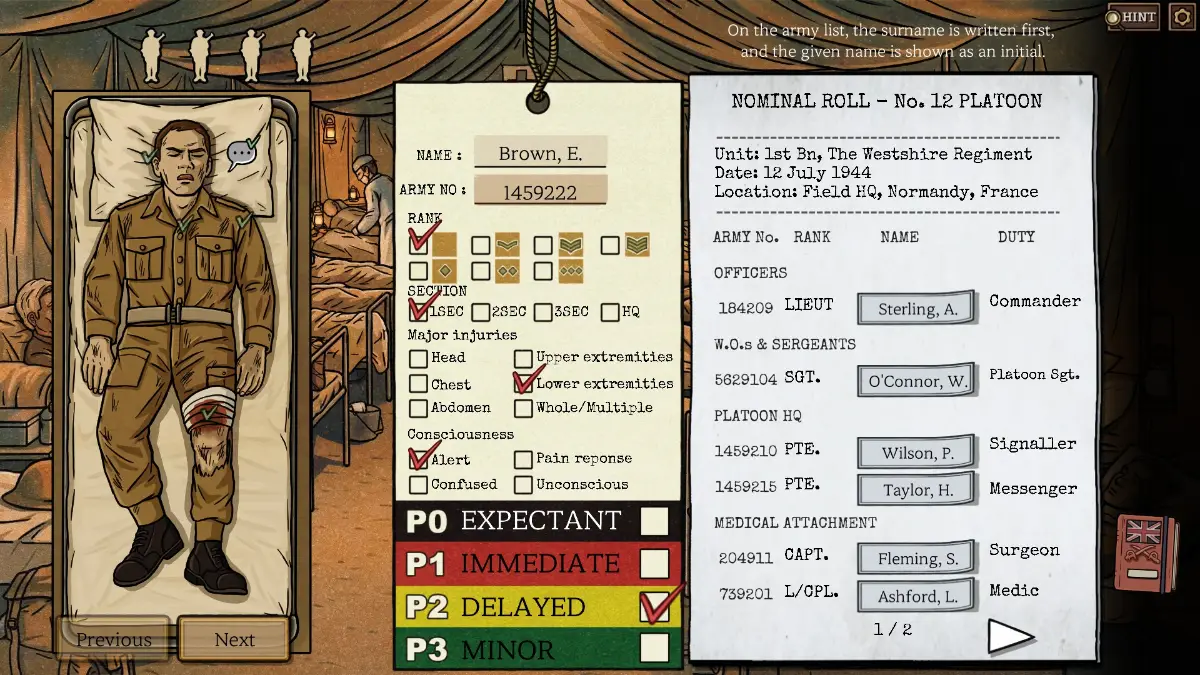
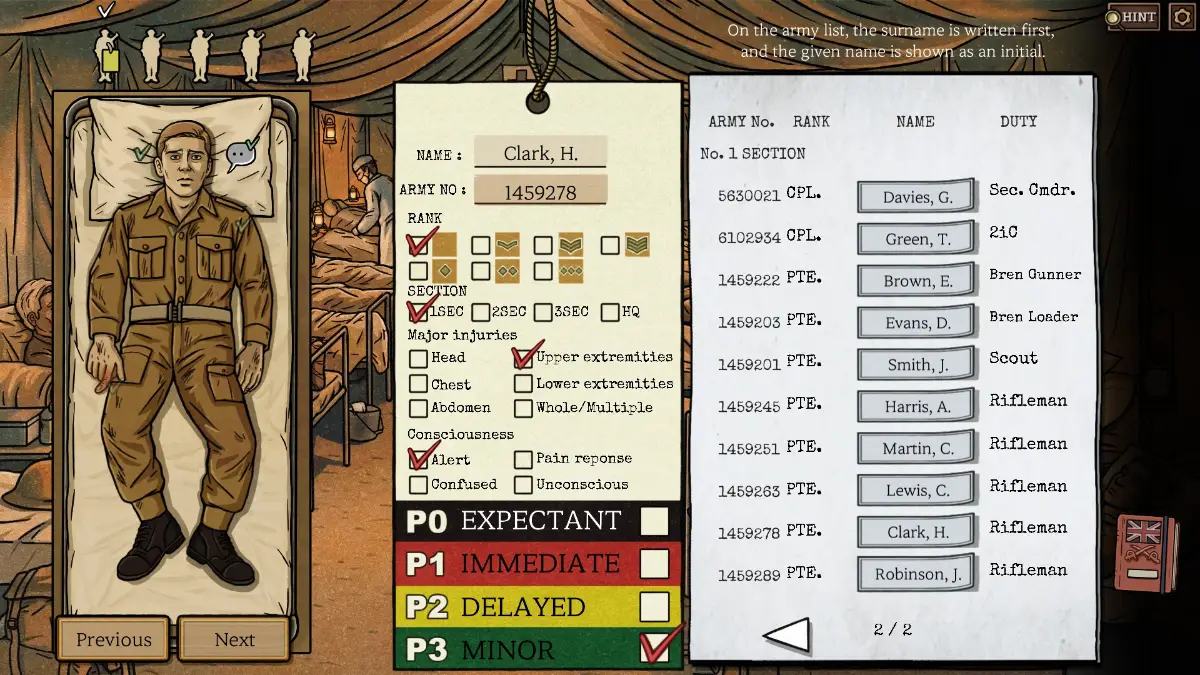
This episode breaks the usual pattern. Instead of a death certificate, you fill out a tag for each injured soldier with their name, ID number, rank, section, injuries, level of consciousness, and triage level. You handle one soldier at a time, and you can’t move on until the current one has a filled tag.
The soldiers come in three groups: 5 in the first, 8 in the second, and 9 in the third. A casualty report follows each group. It plays a lot like Papers, Please or Scrutator Tenebris: you follow the rules and sort each person into the right category. The game tells you whether each tag is fully correct. You can fill tags for the rest of the group before fixing mistakes, but every tag must be right before you hand them to Sophia. The canteen, which you get at the end of each group, works like the tea in other episodes.
General Hints
- The paper on the right lists, from left to right, the ID number, rank, name, and duty (their job or role). Soldiers are also grouped by section, meaning their unit: Platoon HQ or No. 1 Section, with No. 2 added in the second group and No. 3 in the third. Any of these can help you identify someone.
- The book on the right explains rank insignia, the triage levels and what each one means, and the levels of consciousness.
- Consciousness can be confusing. It asks for the highest level a soldier responds at: fully alert, confused in a way that points to a traumatic brain injury, responding only to pain, or unconscious. A soldier in pain who can still hold a conversation is Alert. Pain level is only for someone so badly off that they can do nothing but moan.
- Triage is only about how urgently a soldier needs care to stay alive. Extreme pain does not make someone Immediate unless their wound is urgent. If medicine at the time cannot save them, they are Expectant.
- The pupils should shrink when light hits them. That reflex shows normal brain function. When it is missing, it means either a traumatic brain injury or death. Here, it marks a P0 soldier.
- 2iC means second in command.
- Chest and Abdomen are separate boxes on the tag. A neck wound counts as Head.
- The list of soldiers is fixed, so process of elimination works well, especially with how few Corporals there are. A wounded soldier is out of action, so the list of possible names gets shorter each day.
- If a soldier can’t talk, you need their tags or clues from what other soldiers said.
Day 1
Patient 1
- He is in too much pain to give his name, but he can still hold a conversation.
- The only visible wound is on his leg. He needs treatment, but he is not bleeding heavily.
Patient 2
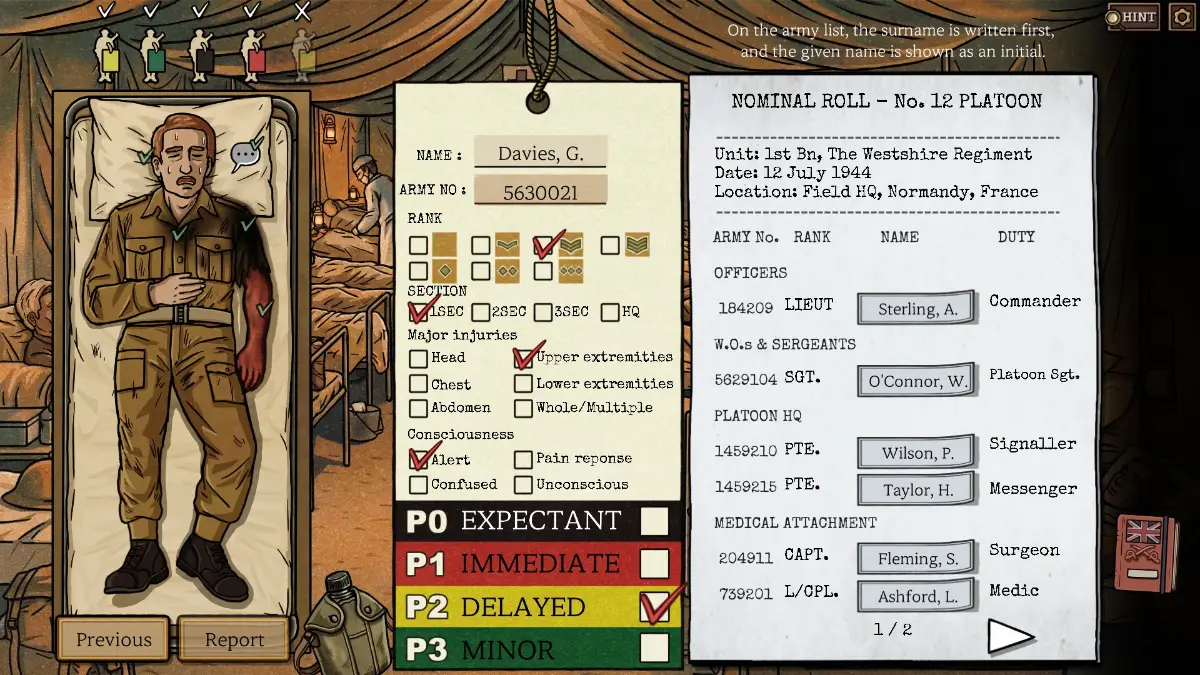
- An easy one. He is fully alert and tells you who he is. Remember who he says protected him.
Patient 3
- He is one of the two Corporals. Didn’t the previous patient mention one?
- Patient 2 said his section commander took a grenade to the arm. Check whether that fits this patient.
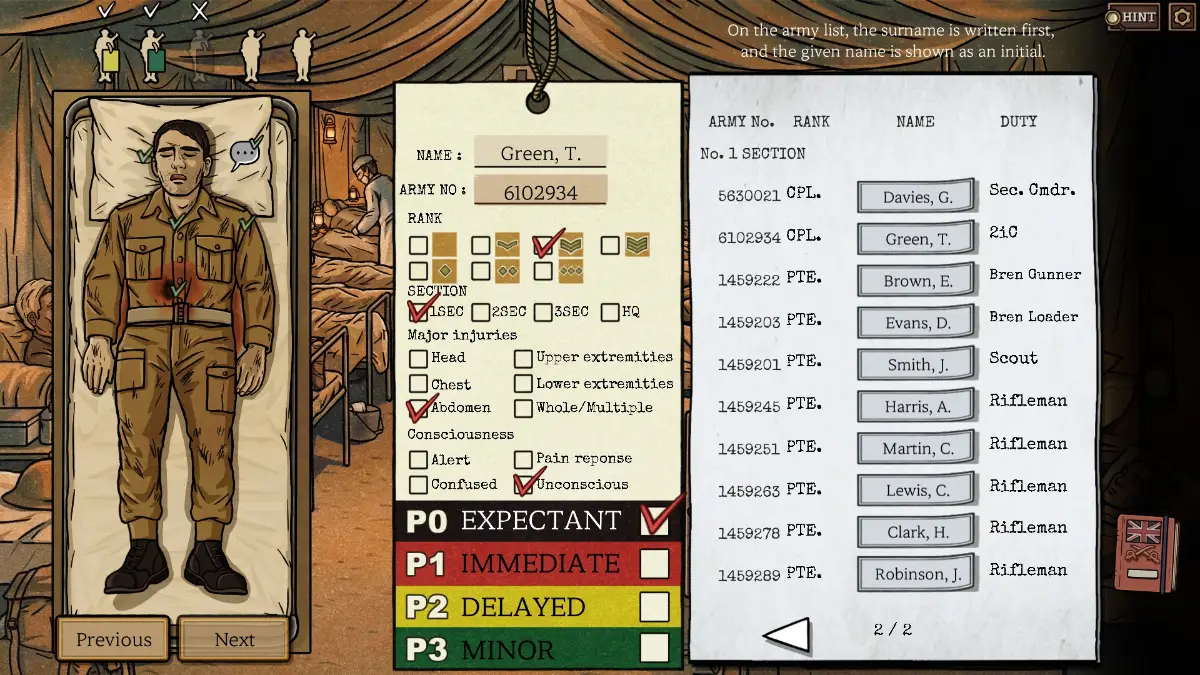
Patient 4
- His abdomen is badly damaged. Identifying him is otherwise simple.
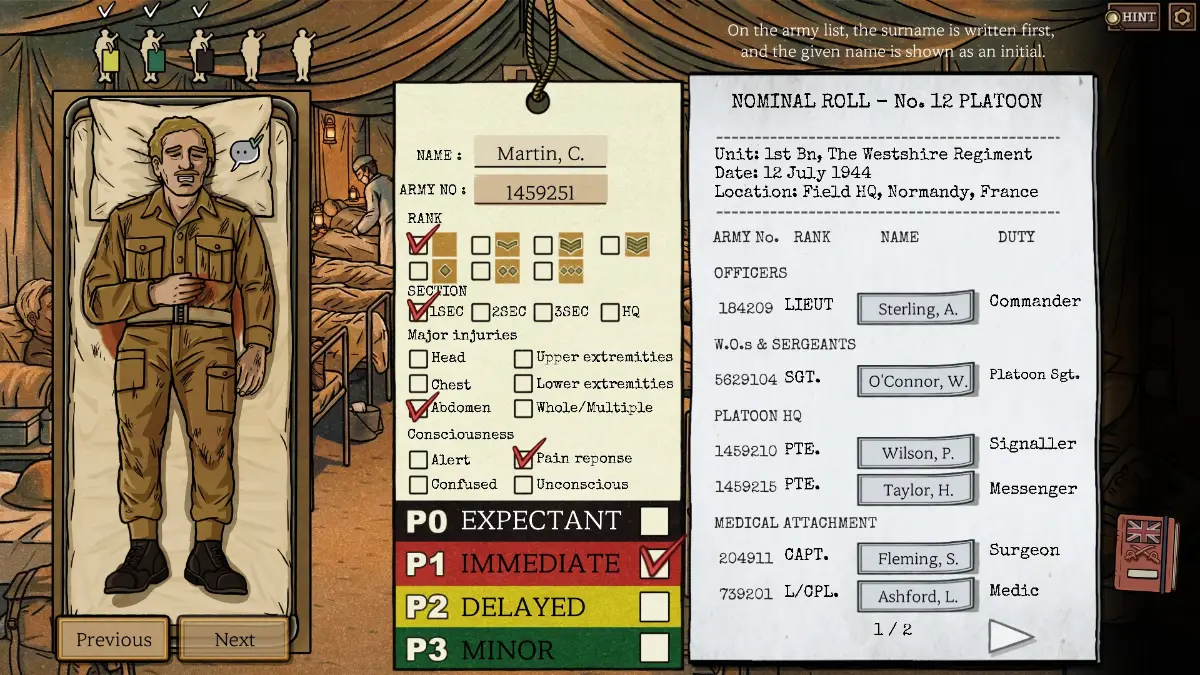
Patient 5
- Everything that could identify him has burned away. All you know is that something burned his arm.
- He is alert enough to ask for morphine.
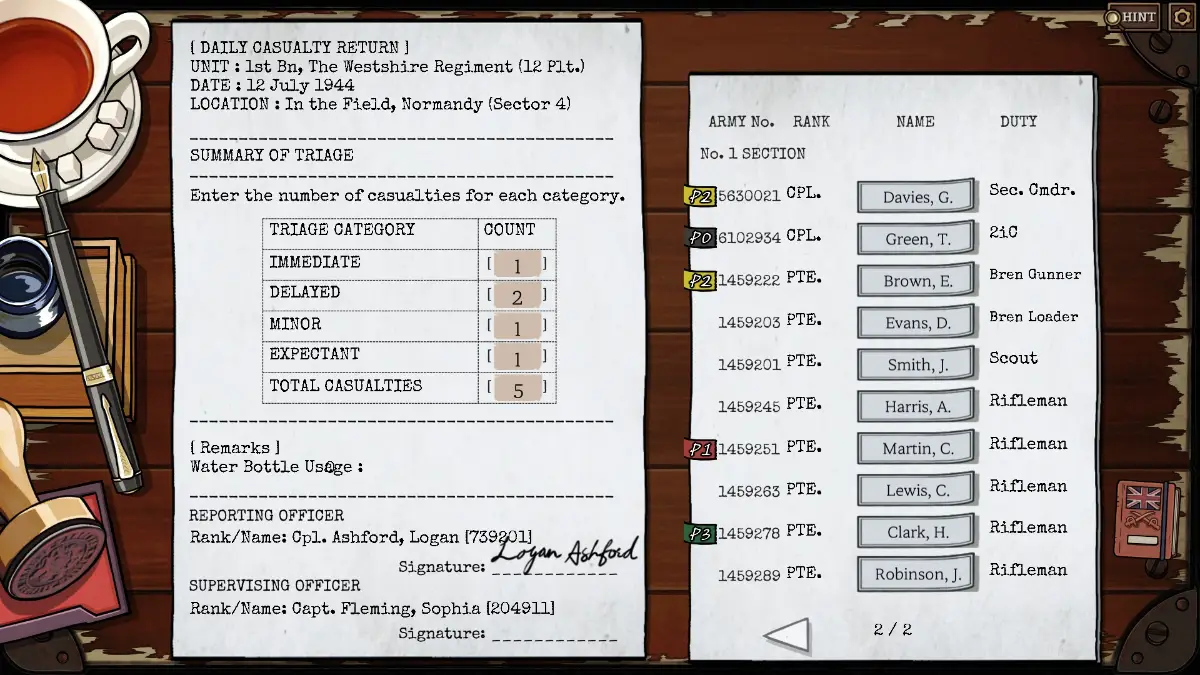
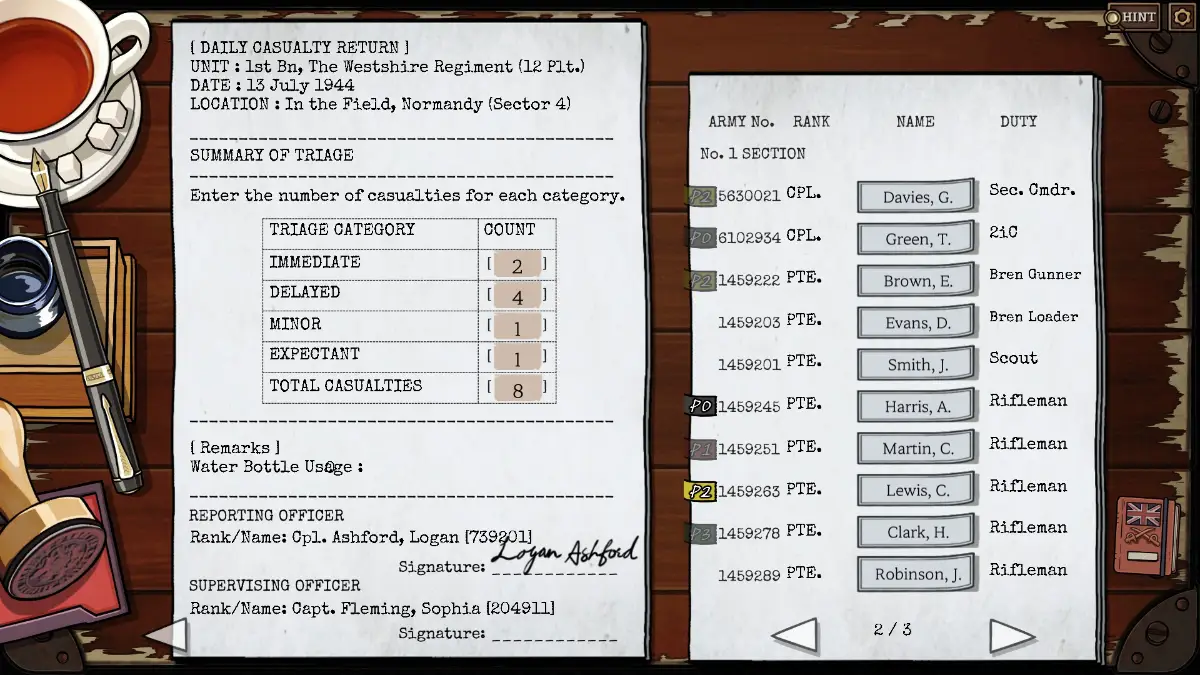
Casualty Form
- After all five soldiers, fill in how many tags you gave at each triage level.
- The numbers should add up to 5.
Day 2
Patient 1
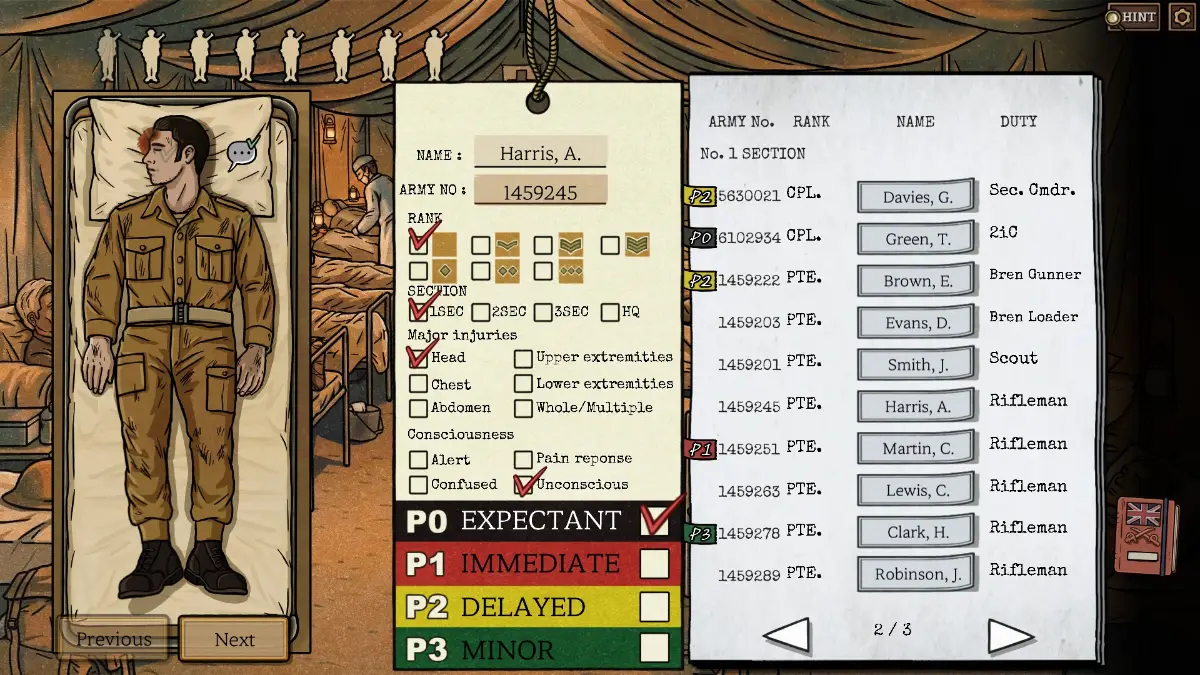
- No pupil reaction and a head wound that can’t be operated on. He is easy to identify.
- His pulse makes no difference if surgery is not possible.
Patient 2
- He is one of the four No. 2 Corporals, since both No. 1 Corporals were badly hurt on Day 1. Check whether his tag is clear enough to identify him.
Patient 3
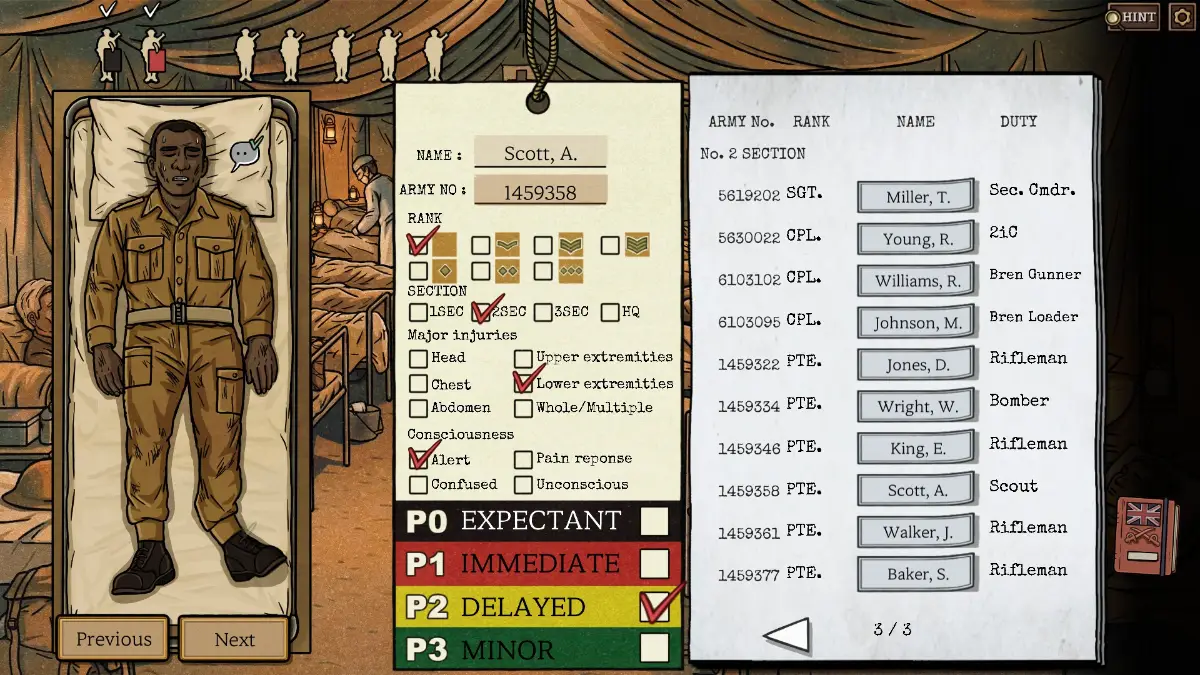
- His ID tag shows 93 in the number, which leaves several options. Use his role to decide.
- What was he doing when he broke his ankle?
Patient 4
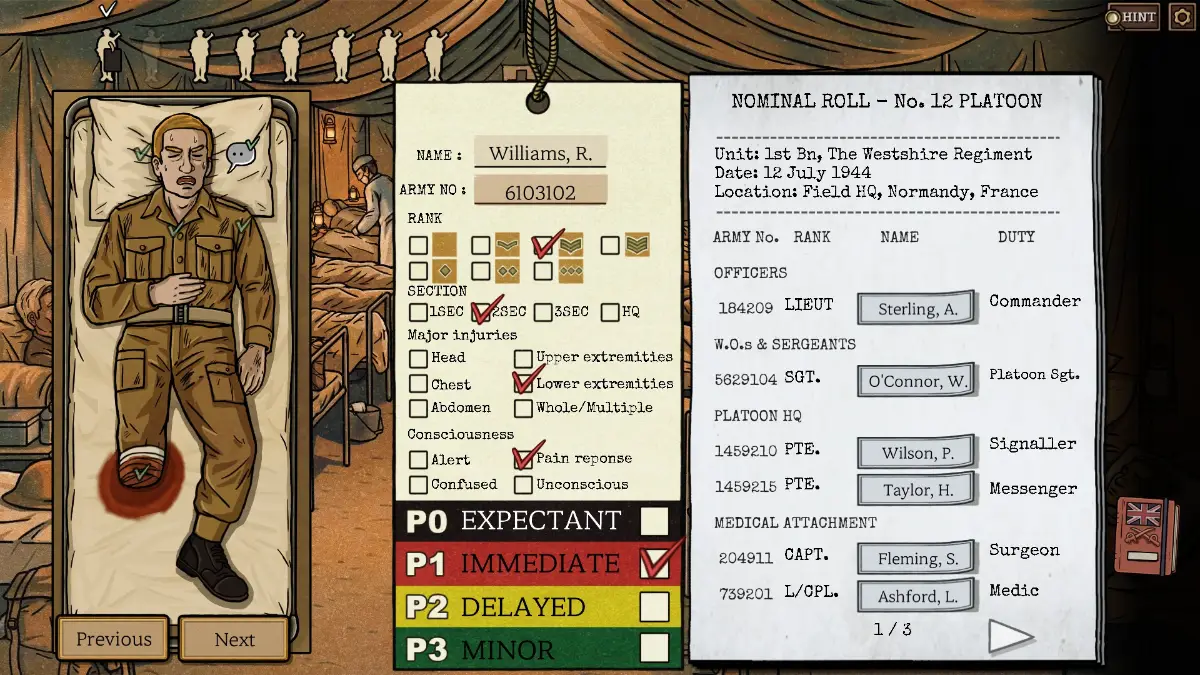
- The last digit of his ID is 2.
Patient 5
- A Corporal whose first initial is M.
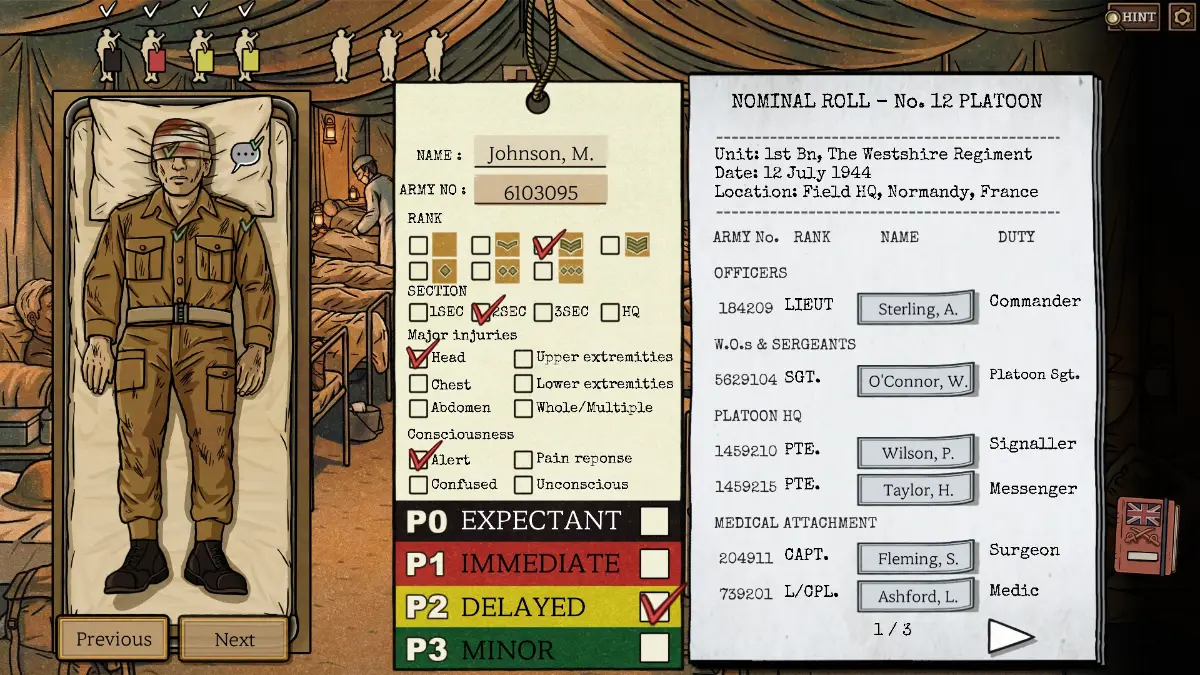
Patient 6
- ID 1459, first initial C.
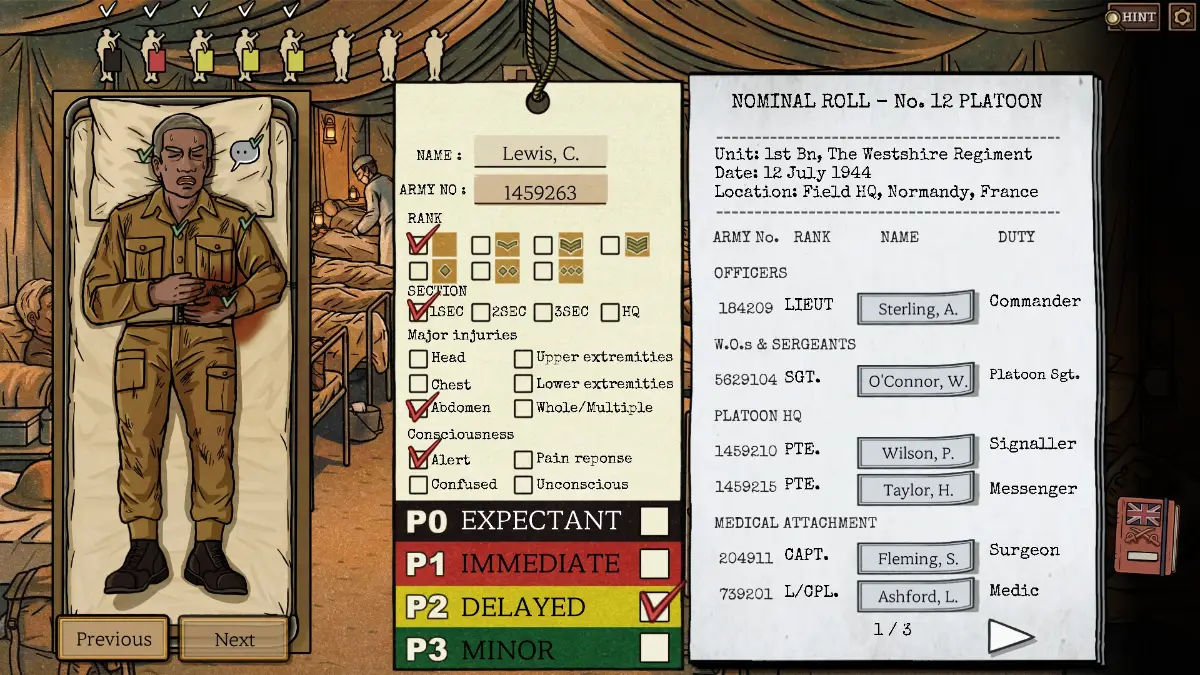
Patient 7
- His last name is the only thing you have to identify him.
- His injury type is unusual. Which part of the body would extreme stress affect, especially when he is delirious?
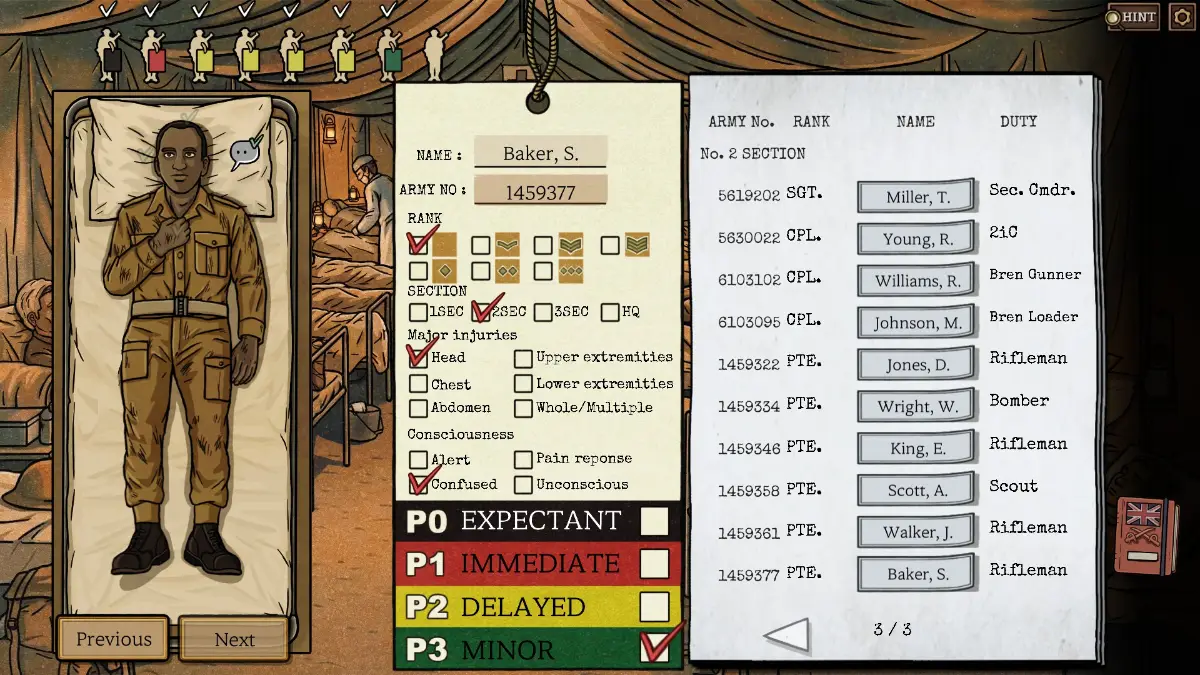
Patient 8
- A familiar face.
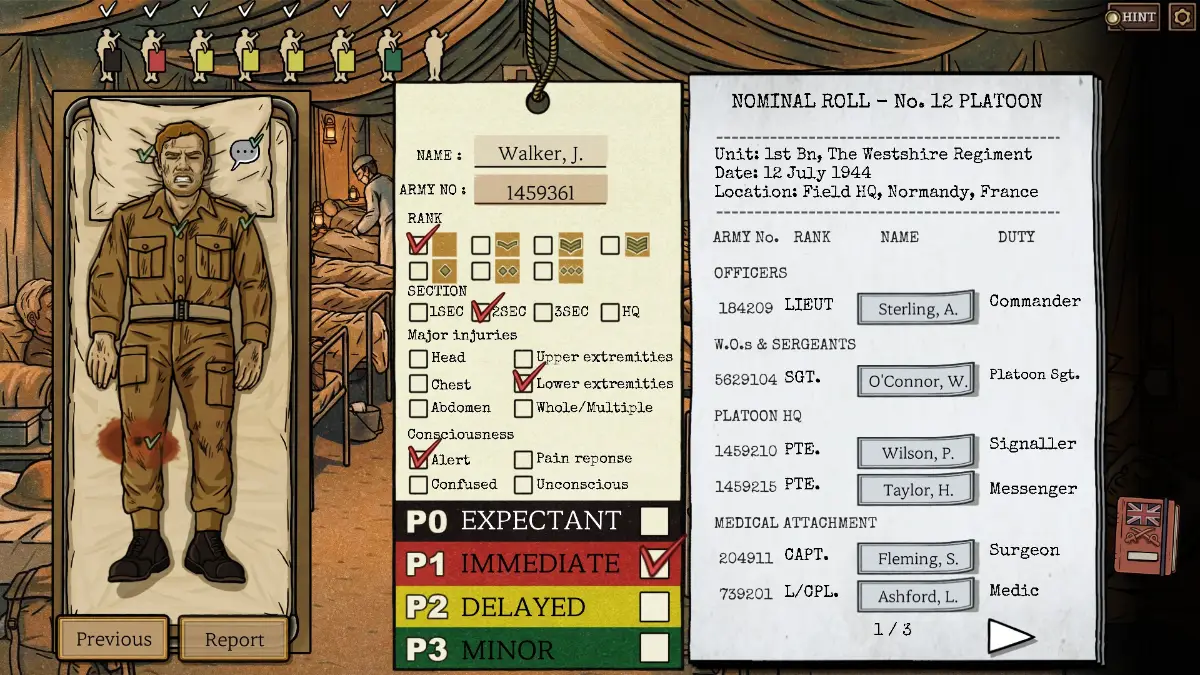
Casualty Report 2
- Count every tag from this day. The total must be 8.
- Soldiers from Day 1 are grayed out.
Episode 3: The Iron Scalpel (Part 2)
Day 3
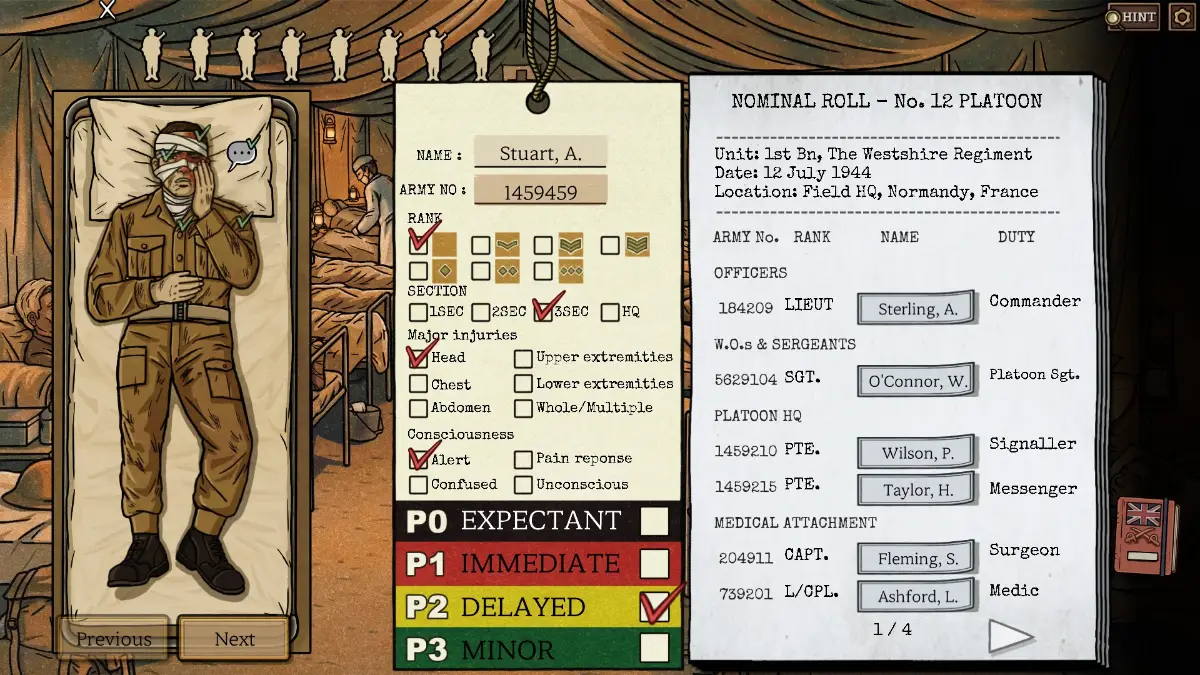
Patient 1
- He serves under section commander Roberts.
- The later digits of his ID tag are 45.
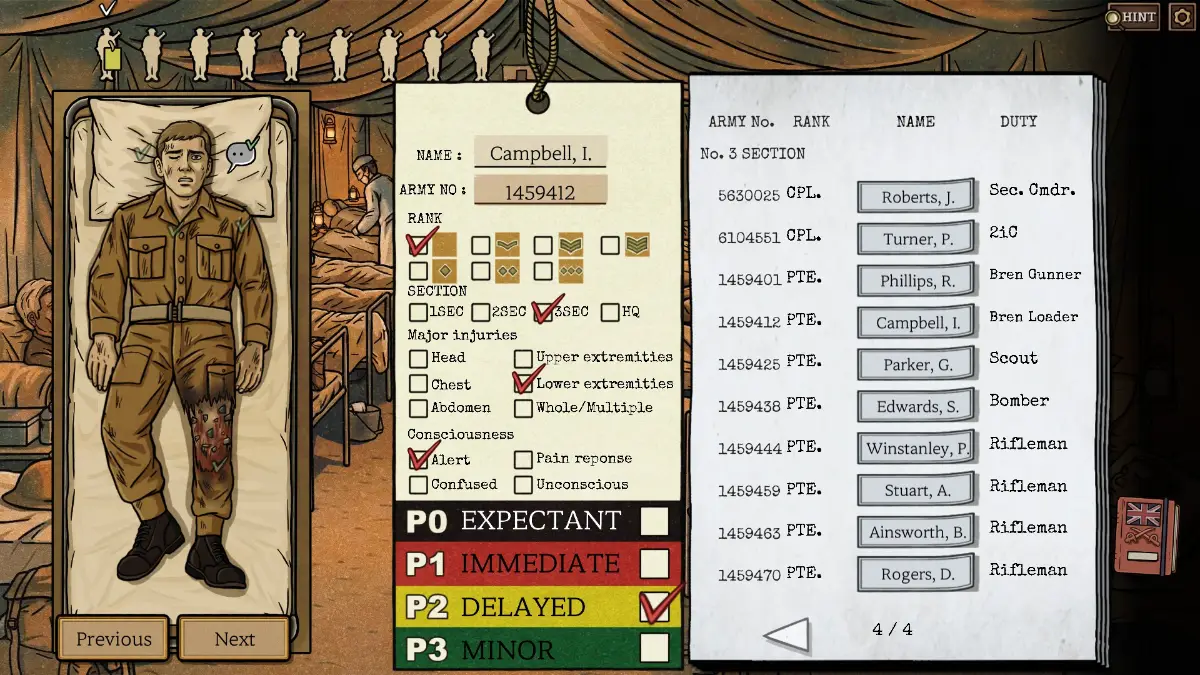
Patient 2
- He is in the same group as Private Phillips and would load for him.
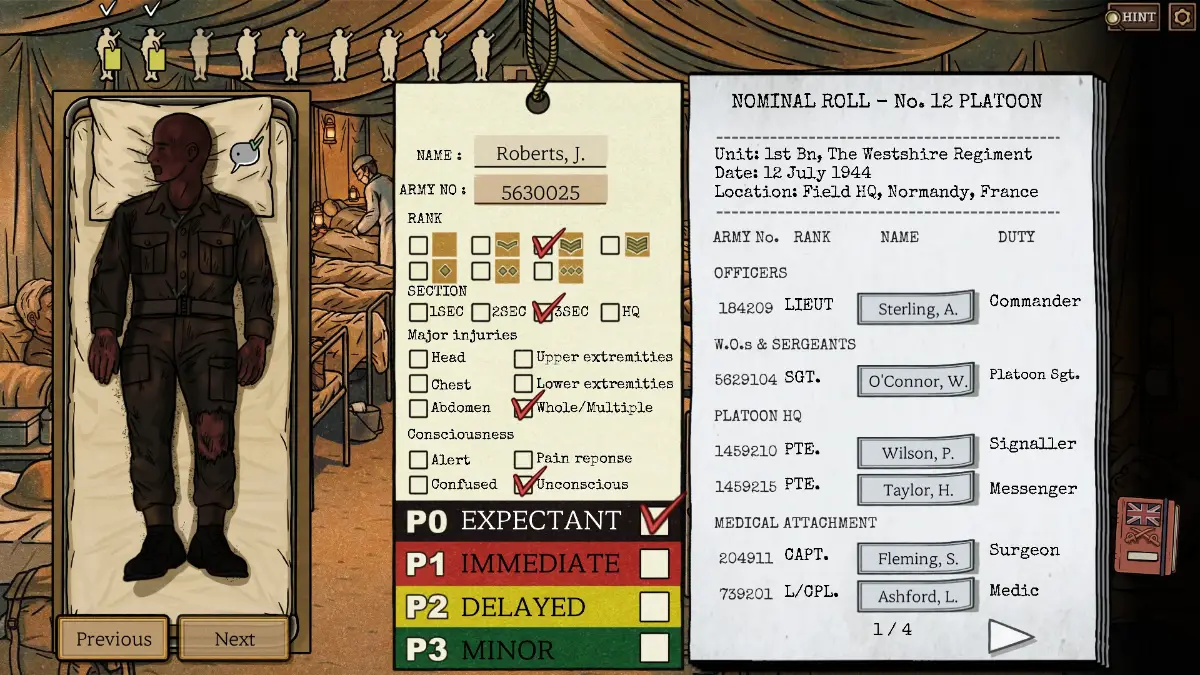
Patient 3
- He is unconscious with burns all over his body.
- Has anyone mentioned a soldier who got burned all over?
Patient 4
- First initial H.
- Not every patient comes from No. 1, 2, or 3 Section. There is one more group soldiers can come from.
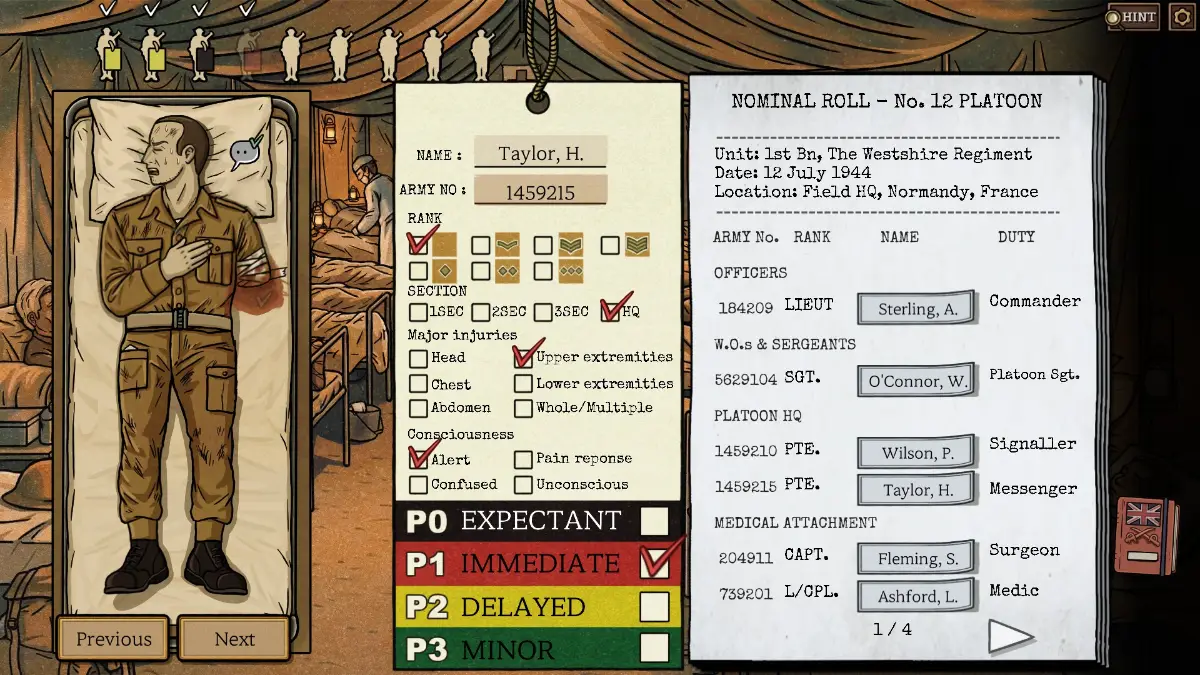
Patient 5
- He carries a list of poker scores for No. 3 Section and mentions getting a lucky charm.
- That makes him the player on a winning streak.
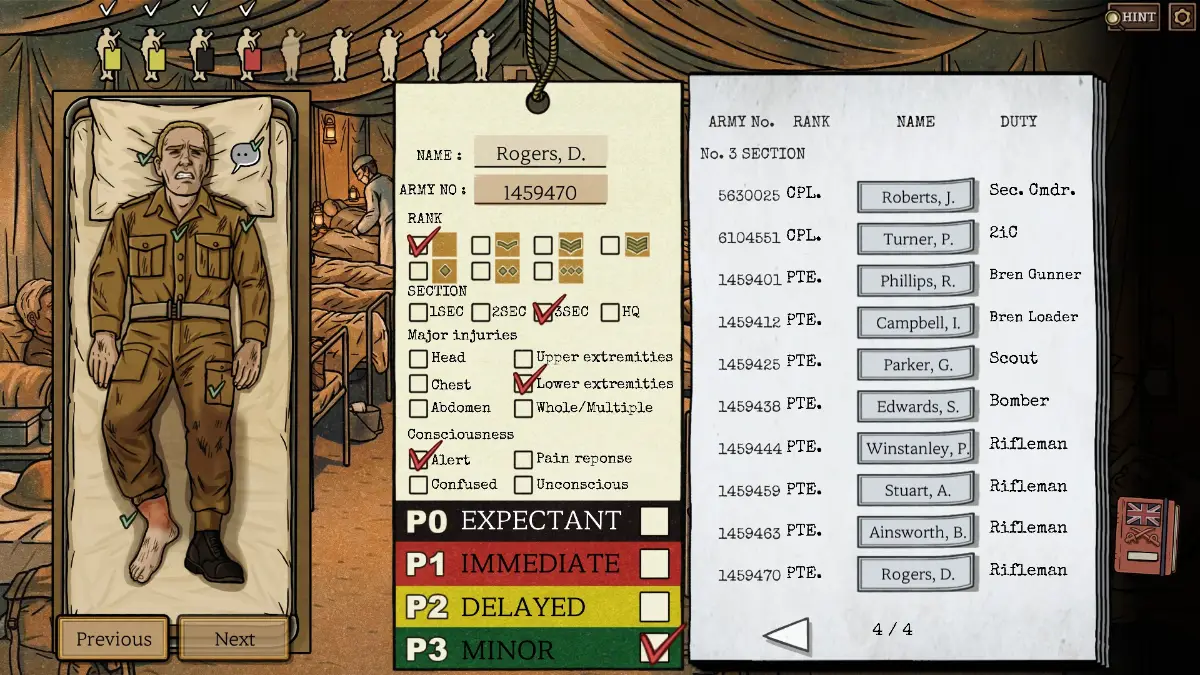
Patient 6
- He serves under a section commander who was badly burned.
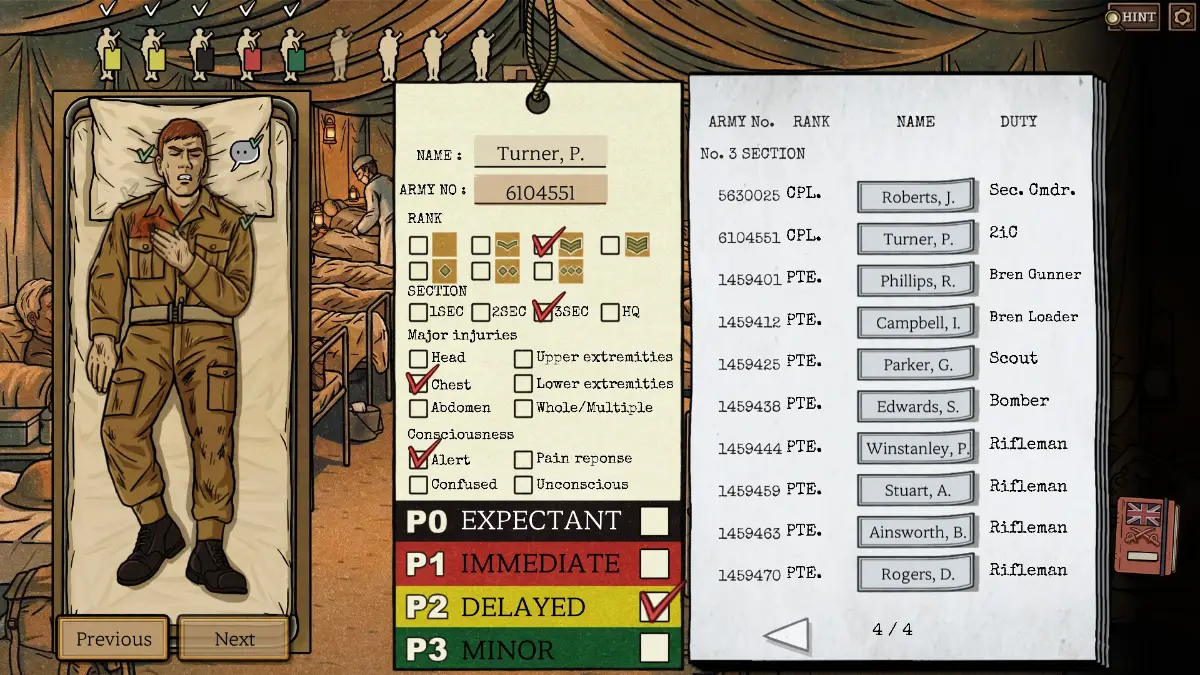
Patient 7
- No matter how much he threatens you, stick to the triage rules.
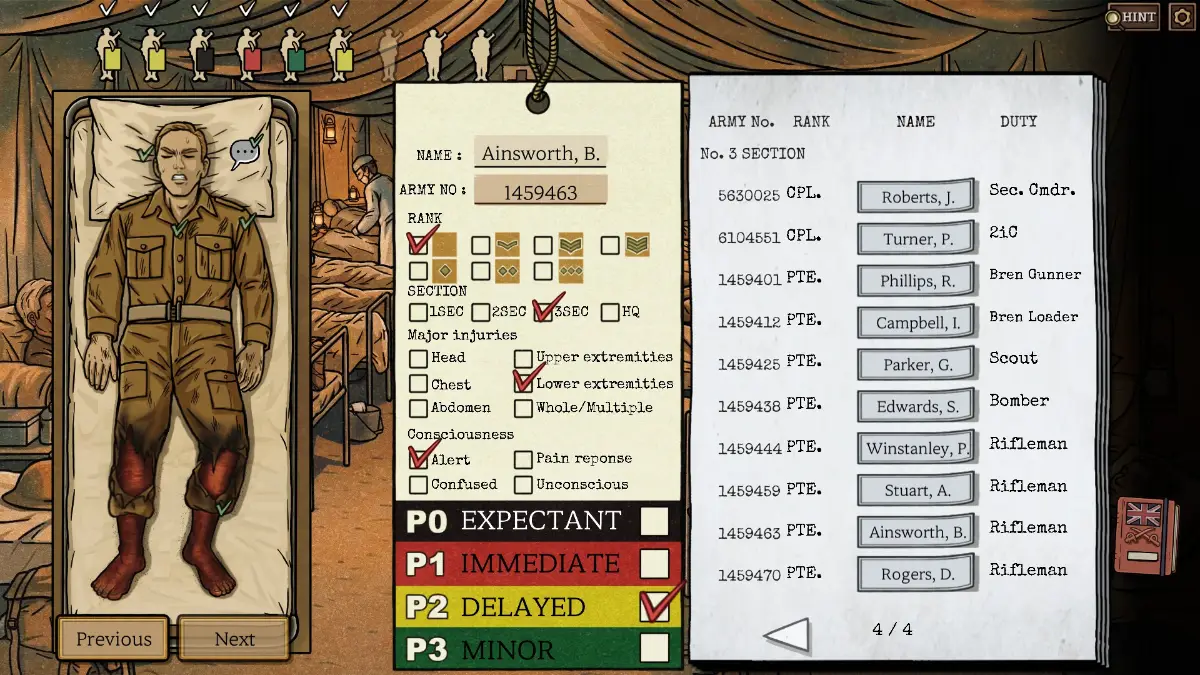
Patient 8
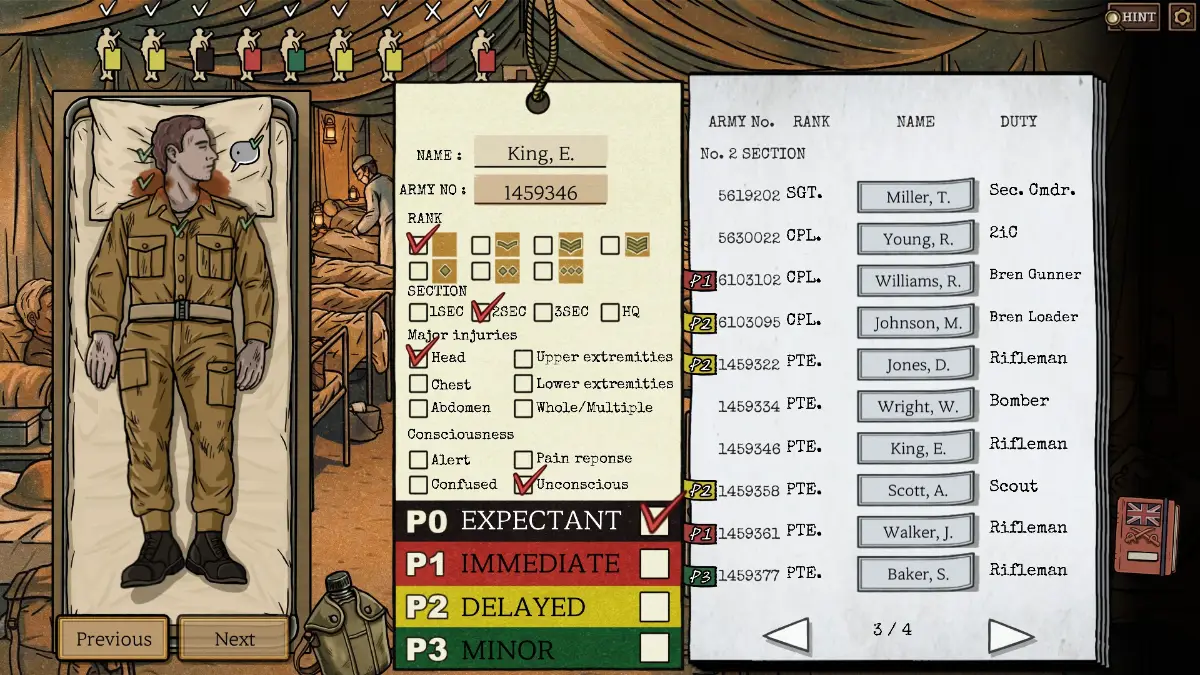
- His neck wound counts as a head wound.
- His last name contains “In”. Use process of elimination.
- It has to be King or Winstanley. Look for something that rules one of them out.
- The spacing around “In” suggests a short name. Would Winstanley fit on that tag?
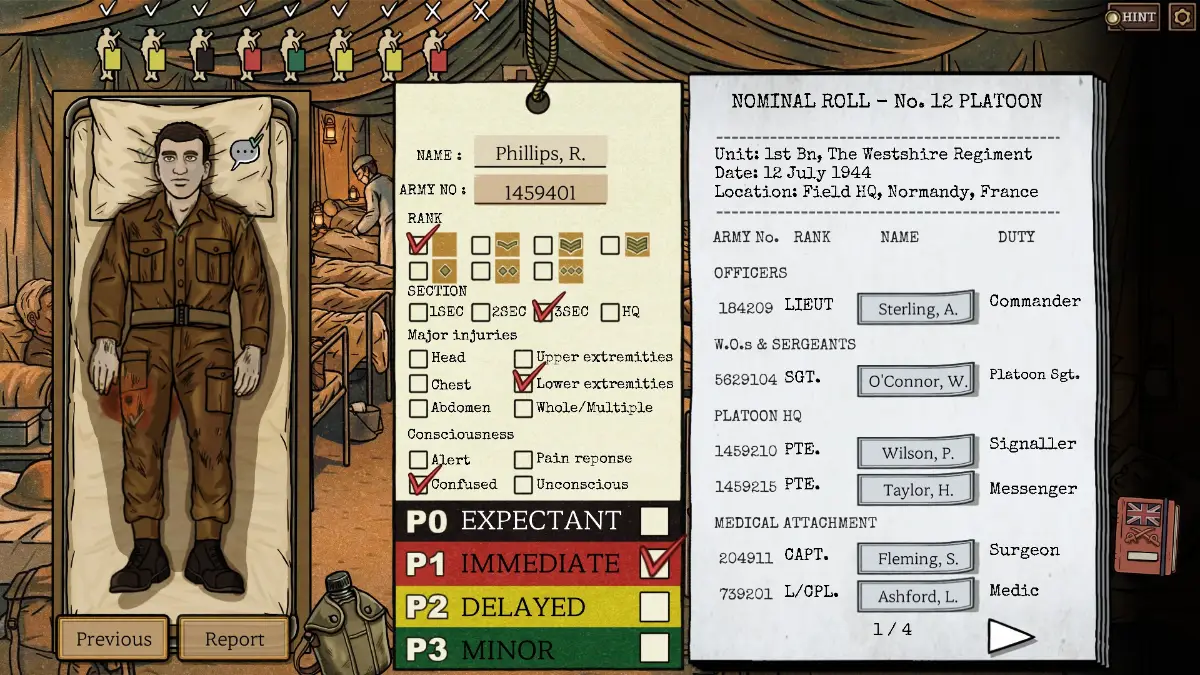
Patient 9
- He was shot through, and he is shivering and soaked.
- Another soldier mentioned someone who was shot and fell into the river.
Casualty Report 3
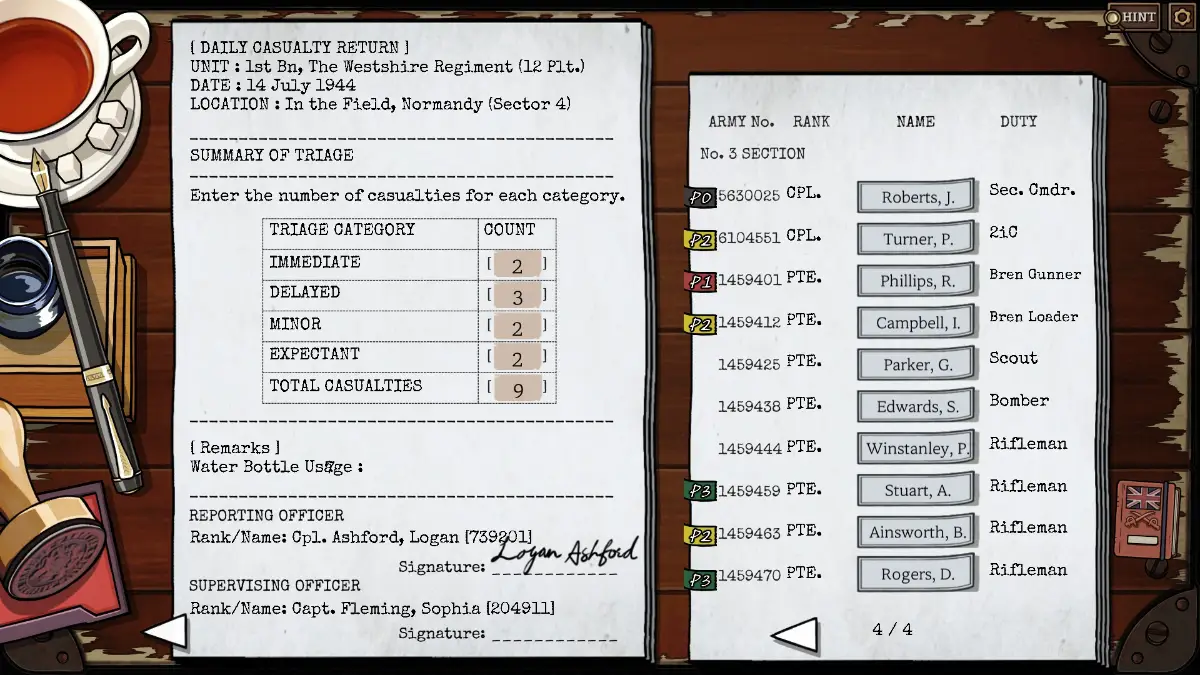
- Count every tag from this day. The total must be 9.
- Soldiers from the first two days are grayed out.
Patient Selections
To finish, Sophia asks you to pick two patients from the list.
- First pick: a P0 patient who is still alive and has healthy skin for a graft. The answer is Harris, since the other P0 patients are either dead or burned all over.
- Second pick: an extra pair of hands. Sophia suggests the soldier whose leg she operated on the day before. The answer is John Walker.
Episode 4: A Breathless Death (Part 1)
In this episode, you don’t move between scenes by clicking. Use the button in the lower right corner instead.
Words
Scene 1: Bedroom
Take note of the old woman’s cyanotic fingertips.
- Newspaper: Cigarette Holder, Hot Tea, Teaspoon
- Doctor: Penlight, Pocket Knife
- Nurse:
- Dialogue: Hampton
- Inventory: Bandage, Thermometer
- How To Survive 3rd Floor: Violet, Nurse, Margaret, Pembroke, Lavinia, Templeton, Elenor, Ainsworth, Artist
- Nursing Notes: Aspirin, Gipson, Morphine, Morris, Green, Tafenol, Jones
- Dog Food Bowl: Chester
- Syringe: Syringe
- Palette Knife: Palette Knife
- Corkscrew: Corkscrew
- Shot Glass: Stirring Rod
- Brandy: Brandy
Scene 2: Hallway
- Lady: Barker
- Fallen Man: Playing Cards, Wilfred, Stanley, Keys
Scene 3: Medical Book
Hypovolemic, Cardiogenic, Distributive, Obstructive, Asphyxia, Suffocation, Strangulation, Smothering, Choking, Hanging, Ligature, Manual, Anaphylaxis, Epinephrine, Tracheostomy, Thyroid, Cricoid, Tracheal, Cricothyrotomy
Form 1: Names
- The latest nursing notes have no signature because the shift was cut short. Find another way to identify the nurse on duty.
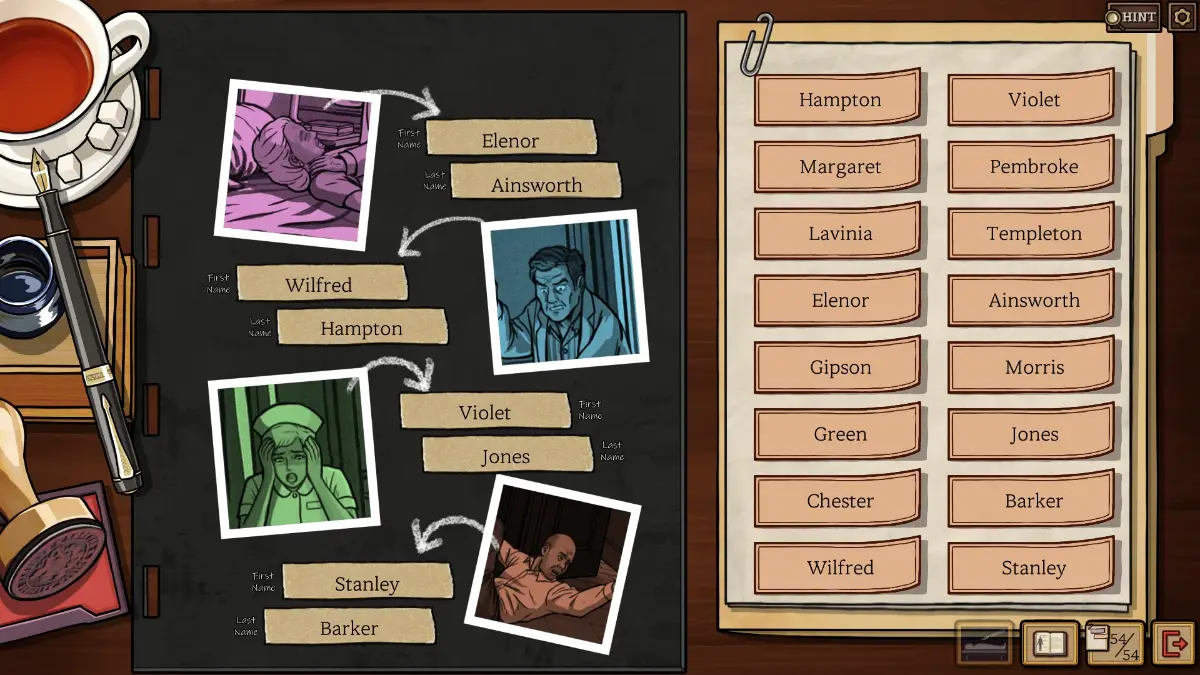
- You can work it out from the clues, but the briefing already said you are here for the death of Elenor Ainsworth. She is the woman in critical condition.
- Each nurse has very recognizable handwriting.
Witness Statements
- The next forms are the witness statements from the doctor and the nurse.
- The scene shows the moment before the doctor cut into her throat. Some things, like the tube-shaped object being inserted, have not happened yet.
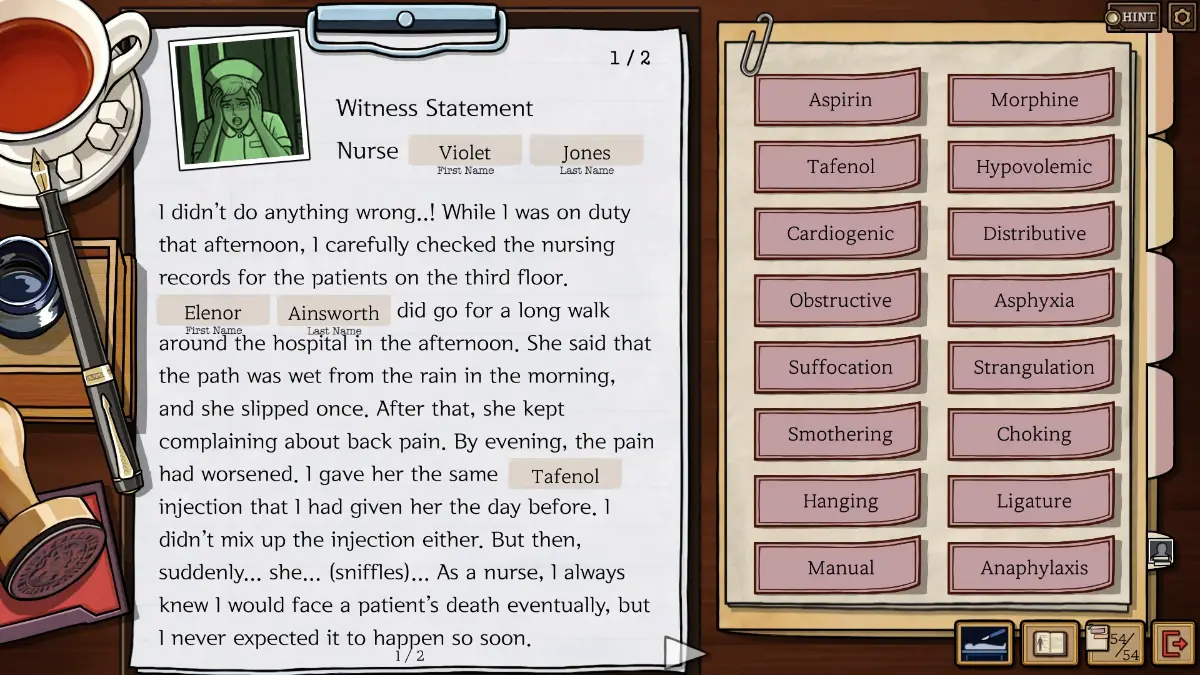
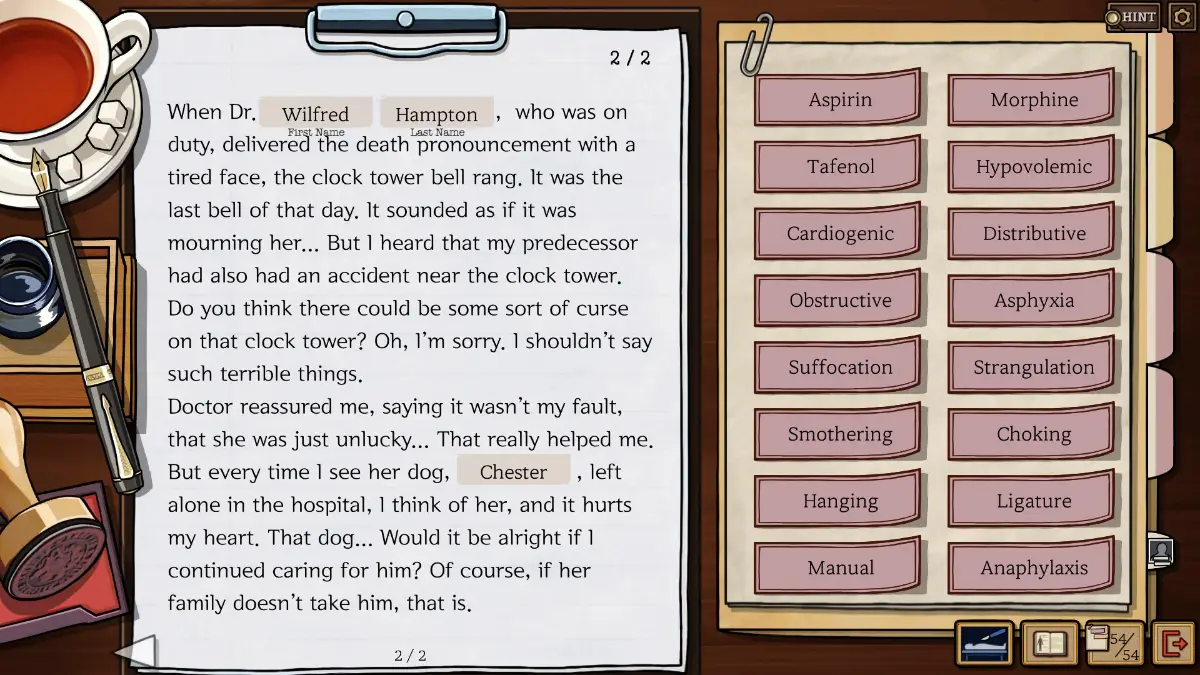
- The nurse’s statement only tests careful reading. You already know everyone’s names, and the medicine and the dog are easy to find.
- The doctor’s statement has a few harder parts. The victim’s room number and the layout of the floor are the trickiest. Is there a map?
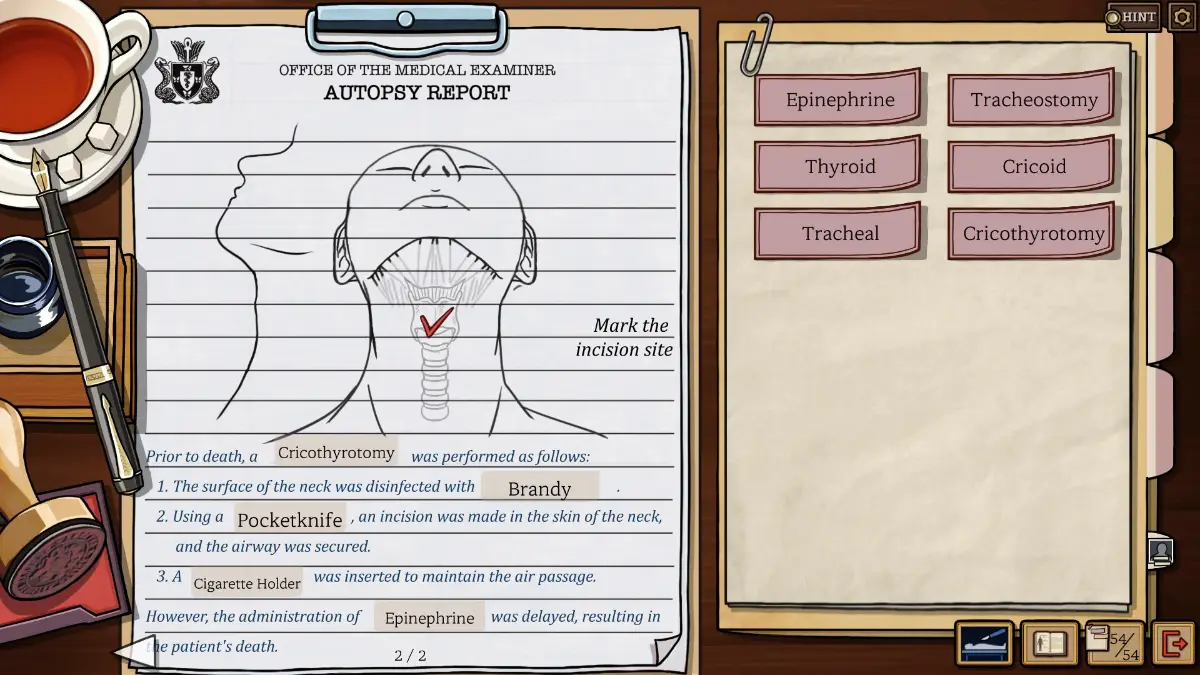
- He describes the procedure he performed step by step. Most of the answers come from the medical book and the pathologist’s findings. Several items were improvised: a sharp object from his pocket, something to disinfect with, and a tube-shaped object.
- Most disinfectants are alcohol based.
- The tube-shaped object must be blunt, or it would cut her. It also has to be long and thin, which rules out the spoons. Think of something shaped a bit like a pen or pencil.
- Part of the doctor’s statement covers him going for the first aid kit. The question about which room it is in really means which room it sits outside of. The direction he turned to reach it depends on which room the victim was in.
- For the room, use the map in the hallway. It shows the fire extinguishers, the first aid kit, the stairs, the restrooms, and each room’s layout. Every room type appears twice, and the copies differ in their windows, the way the door opens, the size, and where the bed is. Only one room matches the map.
- As in Episode 1, the map does not face the same way as the room. Turn your head or the image 90 degrees and it lines up.
- If you are stuck, sketch the victim’s room on paper or in an image editor. Ignore the bed and just put the door and windows on the correct walls.
- The way the door opens matters most. The hinge is on the same side as the window, which leaves only a couple of rooms.
Doctor’s Statement
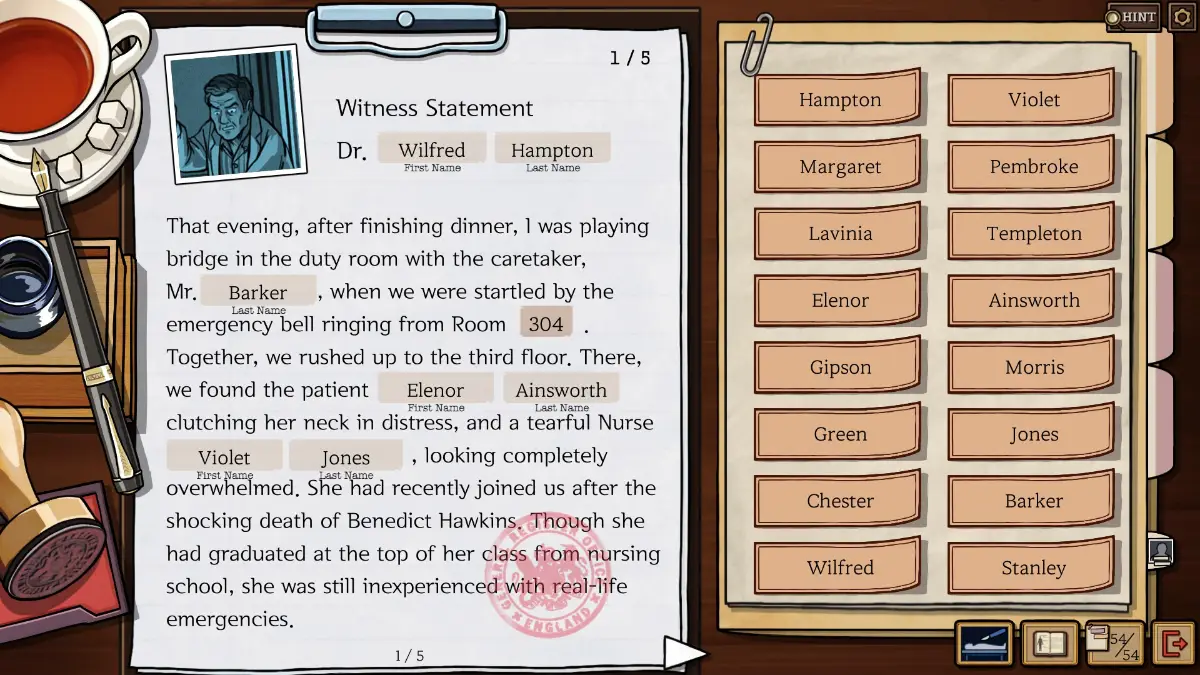
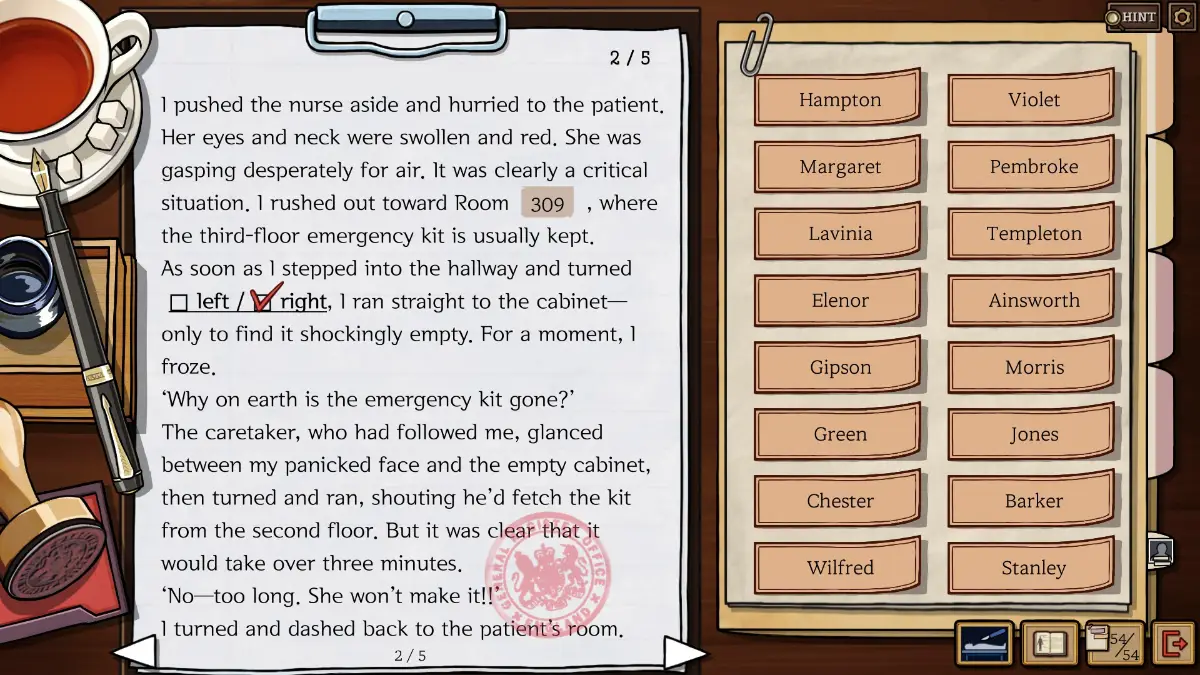
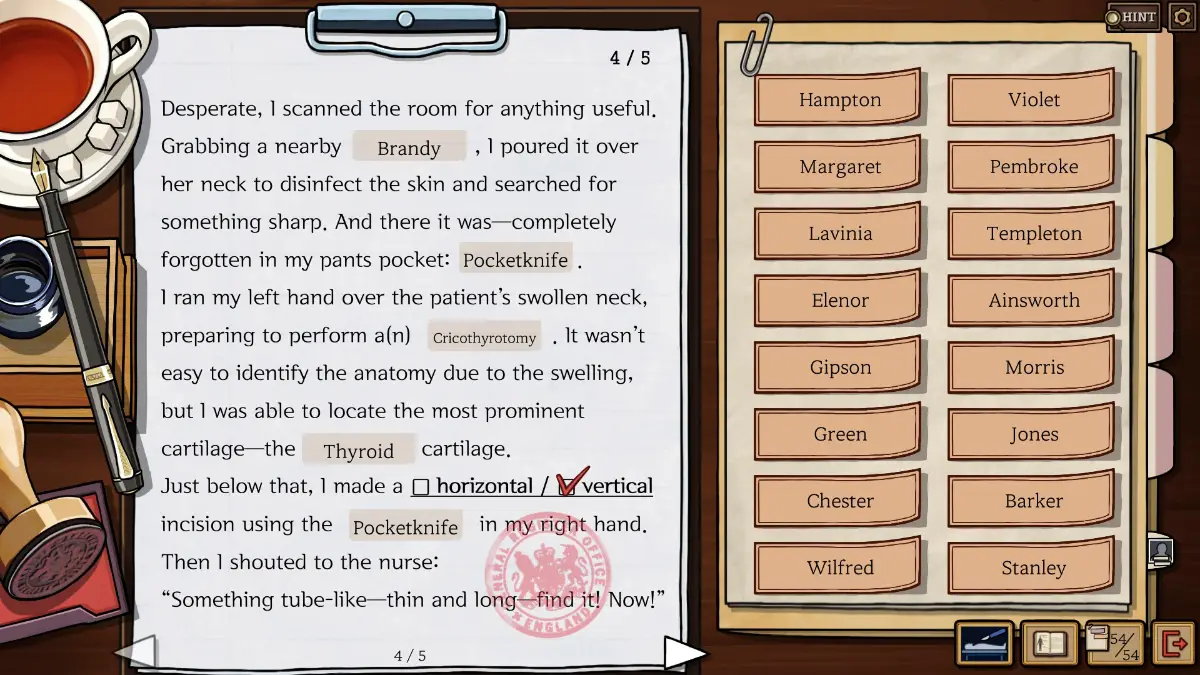
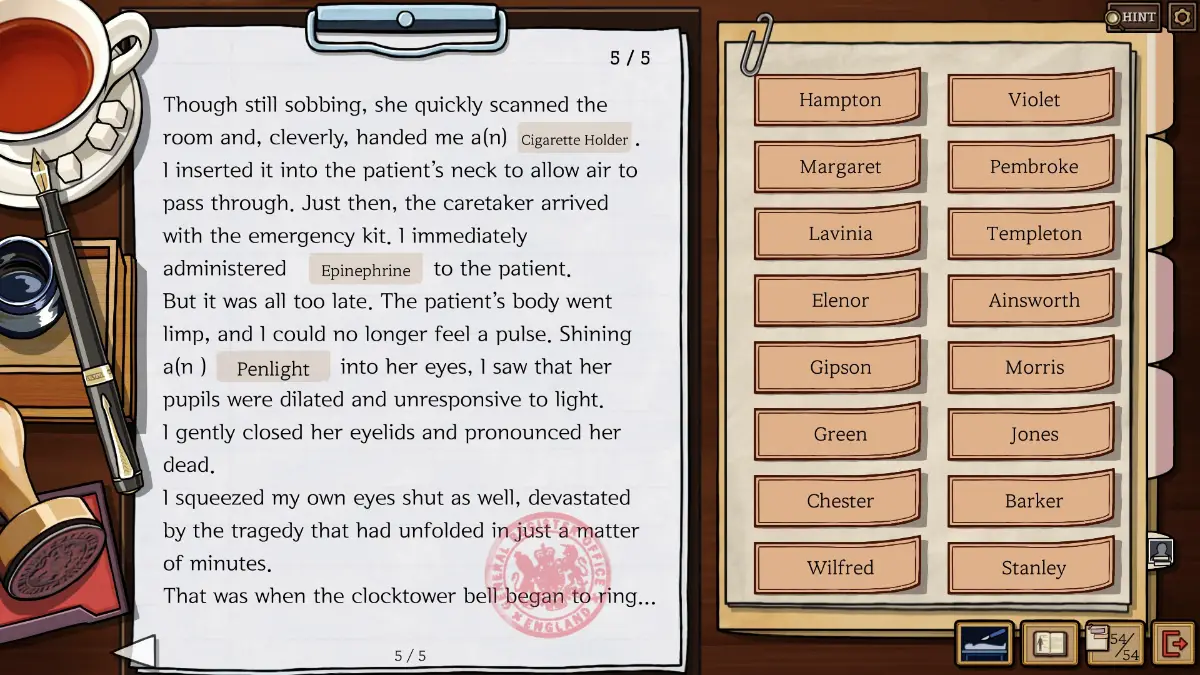
Nurse’s Statement
Episode 4: A Breathless Death (Part 2)
Medicine Sorting Puzzle
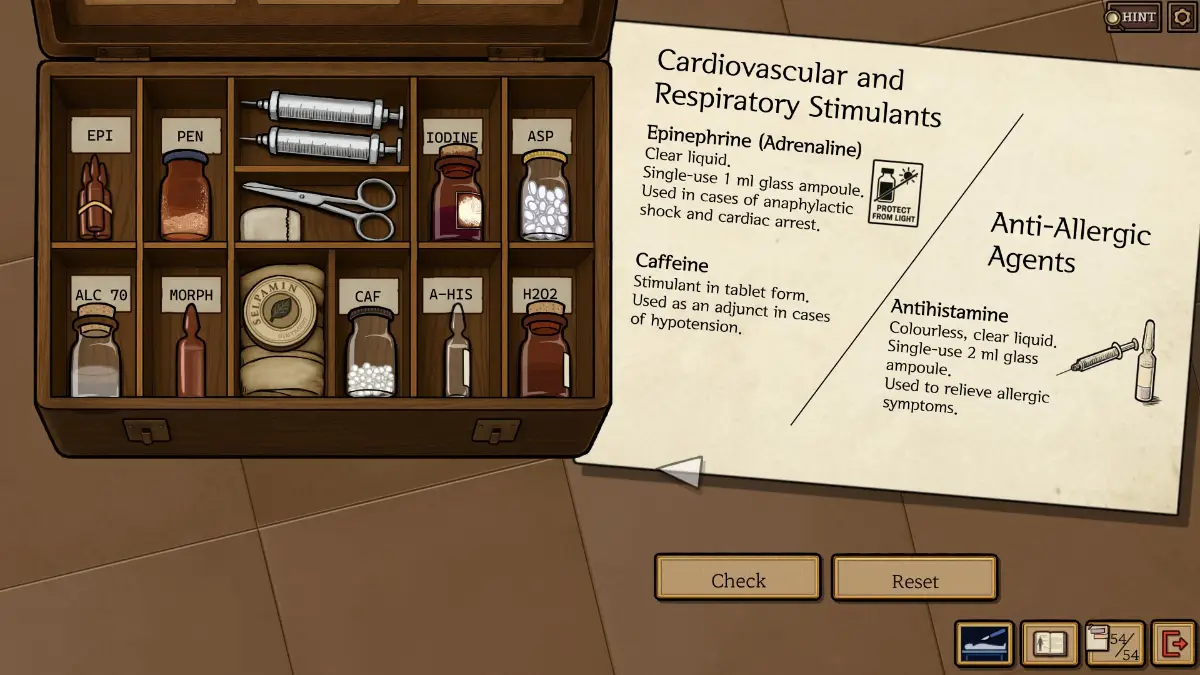
- Barker won’t give his statement until you sort the first aid kit. The rules explain how each item is stored.
- Anything sensitive to light goes in a brown bottle.
- Every antiseptic goes in a multi-use bottle.
- Penicillin is the only powder.
- Some ampoules hold 1 ml and others hold 2 ml. They have no labels, so judge by size.
- Caffeine and aspirin are both white tablets. Caffeine is 100 mg (from the newspaper) and aspirin is 300 mg, so the aspirin tablets are much bigger.
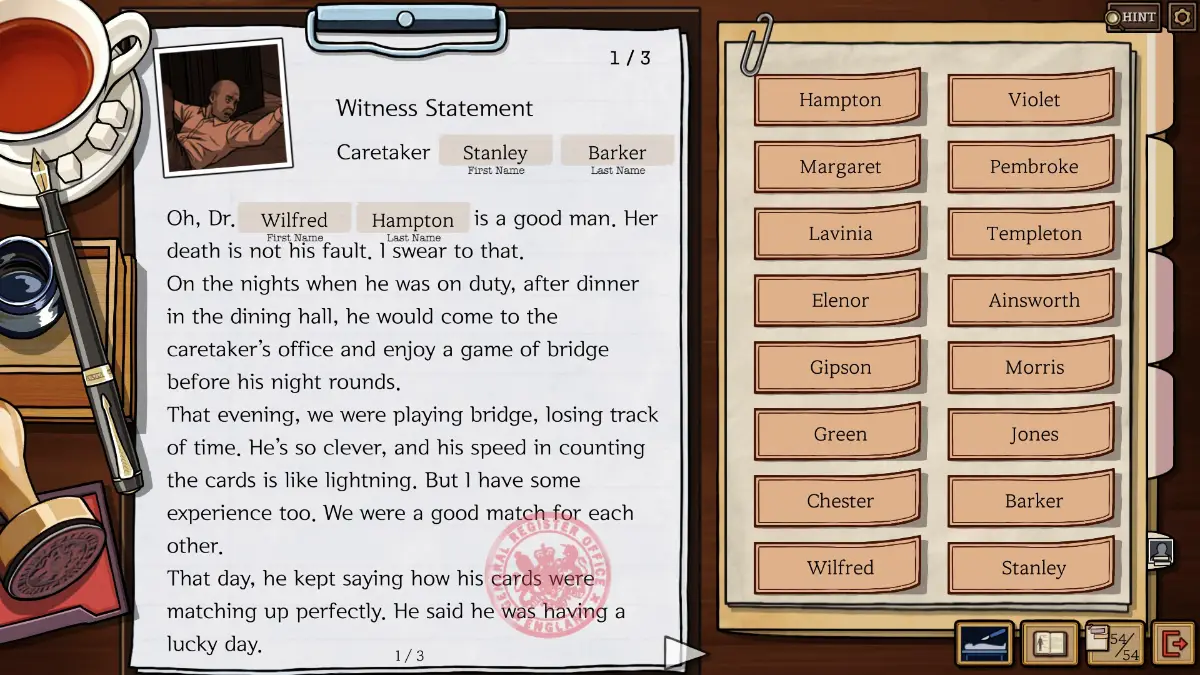
Caretaker’s Statement
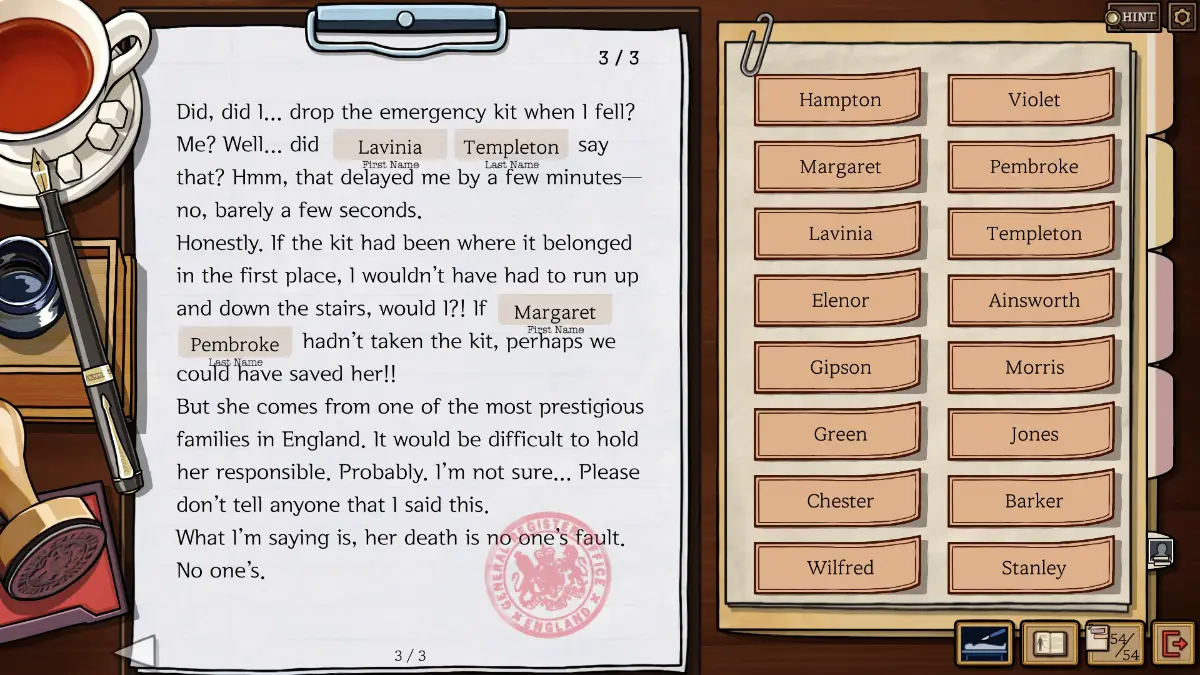
- This gives you the background for the second flashback: the patient with the cat saw him drop the kit.
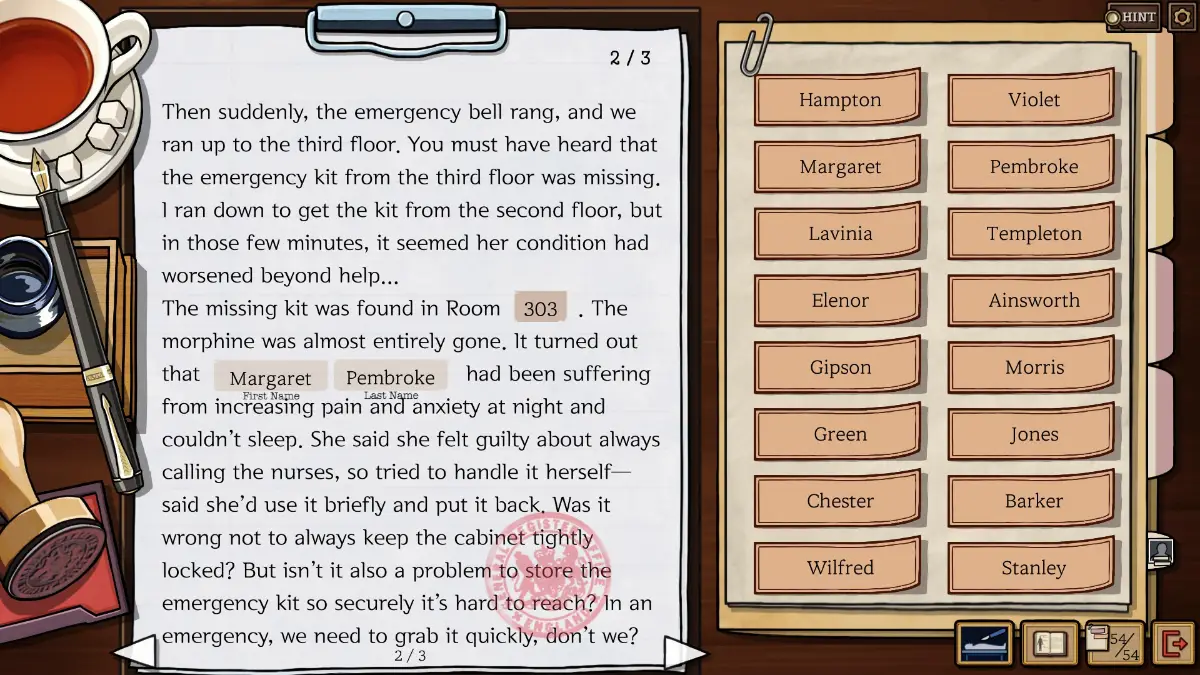
- You may have noticed a few loose ends: the other patients mentioned in the survival guide. A lady with a cat watched him fall, and an anxious woman who kept bothering the nurses took the kit and hid it in her room.
- The anxious patient who couldn’t sleep had a room next to a specific place, and only one room fits that description.
Death Certificate
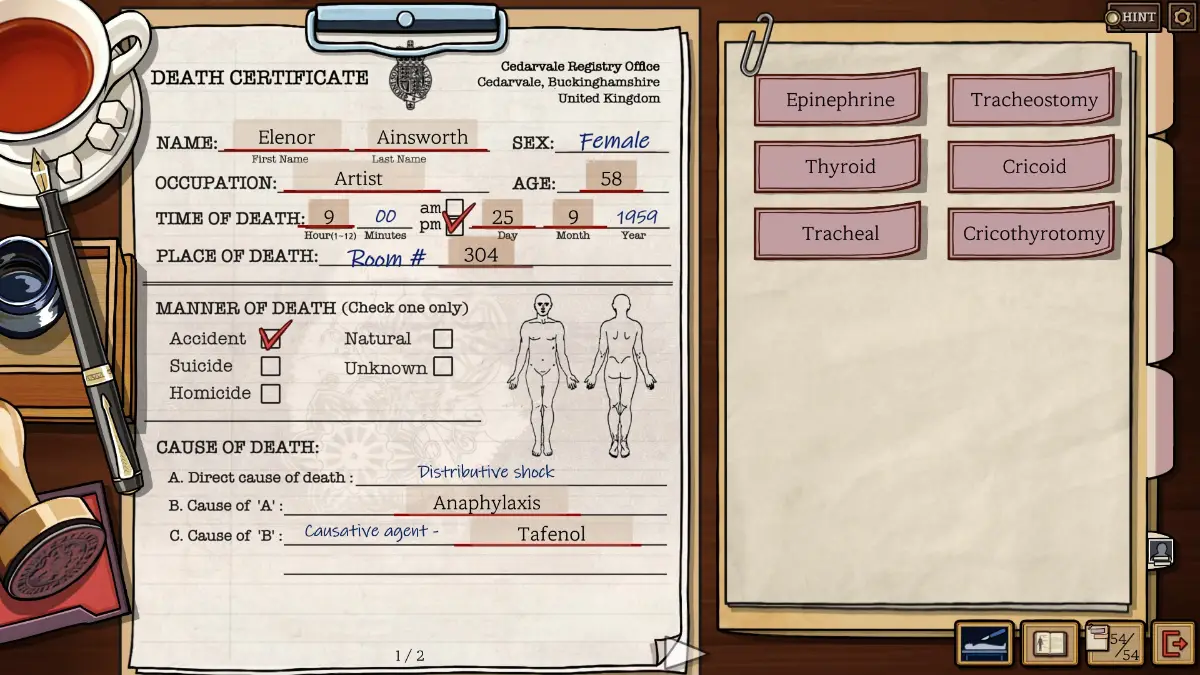
- The first page covers her details and cause of death. The second covers the emergency procedure, and you already answered most of it in the doctor’s statement. Remember to mark where the incision was made.
- She had an allergic reaction. Pets can be ruled out, since she owns a dog and went to a pet event. Food is unlikely too, because a nursing home would not serve known allergens. Did she start taking anything new?
- A fatal allergic reaction counts as an accident rather than natural causes. In practice, something poisoned her without anyone knowing.
- The nursing notes stop where the death interrupted them. The nurse’s statement fills in the rest. Apart from that, the notes are detailed and clearly dated.
- The witnesses said she died at the time of the last chime.
- You don’t have her age or birth year, but the newspaper gives the year of her first exhibition. What can you combine that with to get her age?
- The pathologist says he is allergic to shrimp. His first reaction was mild, but every reaction after that was severe. Did she have a mild reaction to something recently?
- According to the newspaper, her first exhibition was in 1927, and her autobiography says she was 26 then. What year did she die?
Episode 5
The scenes in this episode jump around. It opens with the funeral service, followed by two new time slots, each with an indoor and an outdoor area.
Words
Scene 1: Funeral Service
No words in this scene.
Scene 2: Foyer (Time Slot 2)
- The Will: Wexlet, Marlowe, Solicitors, Ainsworth
- Funeral Attendees List: Clara, Oswald, George, Reginald, Harry
Scene 3: Garden (Time Slot 2)
No words in this scene.
Scene 4: Foyer (Time Slot 3)
No words listed for this scene.
Scene 5: Garden (Time Slot 3)
- Pompadour Boy’s Drawing: Ernest
- Girl’s Drawing: Beryl
- Sad Boy’s Drawing: Thomas