All Death at Fleming Manor guides
Episode 3, The Iron Scalpel, swaps death certificates for triage tags. Over three days you tag 22 wounded soldiers, and with ID tags burned or unreadable, the answer usually comes from ruling names out.
Episode 3: The Iron Scalpel Walkthrough
This episode breaks the usual pattern. Instead of a death certificate, you fill out a tag for each injured soldier with their name, ID number, rank, section, injuries, level of consciousness, and triage level. You handle one soldier at a time, and you can’t move on until the current one has a filled tag.
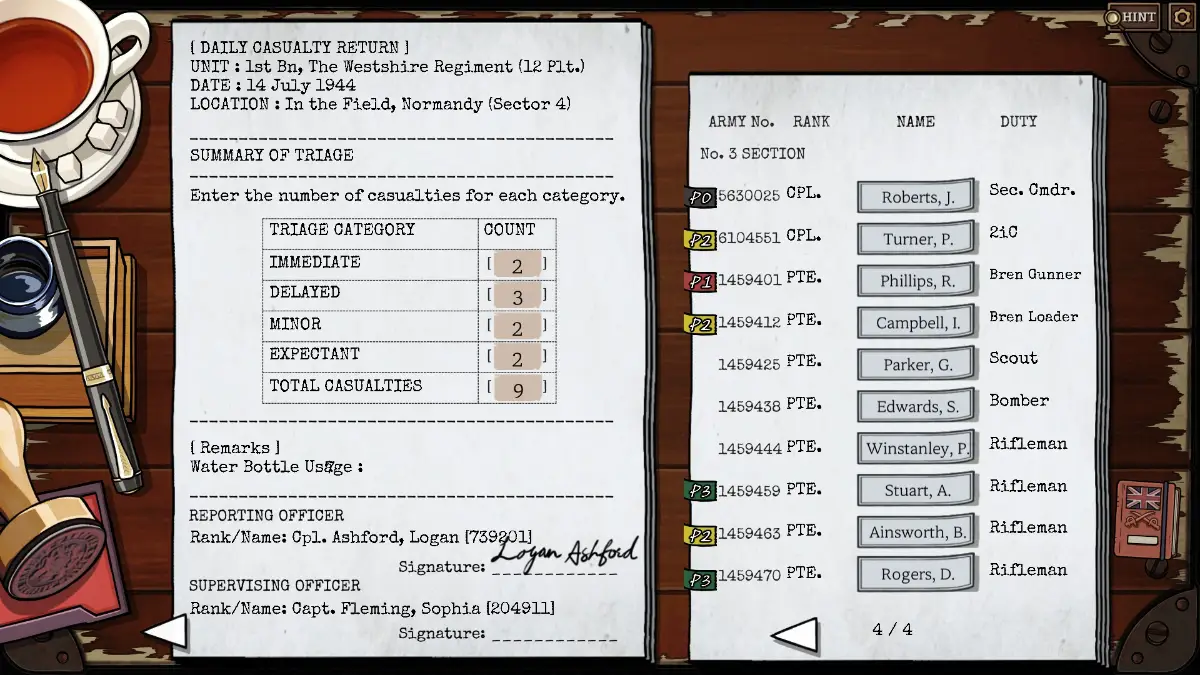
The soldiers come in three groups: 5 in the first, 8 in the second, and 9 in the third. A casualty report follows each group. It plays a lot like Papers, Please or Scrutator Tenebris: you follow the rules and sort each person into the right category. The game tells you whether each tag is fully correct. You can fill tags for the rest of the group before fixing mistakes, but every tag must be right before you hand them to Sophia. The canteen, which you get at the end of each group, works like the tea in other episodes.
General Hints
- The paper on the right lists, from left to right, the ID number, rank, name, and duty (their job or role). Soldiers are also grouped by section, meaning their unit: Platoon HQ or No. 1 Section, with No. 2 added in the second group and No. 3 in the third. Any of these can help you identify someone.
- The book on the right explains rank insignia, the triage levels and what each one means, and the levels of consciousness.
- Consciousness can be confusing. It asks for the highest level a soldier responds at: fully alert, confused in a way that points to a traumatic brain injury, responding only to pain, or unconscious. A soldier in pain who can still hold a conversation is Alert. Pain level is only for someone so badly off that they can do nothing but moan.
- Triage is only about how urgently a soldier needs care to stay alive. Extreme pain does not make someone Immediate unless their wound is urgent. If medicine at the time cannot save them, they are Expectant.
- The pupils should shrink when light hits them. That reflex shows normal brain function. When it is missing, it means either a traumatic brain injury or death. Here, it marks a P0 soldier.
- 2iC means second in command.
- Chest and Abdomen are separate boxes on the tag. A neck wound counts as Head.
- The list of soldiers is fixed, so process of elimination works well, especially with how few Corporals there are. A wounded soldier is out of action, so the list of possible names gets shorter each day.
- If a soldier can’t talk, you need their tags or clues from what other soldiers said.
Day 1
Patient 1
- He is in too much pain to give his name, but he can still hold a conversation.
- The only visible wound is on his leg. He needs treatment, but he is not bleeding heavily.
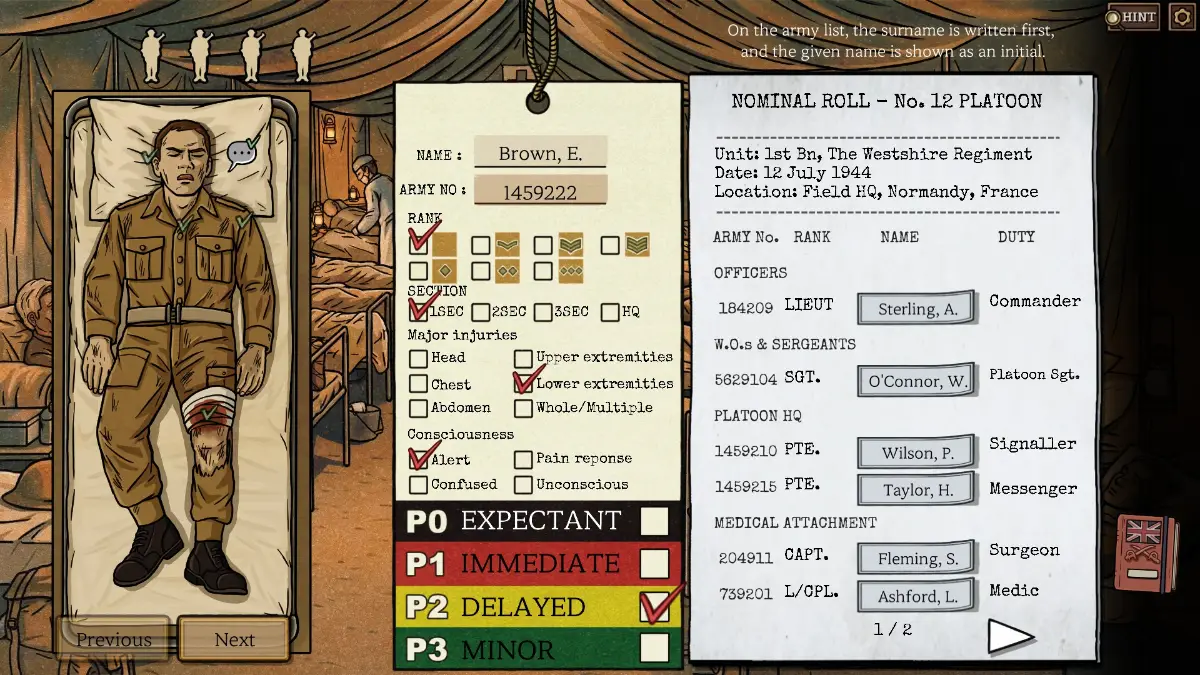
Patient 2
- An easy one. He is fully alert and tells you who he is. Remember who he says protected him.
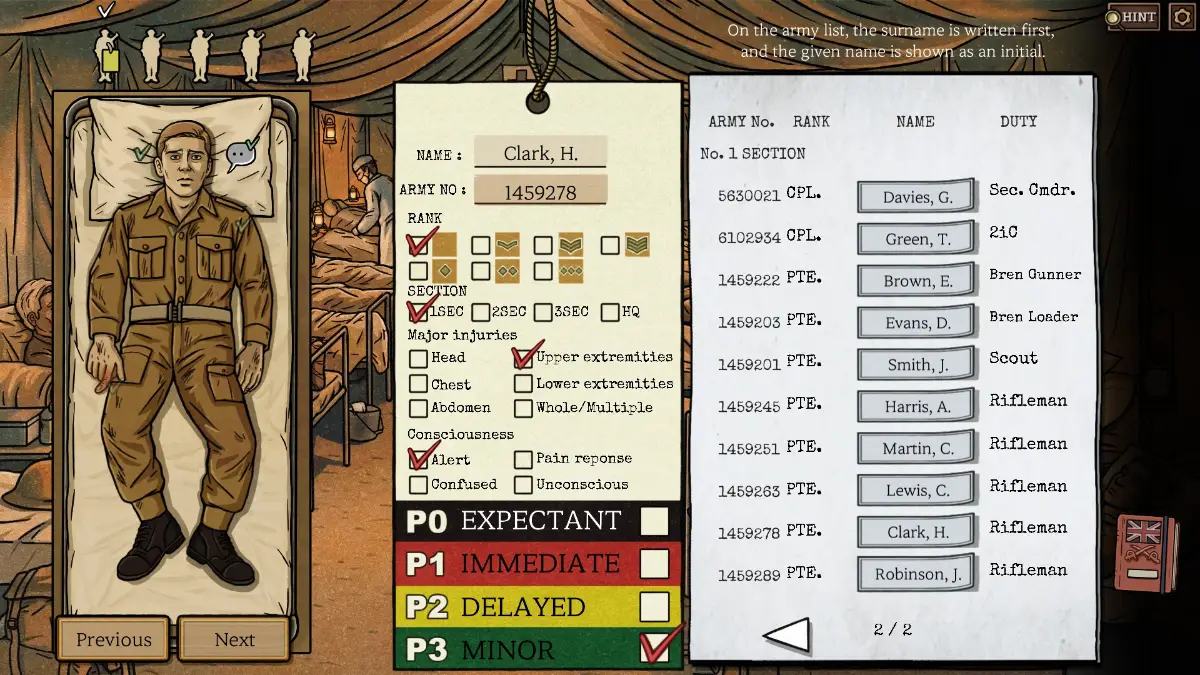
Patient 3
- He is one of the two Corporals. Didn’t the previous patient mention one?
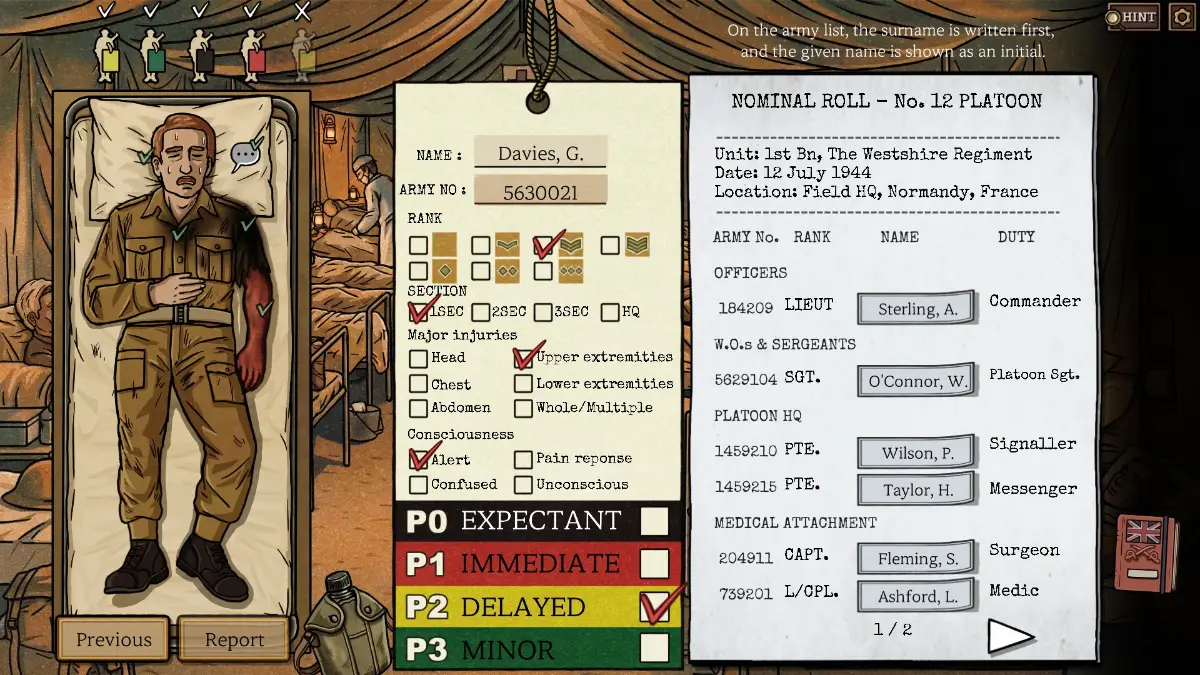
- Patient 2 said his section commander took a grenade to the arm. Check whether that fits this patient.
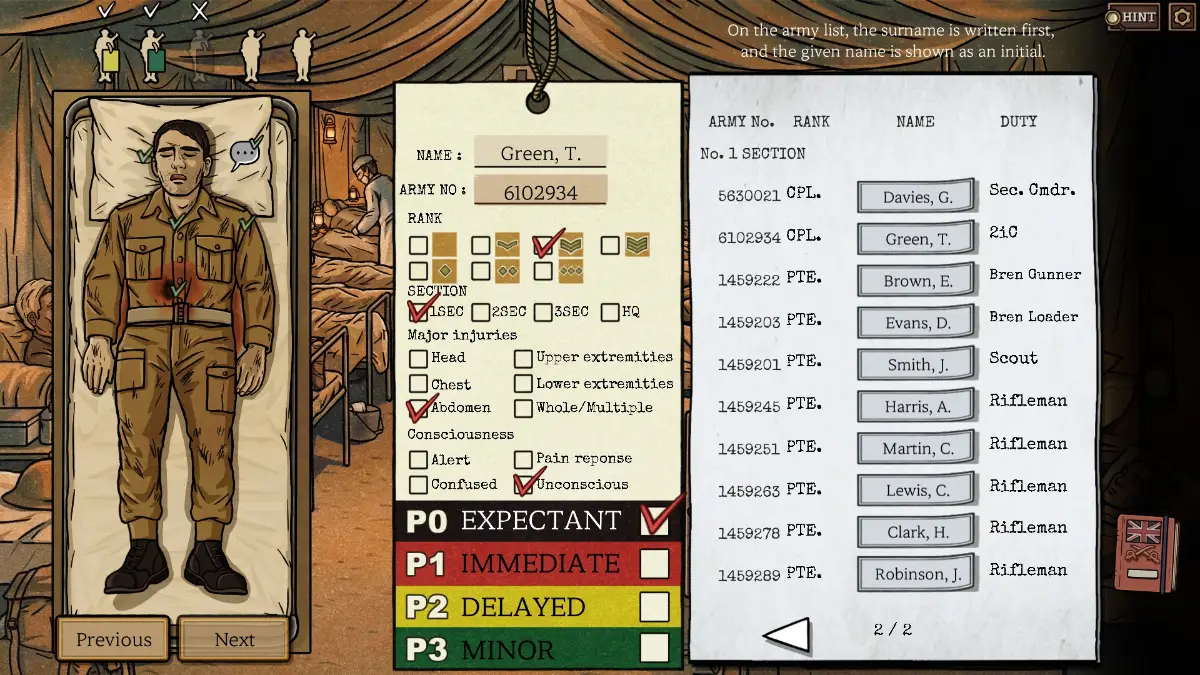
Patient 4
- His abdomen is badly damaged. Identifying him is otherwise simple.
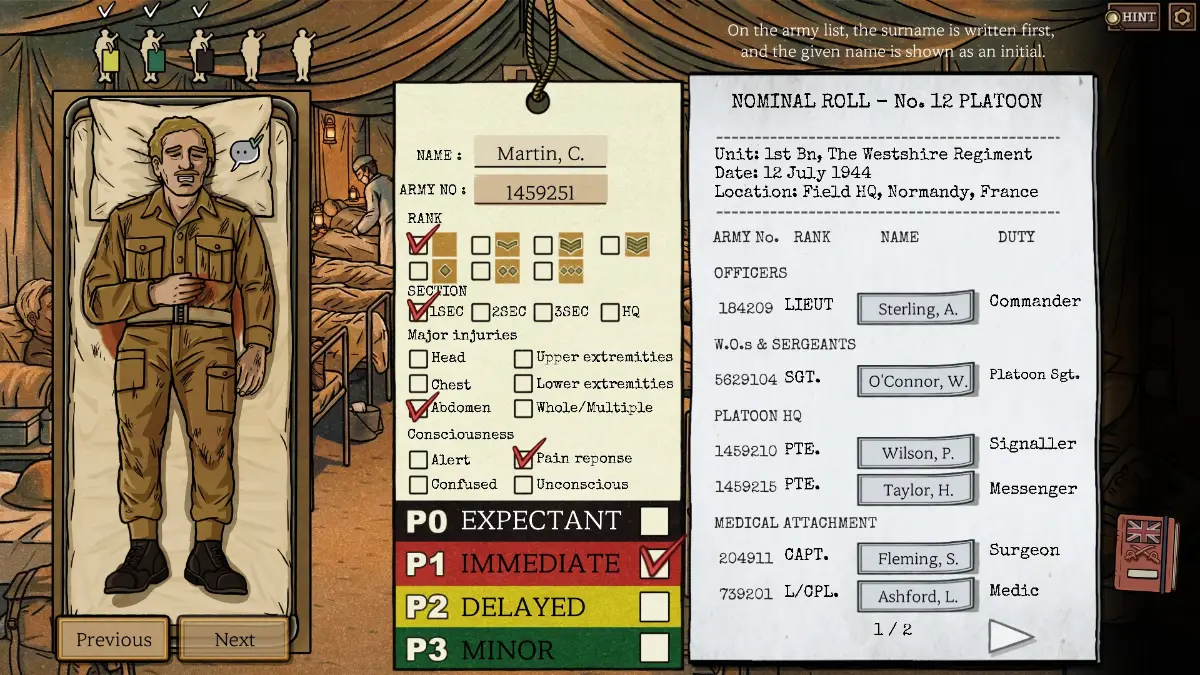
Patient 5
- Everything that could identify him has burned away. All you know is that something burned his arm.
- He is alert enough to ask for morphine.
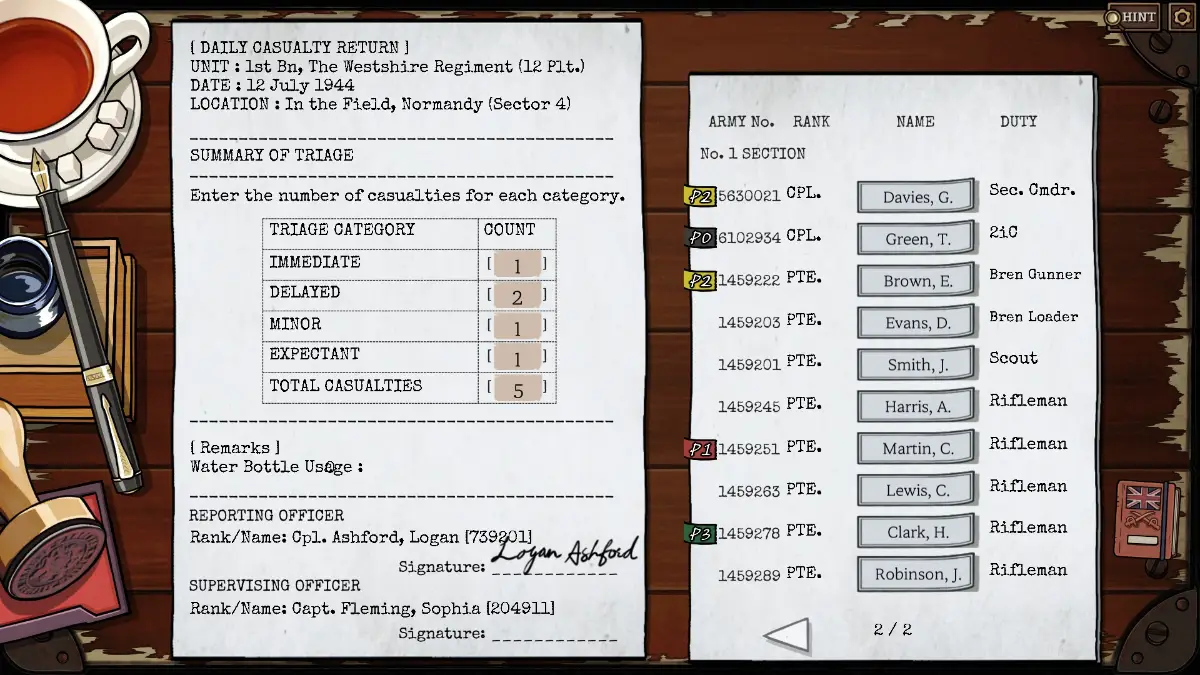
Casualty Form
- After all five soldiers, fill in how many tags you gave at each triage level.
- The numbers should add up to 5.
Day 2
Patient 1
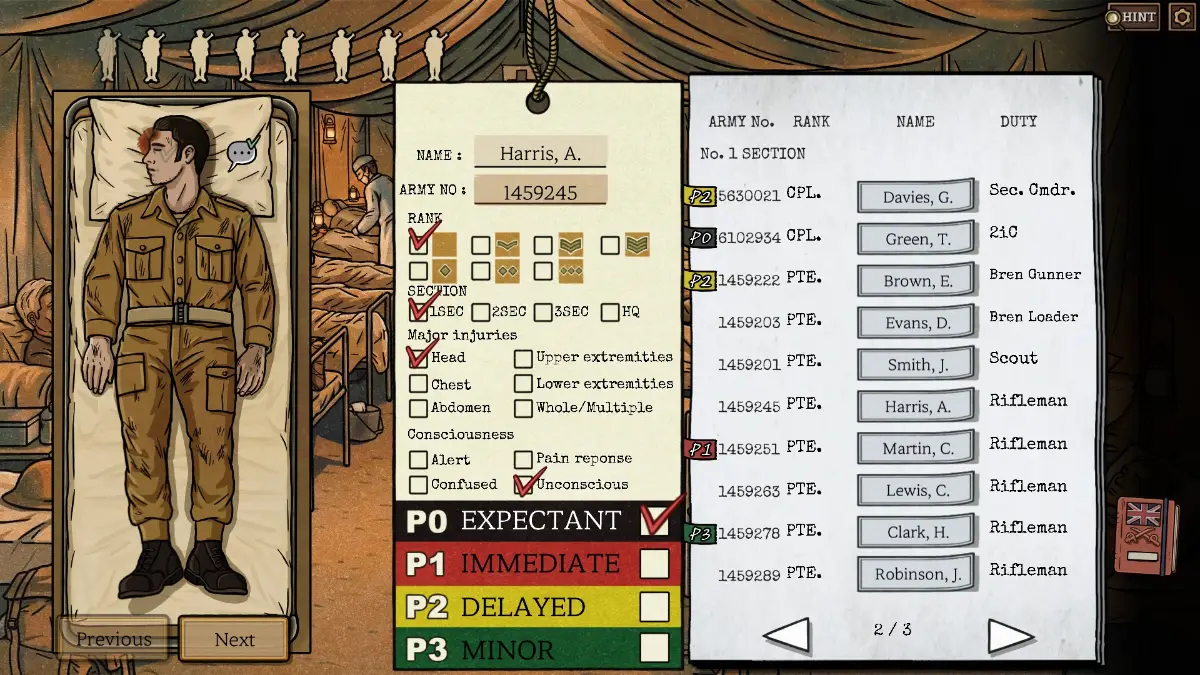
- No pupil reaction and a head wound that can’t be operated on. He is easy to identify.
- His pulse makes no difference if surgery is not possible.
Patient 2
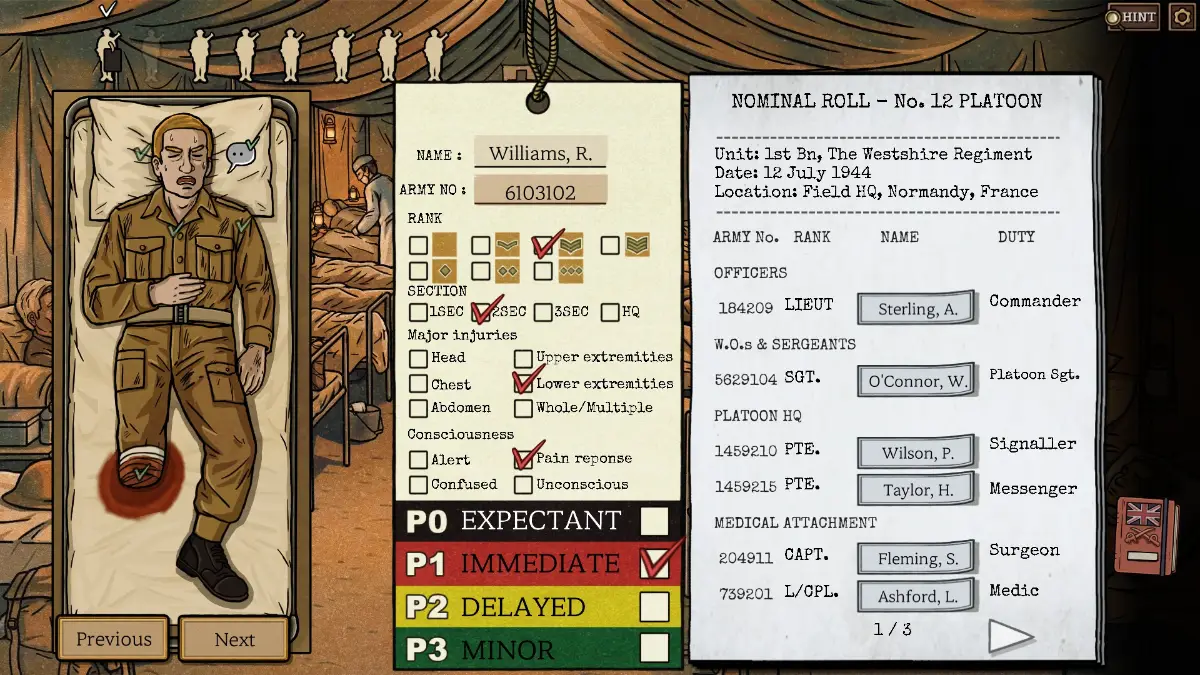
- He is one of the four No. 2 Corporals, since both No. 1 Corporals were badly hurt on Day 1. Check whether his tag is clear enough to identify him.
Patient 3
- His ID tag shows 93 in the number, which leaves several options. Use his role to decide.
- What was he doing when he broke his ankle?
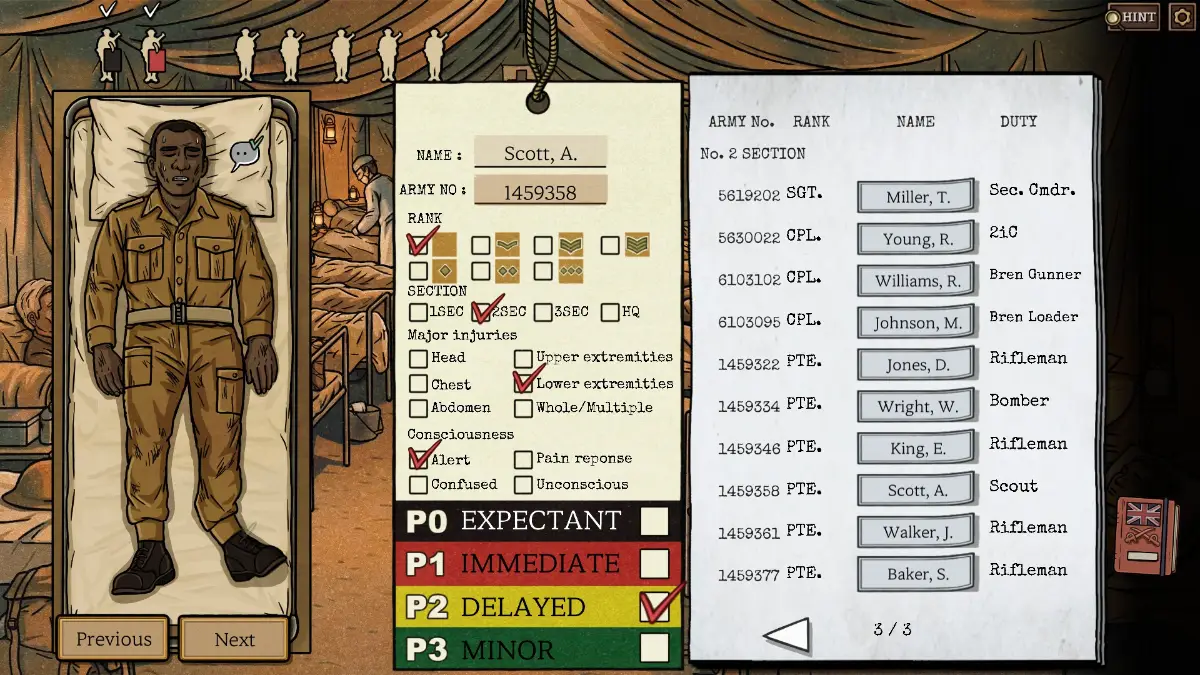
Patient 4
- The last digit of his ID is 2.
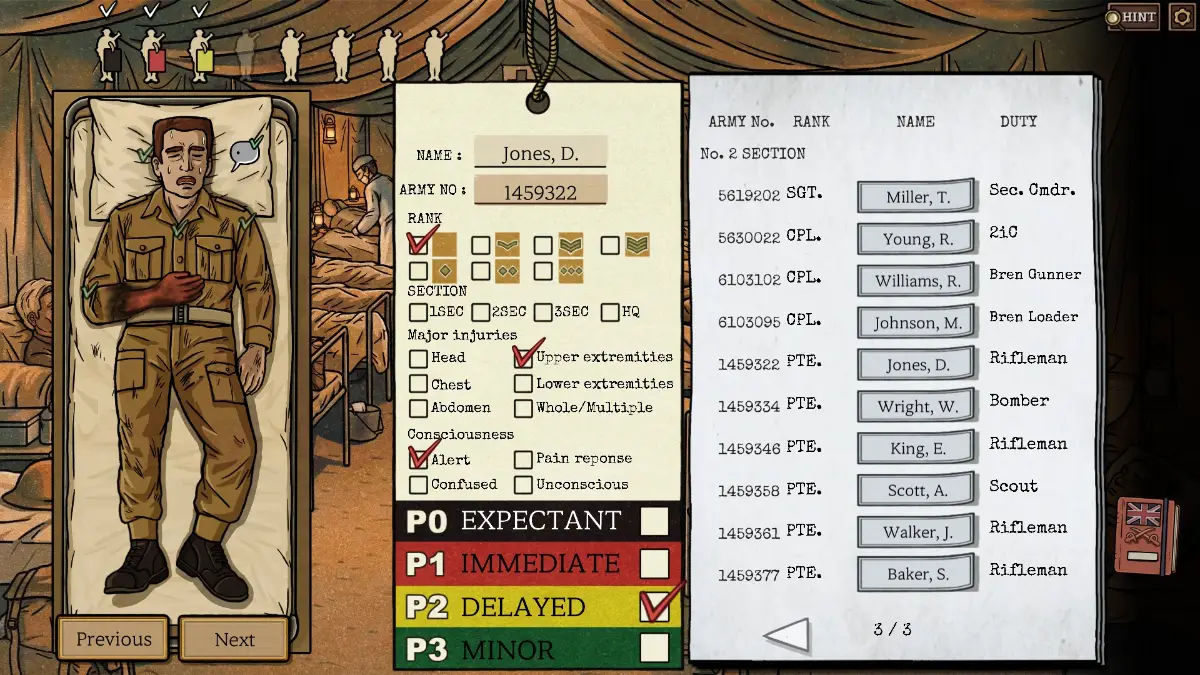
Patient 5
- A Corporal whose first initial is M.
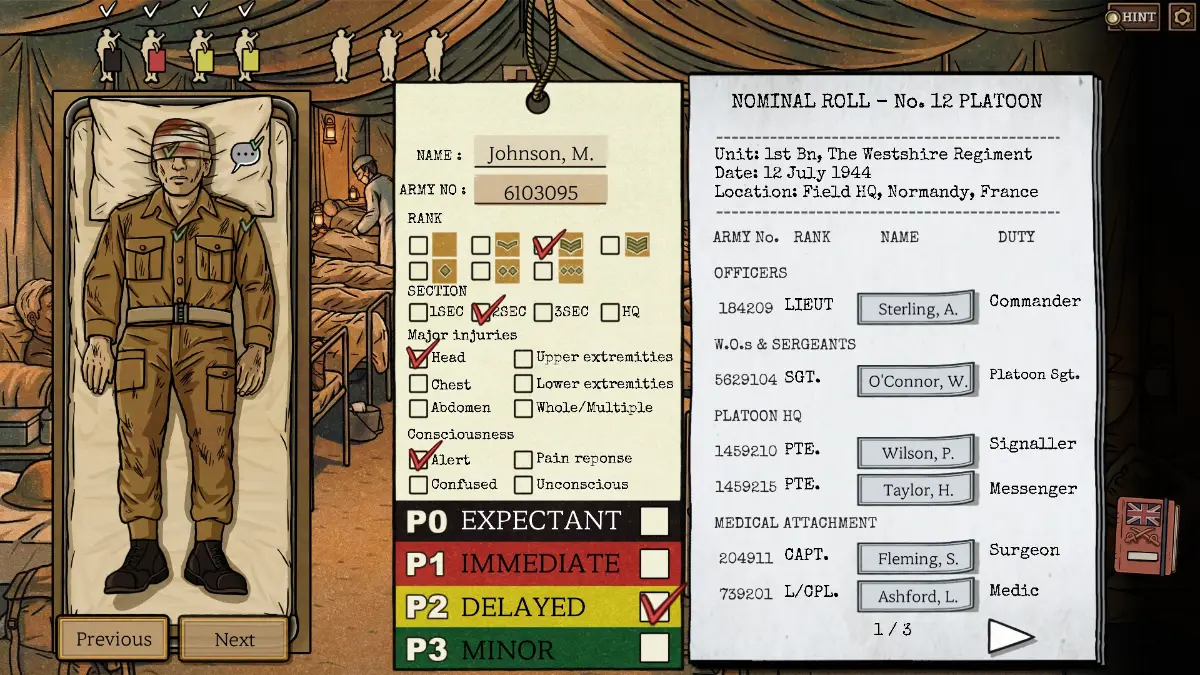
Patient 6
- ID 1459, first initial C.
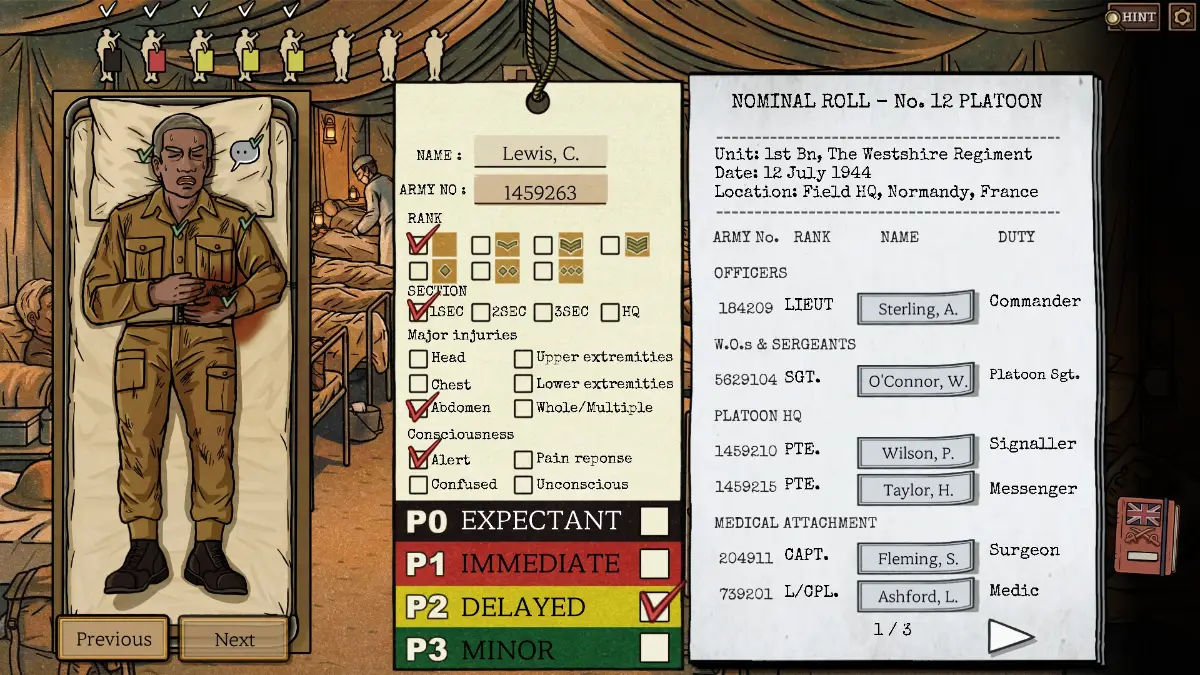
Patient 7
- His last name is the only thing you have to identify him.
- His injury type is unusual. Which part of the body would extreme stress affect, especially when he is delirious?
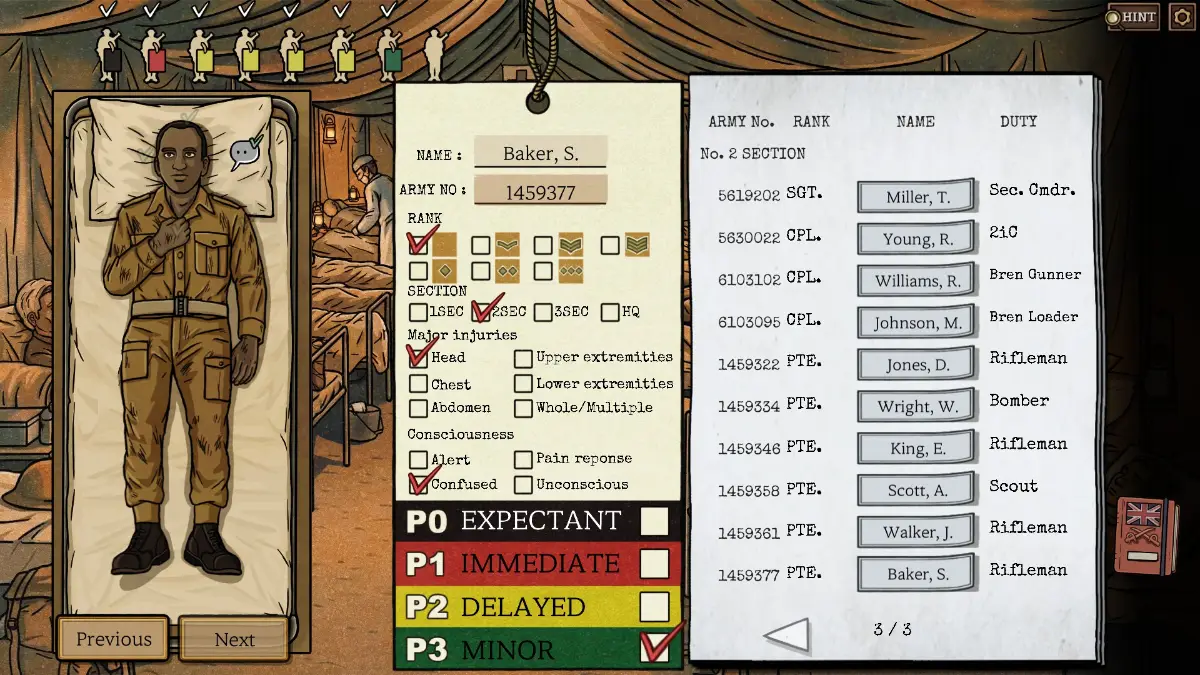
Patient 8
- A familiar face.
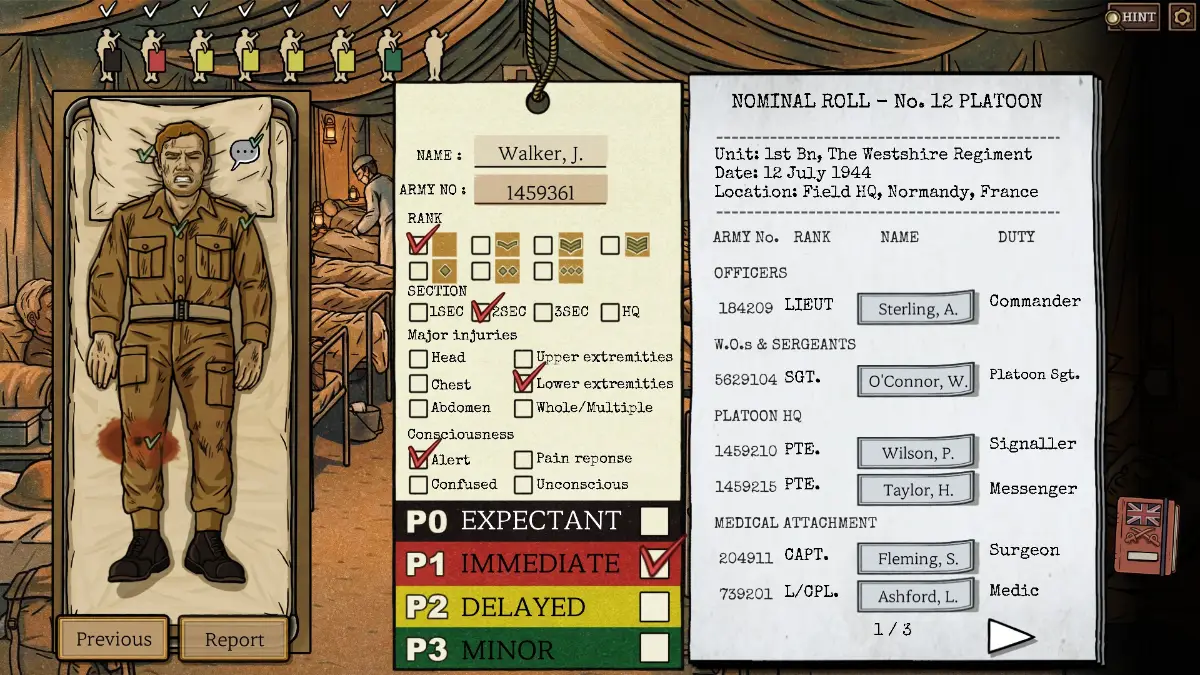
Casualty Report 2
- Count every tag from this day. The total must be 8.
- Soldiers from Day 1 are grayed out.
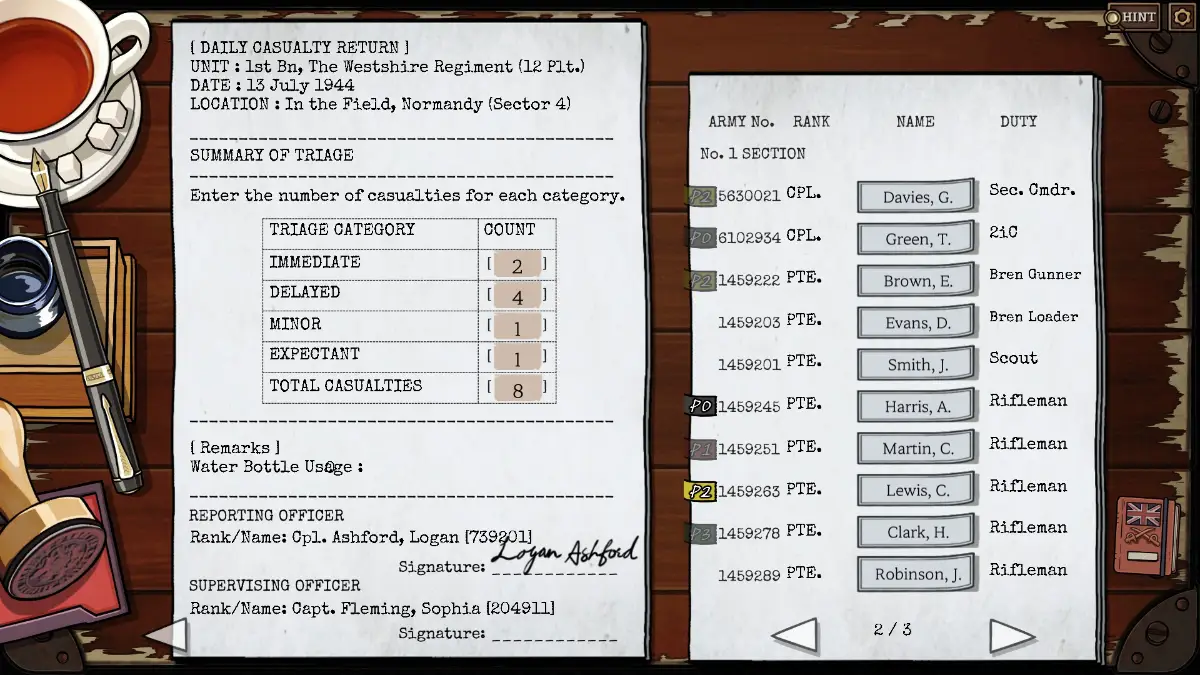
Day 3
Patient 1
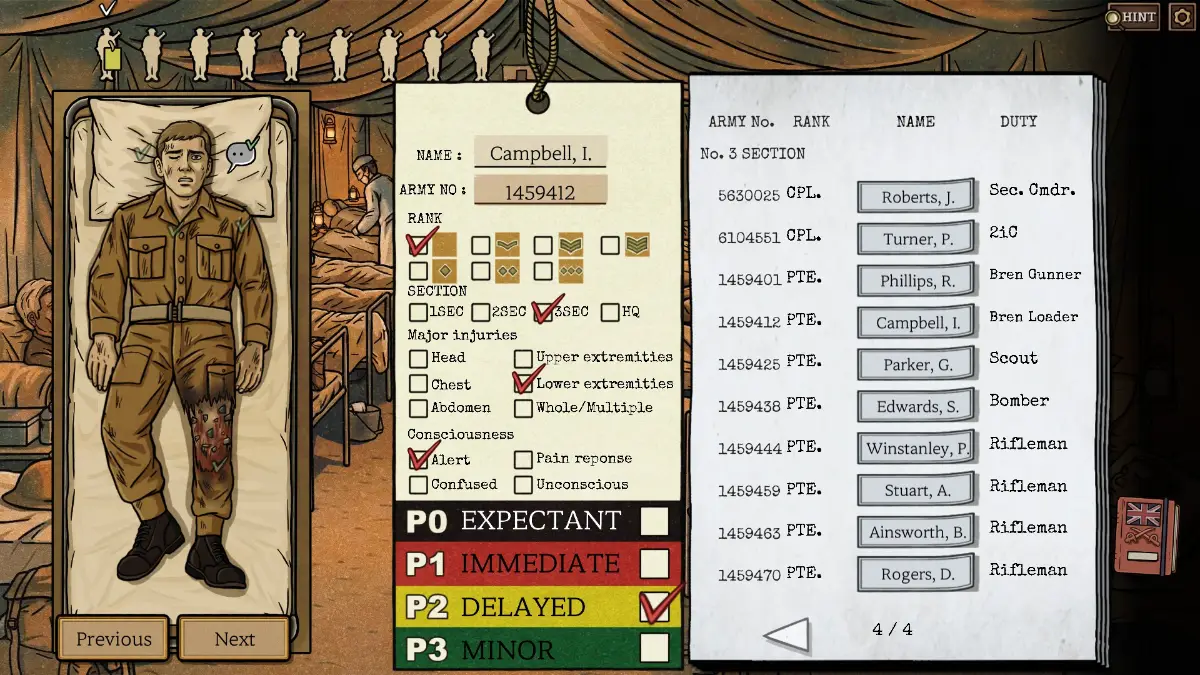
- He serves under section commander Roberts.
- The later digits of his ID tag are 45.
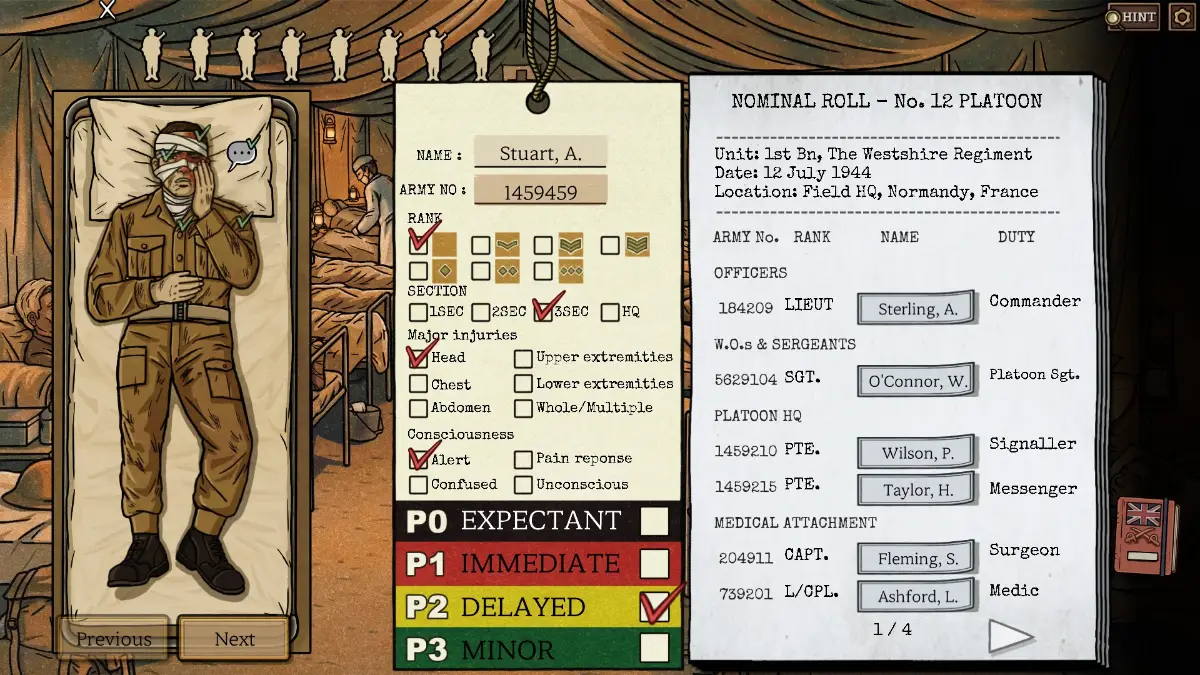
Patient 2
- He is in the same group as Private Phillips and would load for him.
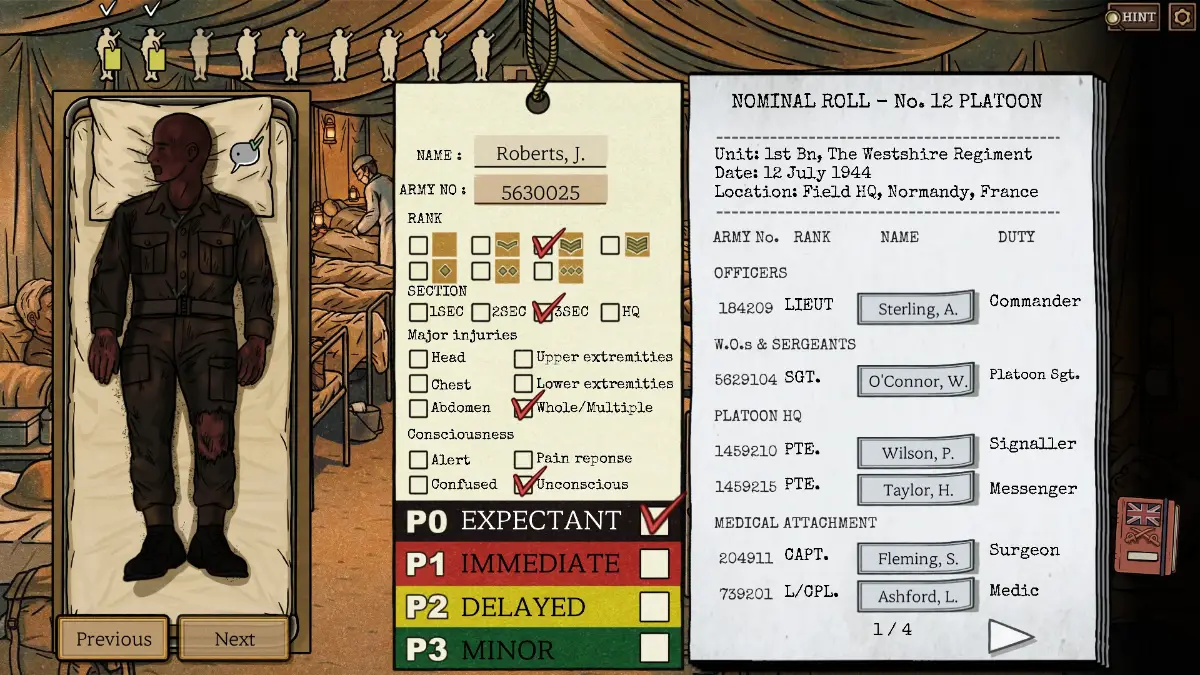
Patient 3
- He is unconscious with burns all over his body.
- Has anyone mentioned a soldier who got burned all over?
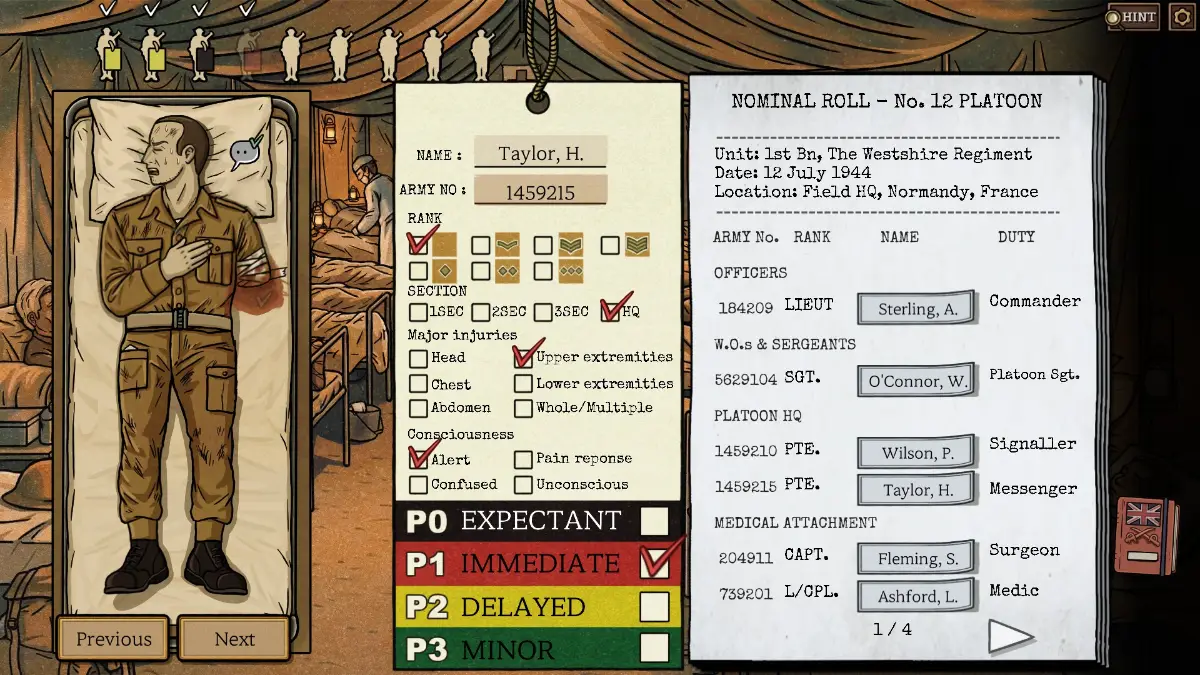
Patient 4
- First initial H.
- Not every patient comes from No. 1, 2, or 3 Section. There is one more group soldiers can come from.
Patient 5
- He carries a list of poker scores for No. 3 Section and mentions getting a lucky charm.
- That makes him the player on a winning streak.
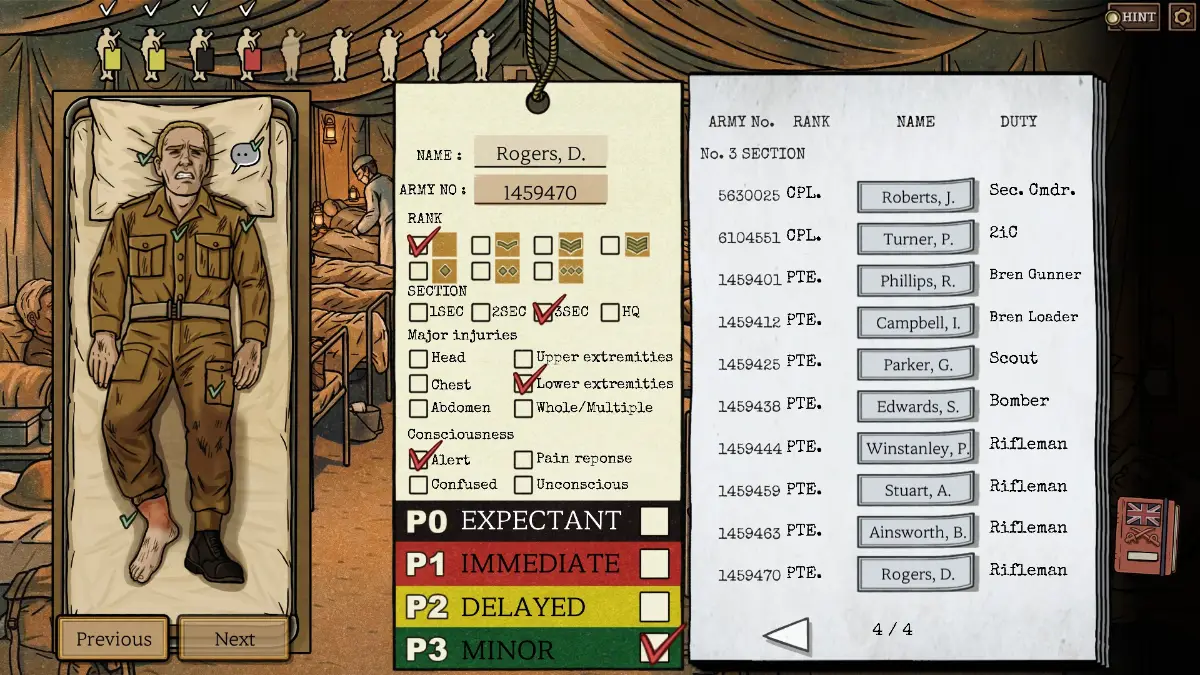
Patient 6
- He serves under a section commander who was badly burned.
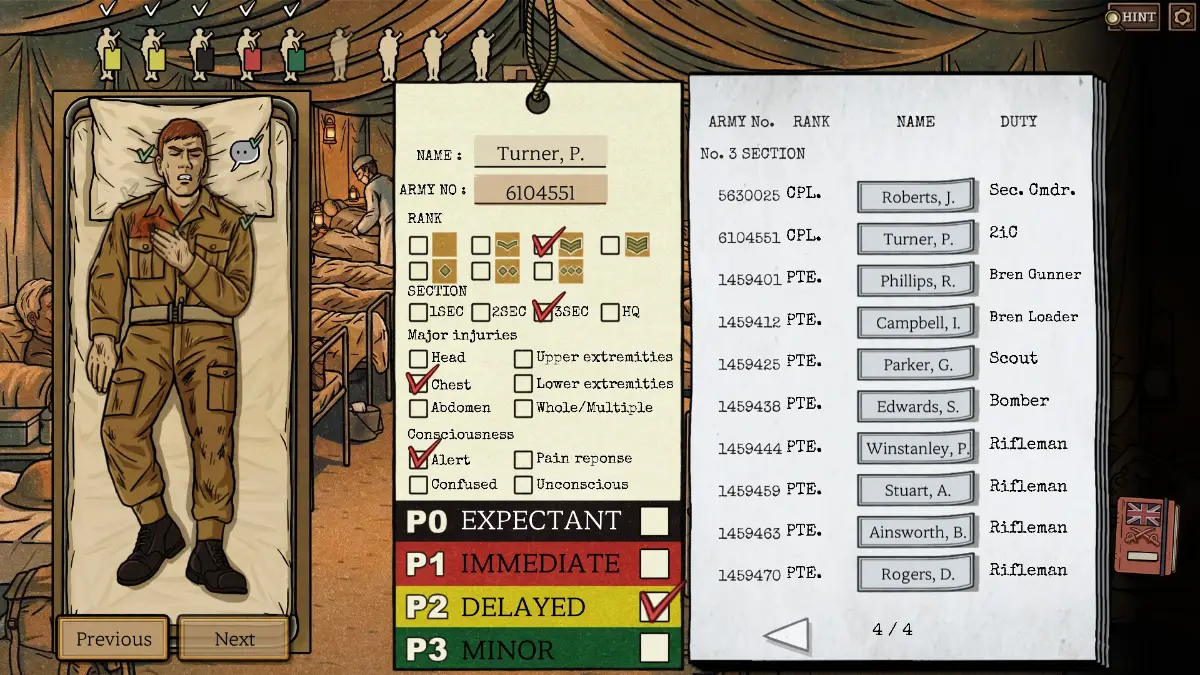
Patient 7
- No matter how much he threatens you, stick to the triage rules.
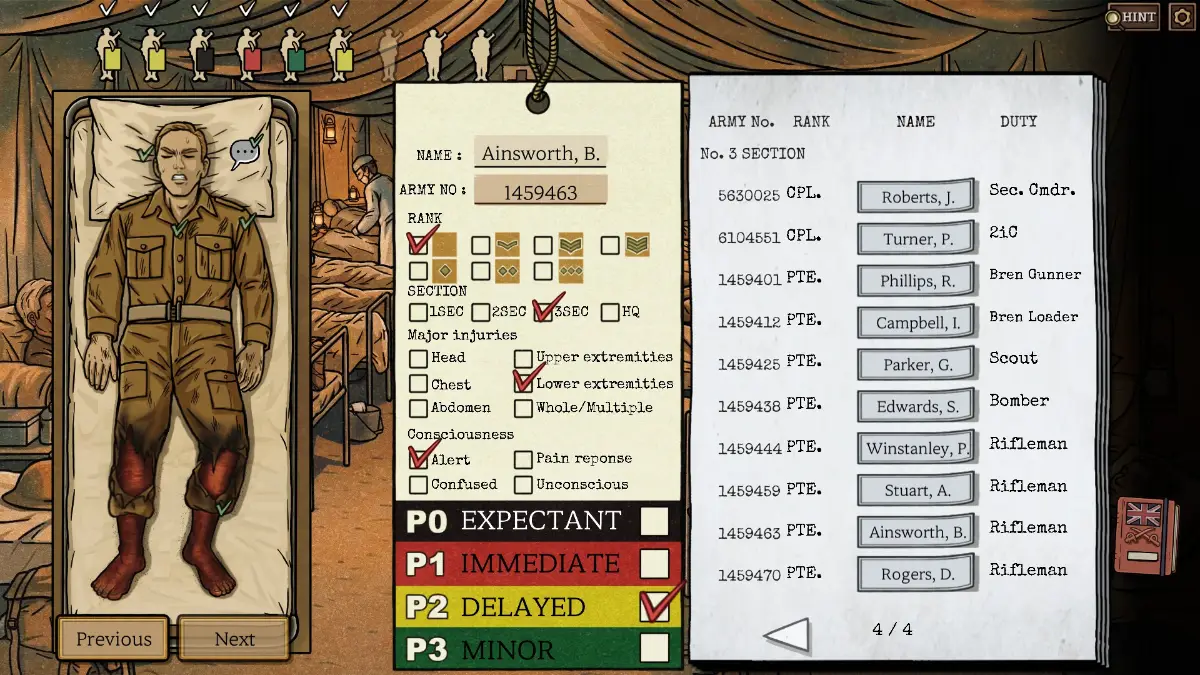
Patient 8
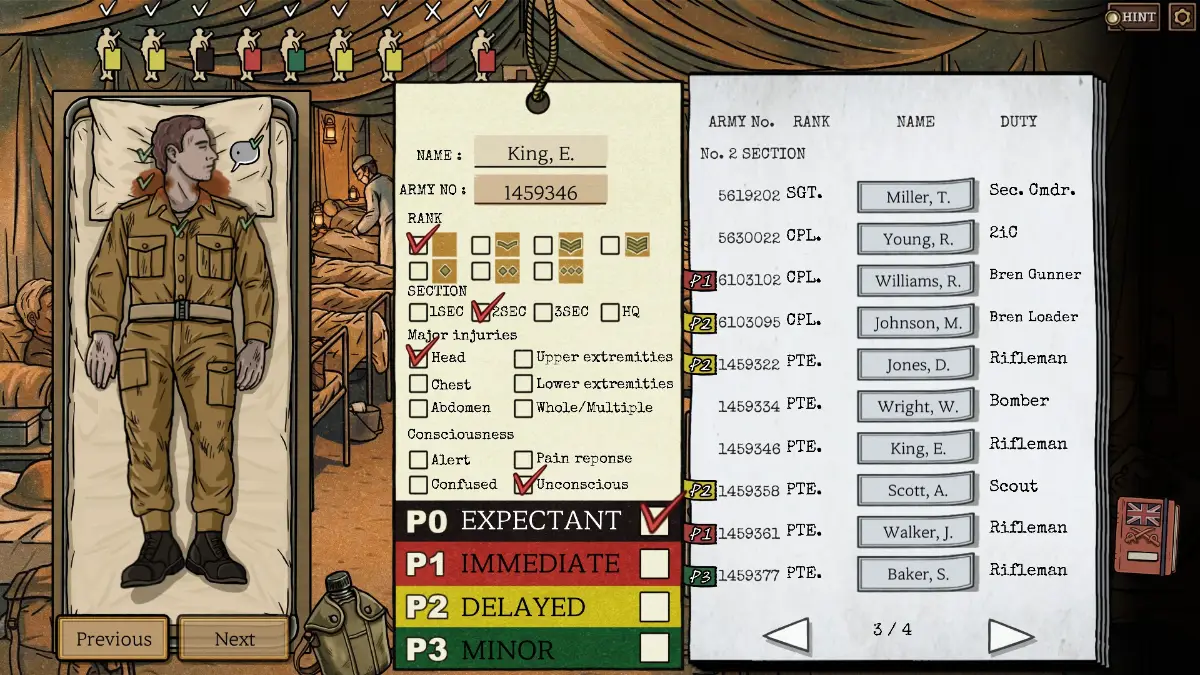
- His neck wound counts as a head wound.
- His last name contains “In”. Use process of elimination.
- It has to be King or Winstanley. Look for something that rules one of them out.
- The spacing around “In” suggests a short name. Would Winstanley fit on that tag?
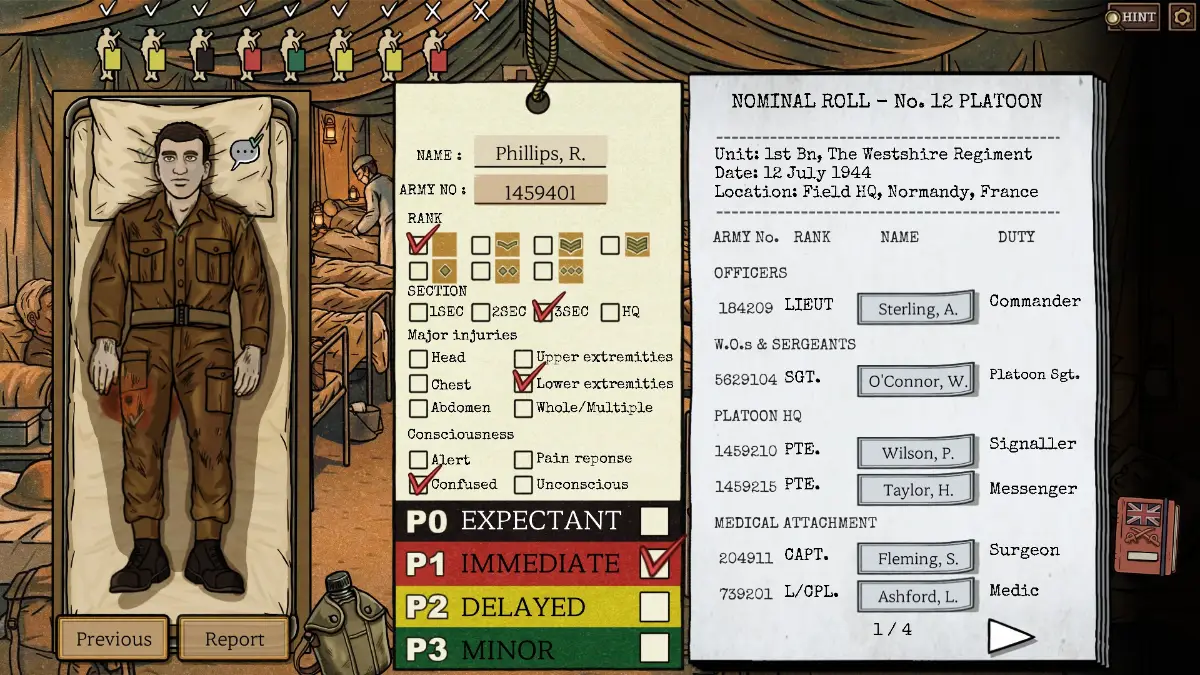
Patient 9
- He was shot through, and he is shivering and soaked.
- Another soldier mentioned someone who was shot and fell into the river.
Casualty Report 3
- Count every tag from this day. The total must be 9.
- Soldiers from the first two days are grayed out.
Patient Selections
To finish, Sophia asks you to pick two patients from the list.
- First pick: a P0 patient who is still alive and has healthy skin for a graft. The answer is Harris, since the other P0 patients are either dead or burned all over.
- Second pick: an extra pair of hands. Sophia suggests the soldier whose leg she operated on the day before. The answer is John Walker.
Previous: Episode 2. Next: Episode 4. Every episode is listed in the Death at Fleming Manor walkthrough.