All Death at Fleming Manor guides
Episode 11, Judgement, is a short case built around one confrontation. You answer a question about Sophia’s plan, make a choice that can end the game, and file a final case report.
Episode 11: Judgement Walkthrough
This episode reveals a lot about the story so far, so expect spoilers below.
Sophia’s Goal
- Question: What is Sophia’s goal? The answer has to make sense both anatomically and with her motive.
- Remember that Rupert suffered a cervical spinal injury in Episode 1 and is paralyzed from the neck down.
- Answer: “Surely you don’t mean to attach Rupert’s head to Derek Walker’s body?”
The Trigger-Happy Choice
- There are four possible targets: the monkey, Sophia, Robert and Derek. You can only pick one, and you get the chance to reload afterwards.
- Every target leads to a game over. Shooting all of them across reloads is how you get the Trigger-Happy achievement.
- To move on, click your hand and talk them down instead.
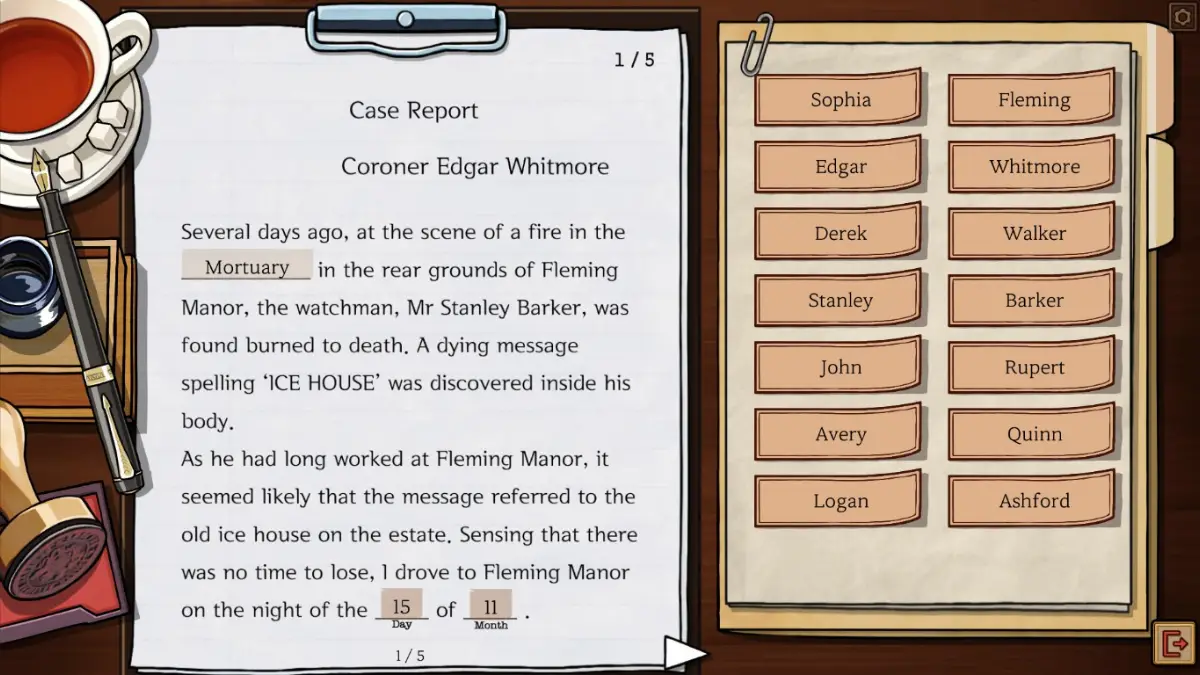
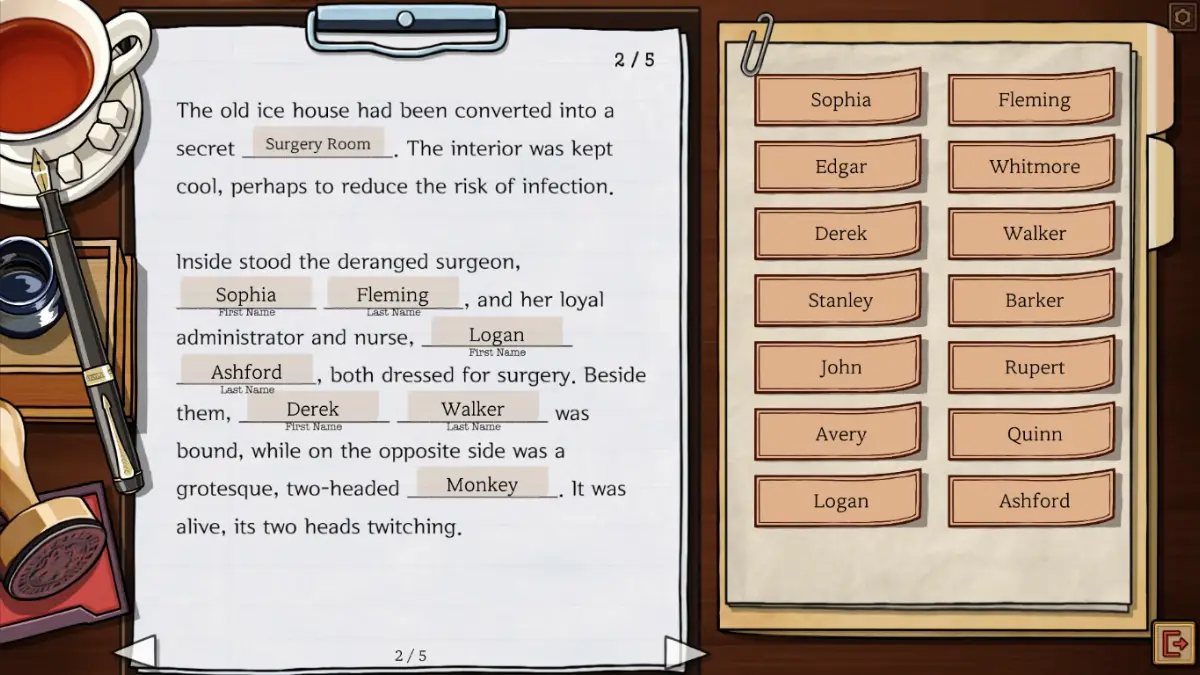
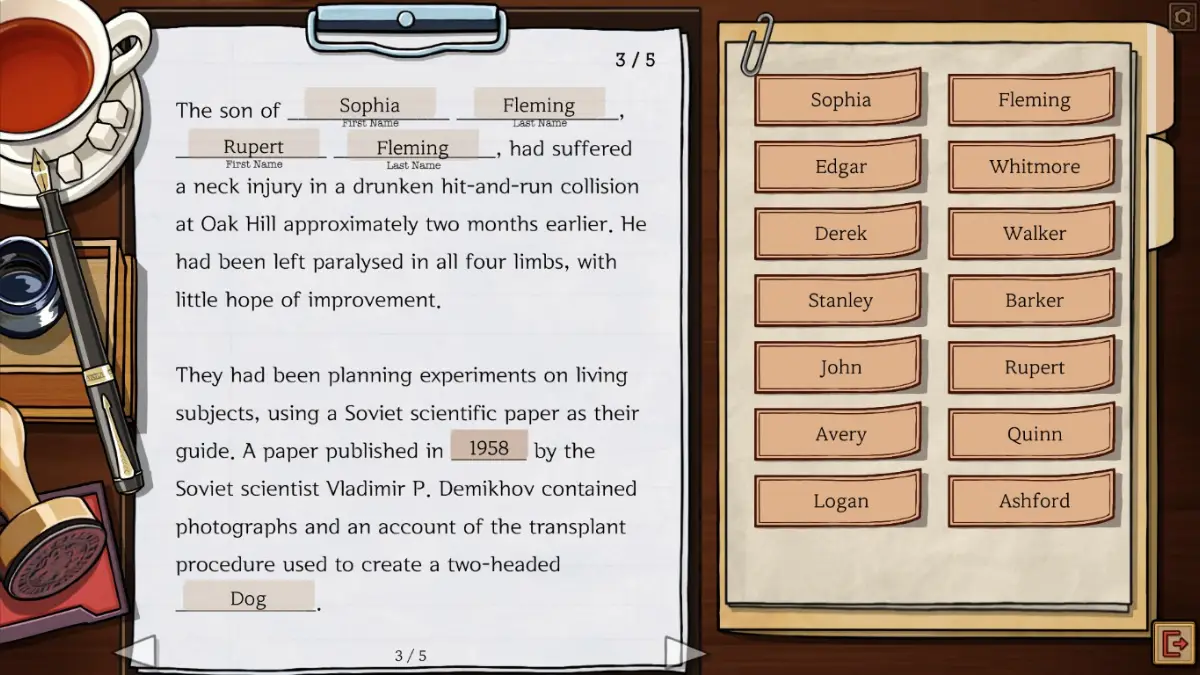
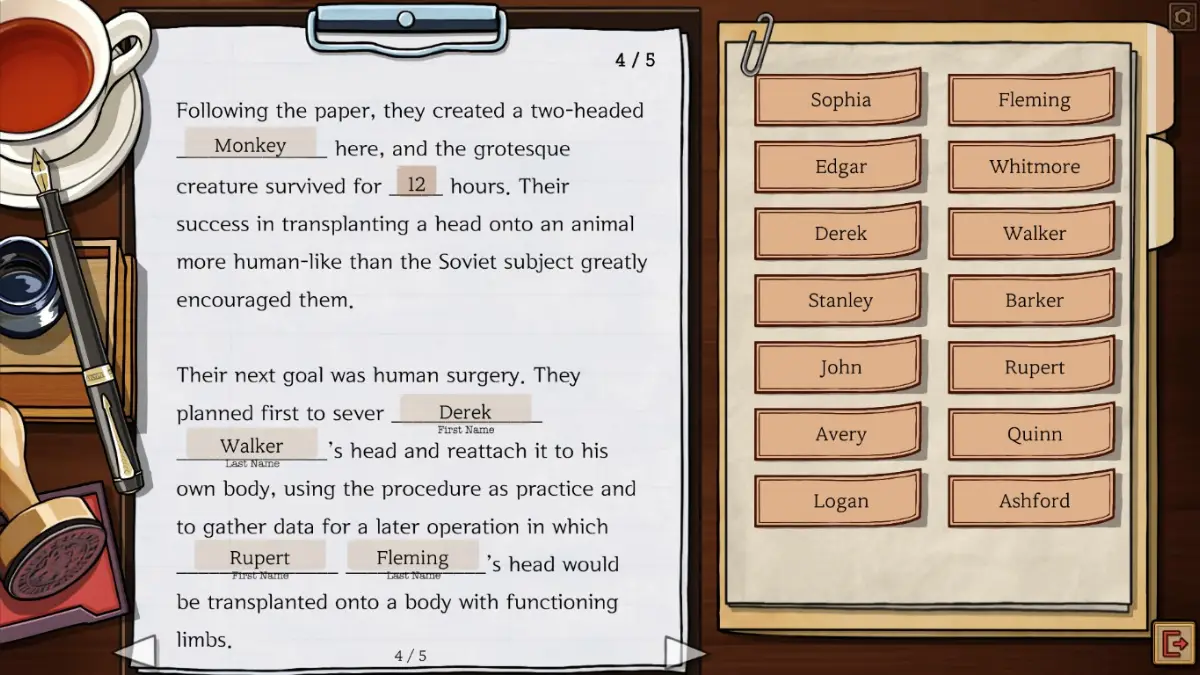
Form 1: Case Report
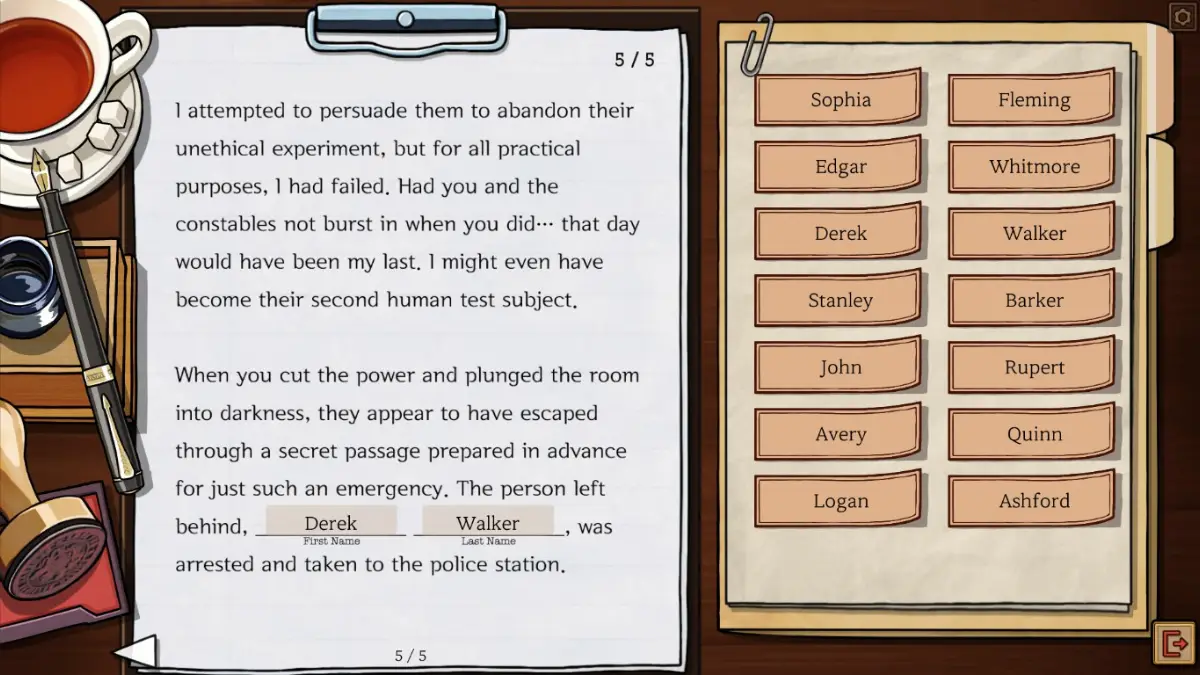
- The report mostly sums up events: why you came here and what you witnessed.
- You can leave the form to look at the scene again. The only things you need from it are the date of the operation and the year the report was published.
Previous: Episode 10. Next: Episode 12. Every episode is listed in the Death at Fleming Manor walkthrough.