All Species Unknown guides
Each specimen in Species: Unknown has a weakness, and its index hint tells you what that is. Electricity, fire, cold, and lasers each counter a different creature. Most fights pair that special weapon with a Tier 2 gun.
You can either kill a specimen or capture it. Kills happen in phases, and most specimens run to another area after each one, so you have to find them again. A capture means luring the specimen into the containment chamber, stunning it there, and shutting the doors before it recovers.
Weapons Needed for All 6 Specimens
Pick up these weapons before you take on each specimen. The special weapon is also the one you use for the capture.
- Specimen 005, The Peacekeeper: Electricity gun and a Tier 2 gun
- Specimen 006, The Squid: Flamethrower and a Tier 2 gun
- Specimen 007, The Ghost: Cryo gun and a Tier 2 gun
- Specimen 008, The Robot: Laser gun and a Tier 2 gun
- Specimen 009, The Mutant: Electricity gun (a Tier 2 gun is not really needed)
- Specimen 010, The Scorpion: Flamethrower and a Tier 2 gun
Specimen 005: The Peacekeeper
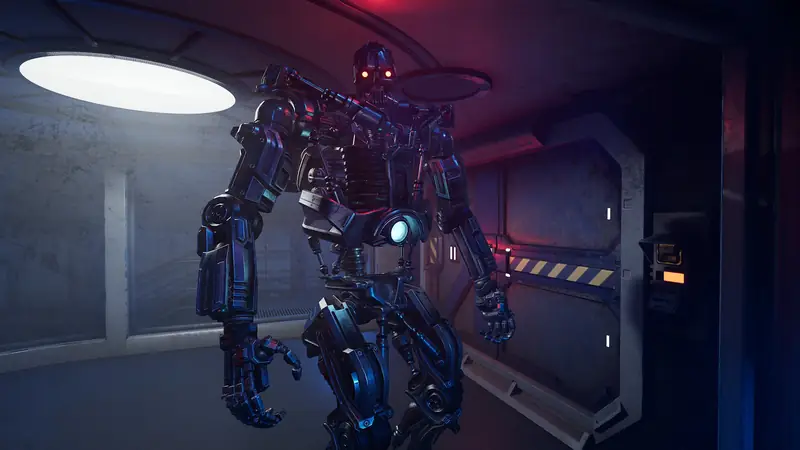
Index hint: Electricity slows it down for a short time and shuts off its gatling gun.
Warning: On top of its melee attacks, it throws clusters of grenades. If its drones spot you in the vents, it throws grenades in there too.
Killing The Peacekeeper
- Get the electricity gun and a Tier 2 gun.
- Break the gatling gun. This exposes the power core in its abdomen.
- Put all your fire on the power core. Once it takes enough damage, the specimen drops to its knees for a few seconds.
- Repeat until it dies.
Note: You can break the gatling gun without the electricity gun, but the electricity gun makes it much easier.
Capturing The Peacekeeper
- Once the gatling gun is gone, lure the specimen to the chamber.
- Lead it around in loops through the chamber. Only shoot the power core while it is inside.
- When it drops to its knees, close the doors.
Note: Electricity does not slow it down enough for a capture. It has to be fully stunned.
Specimen 006: The Squid
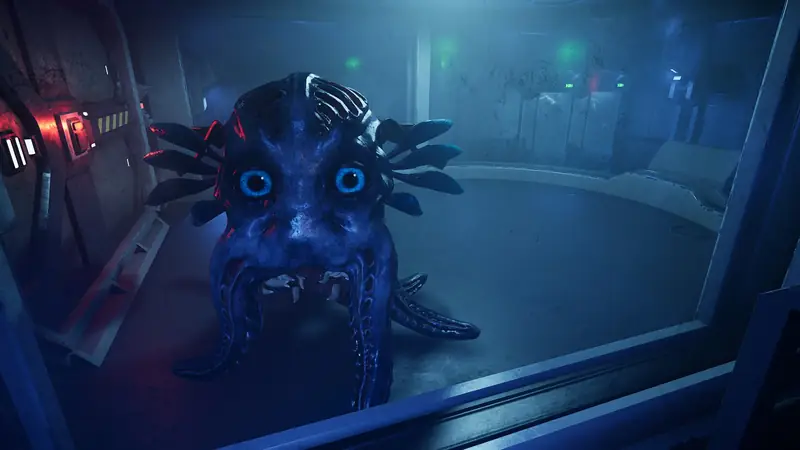
Index hint: Fire makes all ballistic damage permanent.
Warning: It leaps onto your head and tears it off, either from a vent or between attacks. A shield is the best defense against this one-shot attack. A revolver or a shotgun can also knock it off if you shoot fast enough.
Killing The Squid
- Get the flamethrower and a Tier 2 gun.
- Shoot it with the Tier 2 gun until it falls backwards and plays dead.
- Burn it with the flamethrower until it sprays gas and runs away.
- Repeat until it dies.
Note: After each damage phase, it runs to a different area, so you have to find it again every time. Fire makes it flee right away, so never open the fight with fire.
Capturing The Squid
- With the flamethrower in hand, lure the specimen to the containment chamber.
- Shoot it with regular bullets until it falls backwards.
- Burn it with the flamethrower, then press the button to close the door. Keep burning it after you press the button so it cannot get away.
Note: When bullets knock it down, it falls backwards and often ends up outside the chamber. To keep it inside, get its back to the glass wall or hold it right next to one of the chamber doors.
Specimen 007: The Ghost
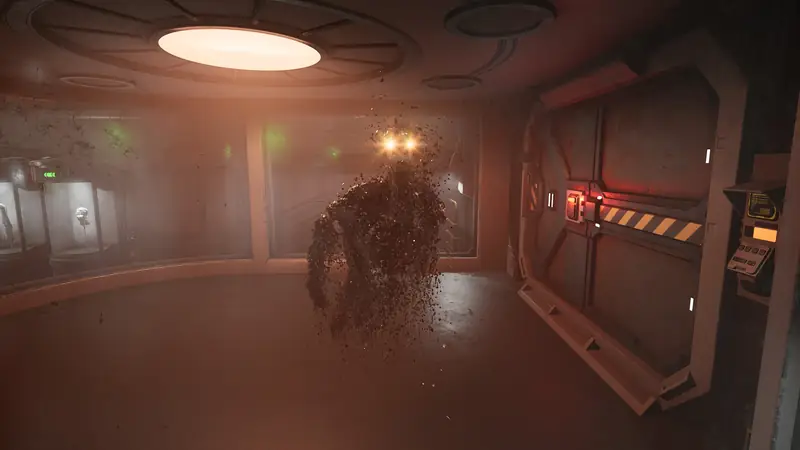
Index hint: Freezing it leaves it open to ballistic damage.
Warning: Shooting it makes it enraged instantly, and this attack cannot be blocked or dodged.
Killing The Ghost
- Get the cryo gun and a Tier 2 gun.
- Freeze it with the cryo gun until it drops to the floor.
- Hit it with the Tier 2 weapon until it thaws out and runs away.
- Repeat until it dies.
Note: After each damage phase, it runs to a different area, so you have to find it again every time. Cryo containers can freeze it too, but they are hard to hit while it is pulling your gaze toward it.
Capturing The Ghost
- With the cryo gun in hand, lure the specimen to the containment chamber.
- Freeze it while it is inside the chamber.
- While it struggles and collapses into a solid form, close the chamber door.
Note: Its anger stays the same when it switches targets. It only resets once it is completely out of sight.
Specimen 008: The Robot
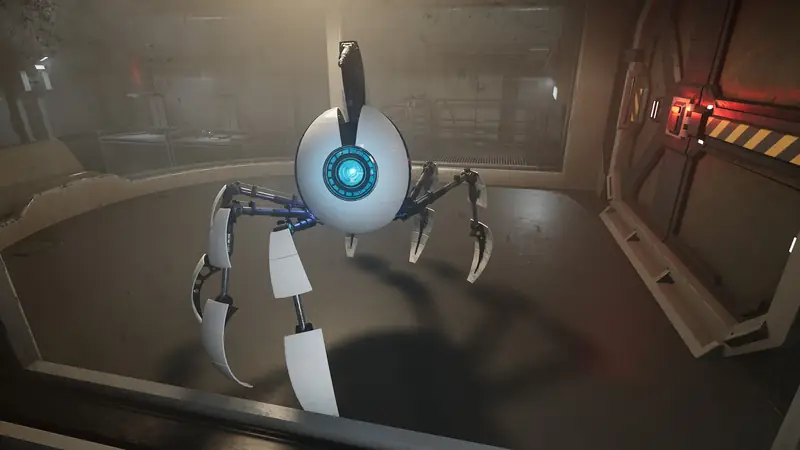
Index hint: Lasers can get through its shield systems and shut them down.
Warning: It only attacks players who are on their own. On higher difficulties, it is more likely to glitch and attack anyone. Picking up the black box also makes it attack.
Killing The Robot
- Get the laser gun and a Tier 2 gun.
- Keep the laser on the specimen until its shield goes down.
- Shoot it with any weapon until it uses its EMP.
- Turn the power back on, then repeat until it dies.
Note: After each damage phase, it knocks out every power system and then leaves to recharge. Fight near the command deck every time so you can restore power. It will come looking for you.
Capturing The Robot
- With the laser gun in hand, lure the specimen to the containment chamber.
- Hit it with the laser until it falls backward onto the ground.
- Close the chamber door while it shifts into its grounded state.
Note: If it falls out of the chamber while it shifts, wait for its EMP warning alarms and close the chamber then.
Specimen 009: The Mutant
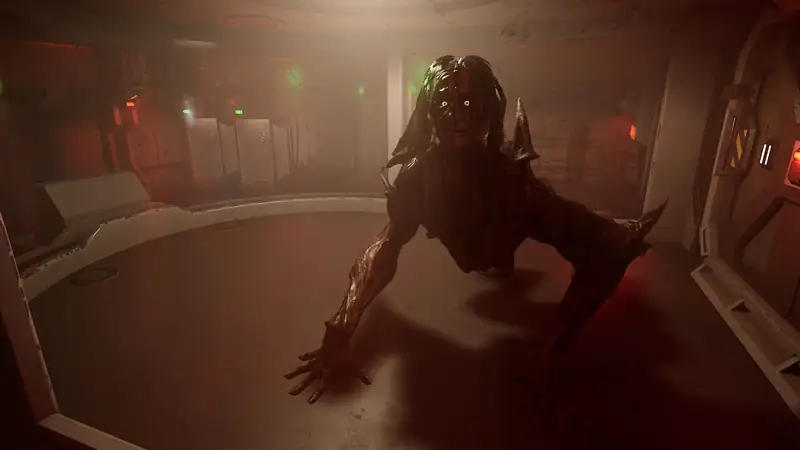
Index hint: Electricity to his head stuns him and forces his face apart.
Warning: He instantly kills anyone who is crouching. Running works much better than shooting or hiding.
Killing The Mutant
- Get the electricity gun.
- Shock his face for as long as the charge lasts while the other players open fire.
- Keep running while you reload. His face breaks off with each damage phase.
- Repeat until he dies.
Note: After each damage phase, he runs to a different area, so you have to find him again every time. The electricity gun deals good damage on its own, so a Tier 2 gun is not really needed. Shocking any other part of his body does nothing.
Capturing The Mutant
- With the electricity gun in hand, lure the specimen to the containment chamber.
- Hit his face with a fully charged shot from the electricity gun.
- Close the chamber doors right away, while he is still recovering from the stun.
Note: Charge the electricity gun when he slows down to growl and get his stamina back. You can hold up a shield while you charge and shock him.
Specimen 010: The Scorpion
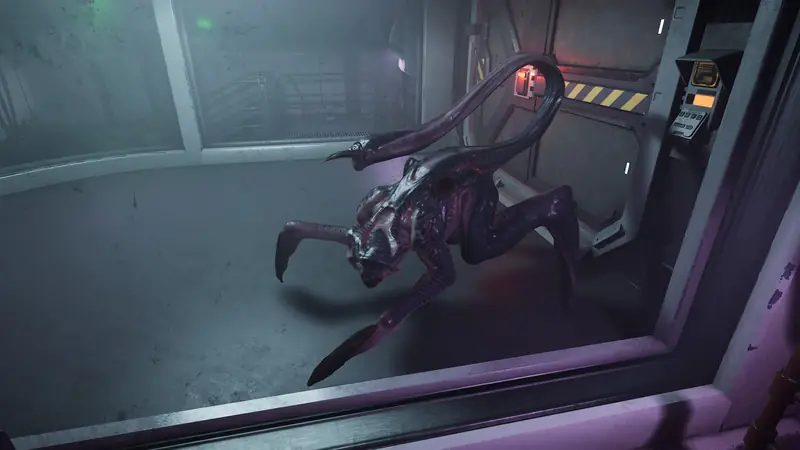
Index hint: Fire clears away the corpses it can use.
Warning: It hides in the vents and poisons players who are not paying attention. Watch for purple poison dripping from above. Looking up into the vent makes it run away.
Killing The Scorpion
- Get the flamethrower and a Tier 2 gun.
- Burn every corpse nearby. This forces the specimen to come at you itself.
- Shoot it until it sprays gas and runs away.
- Repeat until it dies.
Note: After each damage phase, it leaves for a moment and then comes back. Fire canisters can also burn the corpses away.
Capturing The Scorpion
- With the flamethrower in hand, burn every corpse in the shuttle bay and the workshop.
- Lure the specimen into the containment chamber and hit it with the flamethrower.
- Close the chamber door and keep burning it so it stays in place.
Note: Whoever is baiting the specimen should carry the health injector. It usually tries to infect players between its attacks.
Credit: @TreviZA