In this guide, discover insights and tips for new Mirthwood players, highlighting useful details the game doesn’t make obvious.
Mirthwood: Beginner Tips
This should be helpful for players looking to benefit from insights others have discovered, especially details the game doesn’t make obvious.
Game UI
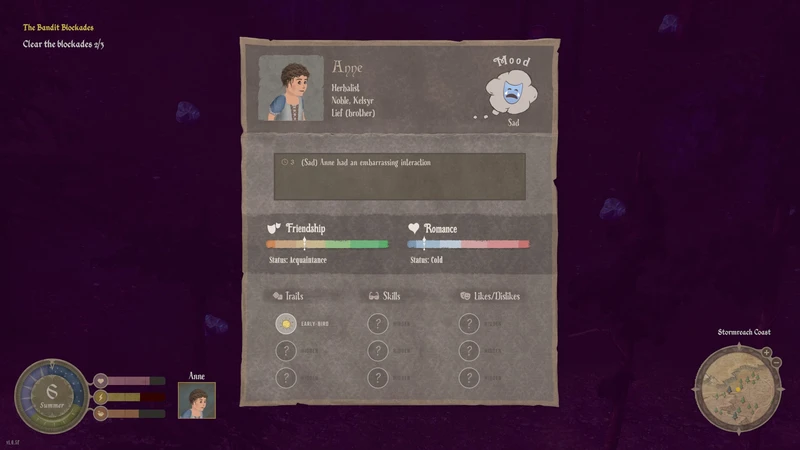
Most of the user interface is straightforward, but one detail took a bit to figure out: to view an NPC’s details, you need to get close to them and look for a square icon with their name in the bottom left of the screen, just to the right of the Health, Stamina, and Hunger meters. Click this icon, and a detail page will open with more information about the NPC’s current status.
Key Locations
There are a handful of locations at the start of the game that are worth noting in order to get a running start at some basic gameplay features.
The first major one is the location of the cart with the copper tools needed for the player to begin working on their homestead:
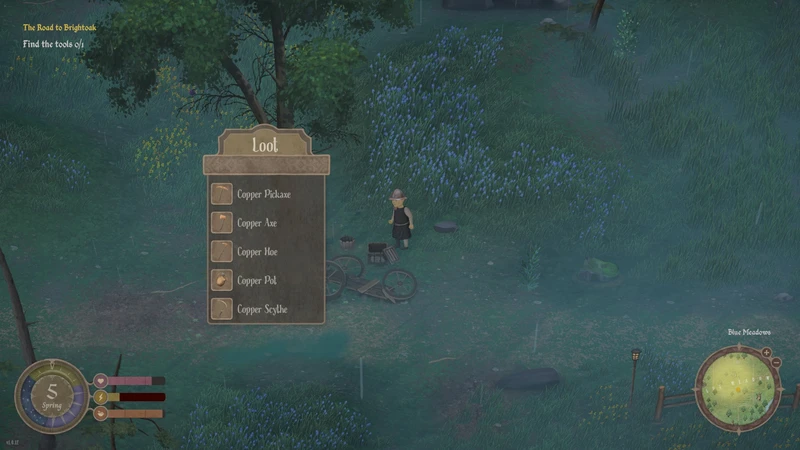
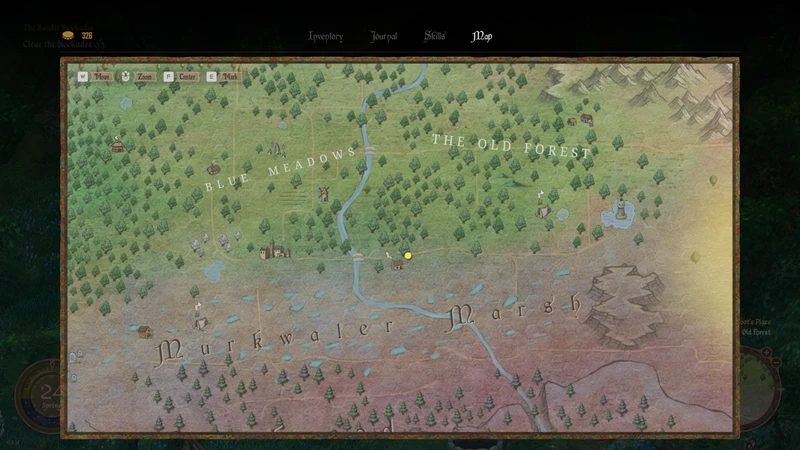
This location is east of the player’s homestead location almost halfway to a nearby farm area.
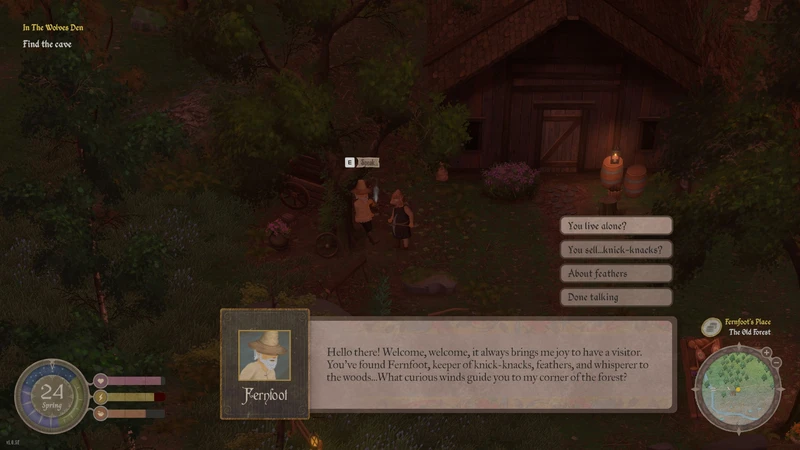
The second major location is where the NPC is that the player can use to expand their inventory slots by type via using “Fabled Feathers”:
Gameplay Mechanics
Fallen Trees in Wooded Areas
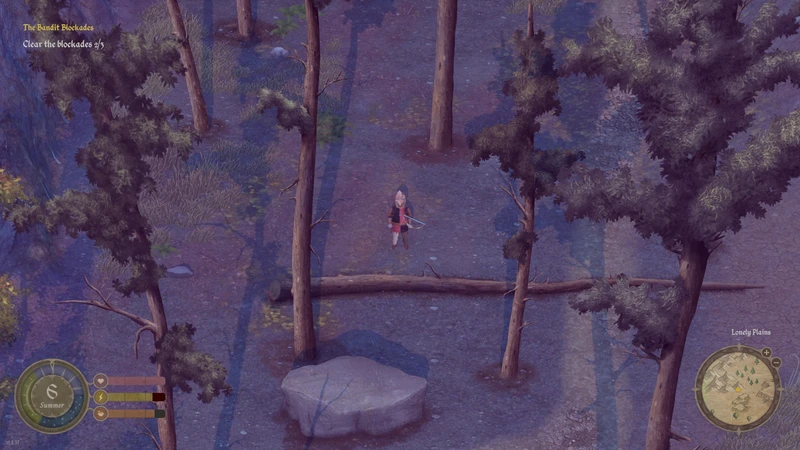
In heavily wooded areas, there are relatively thin trees that have fallen horizontally on the ground. The player can step or hop across these fallen trees, but enemies are unable to do so. This creates an advantage for the player, allowing them to quickly escape enemies and force them to “go around.” In melee combat, this offers a chance to reposition, while in ranged combat, it allows the player to take extra shots without needing to kite as much.
At the Start of the Game
At the beginning of the game, players can only cut small and thin trees in most locations. However, in the player’s homestead, larger trees can be “moved” or “refunded” while in the “build” menu. This allows players to adjust visual clutter caused by foreground trees by relocating them to less trafficked areas or placing them in storage for later use. This option is useful for organizing the space around the homestead.
Using the Sickle on Bushes
In addition to using the axe on trees, players can use the sickle on small bushes to gather wood. This provides an alternative resource gathering method, especially early in the game when wood is essential.
Respawning Stones in Homestead/Farm
Large stones are one of the resources that can respawn within your homestead or farm. While it’s unclear what exactly causes them to respawn, sometimes they will reappear as a cluster of smaller rocks. These can be mined again, providing additional resources. This is why you can’t simply walk over them without paying attention, as they may be hidden in their respawned form.
Patch 1.0.10f: Fully Charged Shots
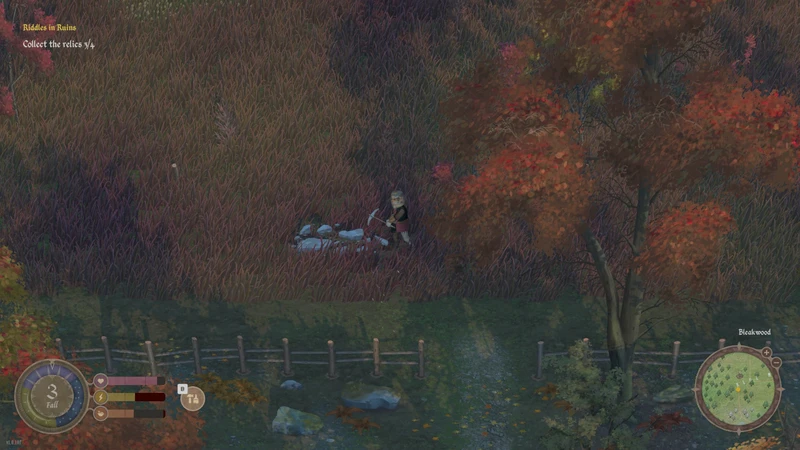
With Patch 1.0.10f, a fully charged shot adds an additional 50% damage. This boost makes it more effective for regular combat, especially when using a Recurve Bow (with 13 base damage) and a 5-level Archery Skill, even without using any special archery cards. It is a valuable strategy for all enemies.
Using Blueprints/Diagrams
When acquiring blueprints or diagrams, be sure to go into your radial menu or inventory and “use” them. If not used, they will remain just an item in your inventory and won’t unlock their crafting potential.
Crafting Stations and Storage Containers
Crafting stations can use resources from storage containers as long as the containers are within range. This makes it easier to craft items without having to manually move materials into the crafting station’s inventory.
Tool Upgrades Require Kits
Upgrading tools in this game requires not only the usual metal and wood components but also a special “kit” for the appropriate metal tier. For example, upgrading from a Copper Pickaxe to an Iron Pickaxe requires iron bars and an iron toolkit. These kits are available for purchase at the blacksmith’s shop, once you unlock it by finding his hammer. However, the kits are expensive, so you’ll need to decide whether to invest in upgrading your tools or in other essentials like seeds for farming.
Manual Saving
The ability to manually save the game is a convenient feature, but note that it isn’t available during the Prologue at the start of the game or when you’re inside a cave. If you find yourself in a lengthy cave exploration about to face a boss, consider leaving the cave to save your progress before engaging.
Checking Tabs in UIs
This may sound obvious, but make sure to check all the “tabs” and scroll down when you’re in the various user interfaces, such as crafting stations (like the cooking pot, workbench, or anvil) or vendor menus. You might find more items or crafting options than you initially realized.
Triggered Events: Blighted and Traveling Merchant
Over time, you may encounter triggered events. So far, I’ve noticed “Blighted” and “Traveling Merchant.” When these events happen, an event card will pop up on the screen. For “Blighted,” some of your crops will immediately die, regardless of the season. For “Traveling Merchant,” a vendor will appear at a marked location on the world map, where you can purchase furniture items and a blueprint for a gold sword.
Seasonal Changes in Harvesting
Seasons affect what you can find in the wild for harvesting. For example, I only noticed rosehips in the Fall, but different seasons will yield different harvestable resources in the wild, so keep an eye out as the seasons change.
Symbols on Stones
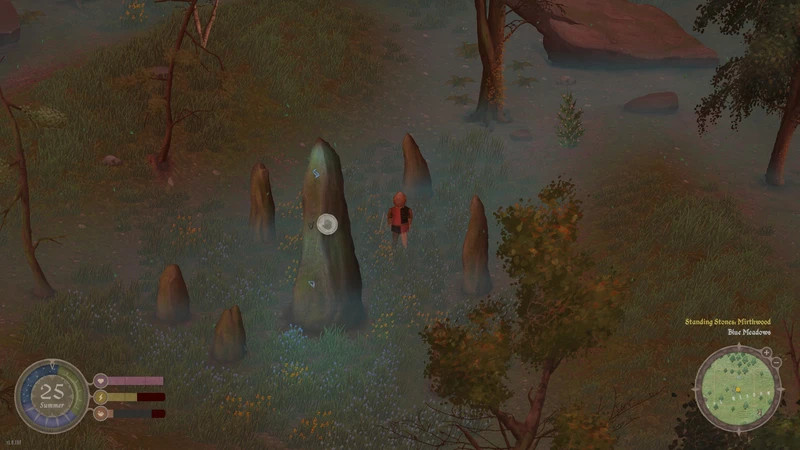
As you travel, you might come across stones with one or more symbols etched into them. Smaller stones with a single symbol can be activated by a ranged or melee attack, causing the symbol to glow. If you activate all the symbols for a particular area’s “Standing Stone,” you can approach it and claim an ability card, which can provide new powers or buffs.
Standing Stones Locations
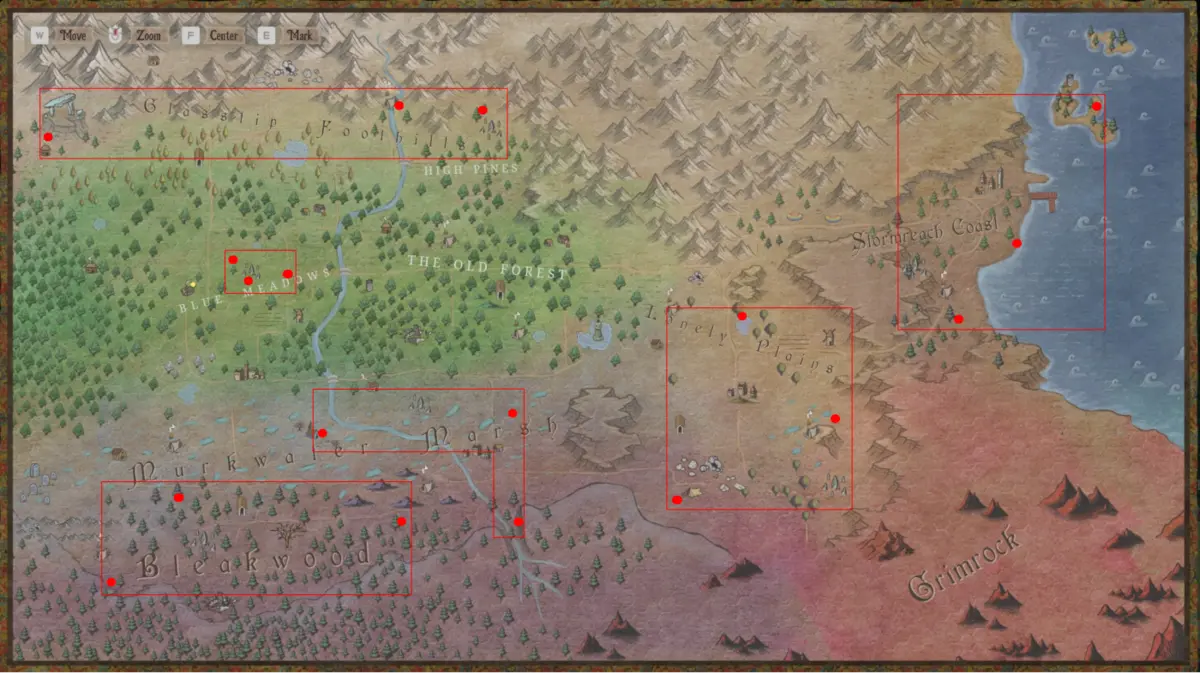
The map features several standing stone locations: larger ones, known as stone circles, that you can interact with, and smaller, solitary rune stones marked with a rune on top. Each stone circle has three corresponding rune stones located nearby. Activate these rune stones by striking them with a sword. Once all three in the area are activated, you can interact with the corresponding stone circle to unlock a unique ability card.
Note: I encountered a duplicate card—the “Trapper” card from the Survival skill tree-which may be a bug.
Fishing Tips
That’s right folks, contrary to what the roadmap seems to indicate right now, fishing is currently in the game! Can buy a “Pokey Fishing Rod” from the farm vendor east of your homestead. Doesn’t require bait to use!
Stage 1 – Locate a body of water with fishing nodes.
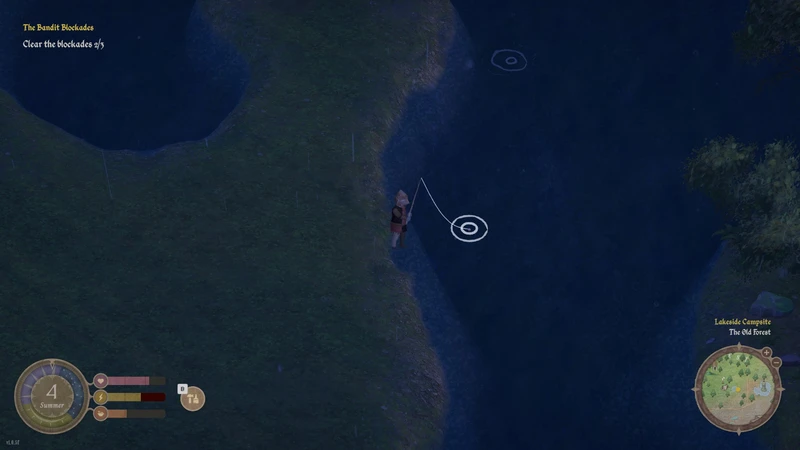
Stage 2 – Equip the fishing pole and cast a line.
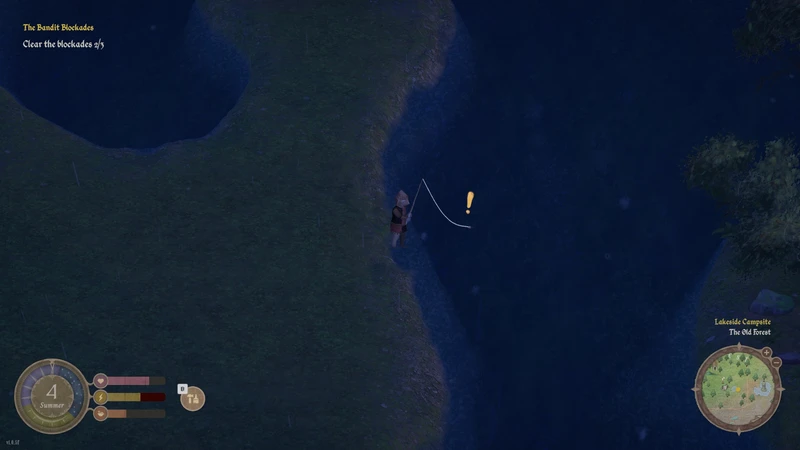
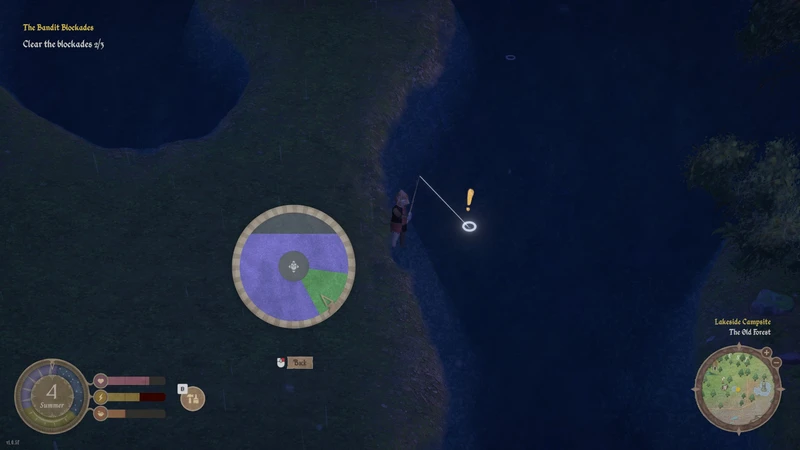
Stage 3 – Move the golden arrow and keep it inside the light green shaded area (to fill the circle with the purple shaded area).
Stage 4 – Occasionally a thick bordered circle appear and slowly start closing in toward the center. Press the appropriate button while this closing circle has a green border to fill the purple shaded area by a small amount.
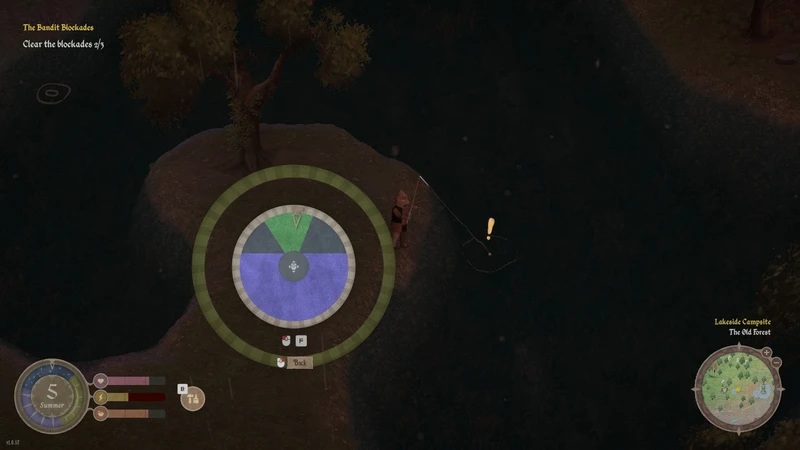
Once the purple shaded area has filled the circle, the line is automatically pulled in and whatever you caught goes into your inventory (or on the ground if your inventory is full). You can get approximately 4 casts per fishing node.
The size of the light green area as well as the speed at which it moves (and also direction changes) appear to be based on the difficulty of the fish you have hooked.
You can eat the fish raw if needed, but it provides better stat boosts if cooked (provided you have the recipe).