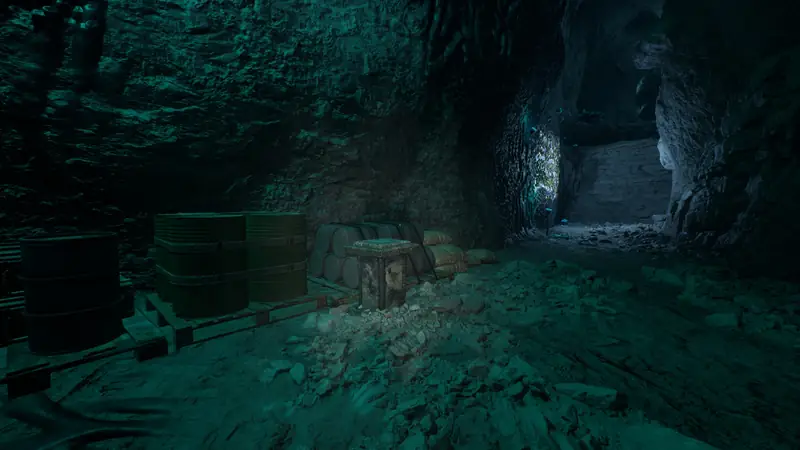
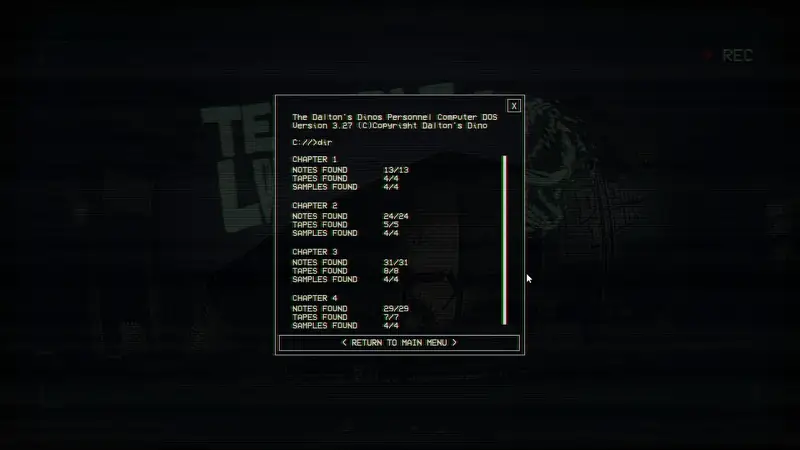
Terrible Lizards hides 97 notes, 24 audio tapes, and 16 amber samples across its four chapters. Each chapter also has one plushie, and you have to carry it to a pedestal in the same level without dying.
Most of these items sit a short detour off the story path, so the locations below follow the order you reach them in each chapter. Several hidden achievements are tied to the collectibles, and a few more come from one-off interactions in Chapters 1 and 2, such as spinning a globe or kicking a rock.
Where to Find All Notes, Tapes, and Samples
Collectible Counts
- Chapter 1: 13 notes, 4 tapes, 4 samples
- Chapter 2: 24 notes, 5 tapes, 4 samples
- Chapter 3: 31 notes, 8 tapes, 4 samples
- Chapter 4: 29 notes, 7 tapes, 4 samples
The misc achievements are only in Chapters 1 and 2. The Paleo Pal cutouts also appear in later chapters, but each one is listed below at its earliest spot.
For You Go Here, you need to place every plushie. After you pick one up, you cannot die before you reach its pedestal in that level. Doing a separate speedrun of the levels for this achievement is the safer plan. At release the game is quite buggy, so missing a platform grab or glitching to your death happens fairly often.
Story Achievements
There are 5 story achievements, and you cannot miss them.
- Welcome to Dalton’s Dinos: Enter the Dinosaur roadside attraction.
- Welcome to the Underground: Finish Level 1 (hidden).
- That’s DINO-mite!: Finish Level 2 (hidden).
- Slime-o-saurus: Finish Level 3 (hidden).
- Finally: Finish Level 4 (hidden).
Death Achievements
Two achievements cover the two ways to die in the game. You can get both in any chapter.
- How was the fall?: Die from fall damage (hidden).
- Join Us for a Bite: A dinosaur ate you (hidden).
Chapter 1: Part 1
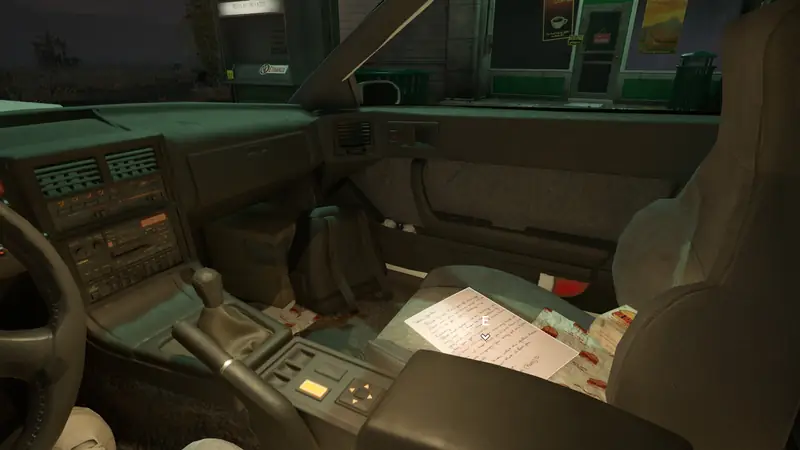
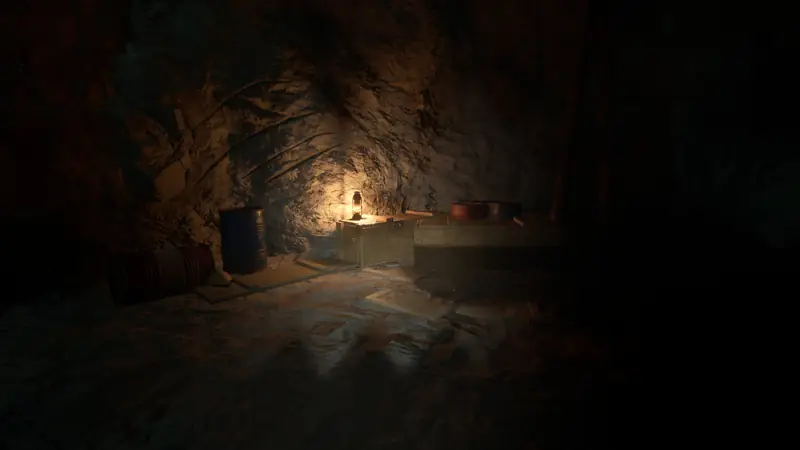
Note 1
Before you get out of the car, check the front seat on the right.
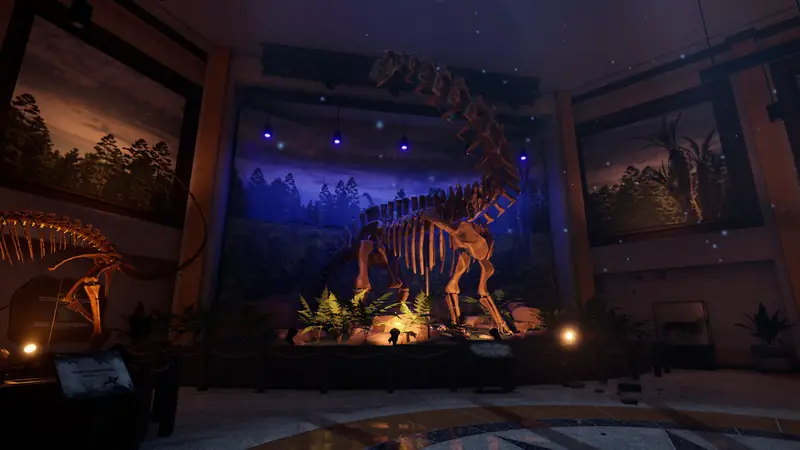
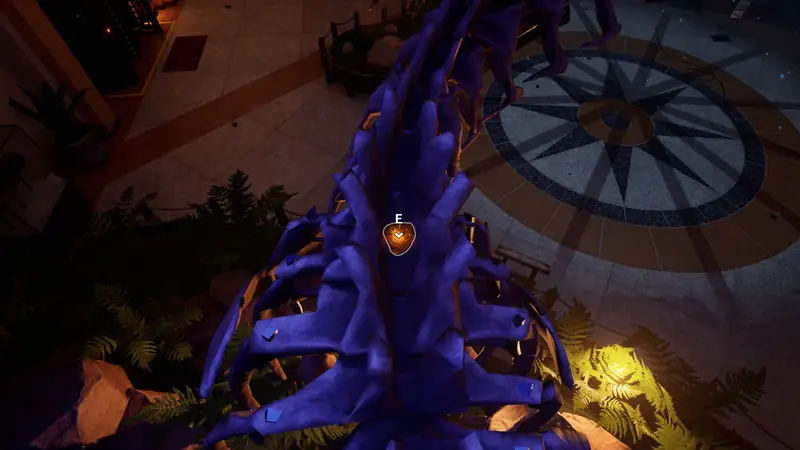
Sample 1
In the first area of the dinosaur park, the sample rests on top of a skeleton.
Note 2
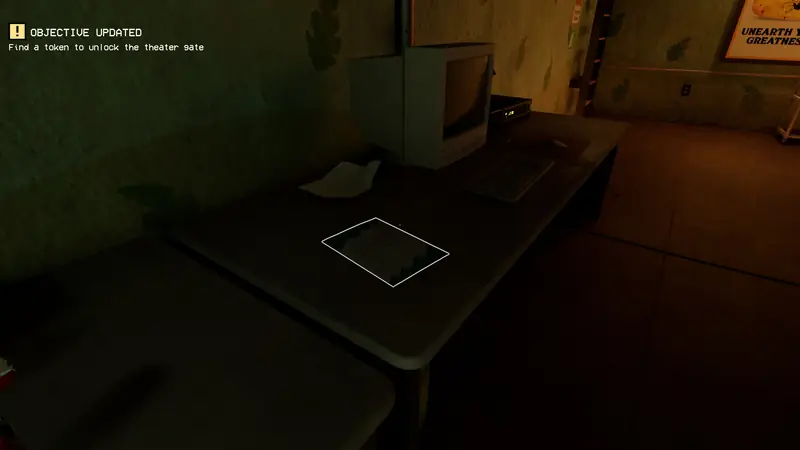
Go back to the reception where you picked up the gold coin, the first story item. The note is on a desk behind the counter.
Note 3 and Plushie 1
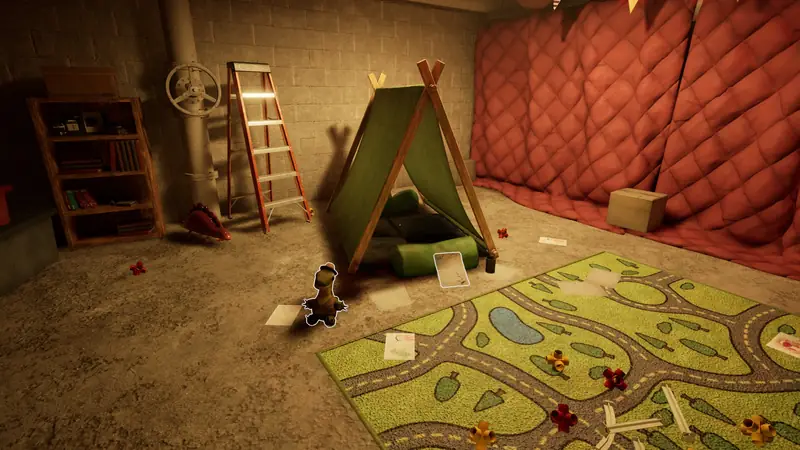
A ladder in the same room leads up to a tent. Both items are there.
Paleo Pal Review (1/5)
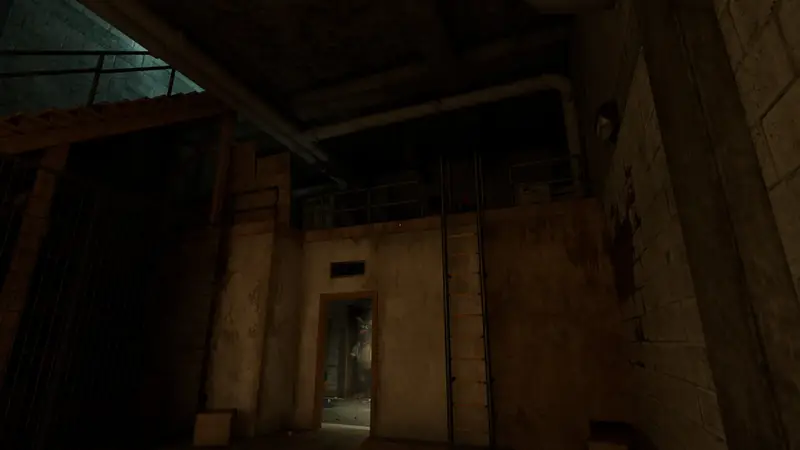
After the welcome show goes wrong, a new room opens up. Climb the ladder on the right side to reach a talking cutout.
Note 3
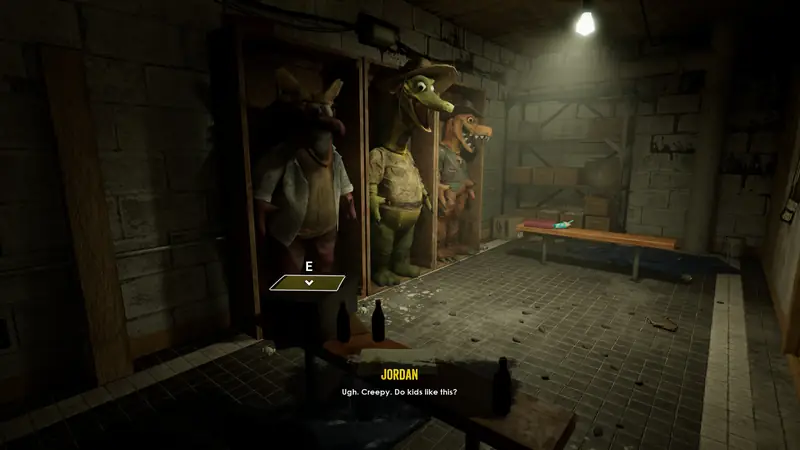
Right under that cutout is a locker and mascot room. The note is on a bench.
Paleo Pal Review (2/5)
This cutout stands on the far side of the area that opens after the welcome show.
Sample 2
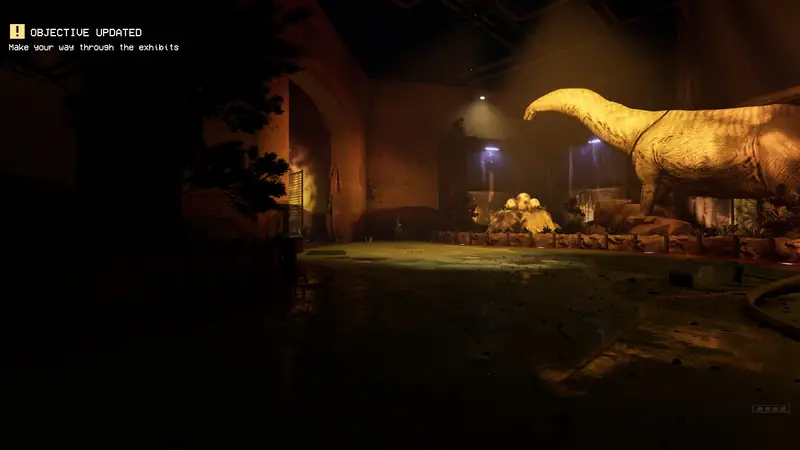
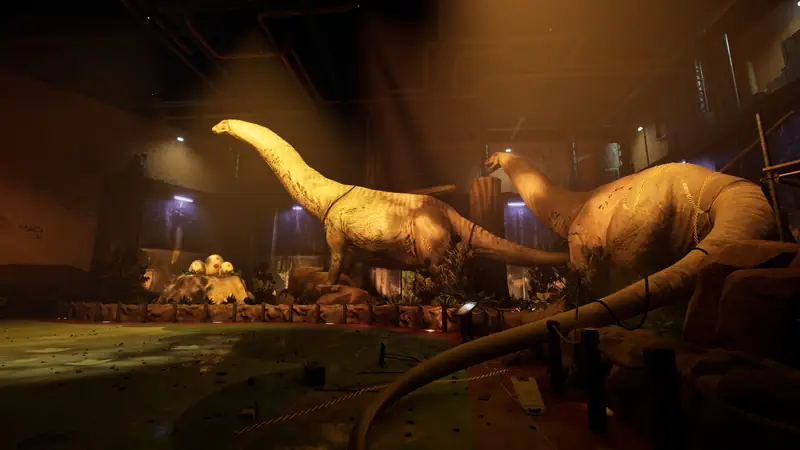
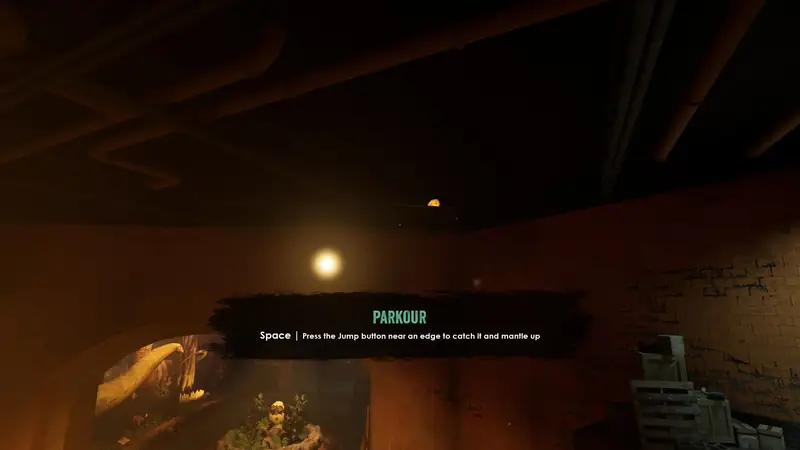
Climb up the dinosaurs here and jump across to the floating steel rod.
Audio Tape 1
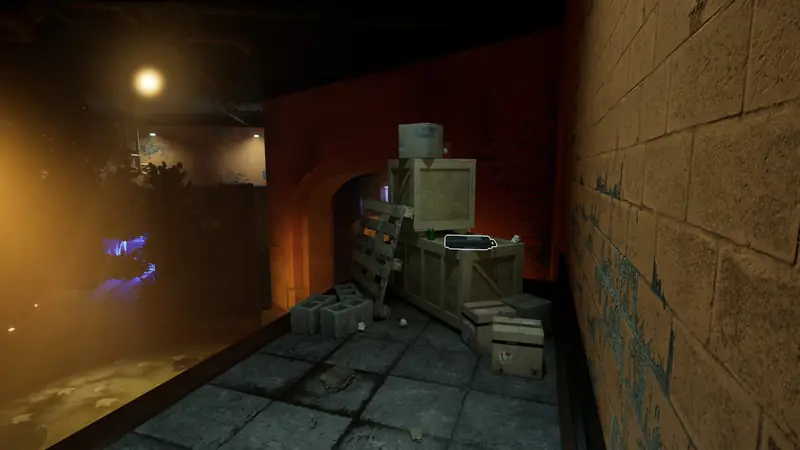
From the steel rod, jump over to the platform with boxes on it.
Note 4
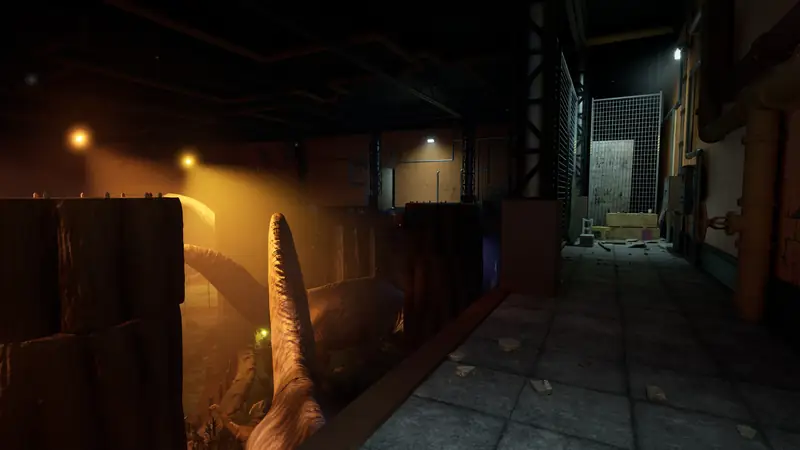
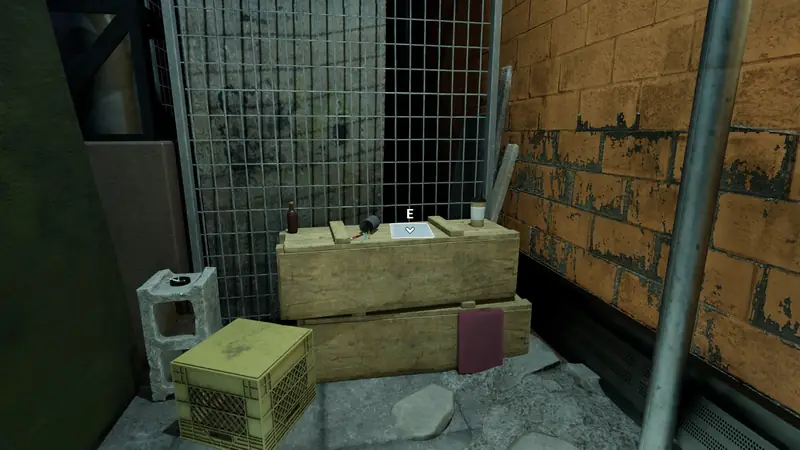
Keep following the story route through the rafters. When you land on this platform, the note is to your left, which is the right side of the screenshot.
Globe-fetti
 | Globe-fetti Spin the globe. Hidden achievement |
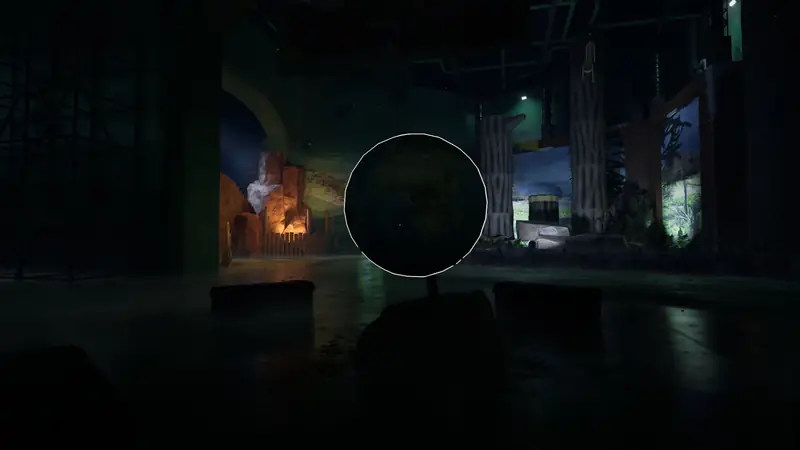
In the new big room, spin the globe in the middle.
Note 5
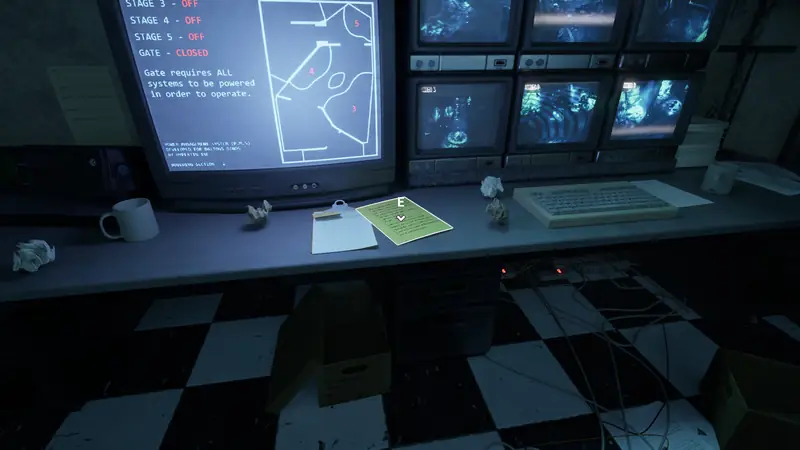
On the desk in the security room.
Audio Tape 2
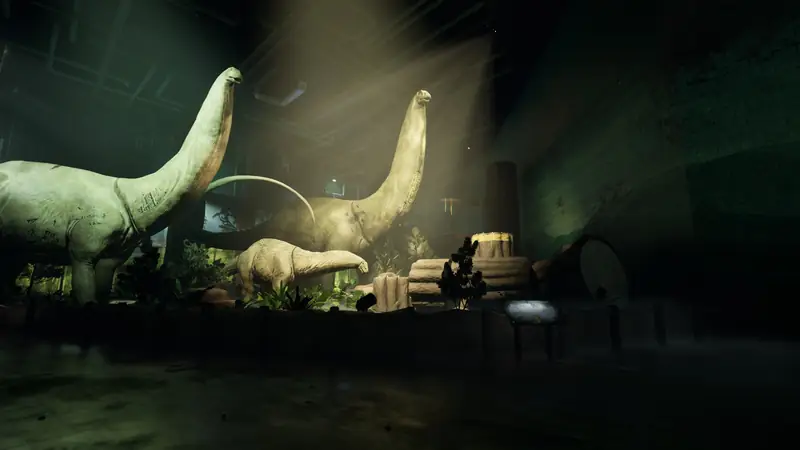
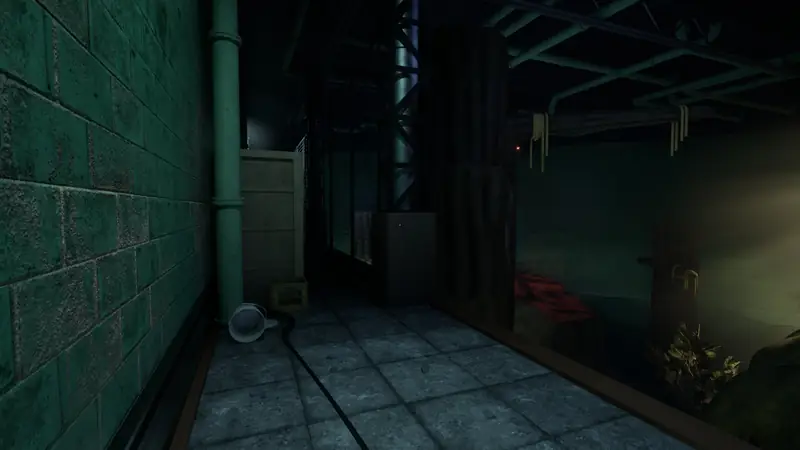
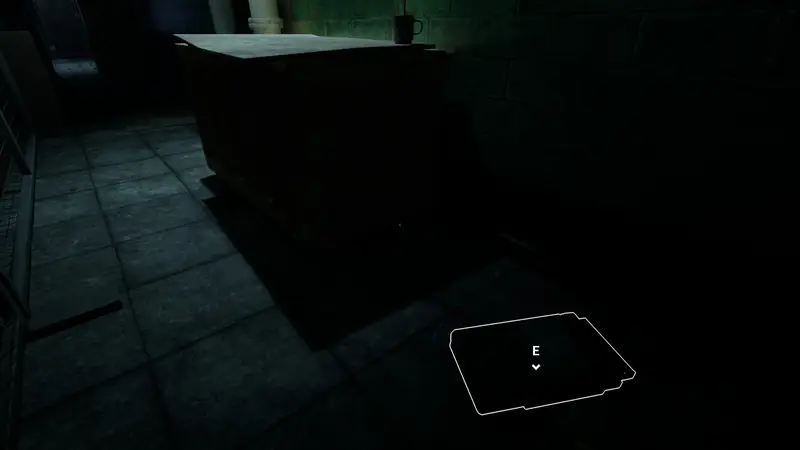
You have to climb this parkour section anyway to turn on the power for this sector. At the top, go through the dark passage to its end.
Paleo Pal Review (3/5)
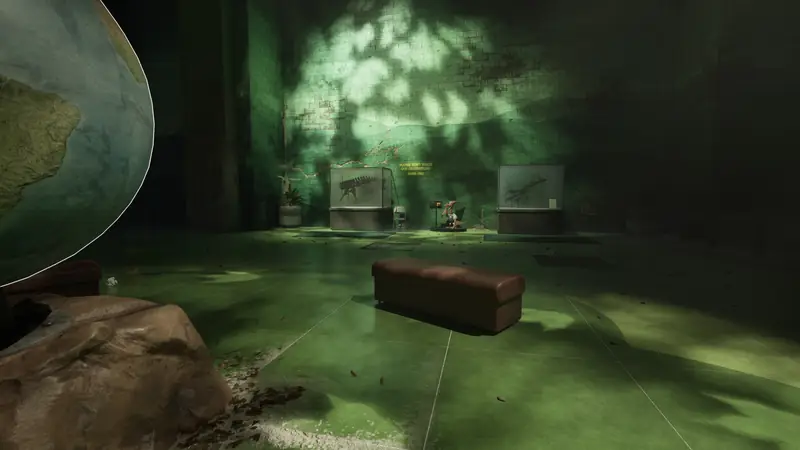
Once the power is on, this cutout is to the right of the globe.
Note 6
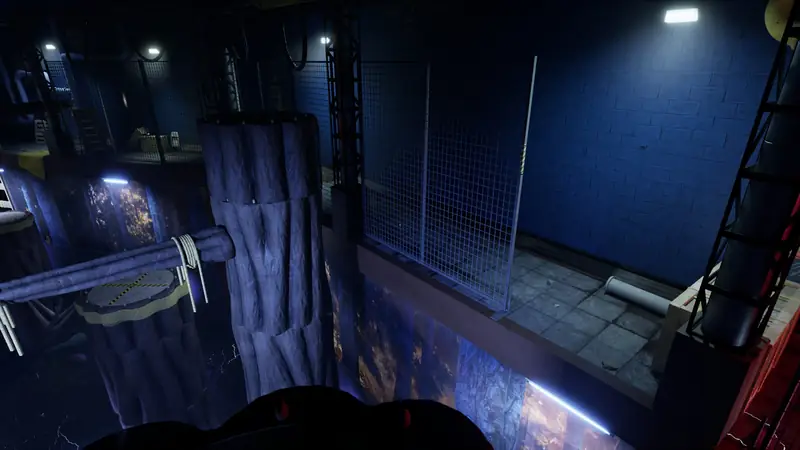
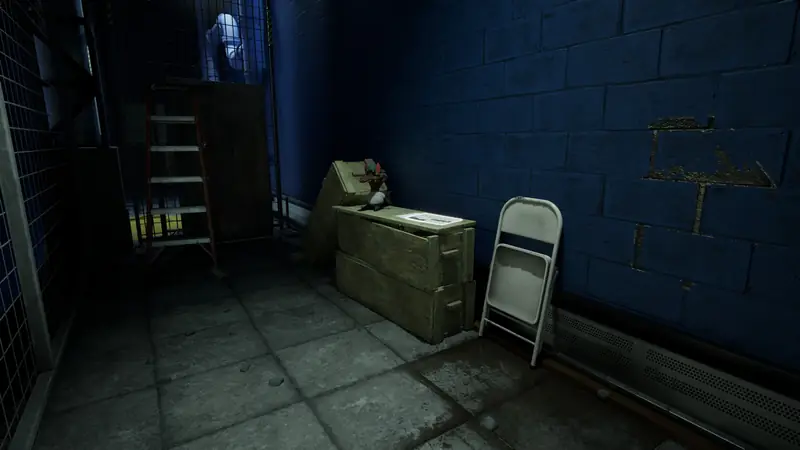
On the first electrified climb, stop at the first platform you can. The note is a newspaper on the left side.
Sample 3
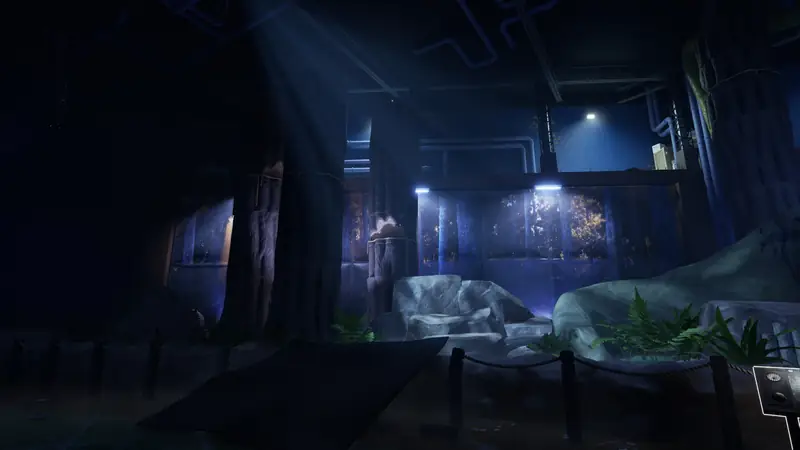
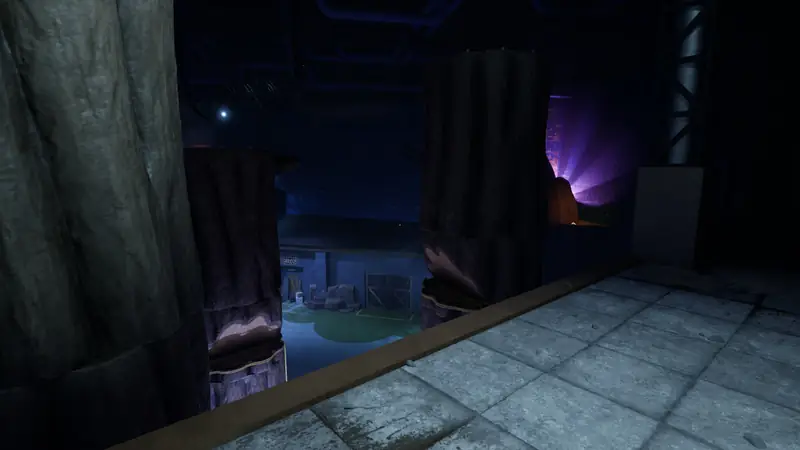
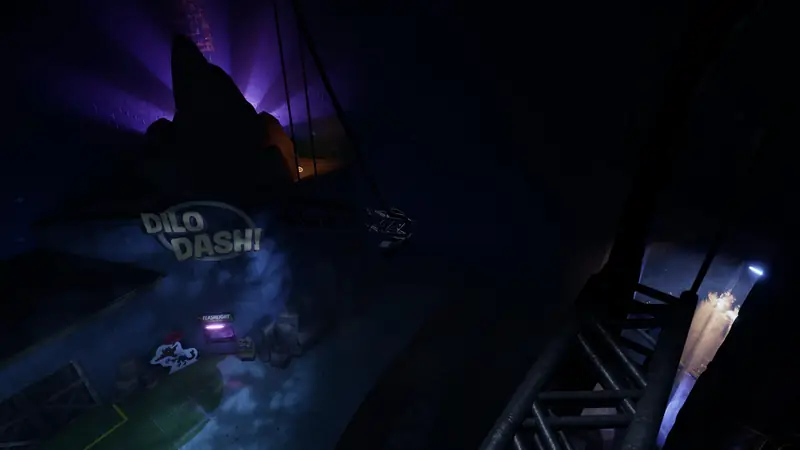
At the parkour section for “Dilo Dash”, climb onto the tree trunk, cross the floating steel rods, and jump onto the Dilo Dash roof.
Note 7
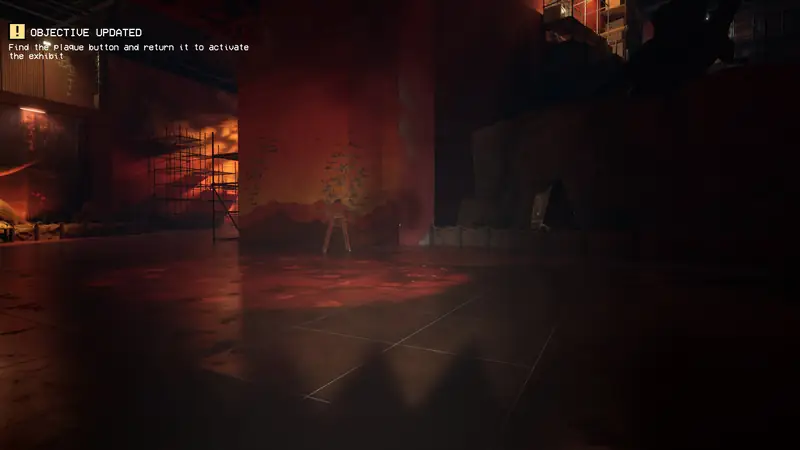
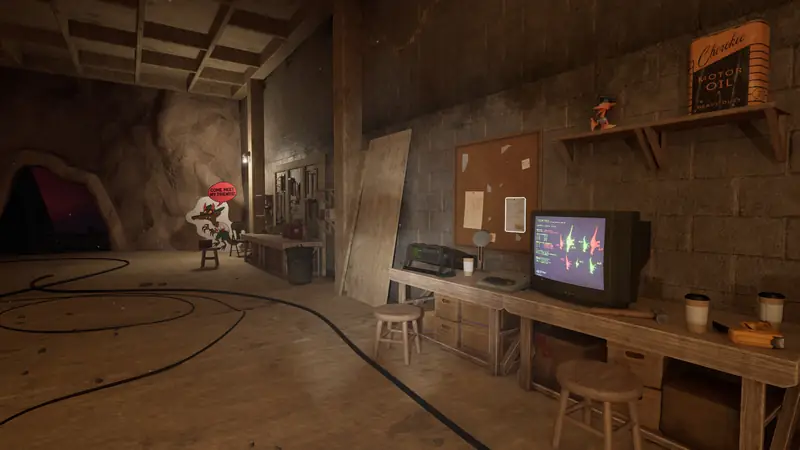
In the area lit in red, walk all the way around until you see a hole in the attraction. The note is beside a TV.
Audio Tape 3
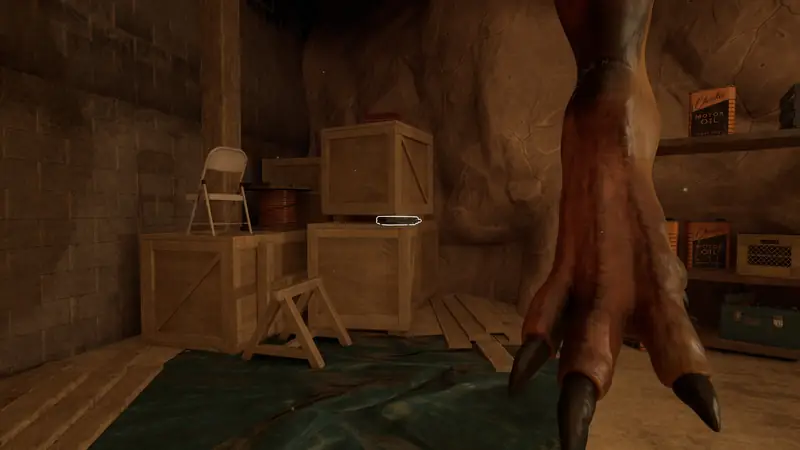
In the same room, on a box in the right corner.
Chapter 1: Part 2
Paleo Pal Review (4/5)
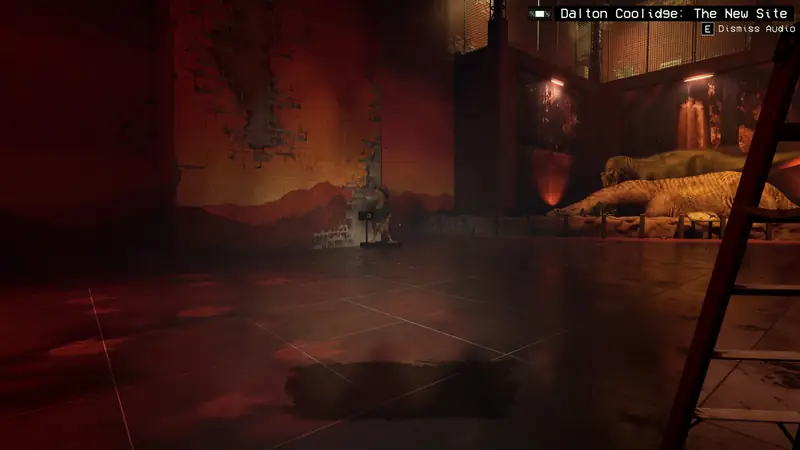
Just outside the room with Note 7 and Audio Tape 3.
Paleo Pal Review (5/5)
Follow the story until you reach the corridor to the gift centre. The last cutout stands just before it.
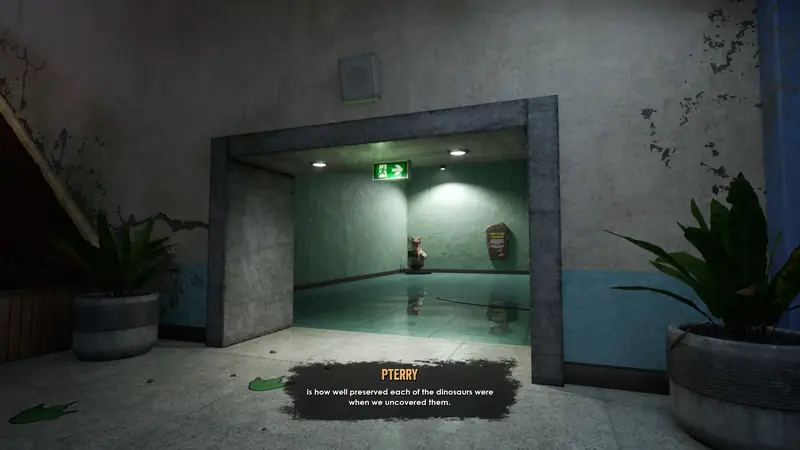
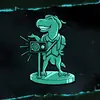 | Paleo Pal Review Interact with each Paleo Pal character’s talk box. Hidden achievement |
Audio Tape 4
In the gift centre, go into the store on the right. The tape is behind the desk.
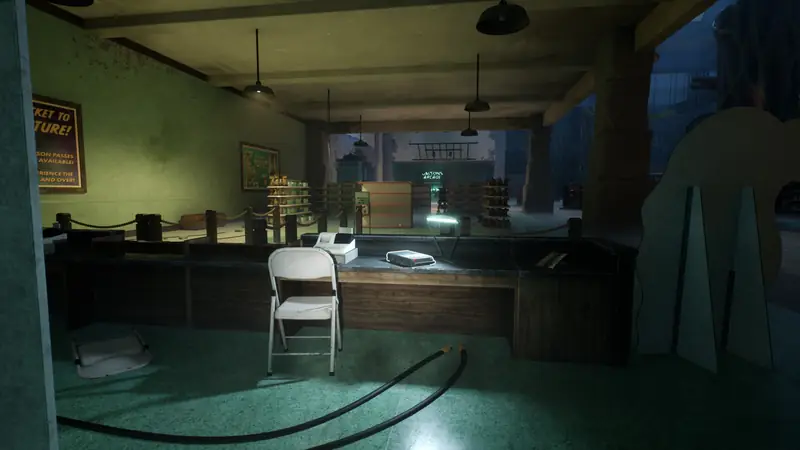
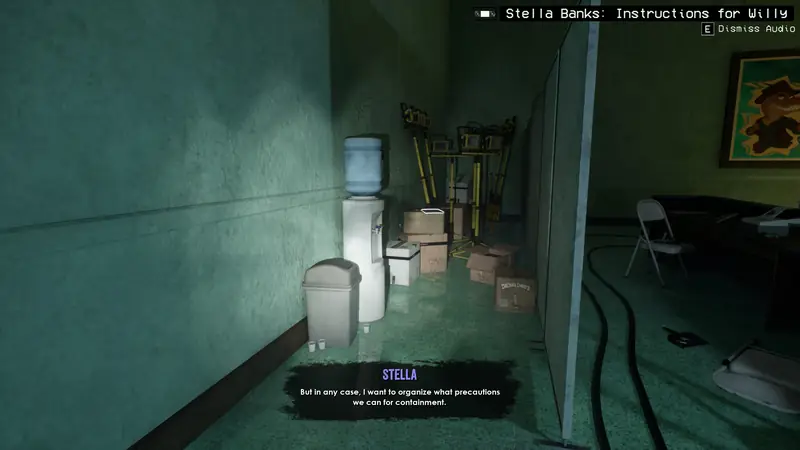
Note 8
In the same store, at the very back wall behind a fence.
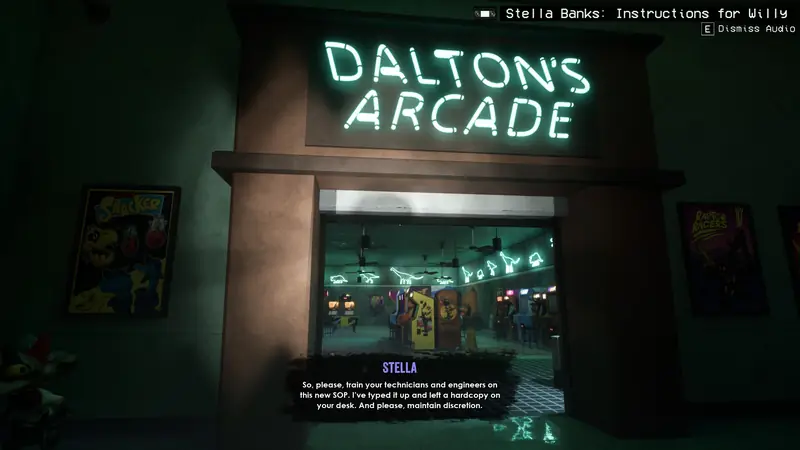
Note 9
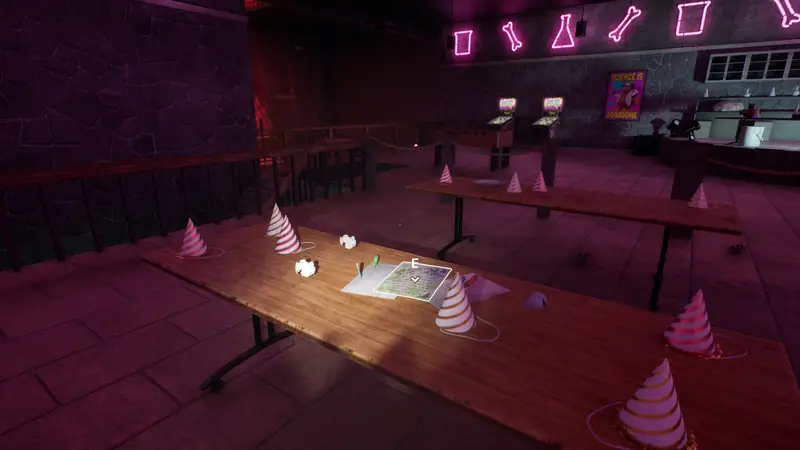
Inside Daltons Arcade, on a table on the second floor.
Note 10
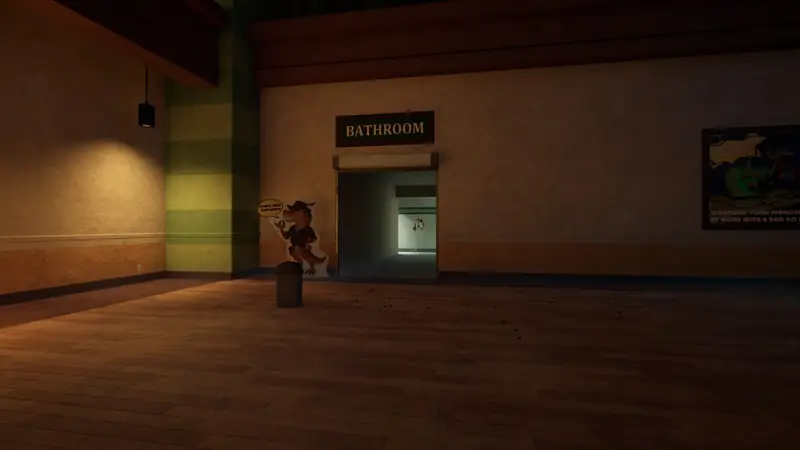
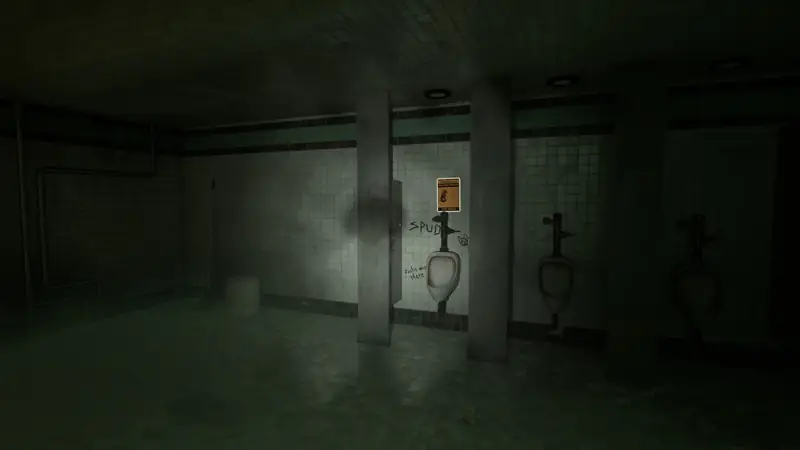
The bathrooms are at the back left of the gift centre. The note is in the gents.
Note 11
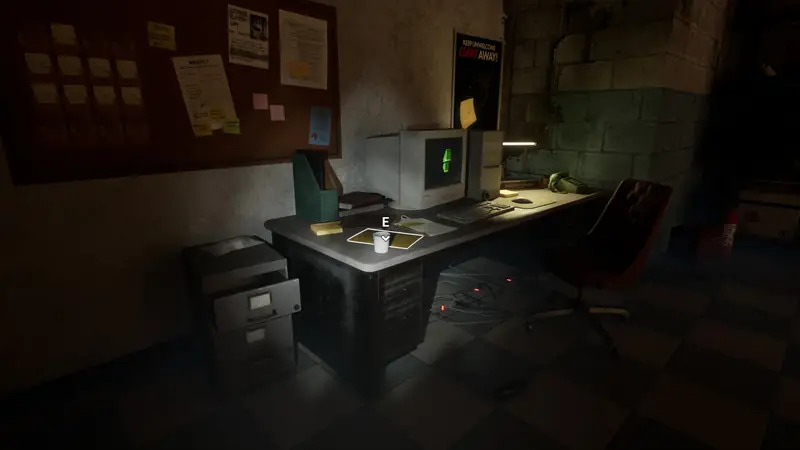
On the desk in the office.
Note 12
In the basement, on a shelf near the stairs you came down.
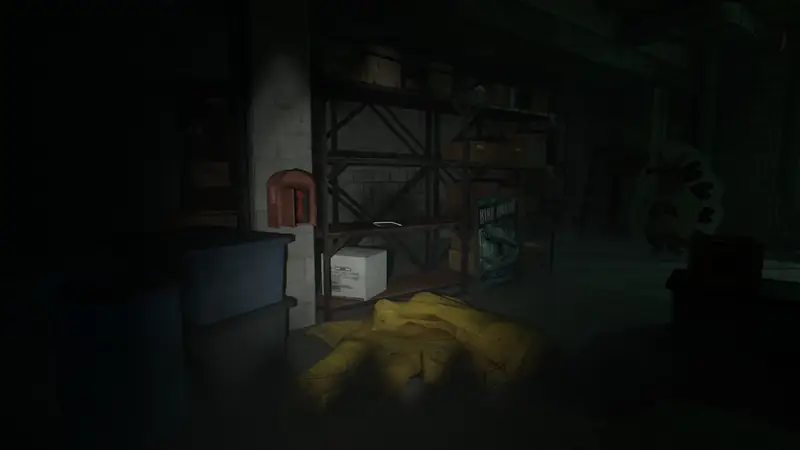
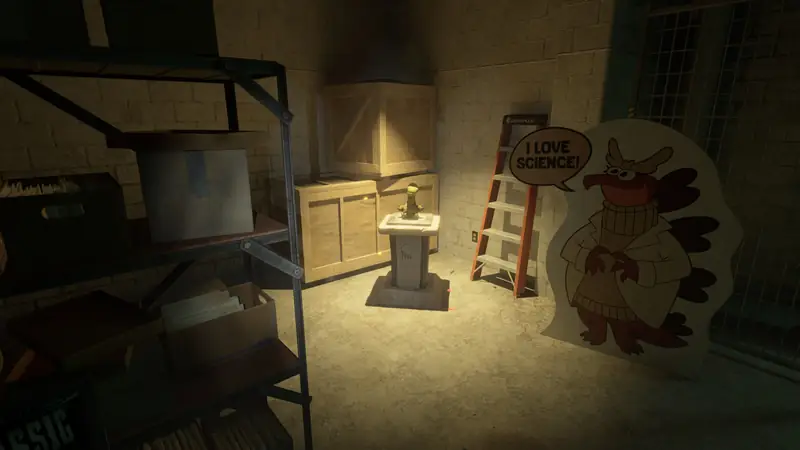
Plushie Pedestal 1
Behind that shelf, a pedestal stands in the right corner. This is where Chapter 1’s plushie goes.
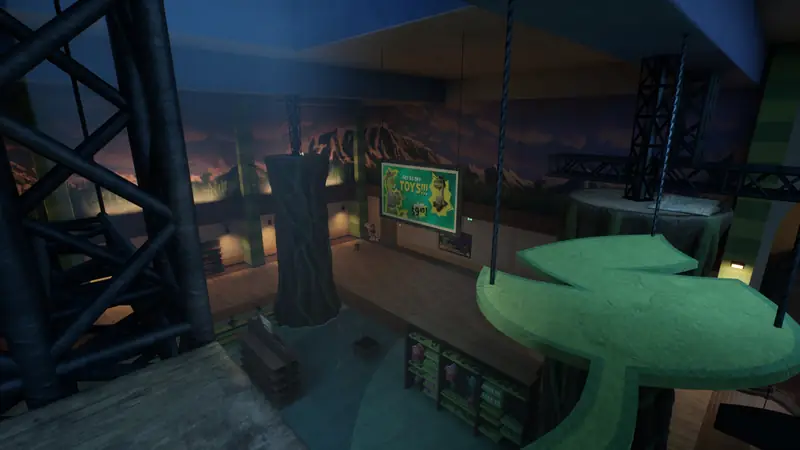
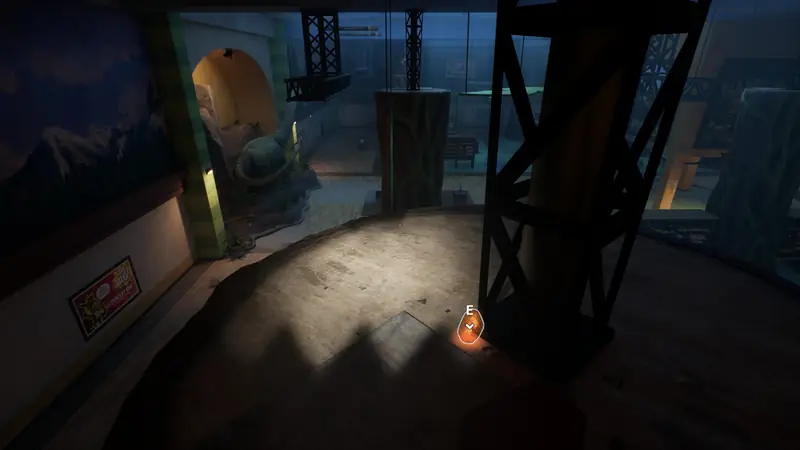
Sample 4
During the parkour in the upper part of the gift centre, climb the billboard on your left. It leads to a lone platform with the sample.
Chapter 2: Part 1
Plushie 2
Right at the start, on a set of planks.
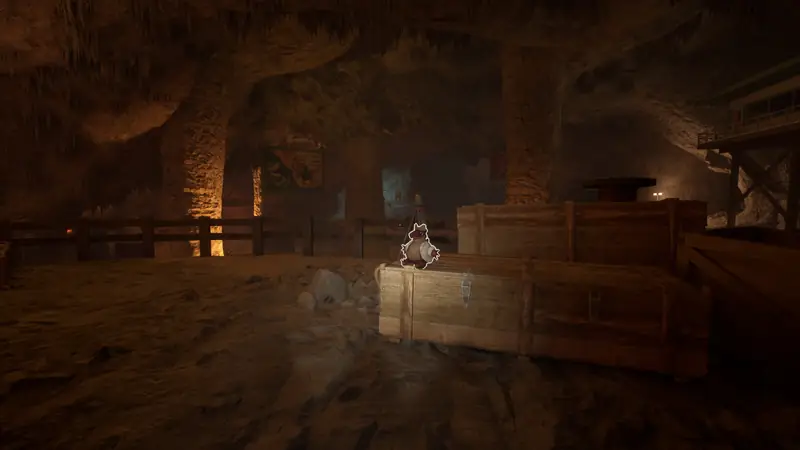
Note 1
Go down one level from the plushie. The note is near a radio.
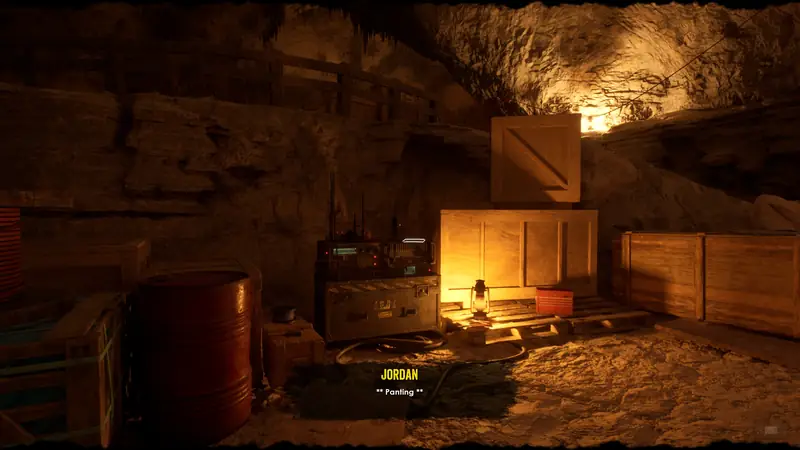
Note 2
At the first generator you go to, on the left, you press a button that opens a door for a short time. The note is on a table next to the button.
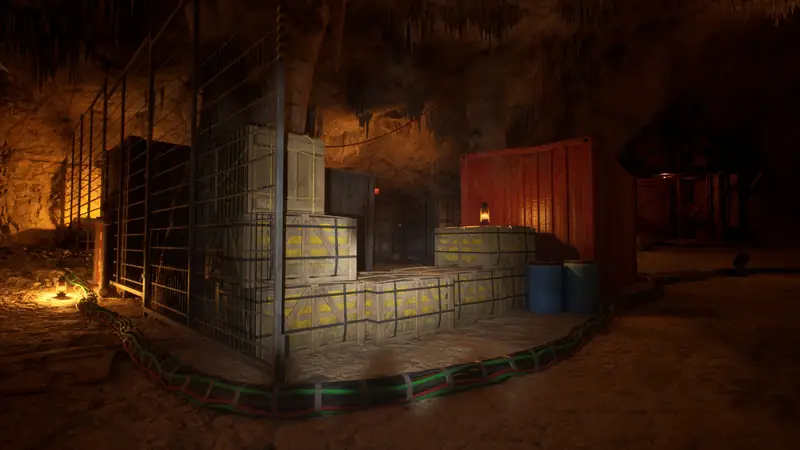
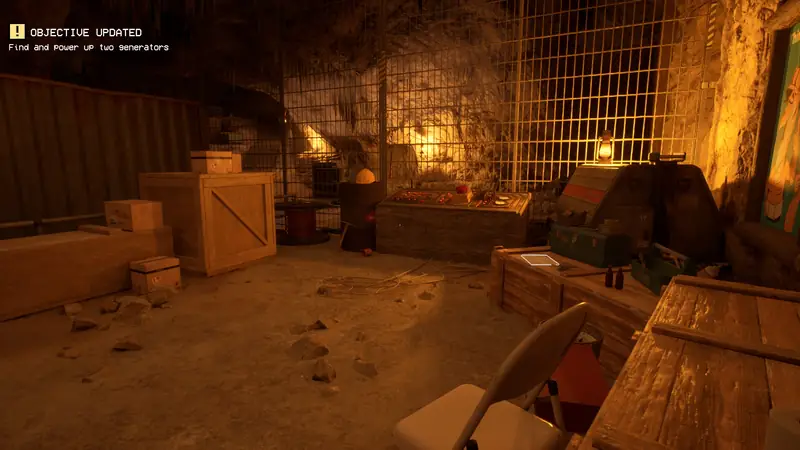
Note 3
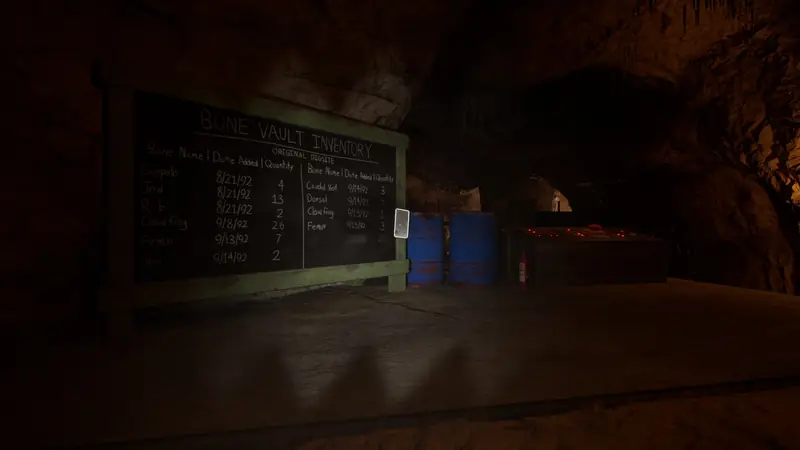
Follow the path past that door to a chalkboard. The note is attached to it.
Audio Tape 1
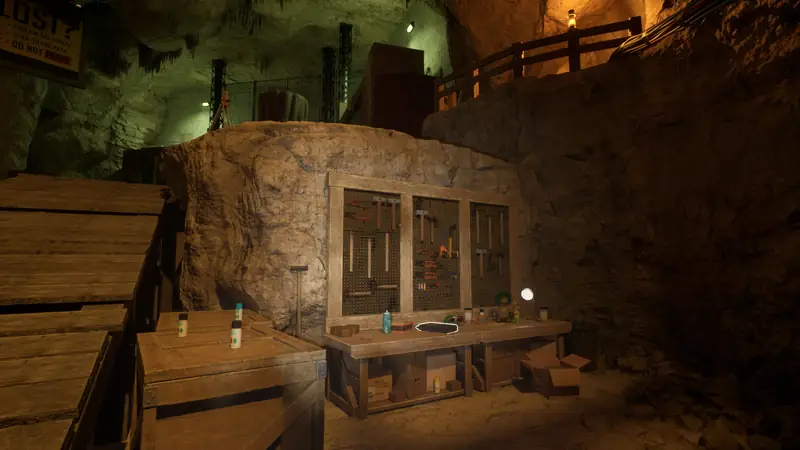
In the next generator area on the left, look on the workbench in the right corner of the lower level.
Sample 1
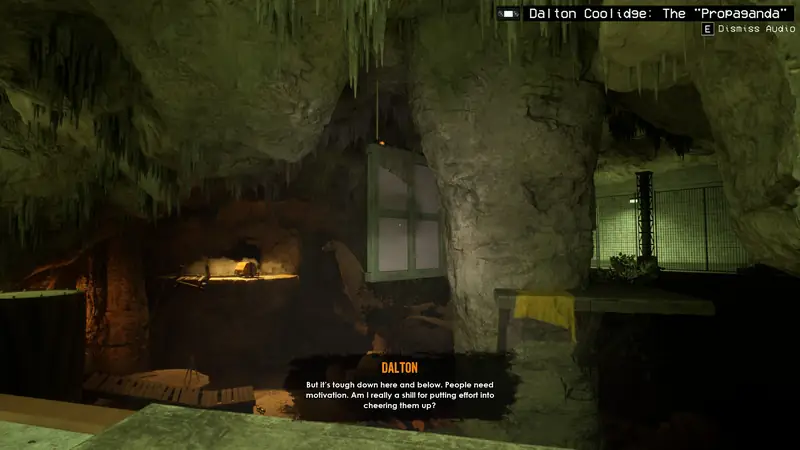
As you carry on with the parkour here, you can spot the sample on top of a billboard. Jump around to a log on the other side and climb up from there.
Note 4
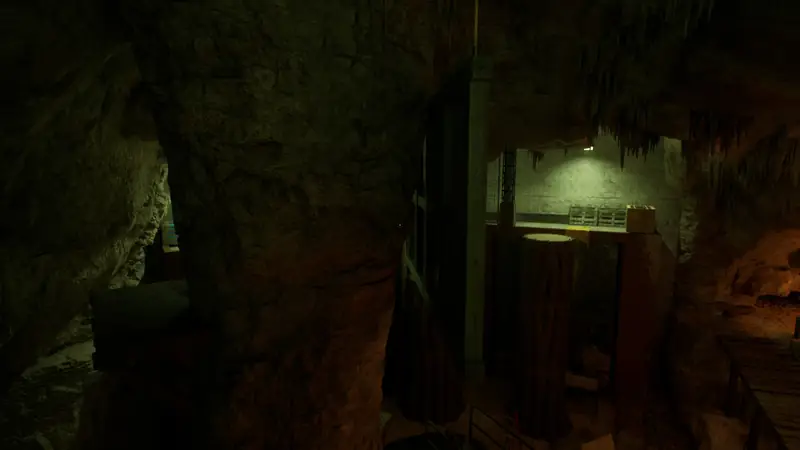
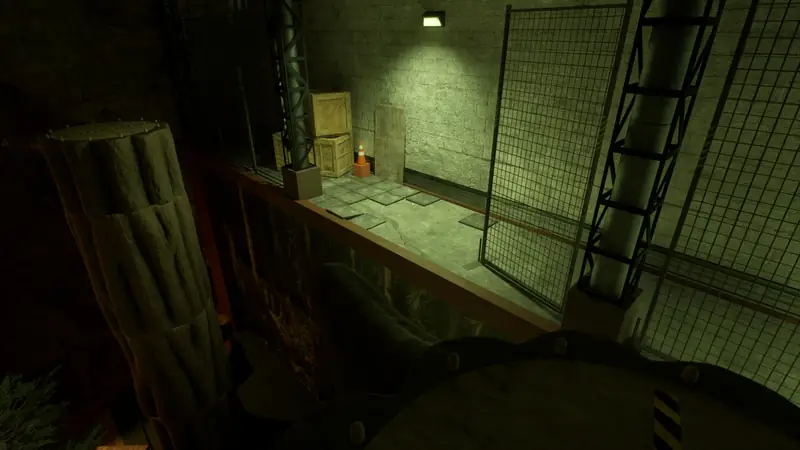
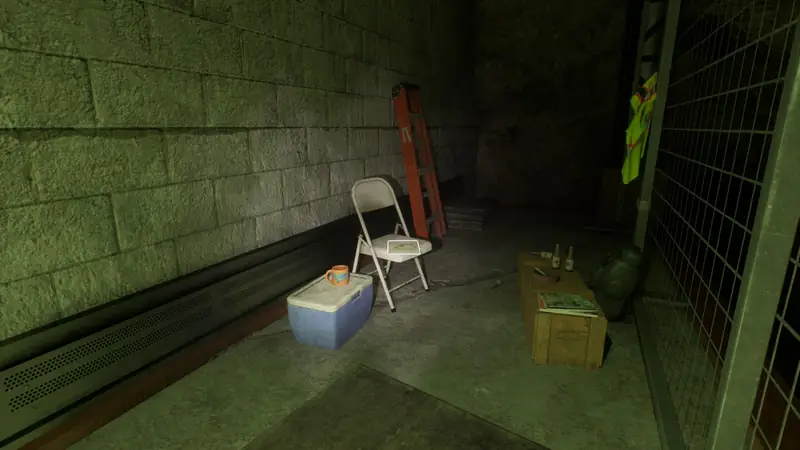
Keep going across the log jumps. At the middle platform, turn left. The note is on a chair.
Note 5
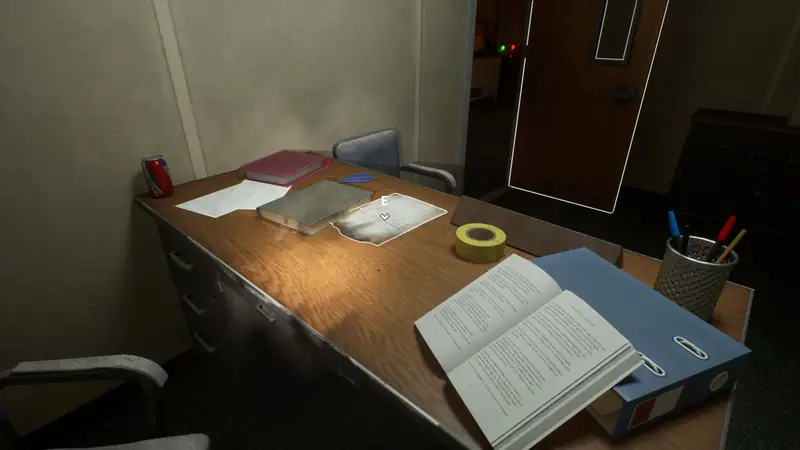
When all generators are done, you go to an office that looks like a lookout tower to open the large door. The note is on a desk in the back office.
Note 6
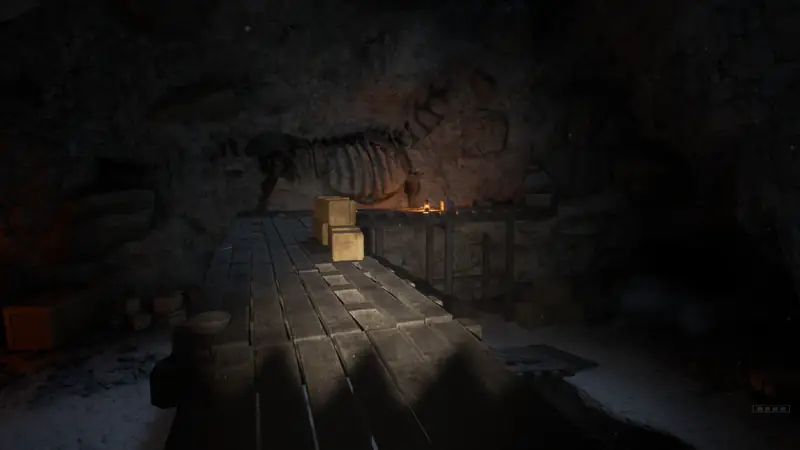
Past the large door is an area with a walkway. Follow it to the end.
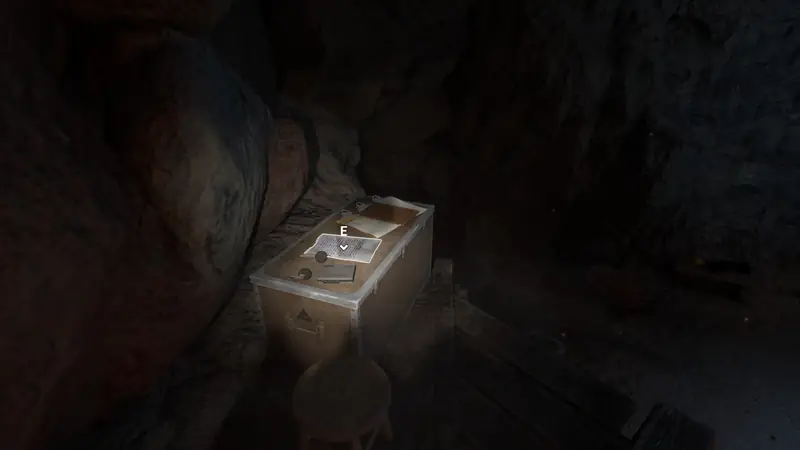
Note 7
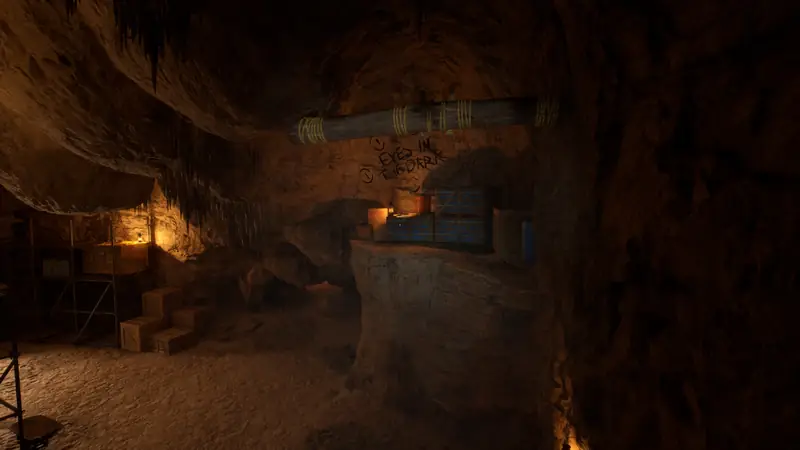
In the next parkour area, climb on top but skip the story path to the right. Keep following the structure until you see “Eyes in the dark” written on the wall. The note is right below the writing.
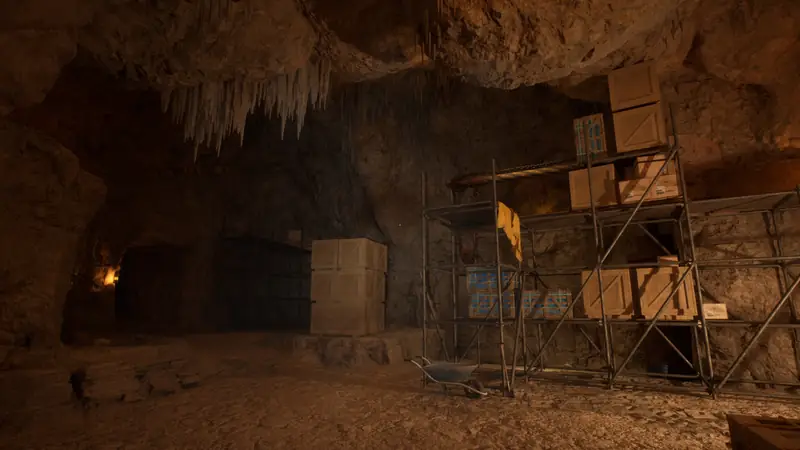
Kick the Rock
 | Kick the Rock Kick the Rock. Hidden achievement |
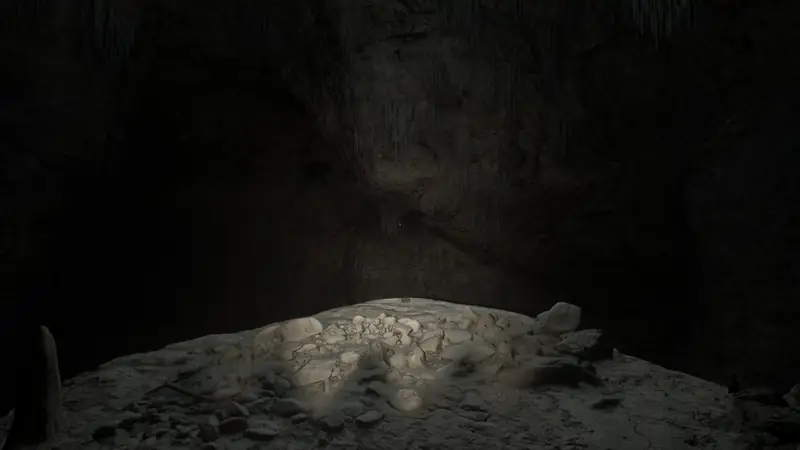
The next area splits into two routes. Take the left one first and walk all the way to the edge of the cliff. A cutscene plays where you kick a rock.
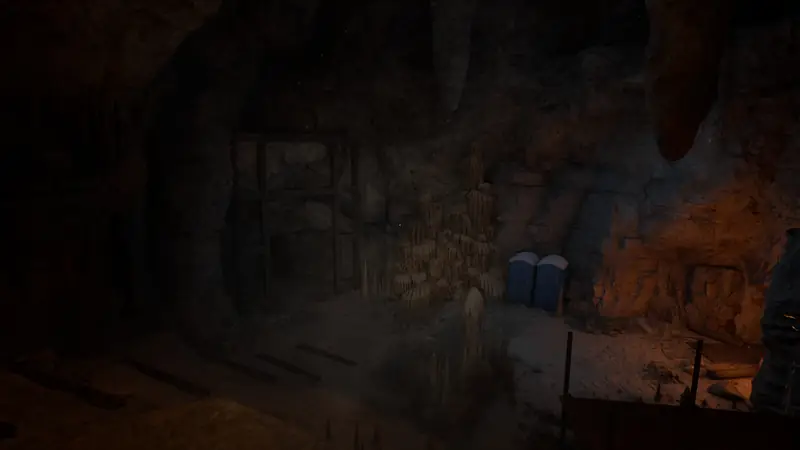
Note 8
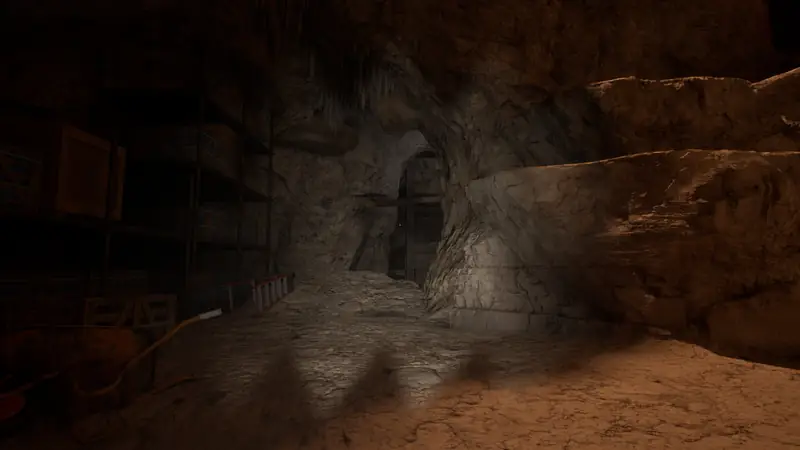
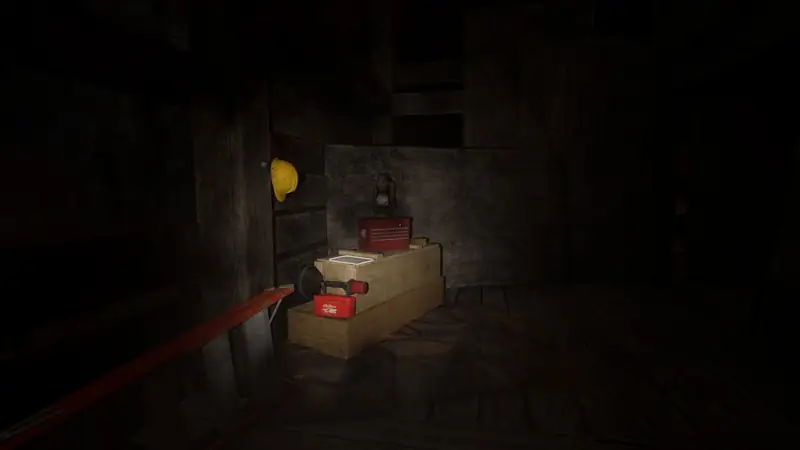
Keep going until you reach another crossroads. Go left to find the note on a box.
Note 9
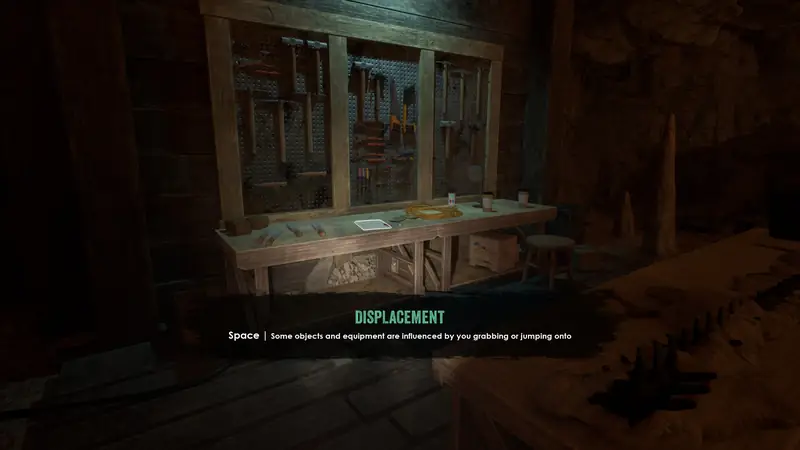
When the game introduces displacements, check the workbench in the first displacement area.
Audio Tape 2
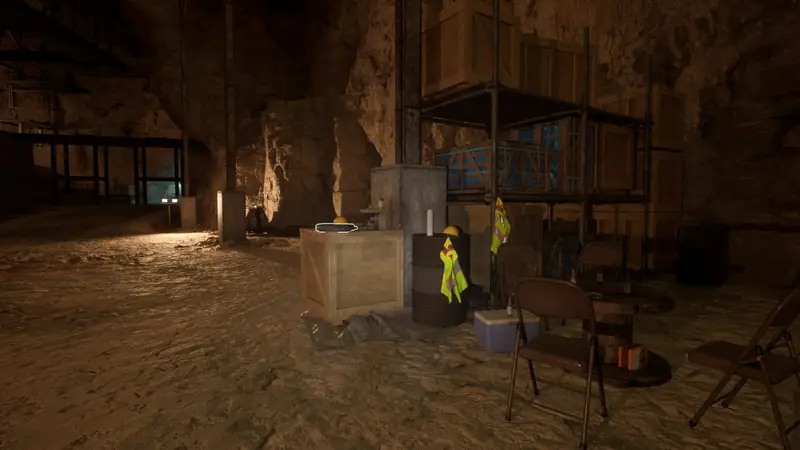
The next area connects to the previous one and has a campfire with old workers’ belongings. The tape is on a crate beside it.
Note 10
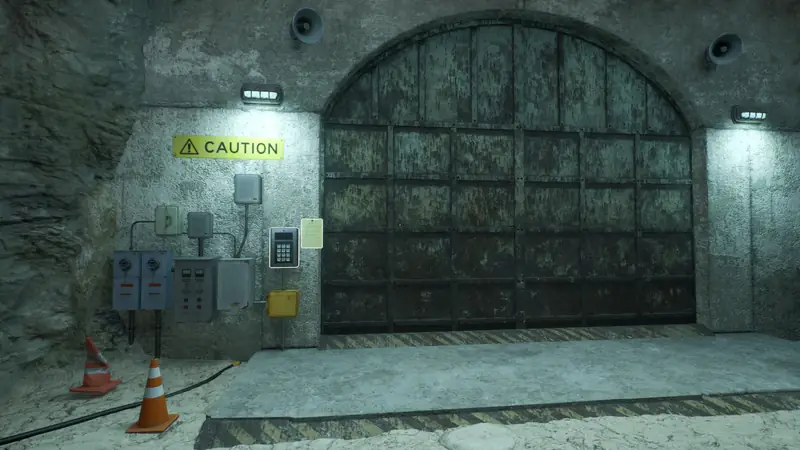
The next area has a big metal gate. The note is attached to its left side.
Note 11
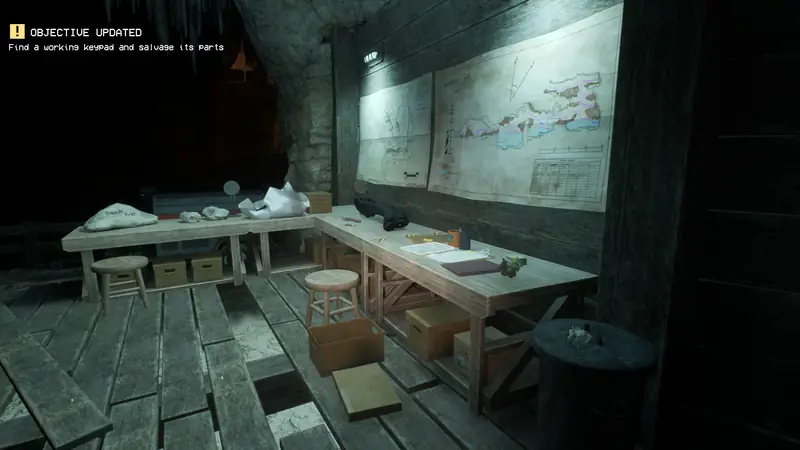
Where you find your gate code, the note is on a desk to the left of it.
Sample 2
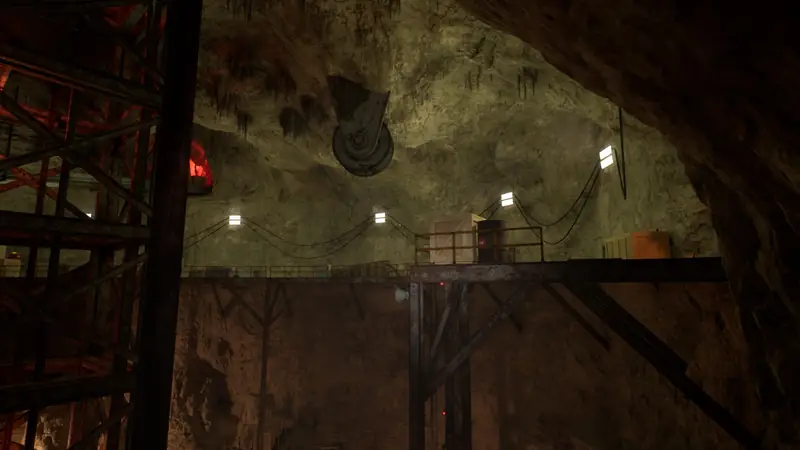
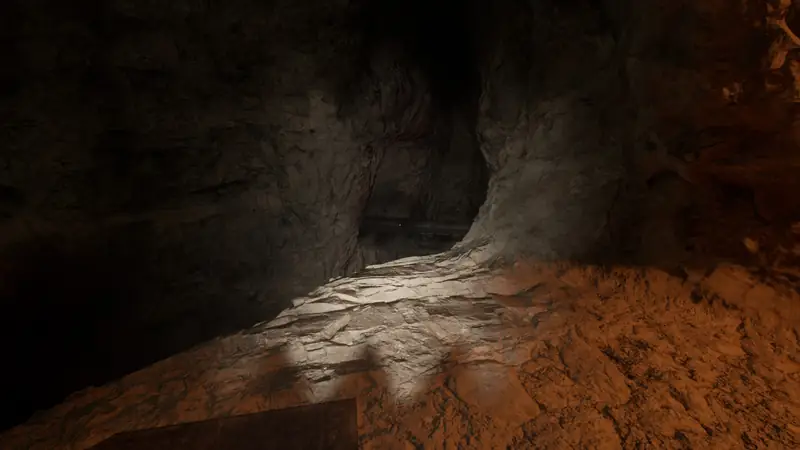
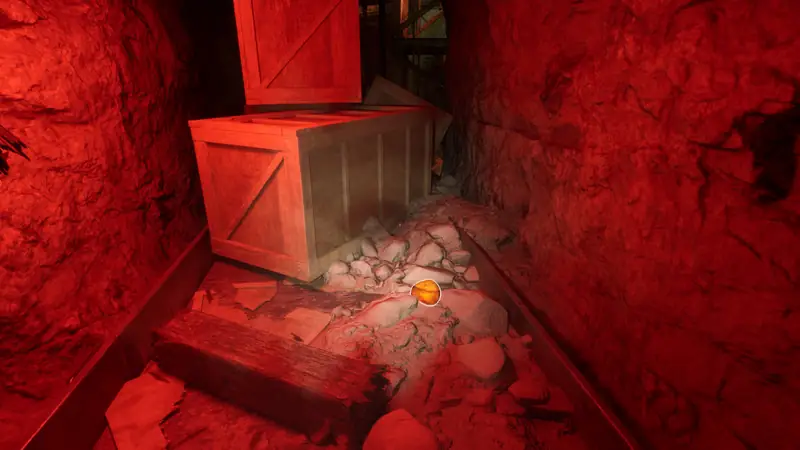
Follow the story path as it climbs. When you reach a spot where you have to go right, turn right again for a secret jump.
Chapter 2: Part 2
Note 12
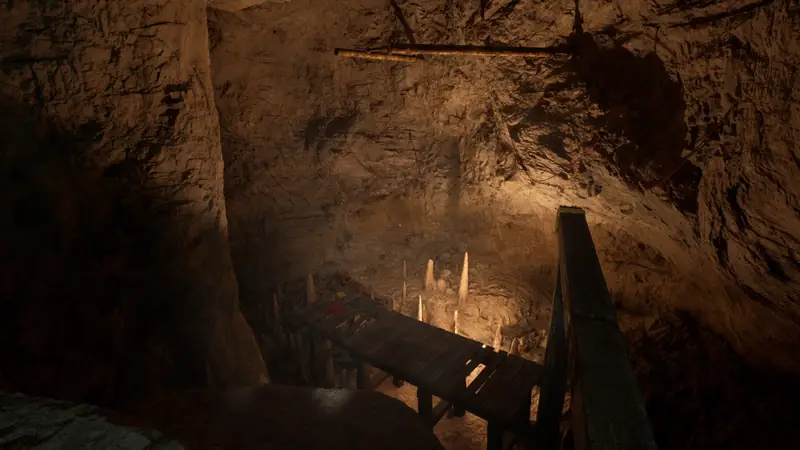
Stay on the story path until the game teaches you balancing. Later you balance over to climbable walls. A platform in the middle, surrounded by spikes, holds the note next to a red rope.
Note 13
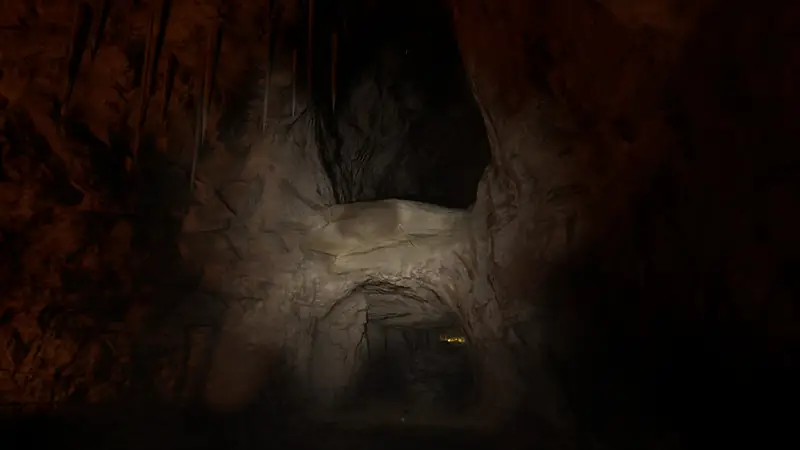
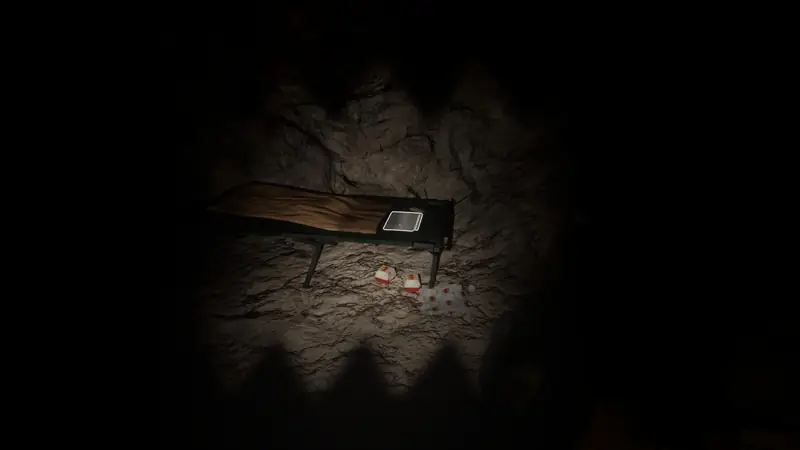
After crawling through some gross-looking liquid, turn around right away and jump up the hidden path. It leads to a note on a bed.
Note 14
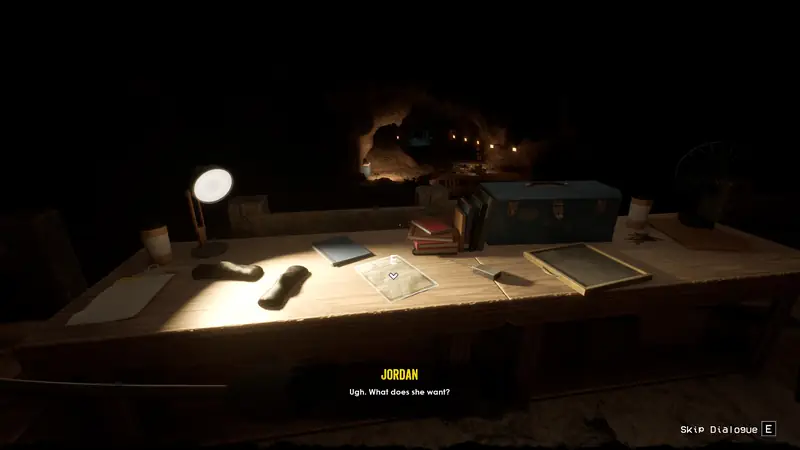
In the next area, where you get the next call, the note is on a desk.
Note 15
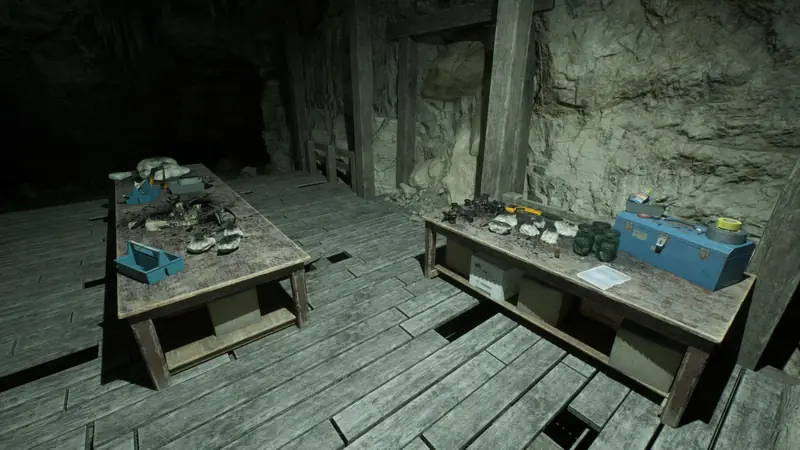
The next area has a set of workbenches. The note is on the one furthest to the right.
Audio Tape 3
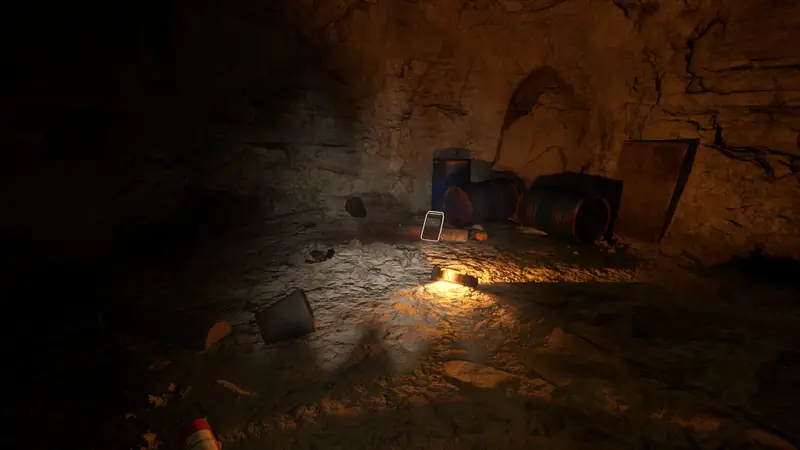
After the dino crawling scene, a new passage opens. On the left side of this area is a bloodied spot with the tape.
Note 16
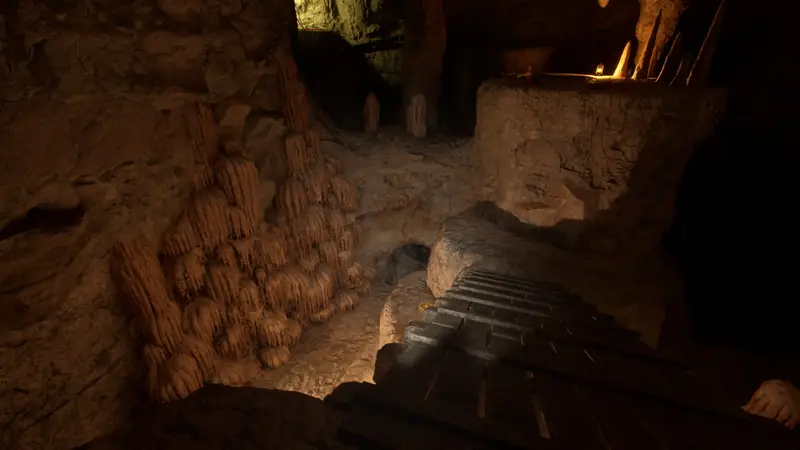
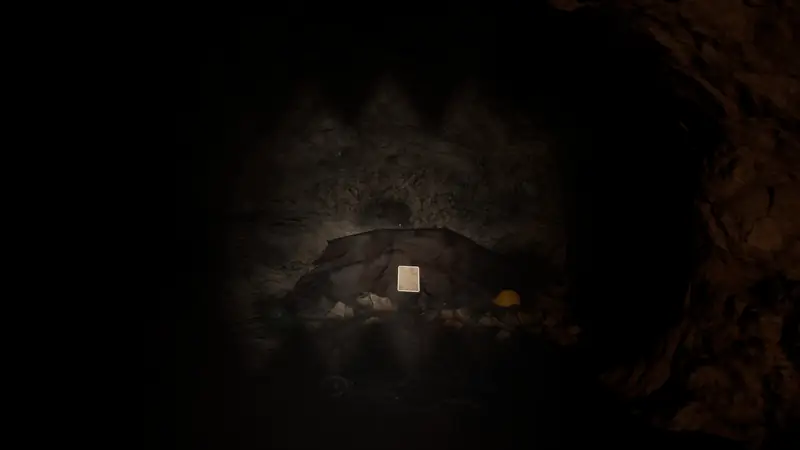
Keep going until you see a slanted plank path. Turn around and look below you. A small opening holds a body covered in tarp, and the note is on the tarp.
Note 17
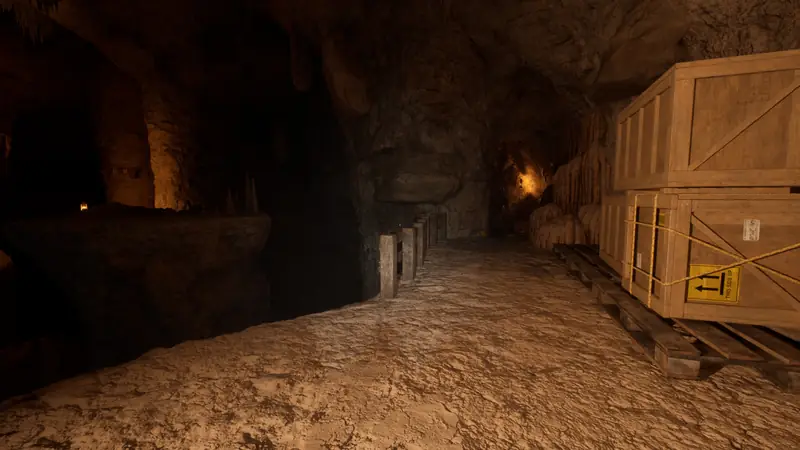
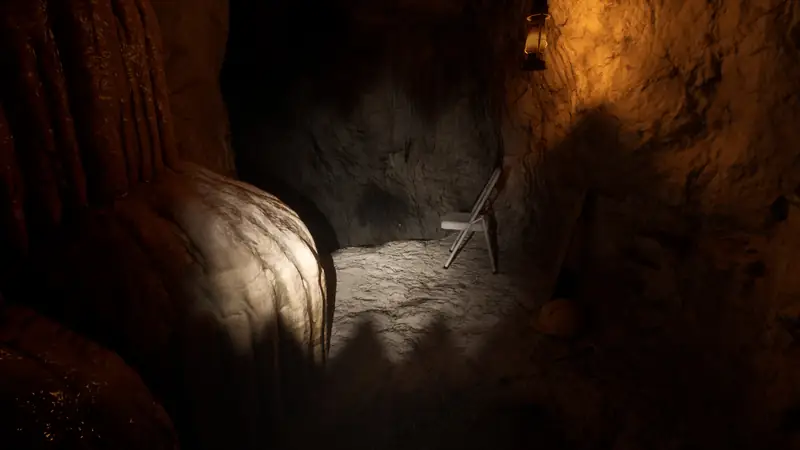
After more parkour, you land on a platform with 2 big boxes. Walk past them to a lone chair with the note.
Note 18
In the next big area, climb the ladder in the centre and go around the corner to a locked room. Climb on top of the boxes and drop into the room from above. The note is on a desk inside.
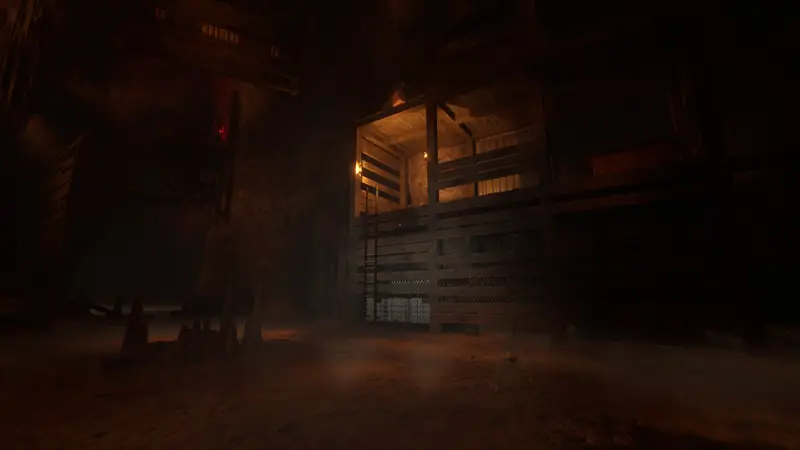
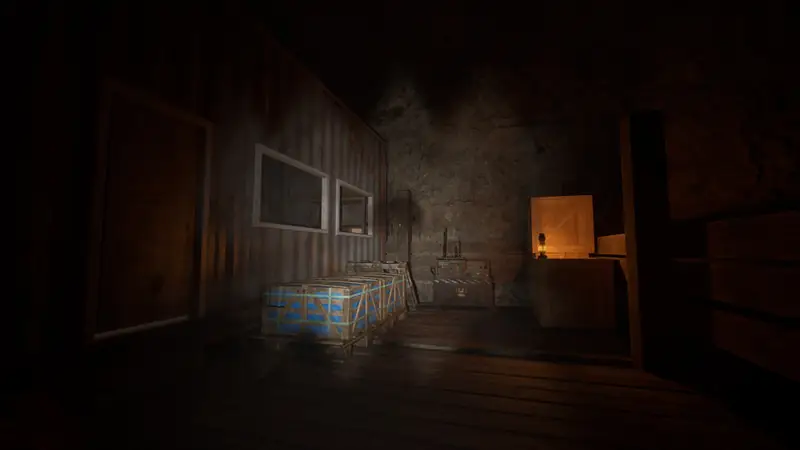
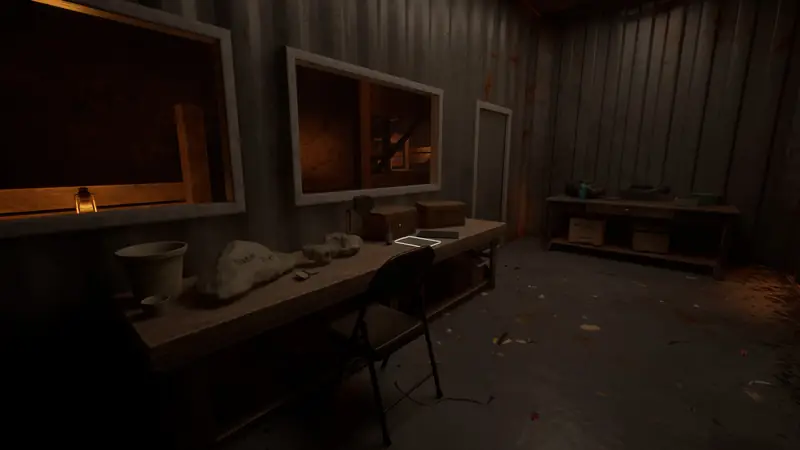
Note 19
Keep moving forward. As you make some jumps, there is a little den below you.
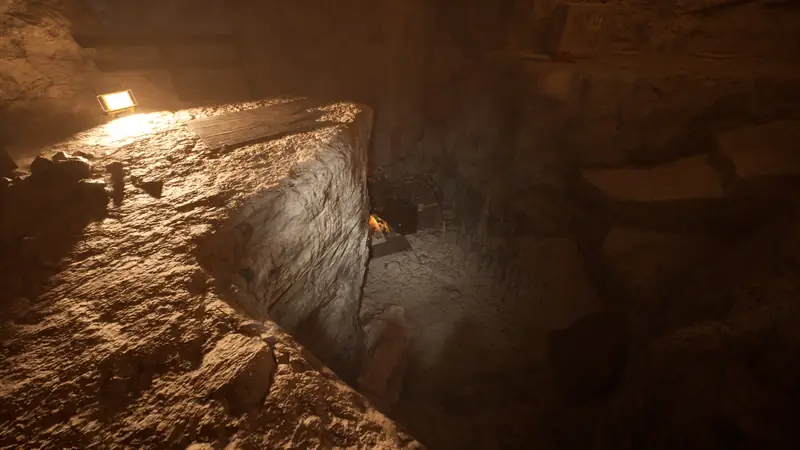
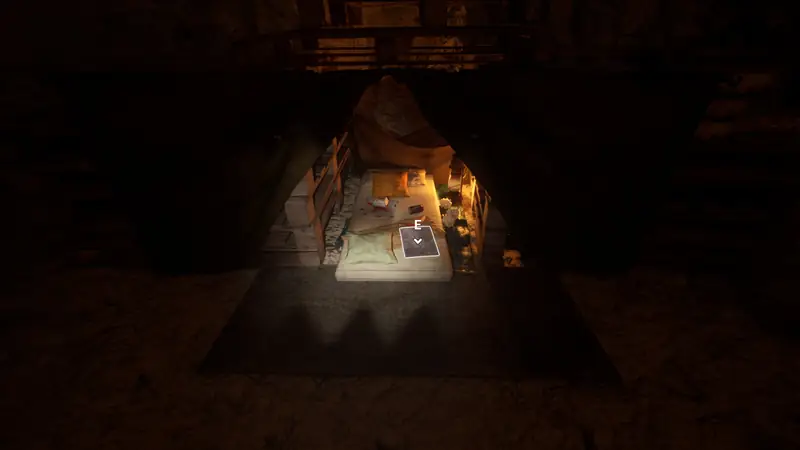
Sample 3
After the cutscene where the elevator breaks, a secret area sits below the next set of platforms. Drop onto the climbable walls to reach it.
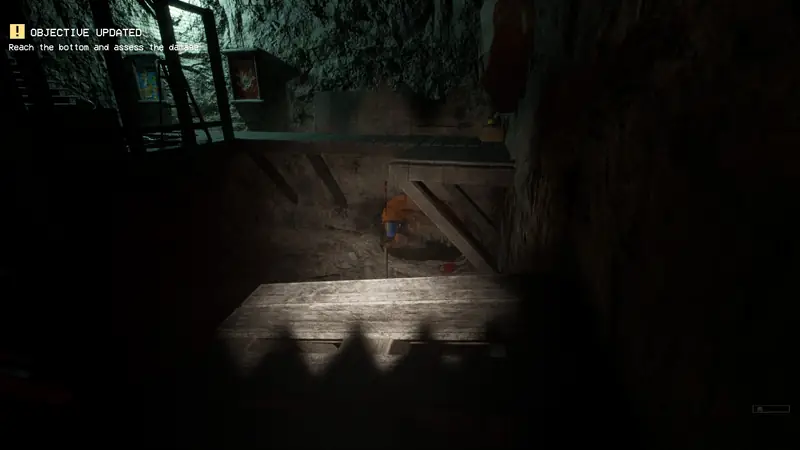
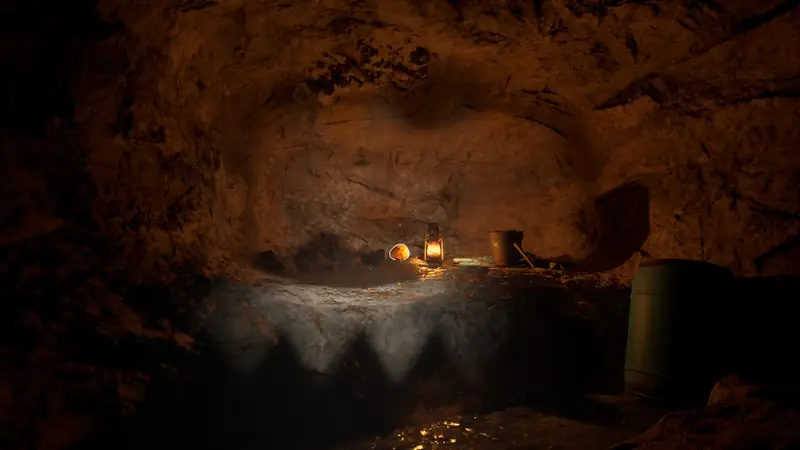
Audio Tape 4
Continue to a room where you use displacement again. The tape is at the bottom of the structure you have to climb.
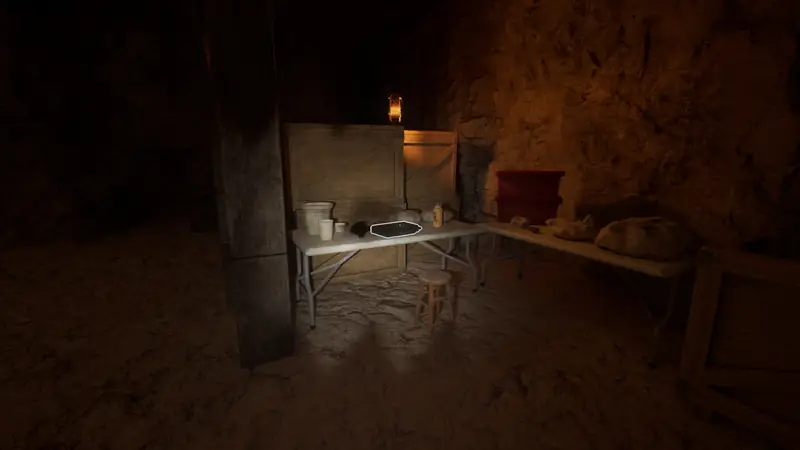
Note 20
On that same structure, do not take the right path with the swinging points. Jump up to the left instead to find a secret area.
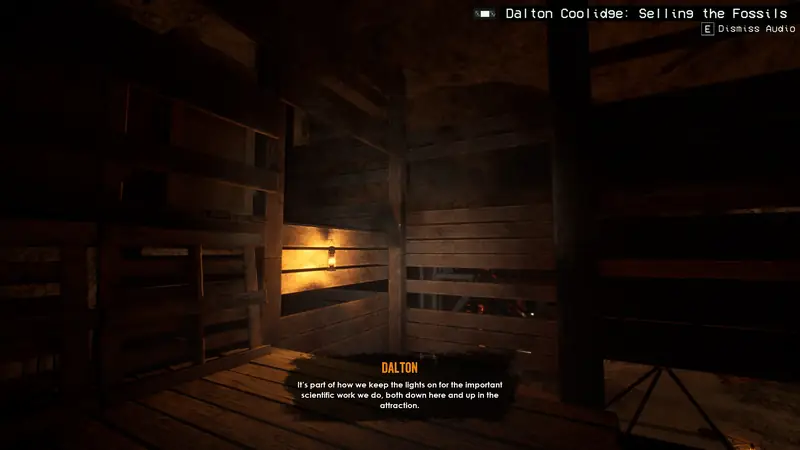
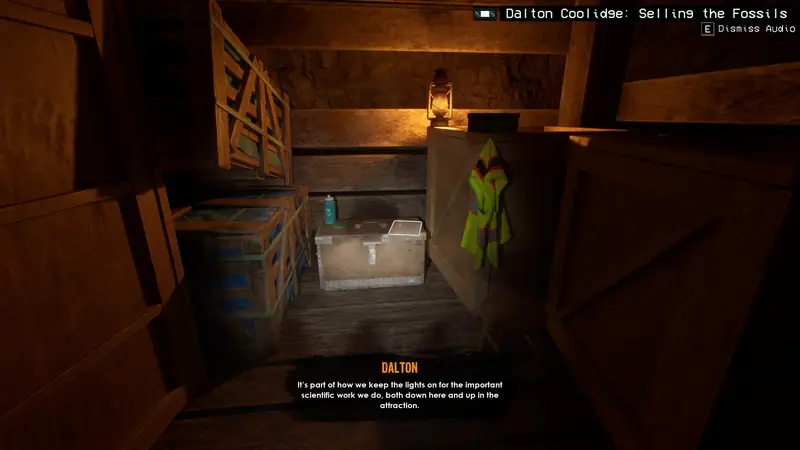
Note 21
After the cutscene with a new dinosaur, the note is on a table on the left, next to a lunchbox.
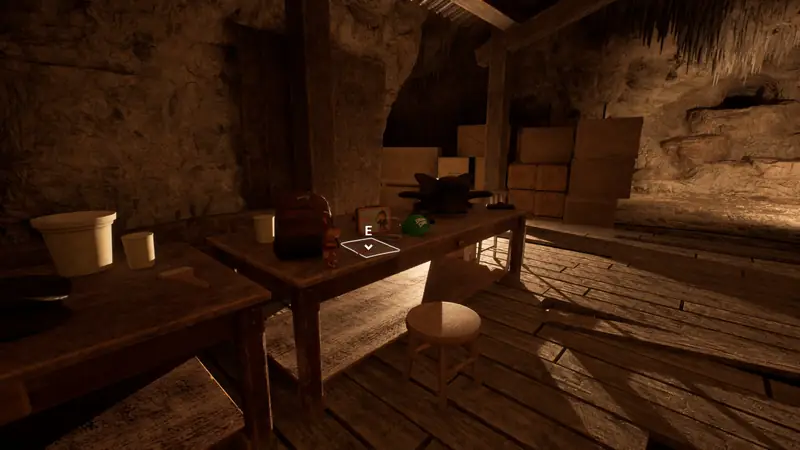
Note 22 and Audio Tape 5
At the next lookout-tower-style office, the note is on the main room’s table, before the button. The tape is in the back office.
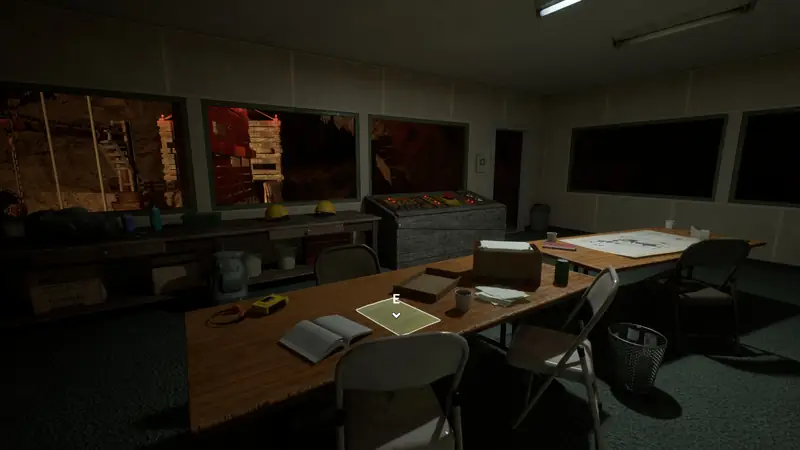
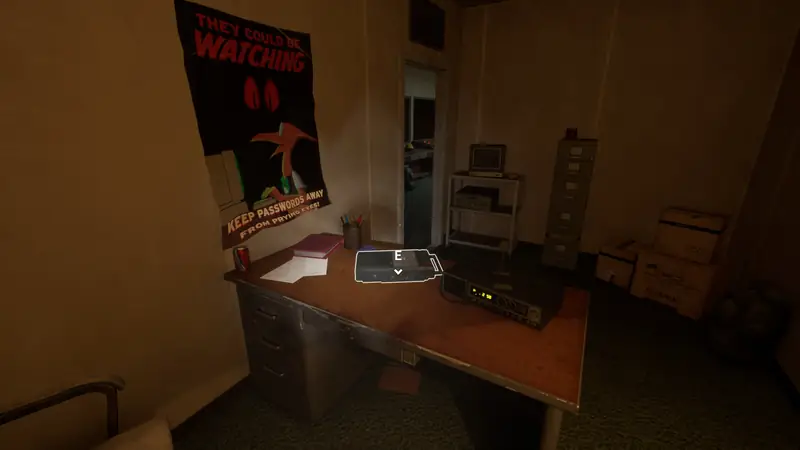
Note 23
Just before the floating climbable walls, go around the very first one. There are 2 platforms, and the note is on the second one, with blood around it.
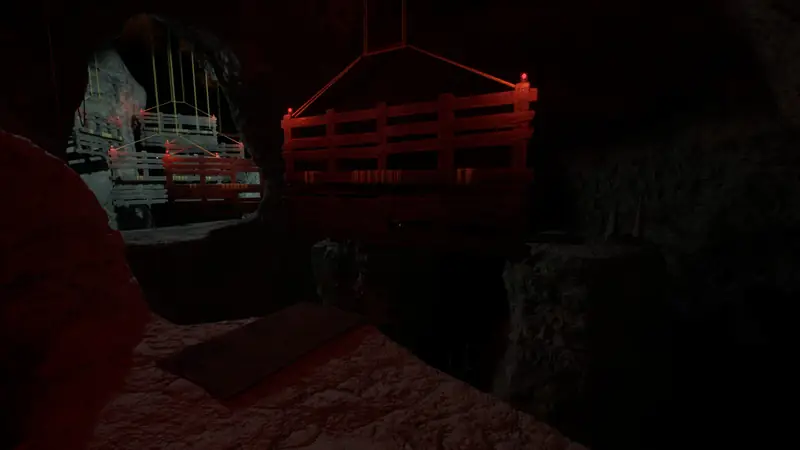
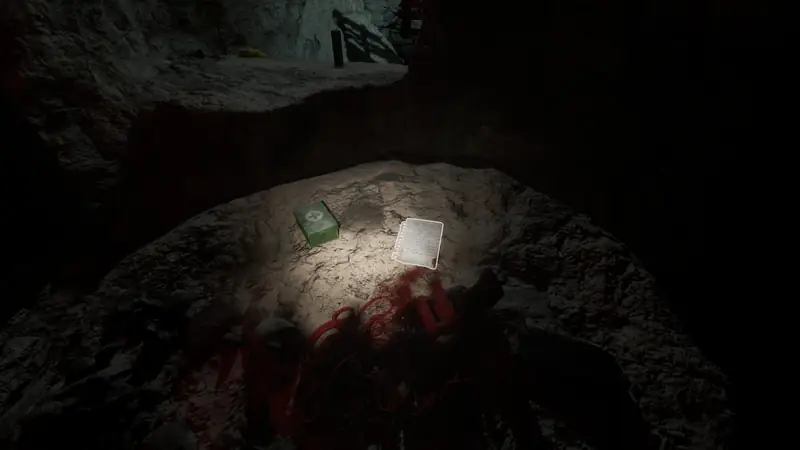
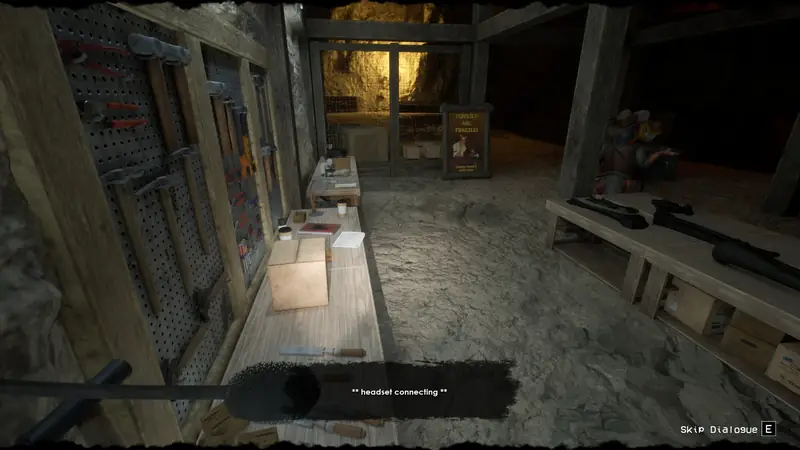
Note 24
In the next big area, where another call happens, there are workbenches to the left of the entrance. The note is on the back left one.
Chapter 2: Part 3
Sample 4
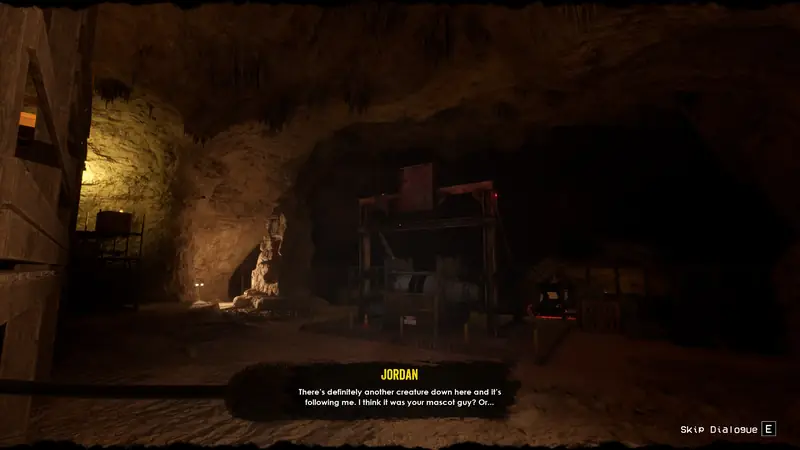
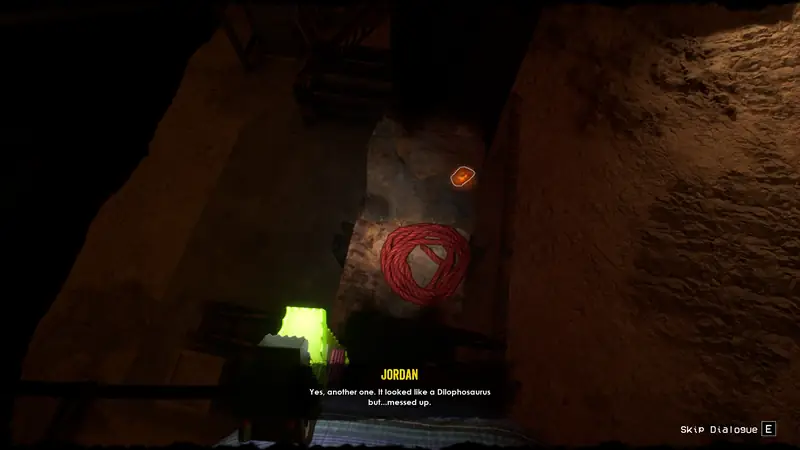
On the other side of the same area, climb on top of the winch.
Note 25
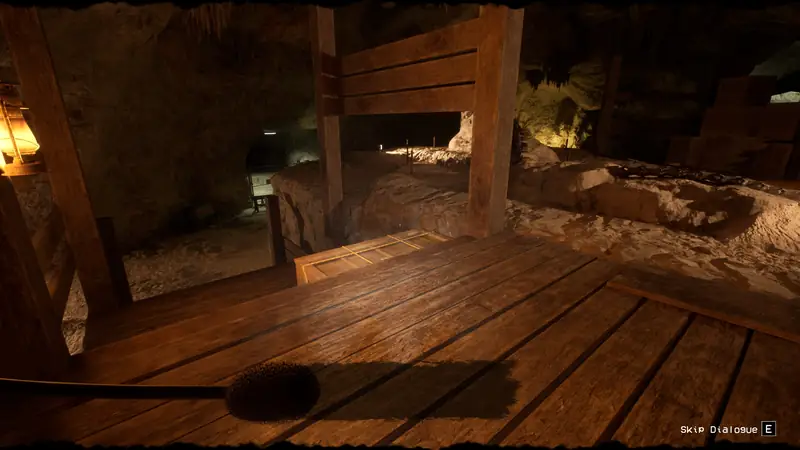
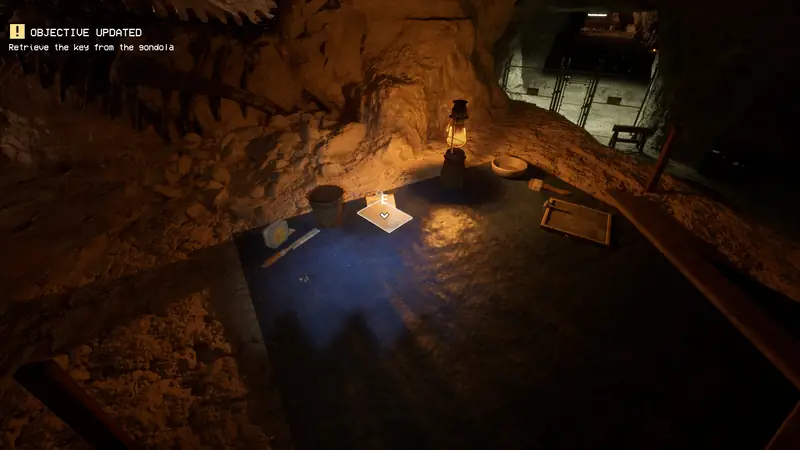
Climb up to the raised area in the middle. The note is on blue tarp near the left edge.
Plushie Pedestal 2
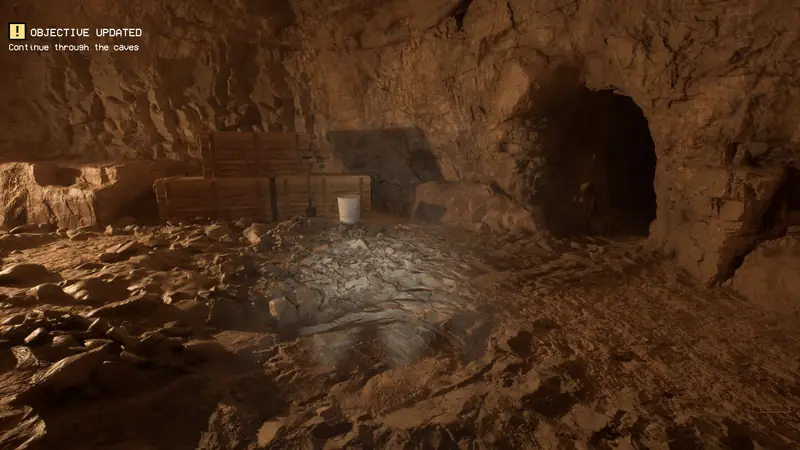
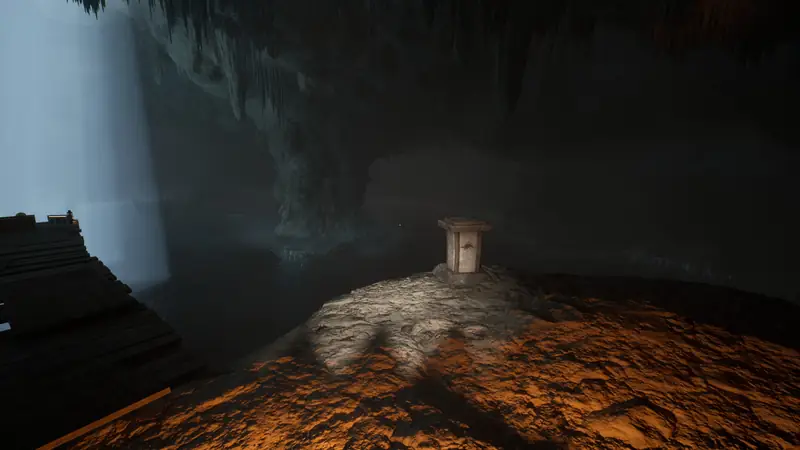
After unlocking the padlock gate, go on a little until you have to turn left. Go right instead, through a hole in the wall.
Chapter 3: Part 1
Note 1
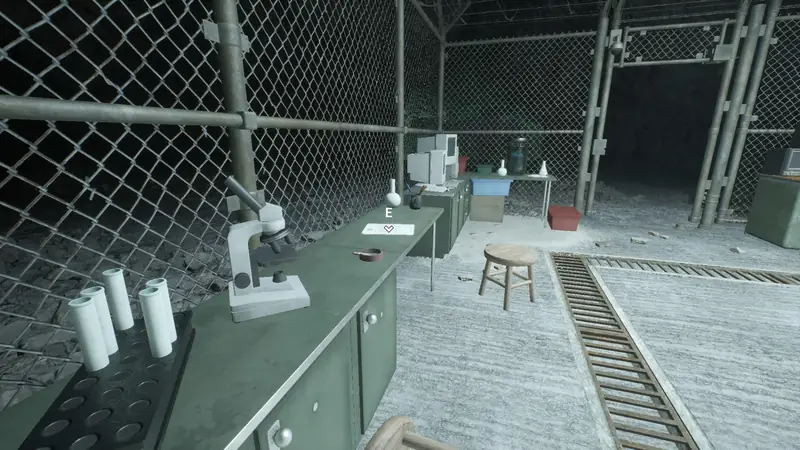
Near the start of the chapter there is a fenced-off area. The note is on a table inside.
Plushie 3
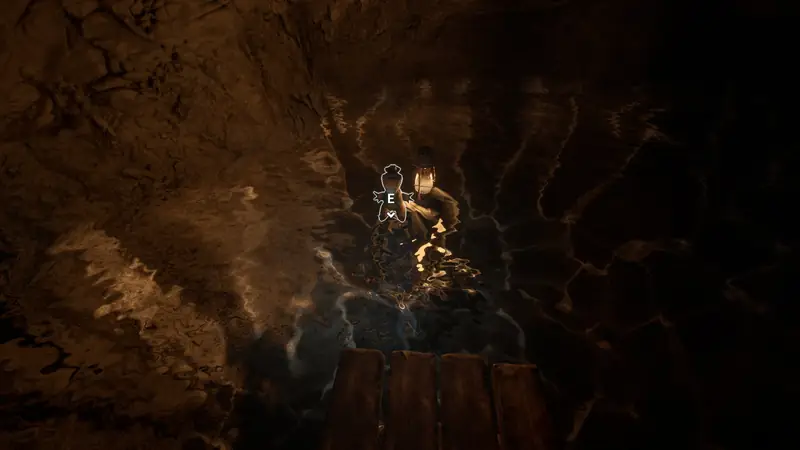
To the right of the fenced area, cross the planks in the water.
Note 2
In the area where the cutscene with the new dinosaur plays, the note is on a box to the left.
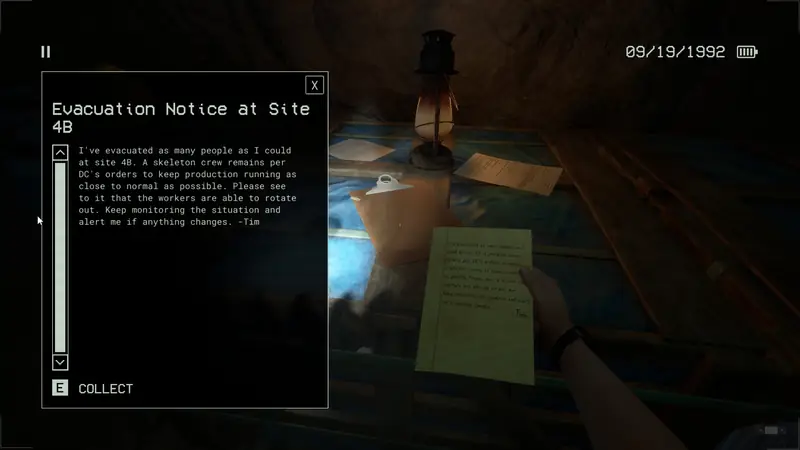
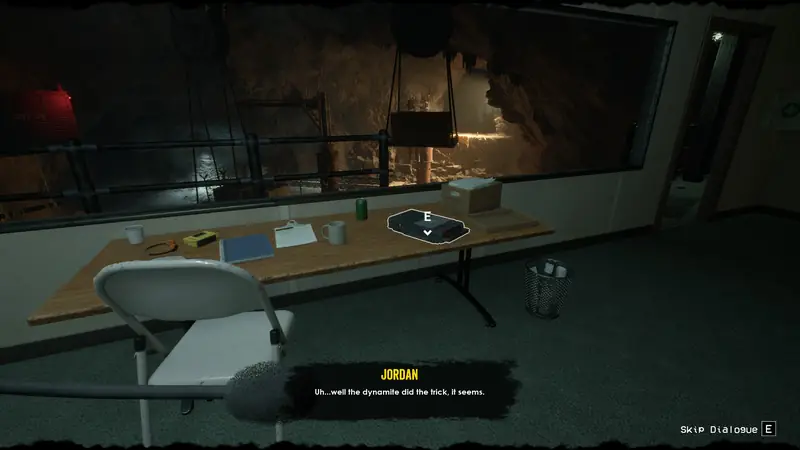
Audio Tape 1
Follow the dinosaur into the area it just opened and go to the lookout-tower-style office. The tape is on a table in the first room.
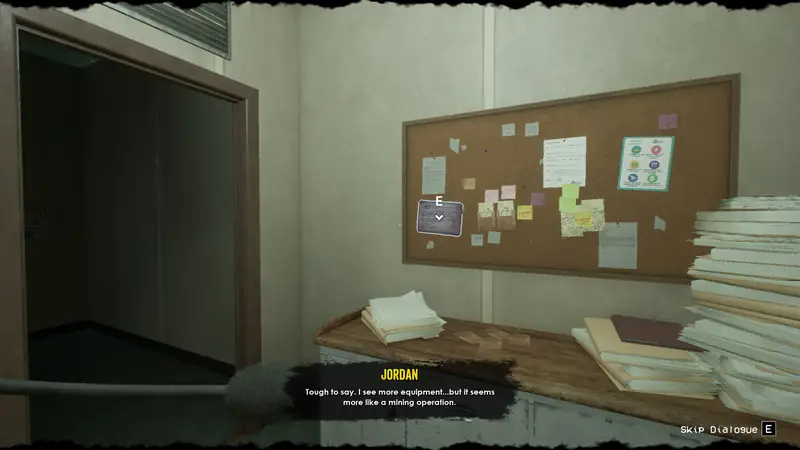
Note 3
In the same building, on a pinboard in one of the rooms.
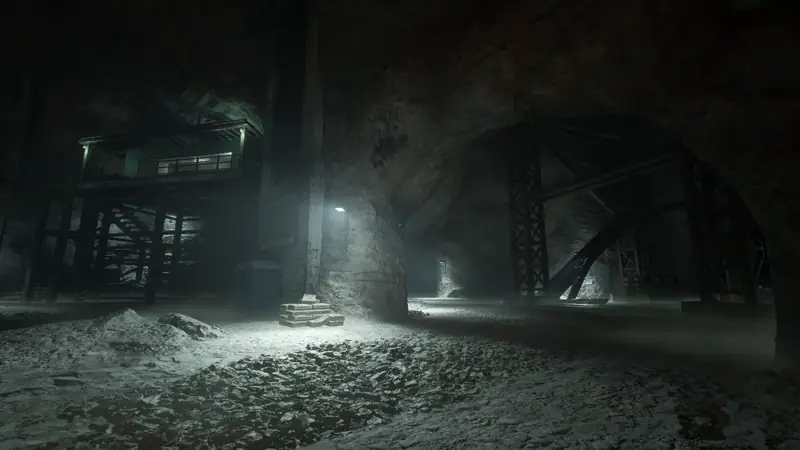
Sample 1
To the right of the tower is an area with a large metal structure. Climb it for the sample.
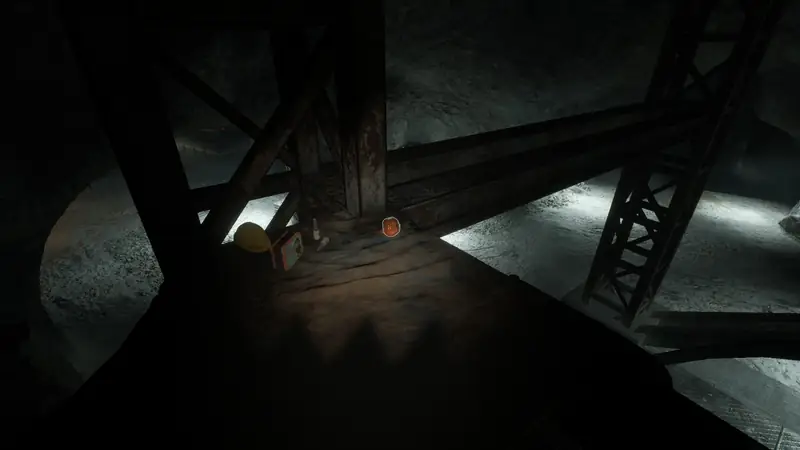
Audio Tape 2
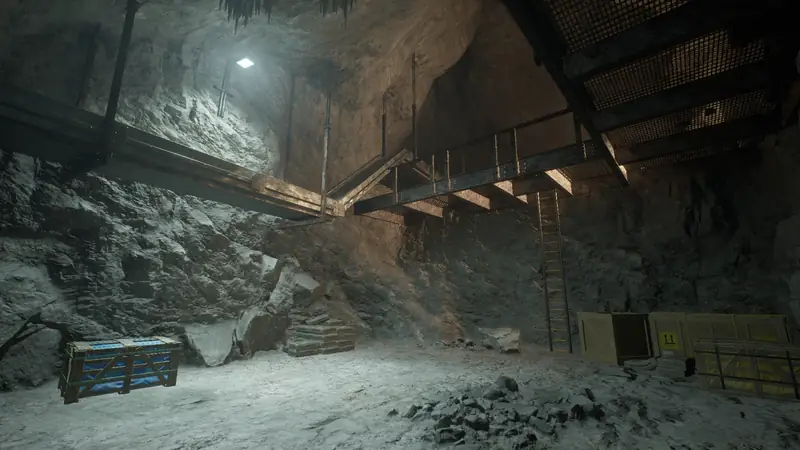
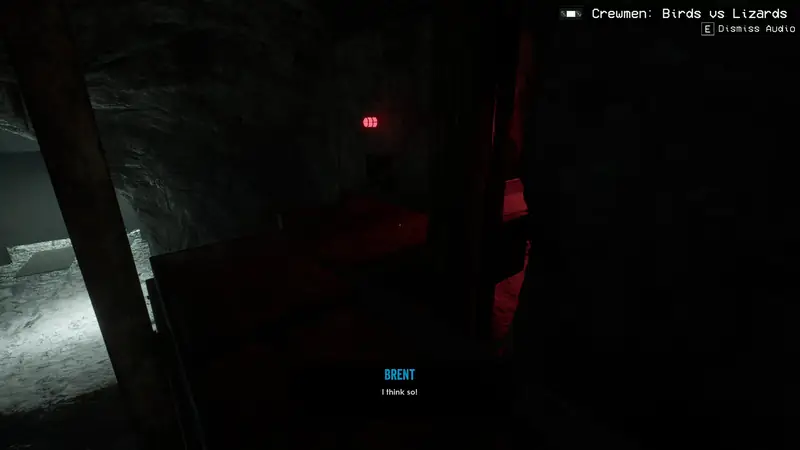
Keep playing until you reach a ladder. Cross the conveyor to the left and crawl under a metal gate with a red light.
Note 4
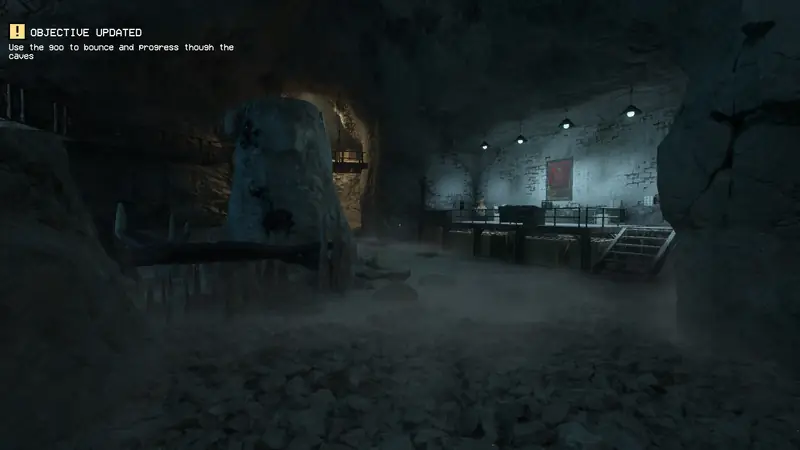
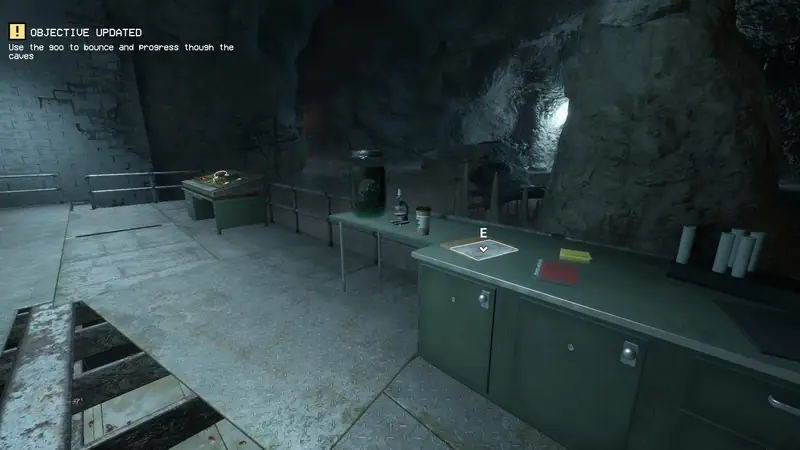
In the room where the game teaches you about the goo, check the cabinets on the right side.
Note 5
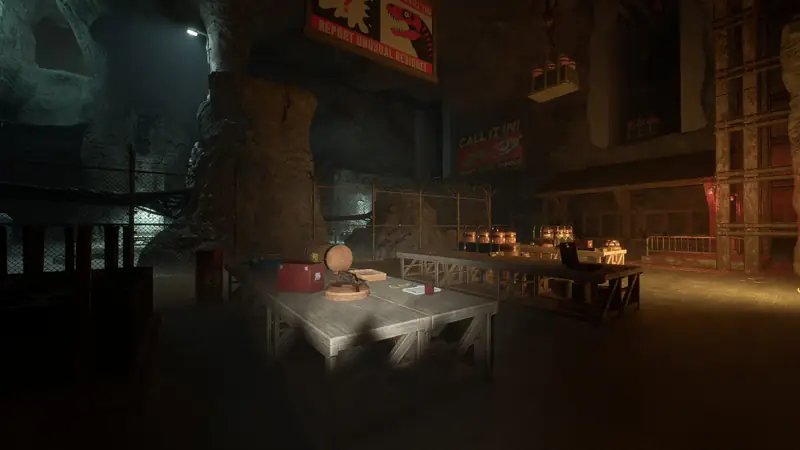
After using the first goo, you reach an area with a large billboard. The note is on a table to the left.
Audio Tape 3
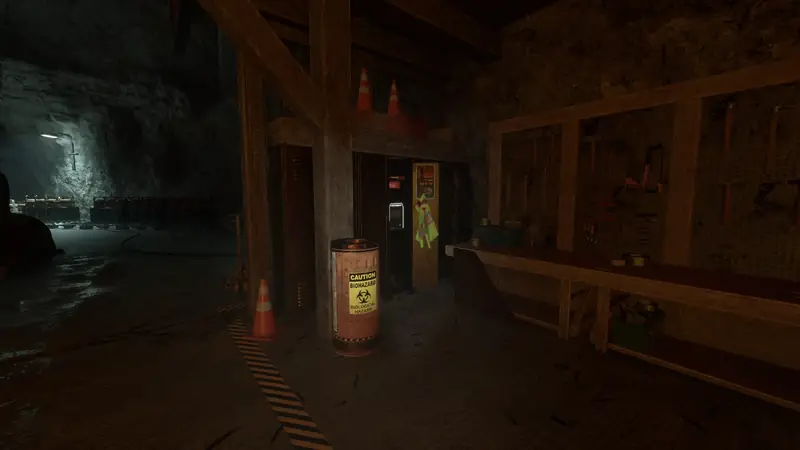
In the same area there is a set of lockers to the right. The tape is in the middle one.
Note 6
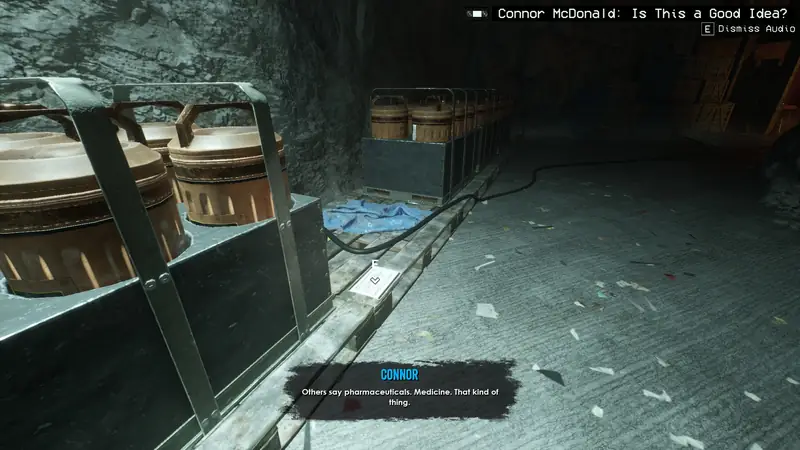
Behind the lockers are pallets of canisters. The note is on the empty pallet.
Note 7
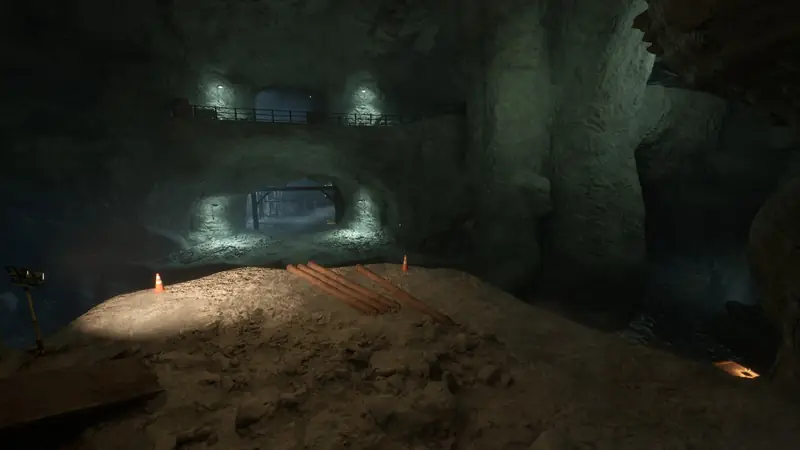
Past that area, you have to cross water below you. The note is on ledges under the right side.
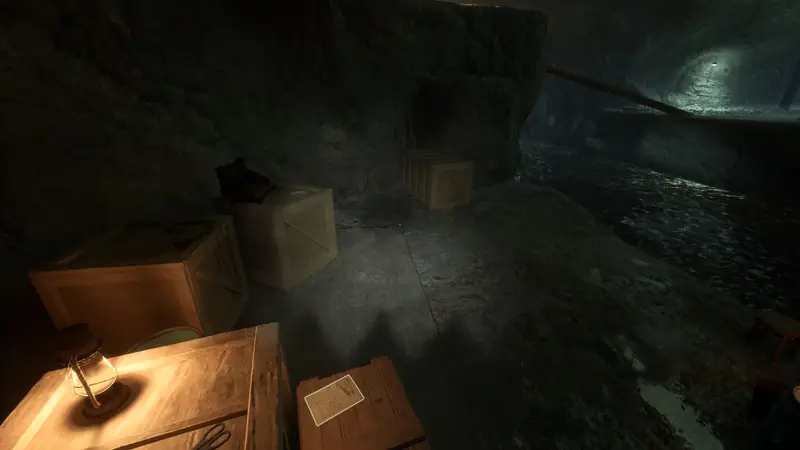
Note 8
Further on, after the timed door, you use goo to reach a higher metal platform. The note is on its far left side.
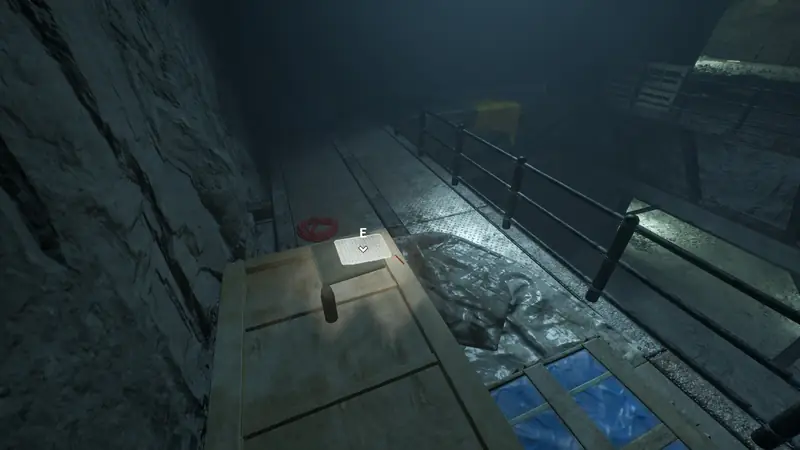
Note 9
Use the first train section to get to the other side. Then go right, over some blue boxes.
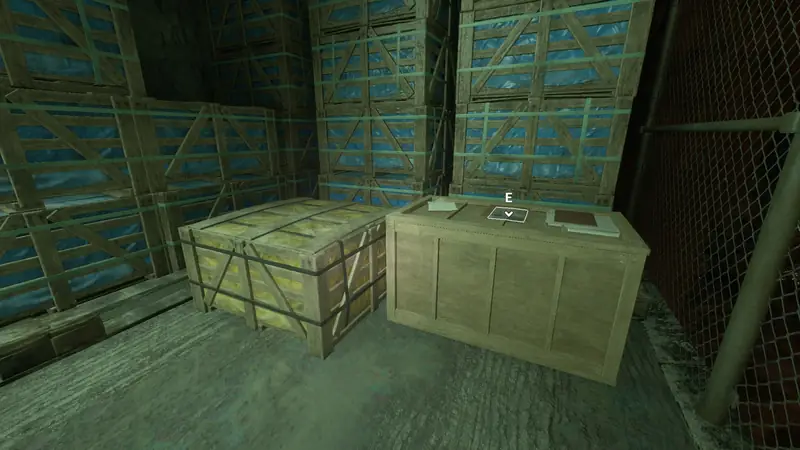
Note 10
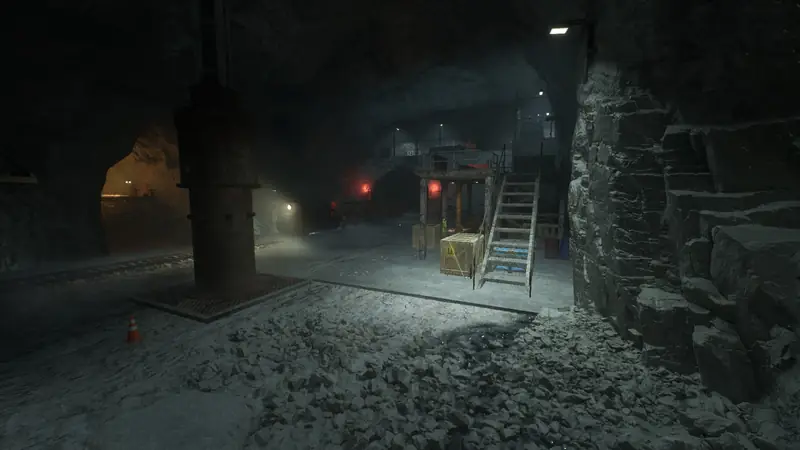
At the next train section, the note is on a table under a floating platform.
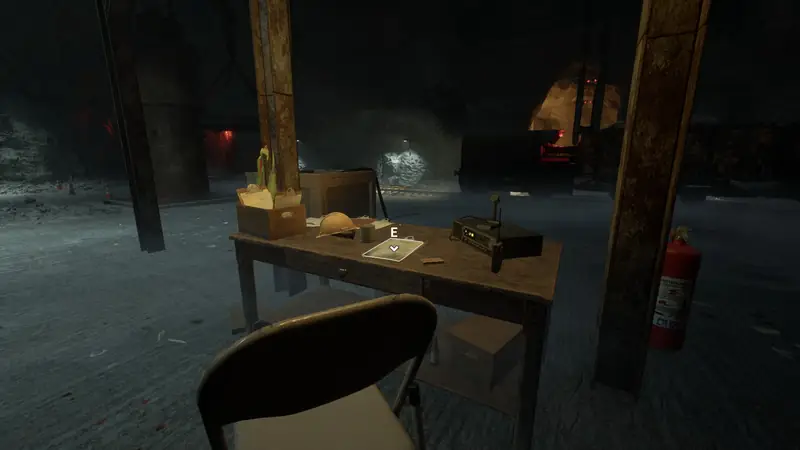
Note 11
In the large open area, there is another lookout-tower-style office toward the right. The note is on a desk.
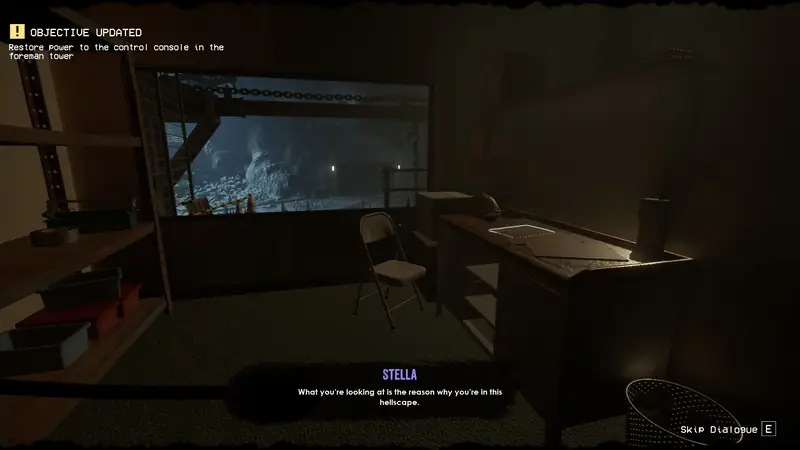
Note 12
After blowing up the large metal gate, walk straight across to the other side until you reach a yellow desk.
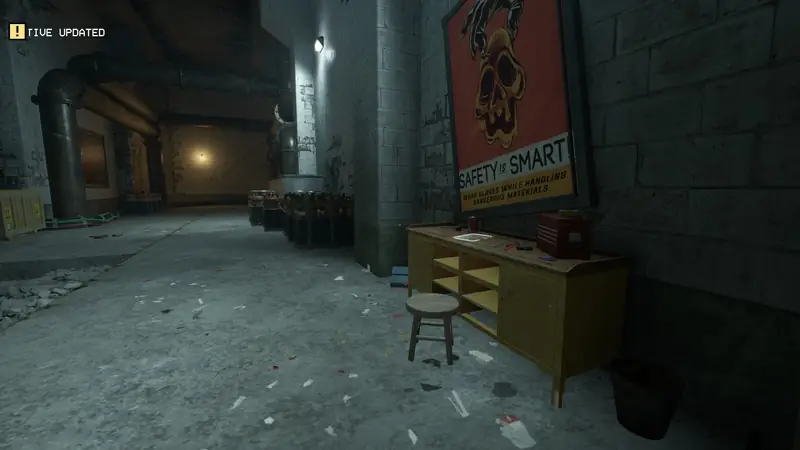
Audio Tape 4
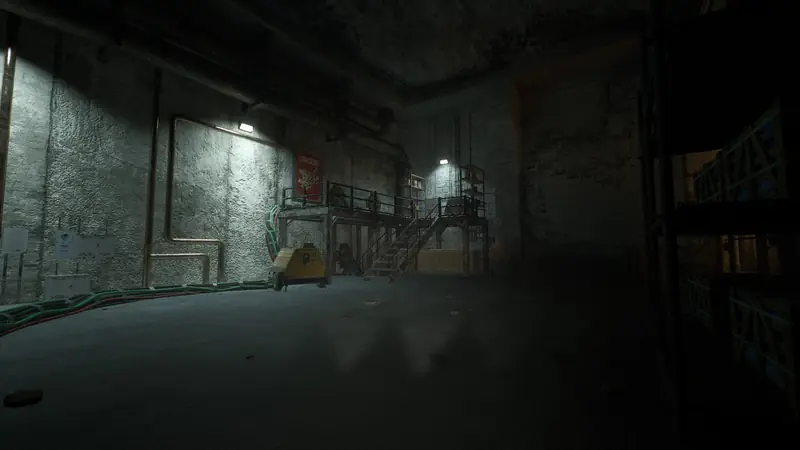
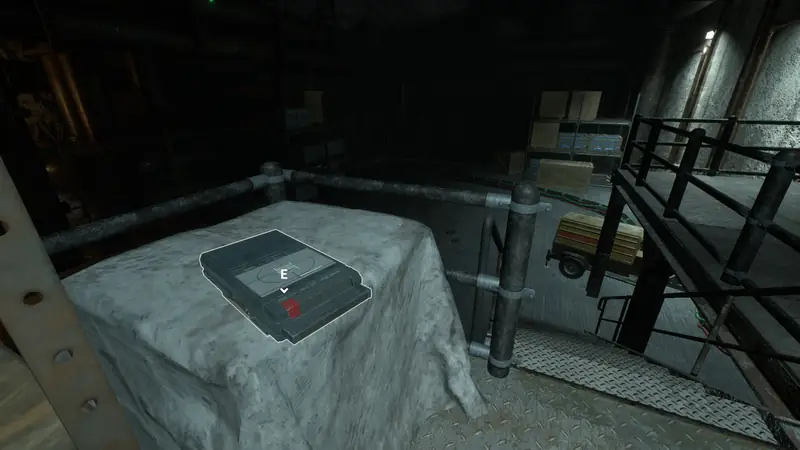
You squeeze past some steam pipes. In the area they lead to, climb onto the platform to the right of the generator. The tape is on a large box covered with cloth.
Chapter 3: Part 2
Note 13
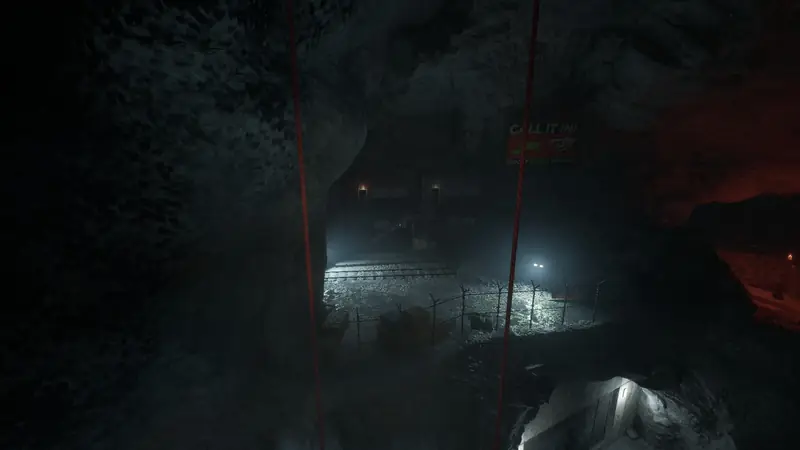
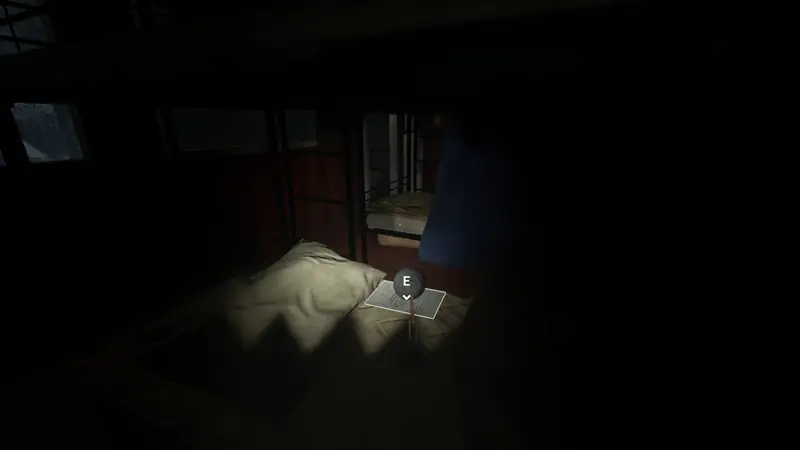
Back in the large open room, finish the parkour across the objects in the sky. A building is straight ahead. Go into its upper red side and check the bunk bed.
Note 14
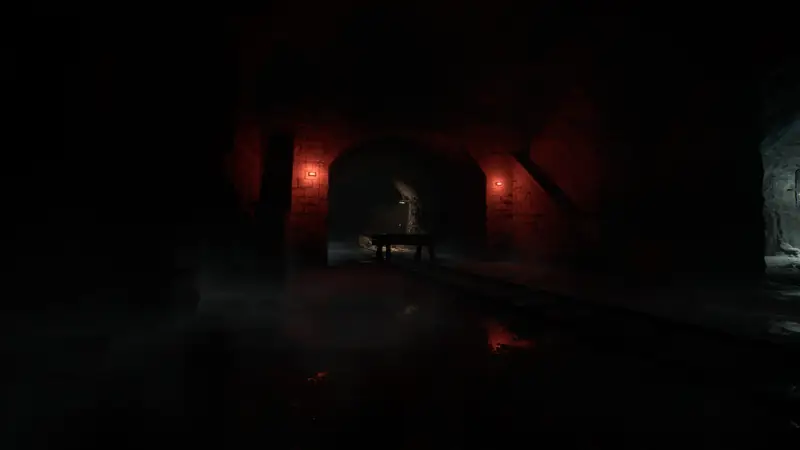
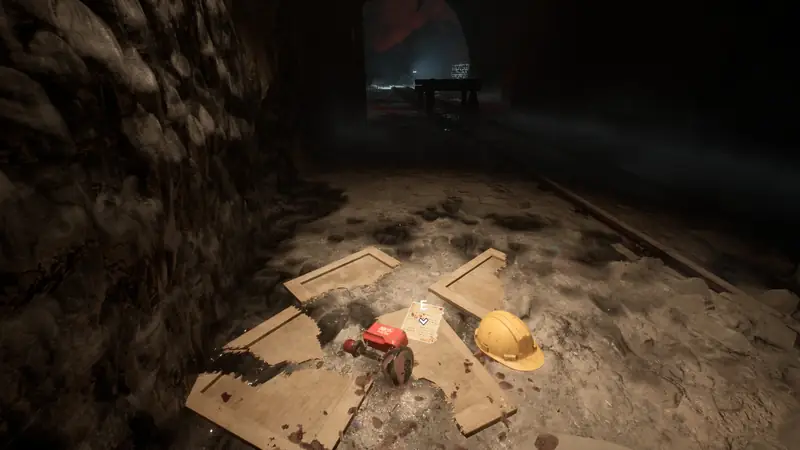
Facing those buildings, go to the far left through a tunnel and follow it to the end, where the red light is.
Note 15
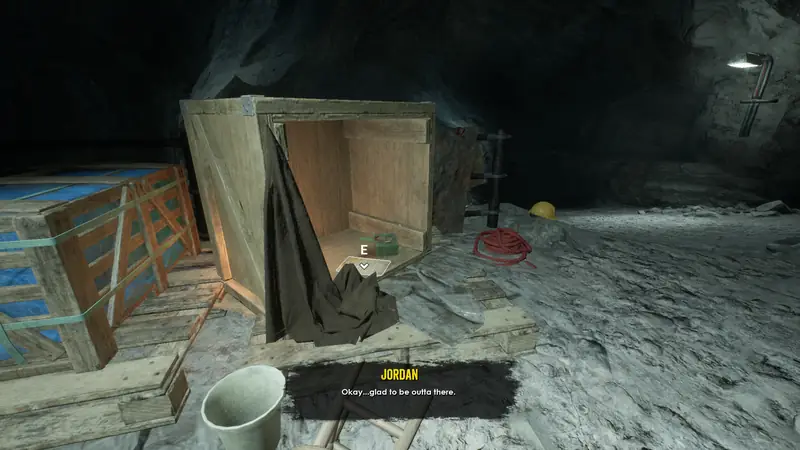
In the same tunnel, skip the red light dead end and take the right passage. The note is on a box that has fallen over.
Note 16
After you escape the first chase from the new dinosaur and fall through some planks, look below you. The note is on a crate to the left.
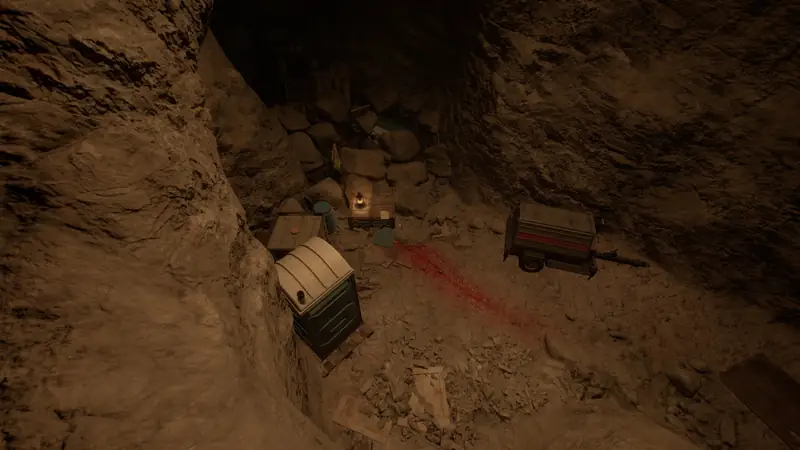
Note 17
During the second chase, follow the arrows until you crawl through a small gap to lose the dinosaur. When you come out, the note is on the table to the left.
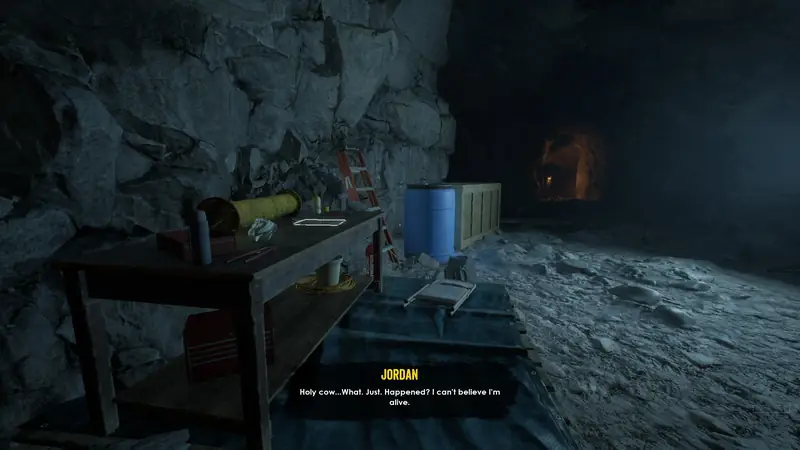
Note 18
After the third chase, where the caves flood, there are lots of boxes. The note is on a set of boxes on the right side.
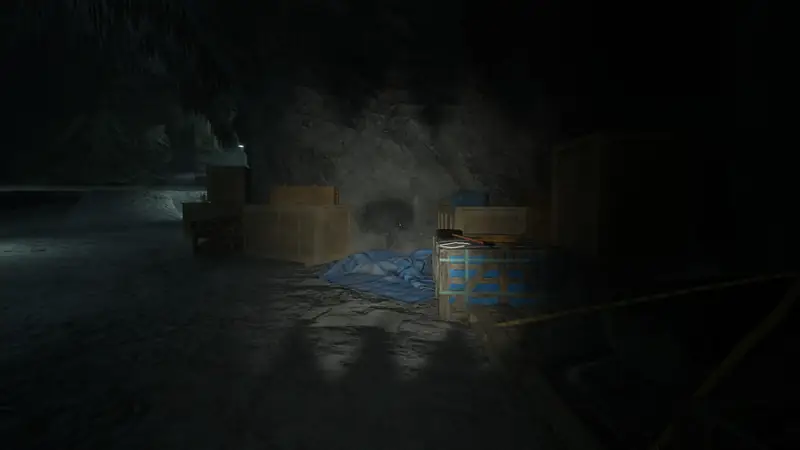
Note 19
After Note 18 you balance across a stream of water. The note is on the right side of the area you cross to.
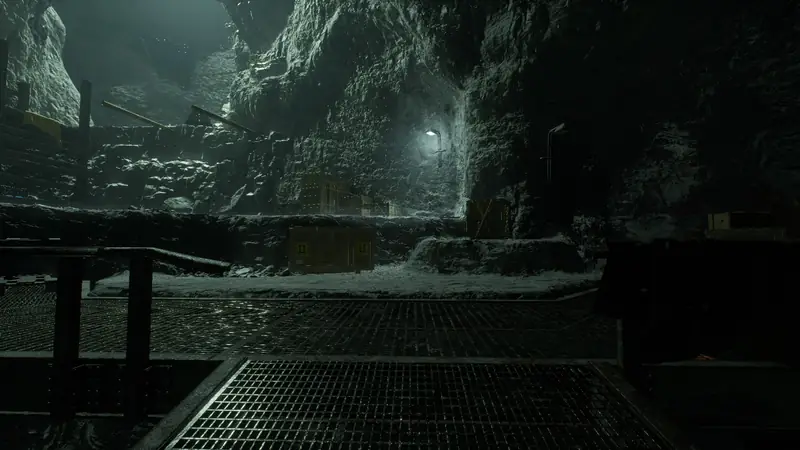
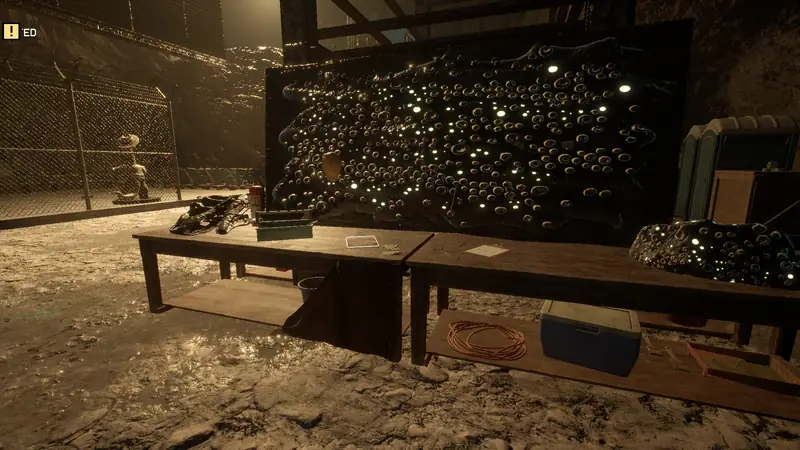
Note 20
After learning to wall run, go into the connecting area. There is a set of tables on the right.
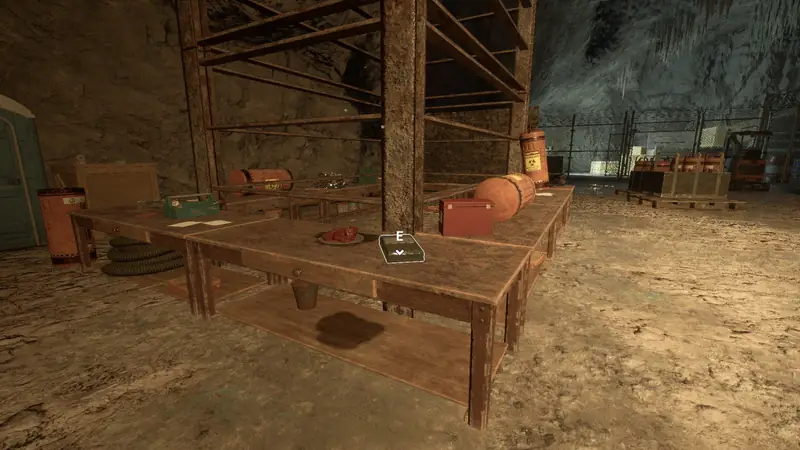
Audio Tape 5
On the other side of the same tables.
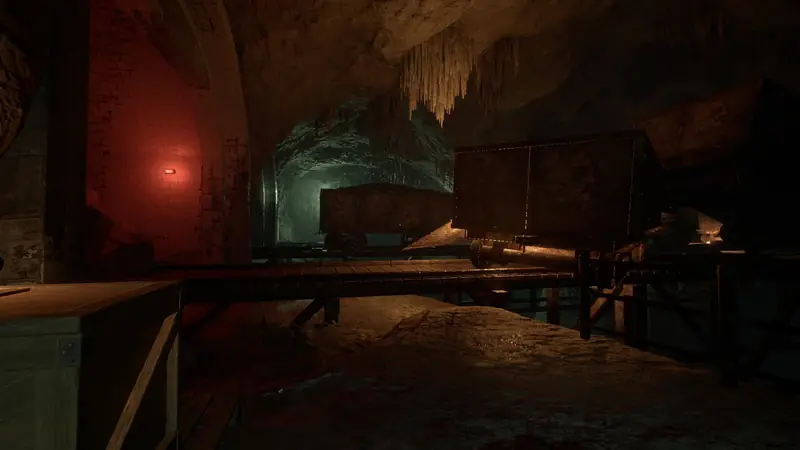
Sample 2
Keep going until you reach a lot of train carts. Get over to the last railing. The sample is in a corner to the left.
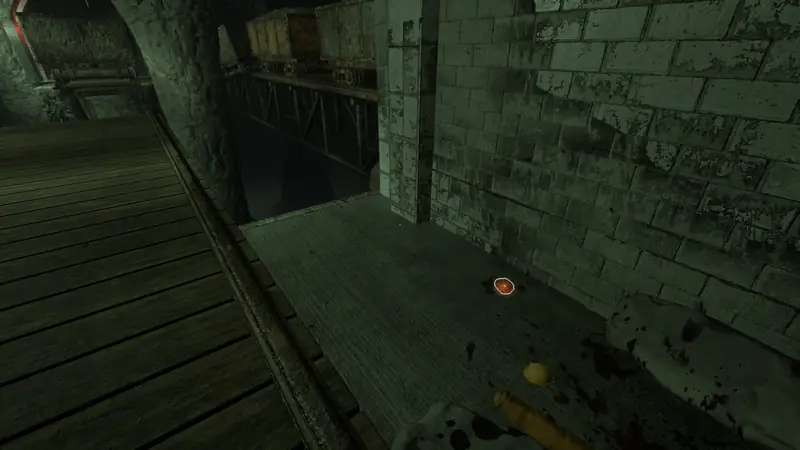
Note 21
Once you are through a tunnel on the train tracks, go to the left side next to a toolbox.
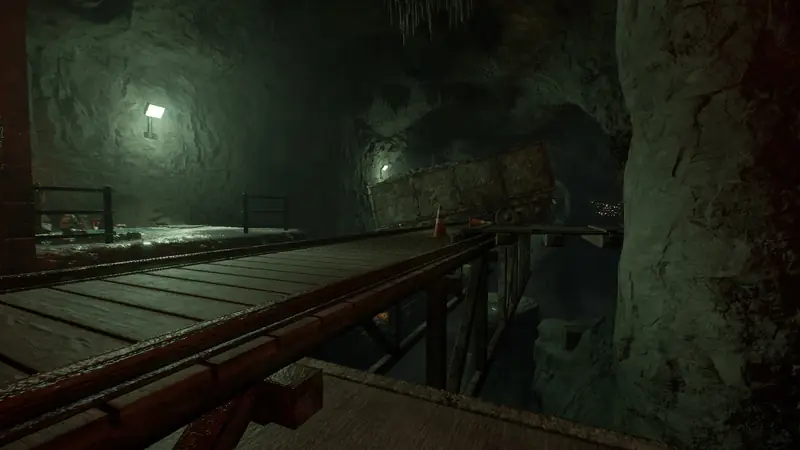
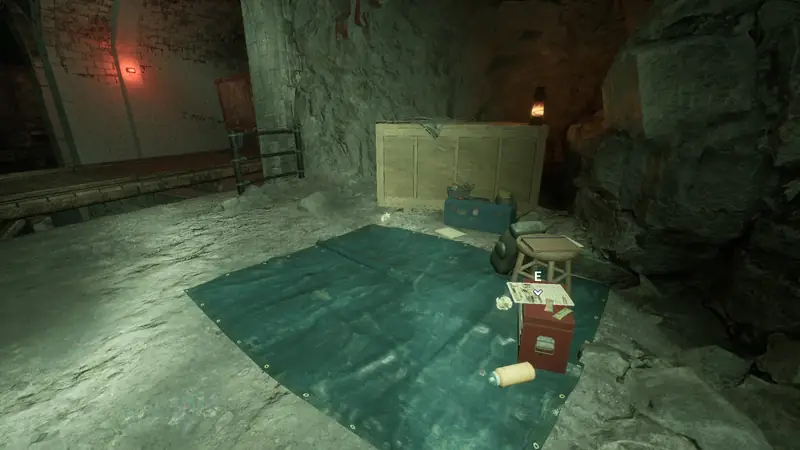
Note 22
Next to Note 21 there are some stairs and a walkway. Follow it to the end.
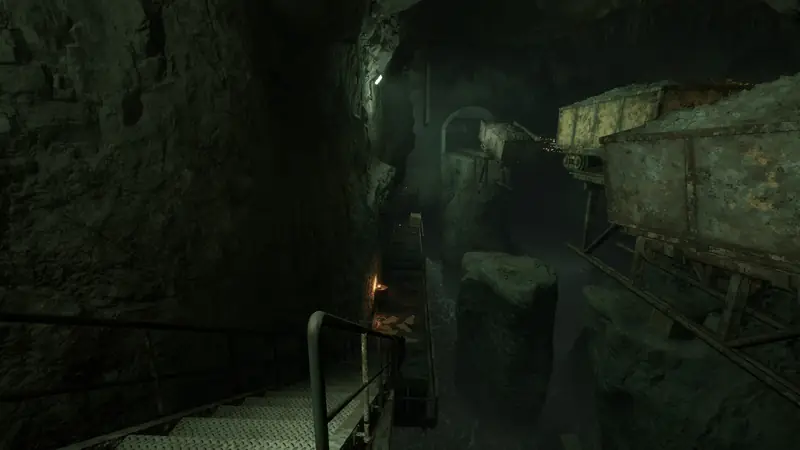
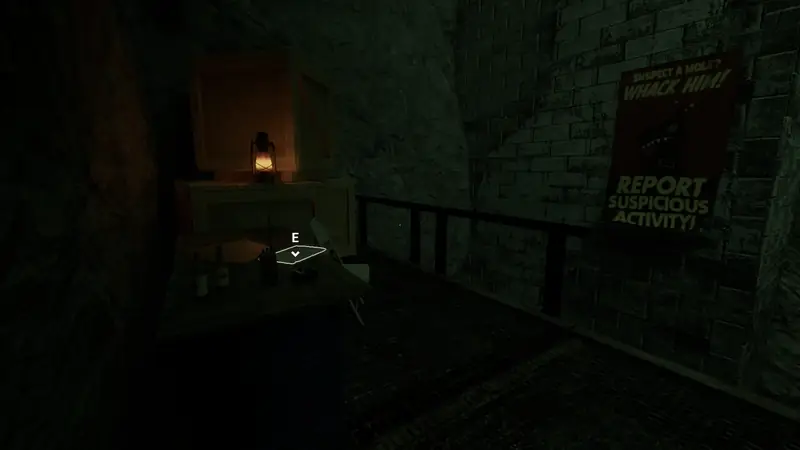
Note 23
Play on until you need a key for a padlock. The key is in a small green cabin. The note is on a pinboard in a room of the same cabin.
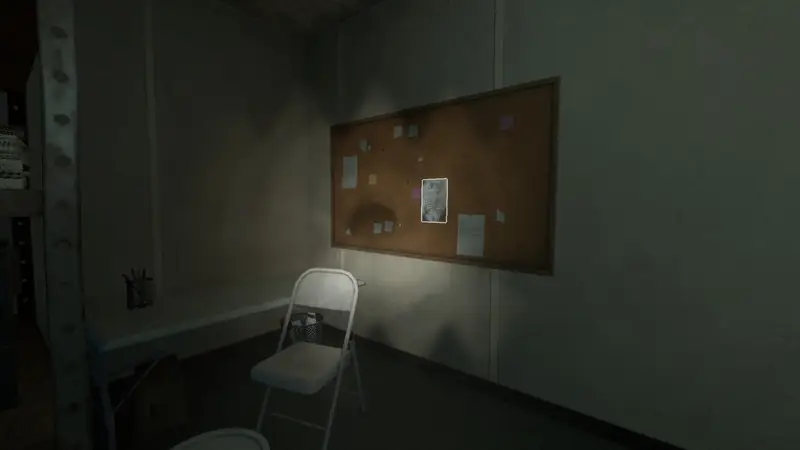
Audio Tape 6
In the same general area, find a train tunnel toward the left. The tape is on a box to the right of the train.
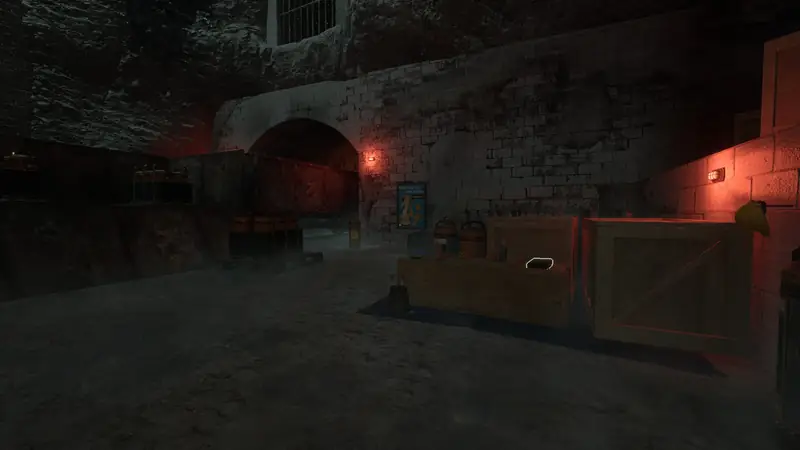
Sample 3
To the right of that tape, there are containers with wall running goo. Climb to the top of the highest red container.
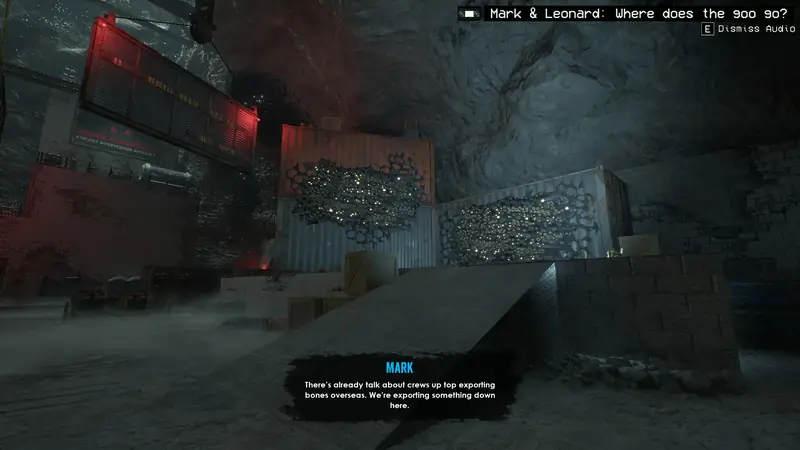
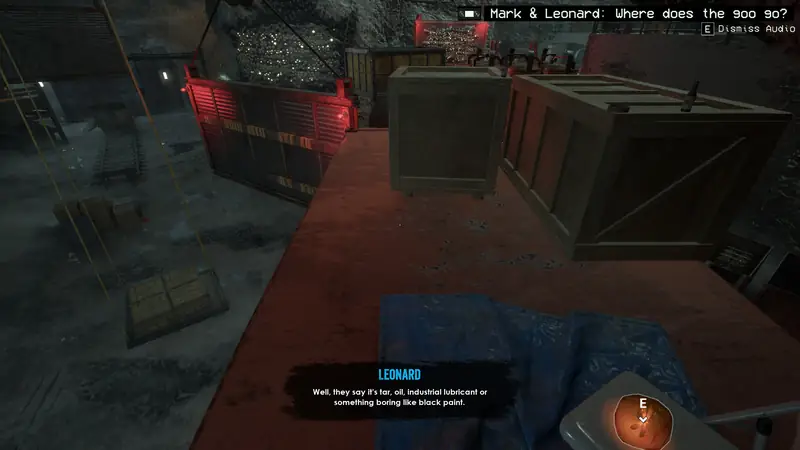
Note 24
After blowing up another metal door, keep going up to a generator. The note is to its left.
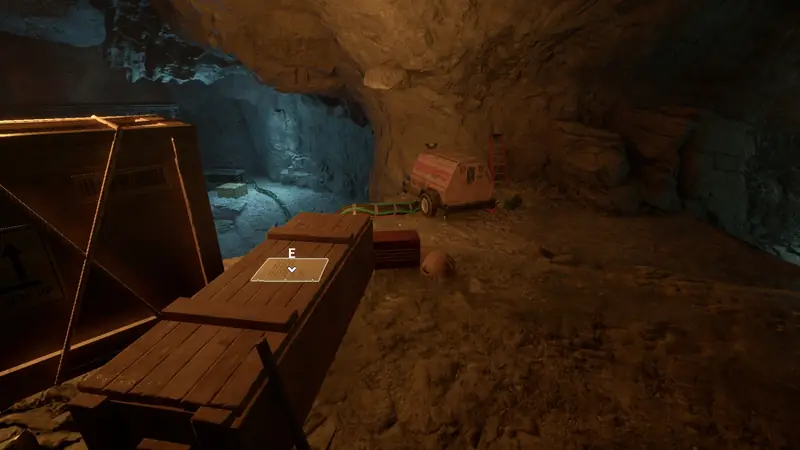
Note 25
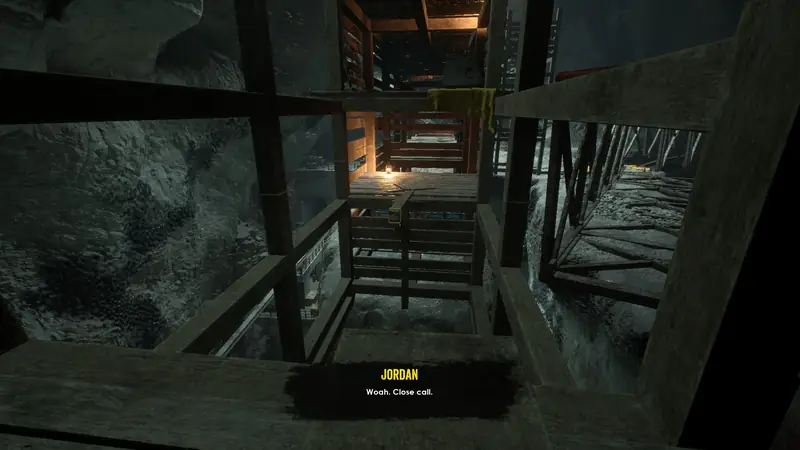
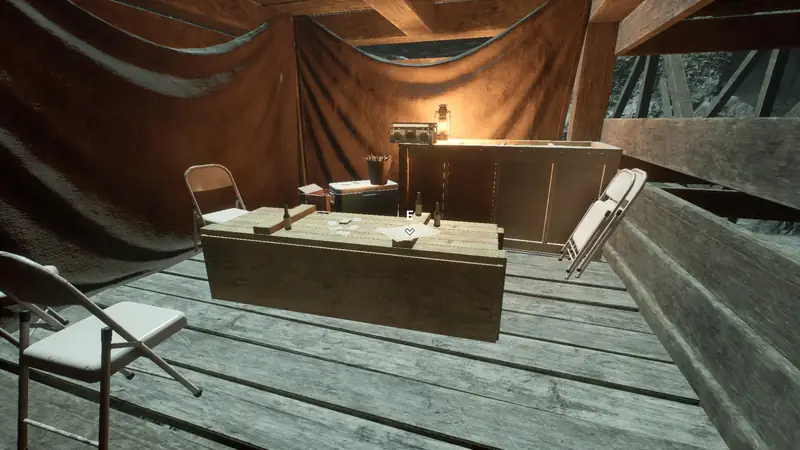
Keep climbing through the level and raising platforms to get higher in a large wooden structure. When the beam you are balancing on breaks, turn around and jump to a ledge with yellow cloth. Follow this passage all the way to the end.
Chapter 3: Part 3
Note 26
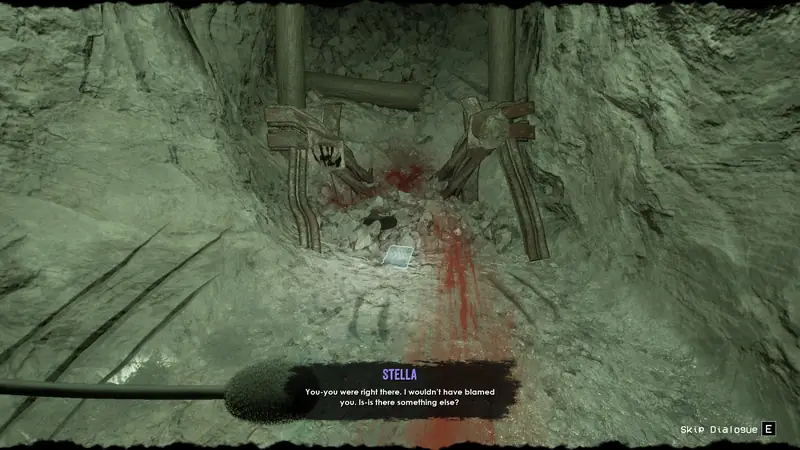
Keep going until you find the tape Dalton left with his stuff. Follow the blood trail to a drop in the ground, then keep following it to a dead end with the note.
Note 27
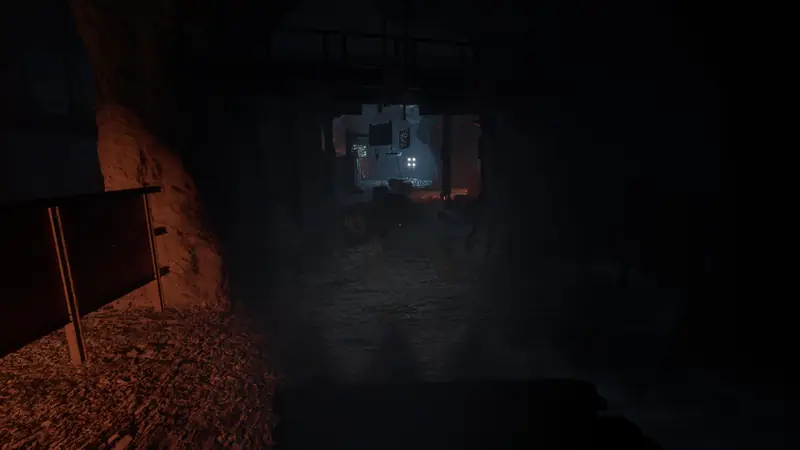
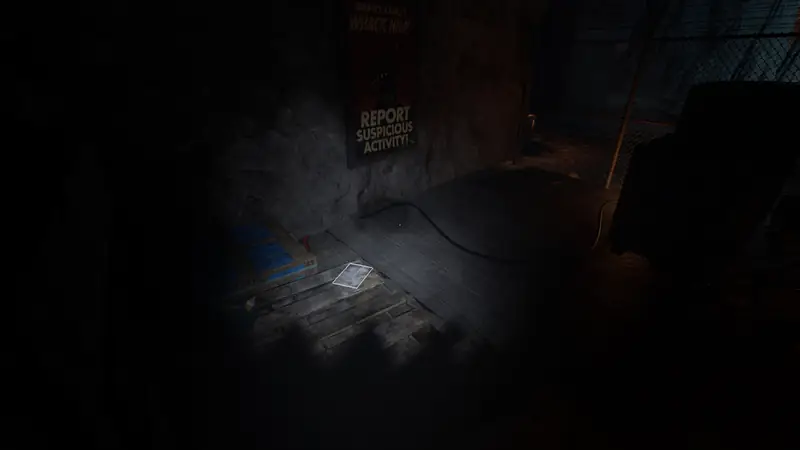
When you reach a large area with bright floodlights, go to the fenced area where they stand. The note is on some pallets on the right side, inside the fence.
Note 28
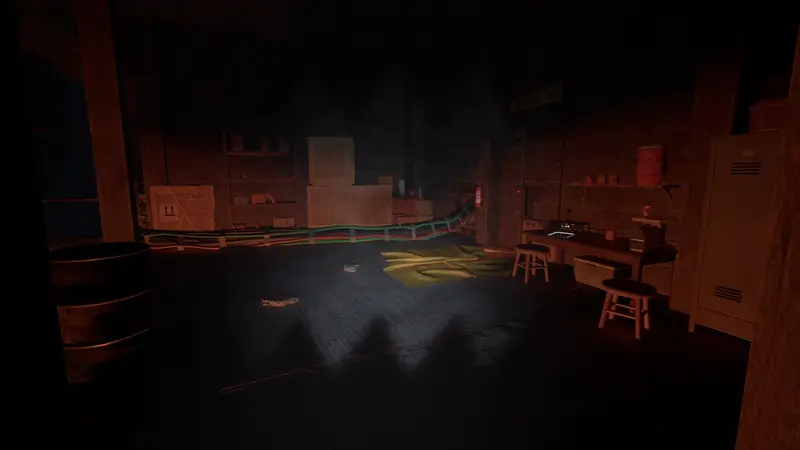
In the same area, start the generator and climb the boxes beside it. Parkour up to a roof. Where the parkour route splits, take the left way, where you get a fuse.
Audio Tape 7
Keep going until you reach a large area with a metal structure on the right. Go to the opposite end, to a destroyed building. The tape is on a flipped desk.
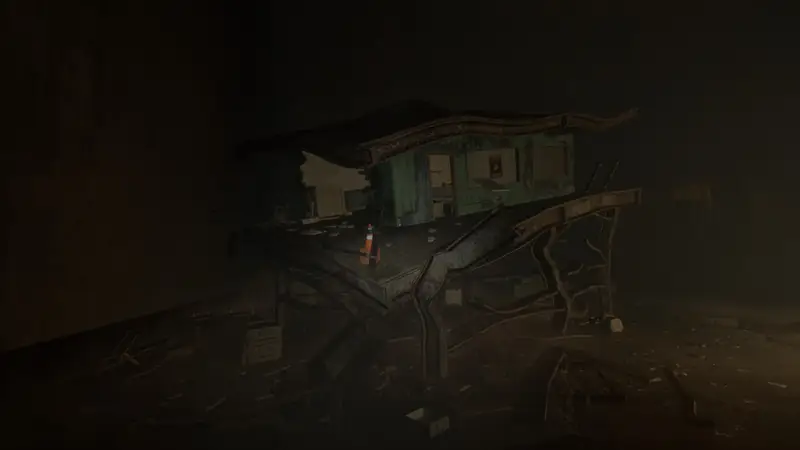
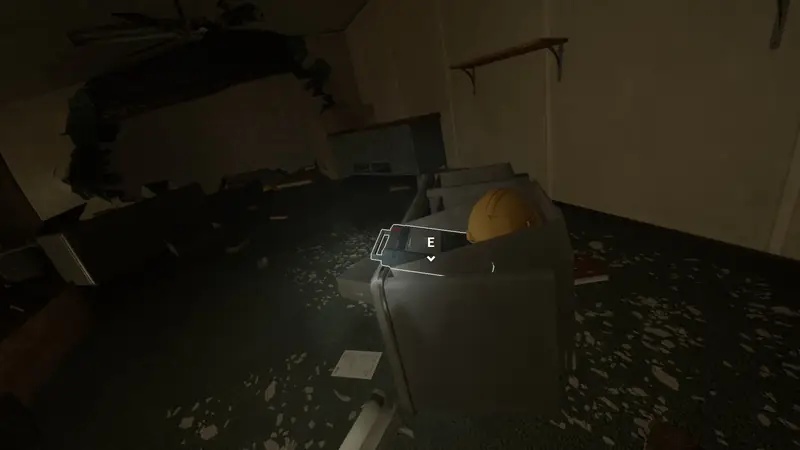
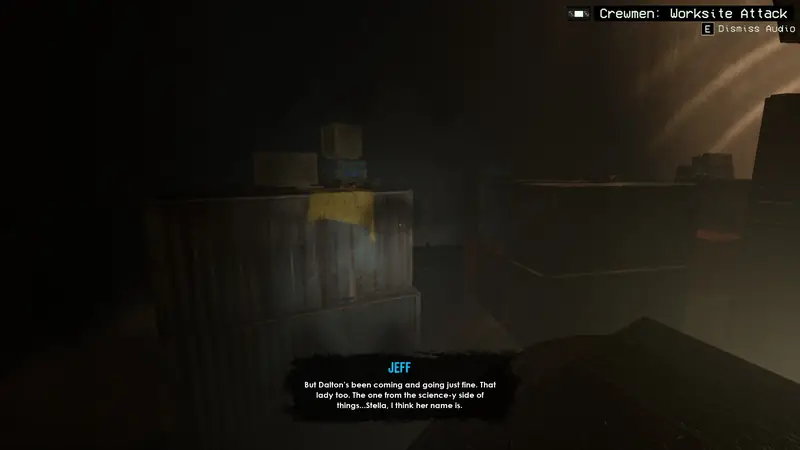
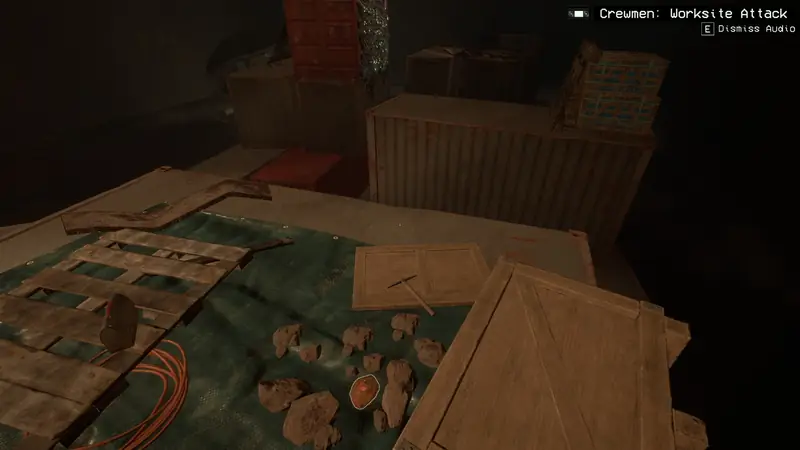
Sample 4
Facing the destroyed building, jump along the containers to its right to reach the sample.
Note 29
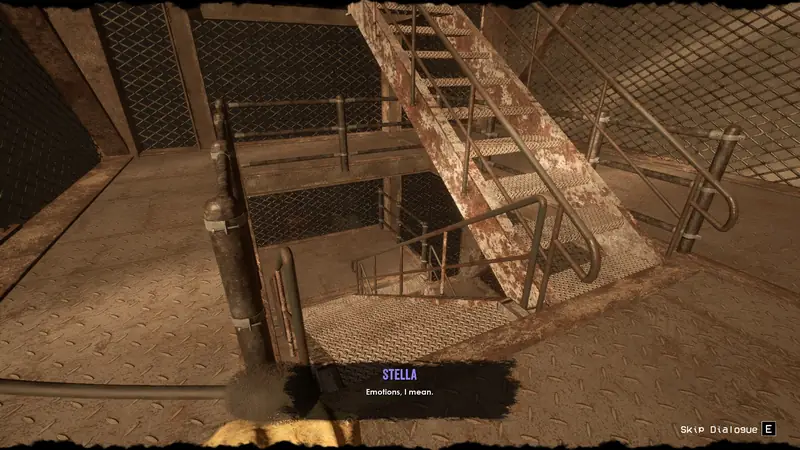
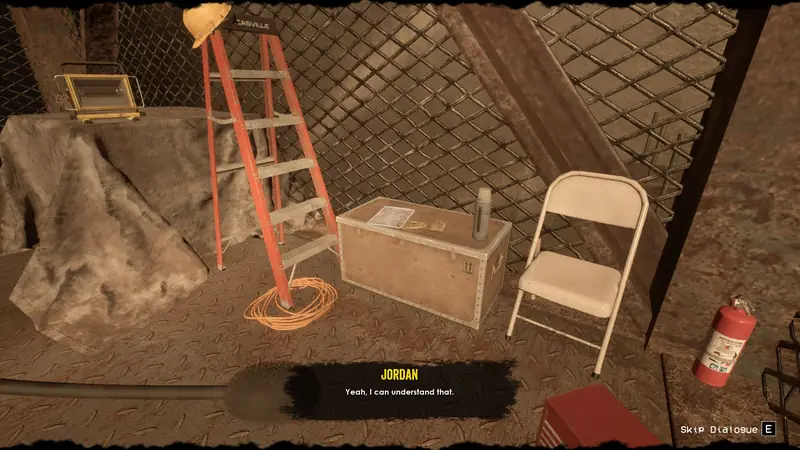
Climb the metal structure to the point where you can go either upstairs or downstairs. Go down for a note on a box.
Note 30
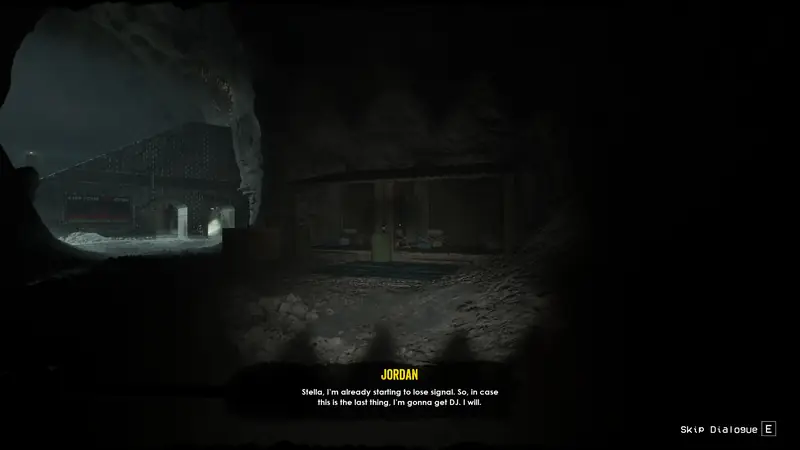
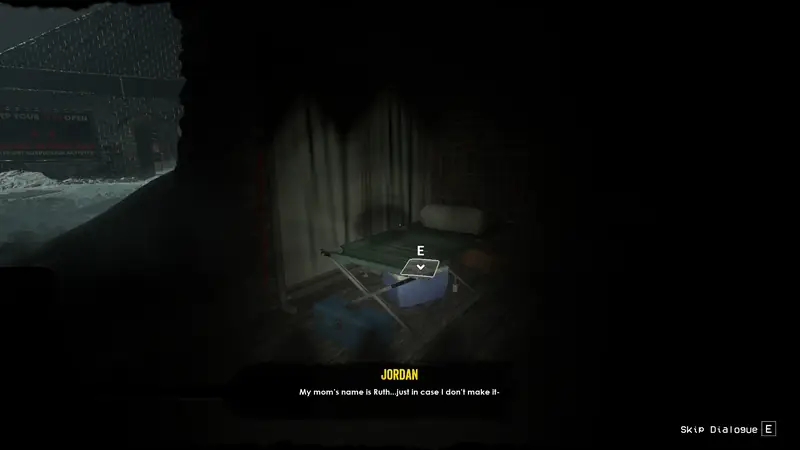
After the climb, follow the path until you see a small shack on the right. The note is on one of the beds on the left side.
Plushie Pedestal 3
Coming from the previous area, the pedestal is at the left edge of a building with a sloped shape.
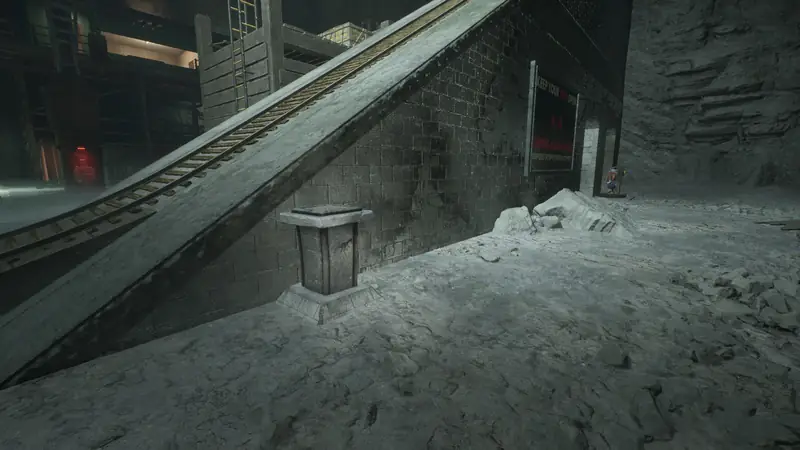
Audio Tape 8
On the other side of the sloped building, on a workbench.
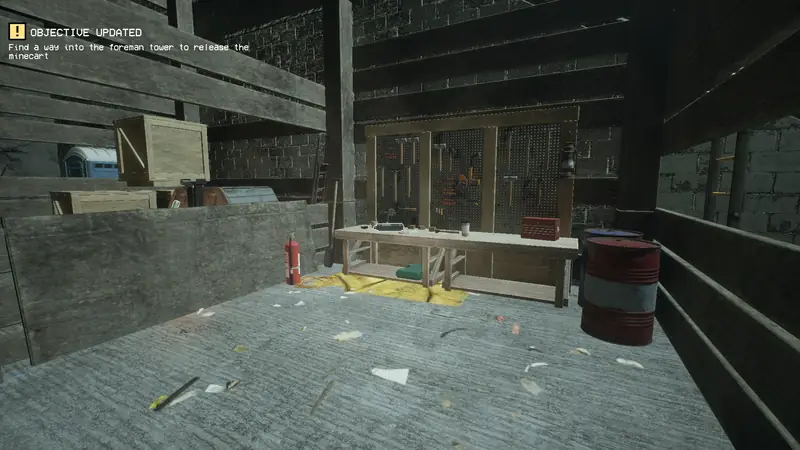
Note 31
This note is at the very start of Chapter 4, after the dinosaur gets covered in goo. Look by the ammo boxes on the left side.
It still counts toward the Chapter 3 stats, and you cannot pick it up by loading Chapter 4.
Chapter 4: Part 1
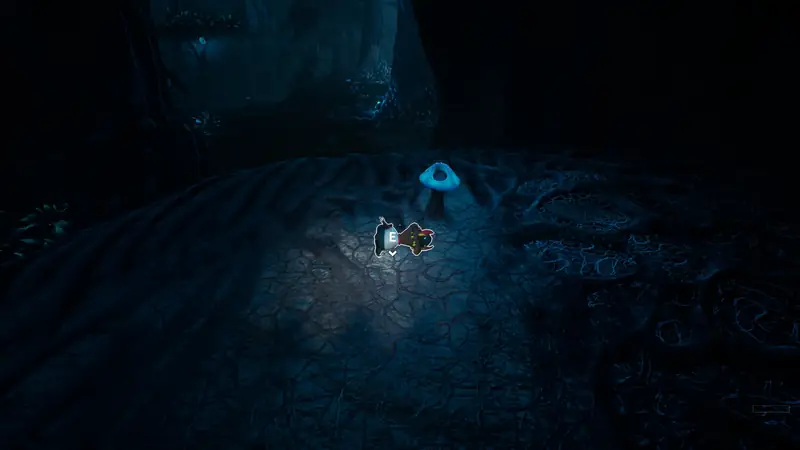
Plushie 4
After the first chase, on the ground to the right.
Note 1
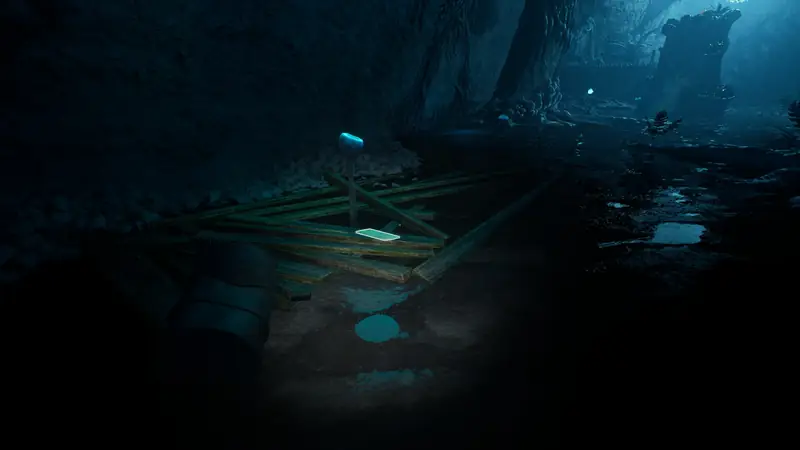
A little further into the same area, on a few planks on the left side.
Sample 1
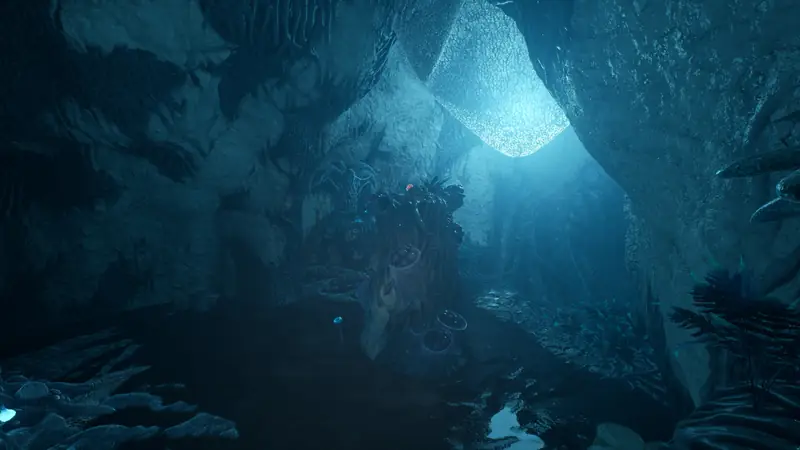
A little further still, on top of a spire.
Note 2
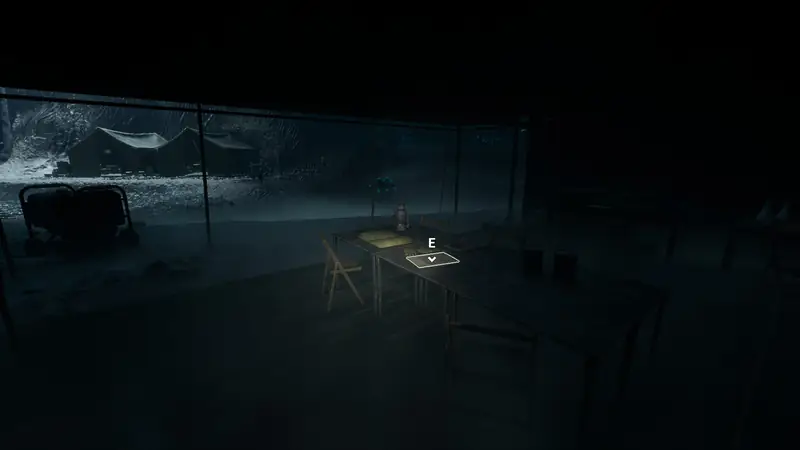
In the next area with lots of tents, the note is inside the closest tent on the left.
Note 3
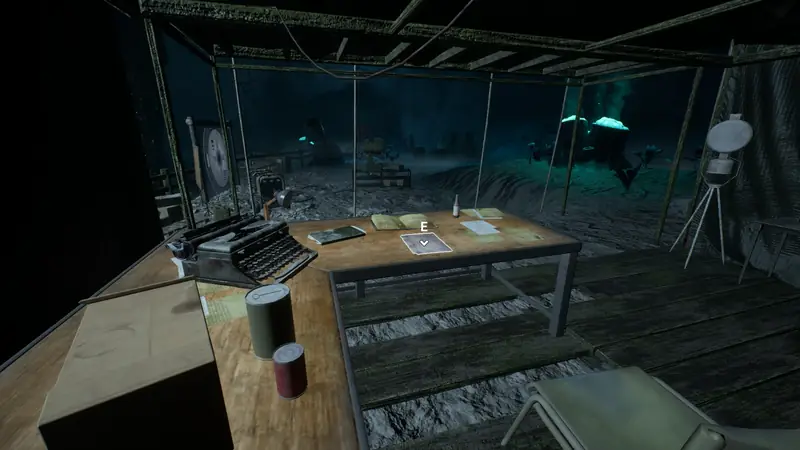
Go up to the raised ground. The note is in a tent to the left of the projector.
Audio Tape 1
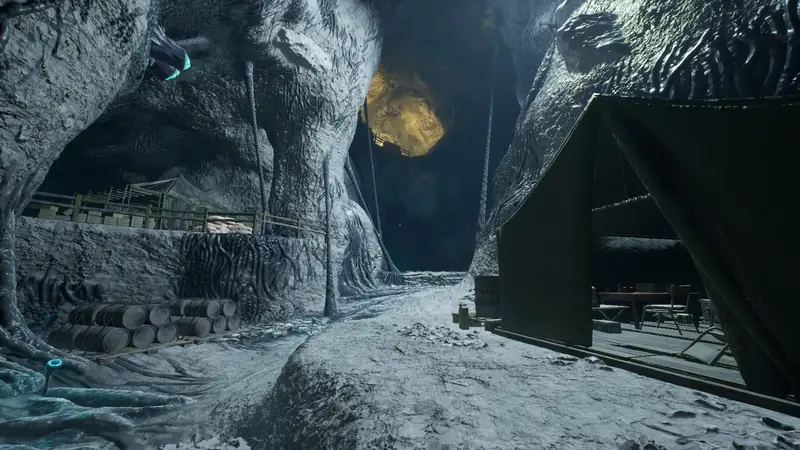
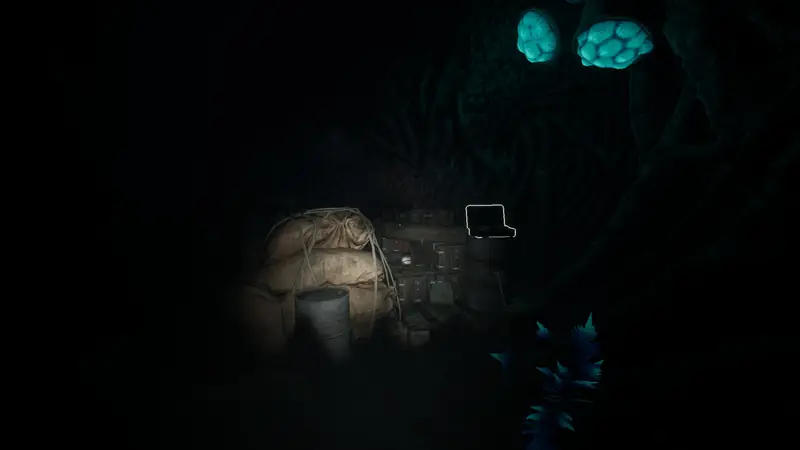
From the entrance of this area, go straight ahead into a tunnel. The tape is at the dead end.
Note 4
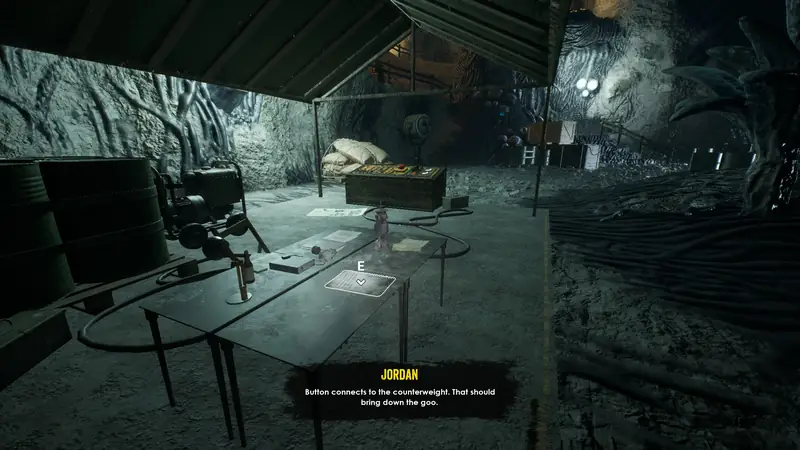
Play on until you press a button to lower a counterweight. The note is behind the button.
Note 5 and Audio Tape 2
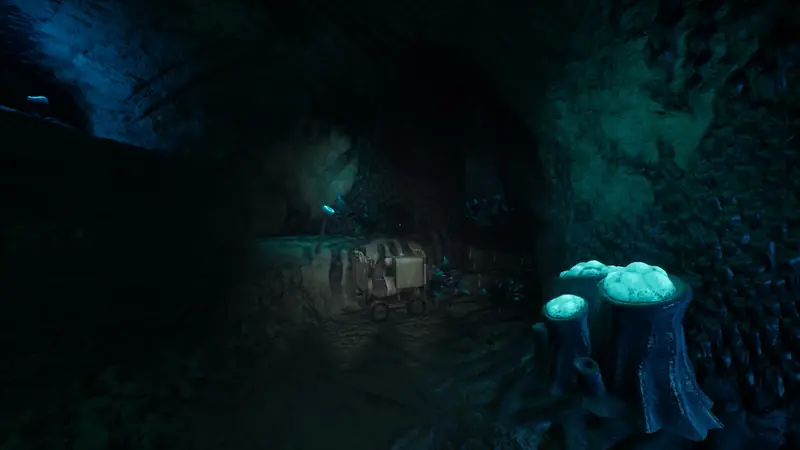
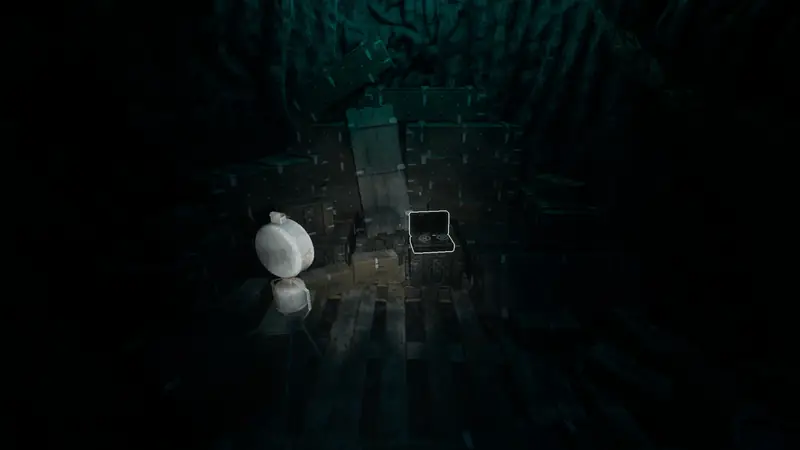
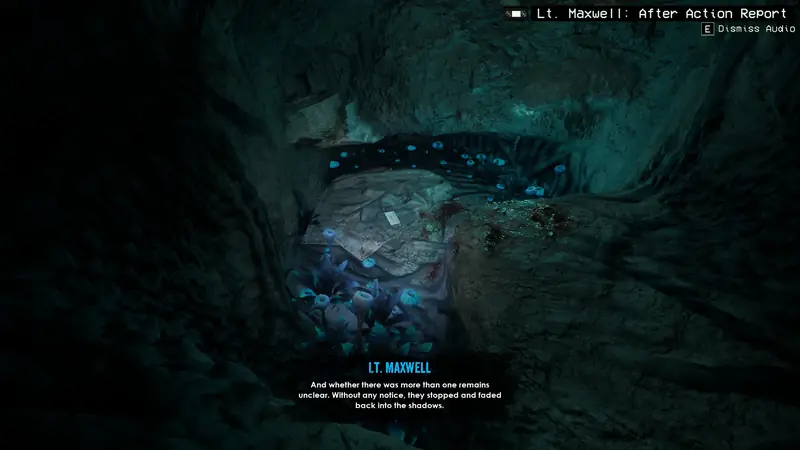
Continue until you reach a small area with a generator. Go right, then right again for the tape. From the tape, go right once more and drop down to the note.
Note 6
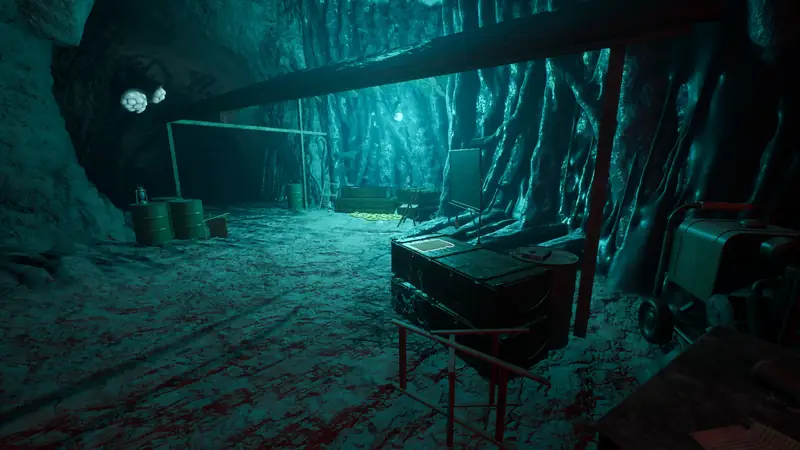
Keep going forward until you reach a tent with a crate holding a Tommy gun. The note is on a box to its right.
Note 7
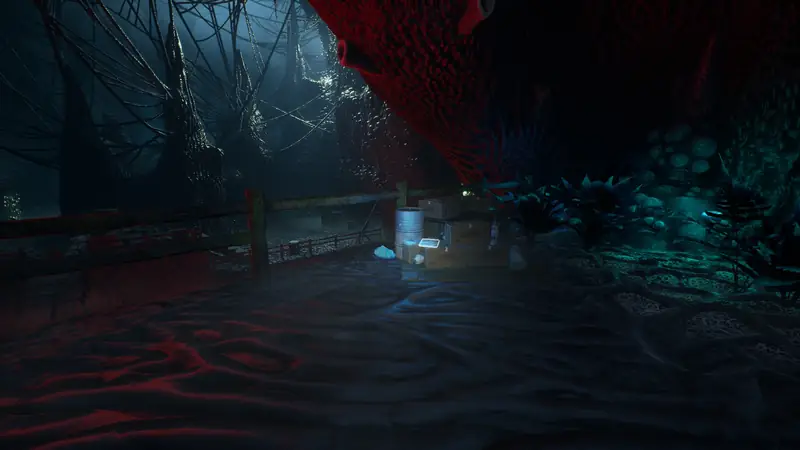
After sliding down from the previous area and watching a cutscene, the note is on the right.
Note 8
After meeting DJ, swing across some platforms. The note is toward the right, around the middle.
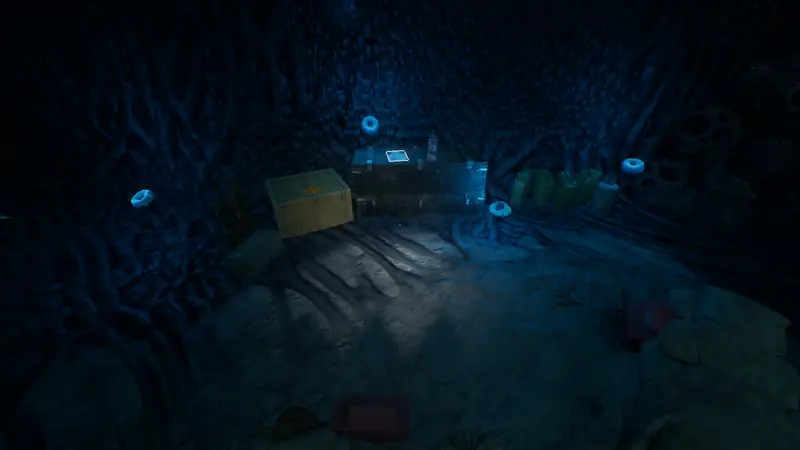
Note 9
From where you pick up the claw, go left and up some stairs to a platform. The note is on top of some crates.
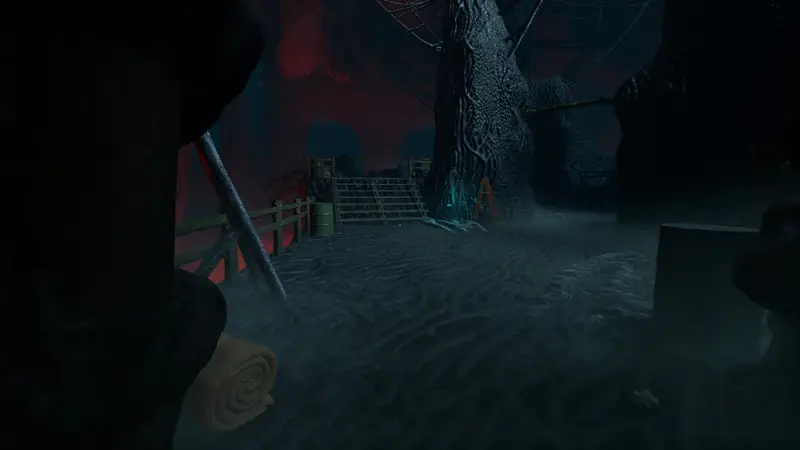
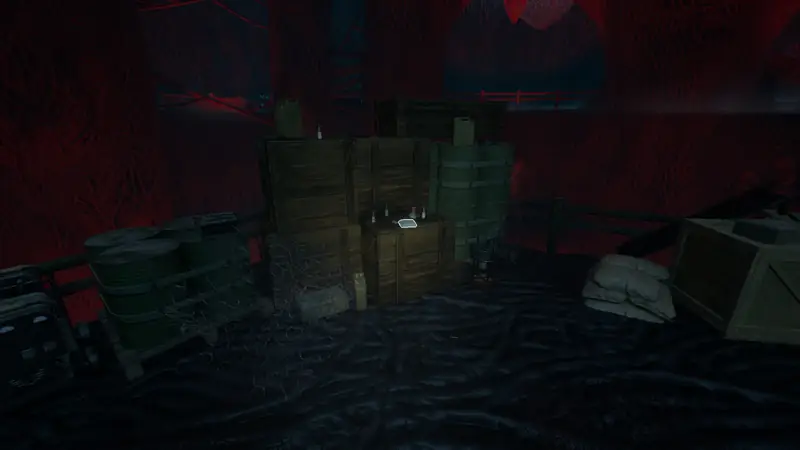
Note 10
After the next chase you reach more tents. The note is in the first tent on the right.
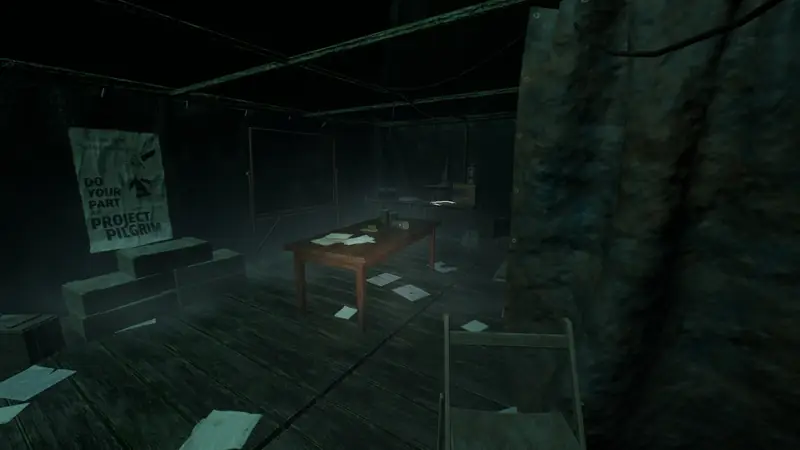
Audio Tape 3
In the same area, on a desk at the top left.
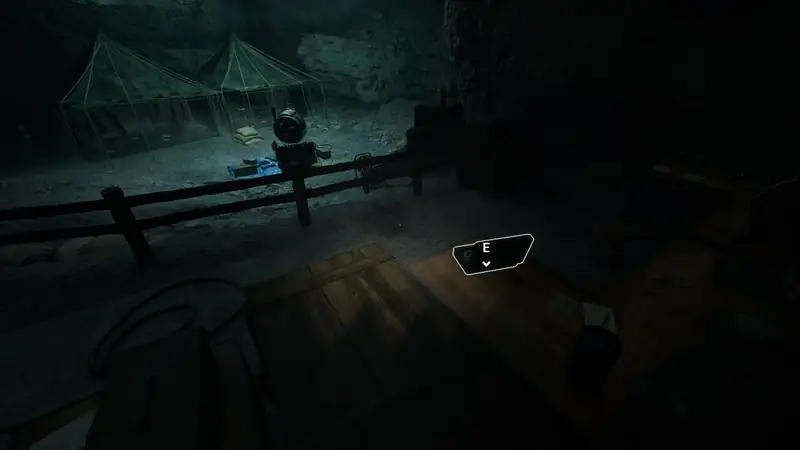
Sample 2
After you swing across 2 yellow poles, look for a hole on the left side.
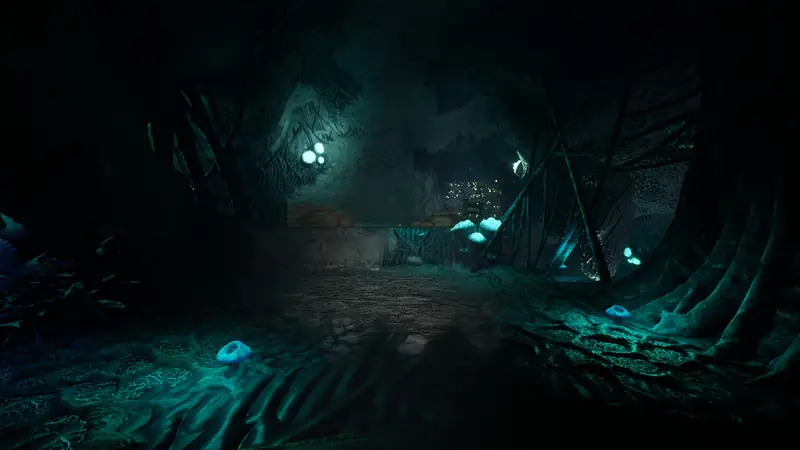
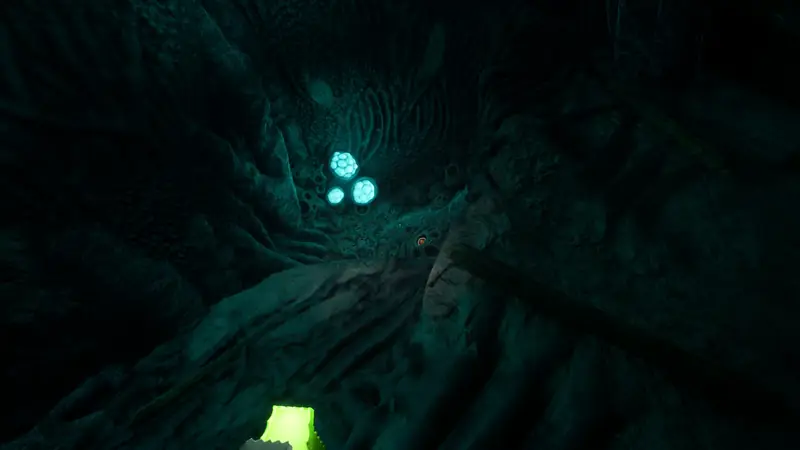
Note 11
Shortly after, you use goo to bounce up to a platform. The note is in a tent on the right.
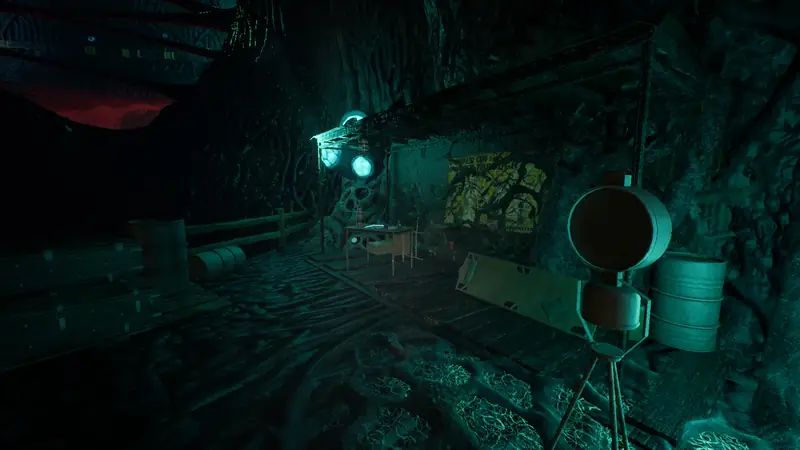
Note 12
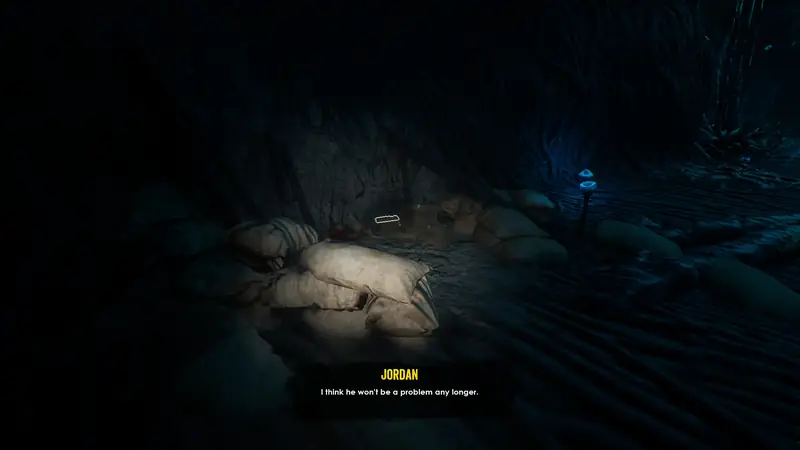
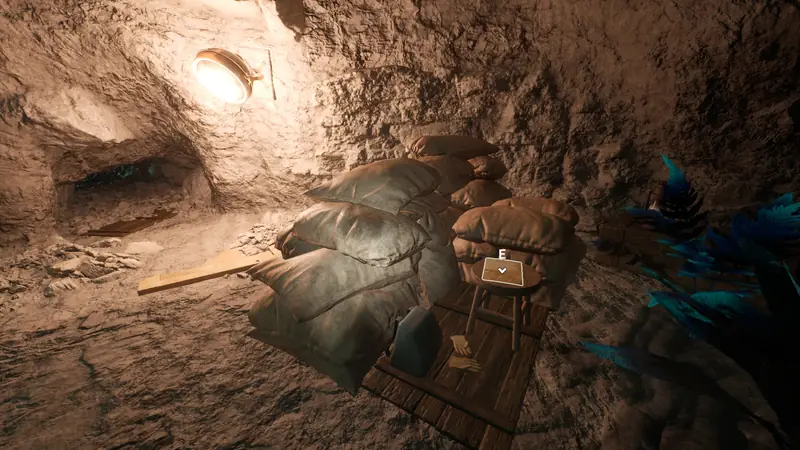
After crawling through a gap, you see some sandbags to the left. The note is behind them.
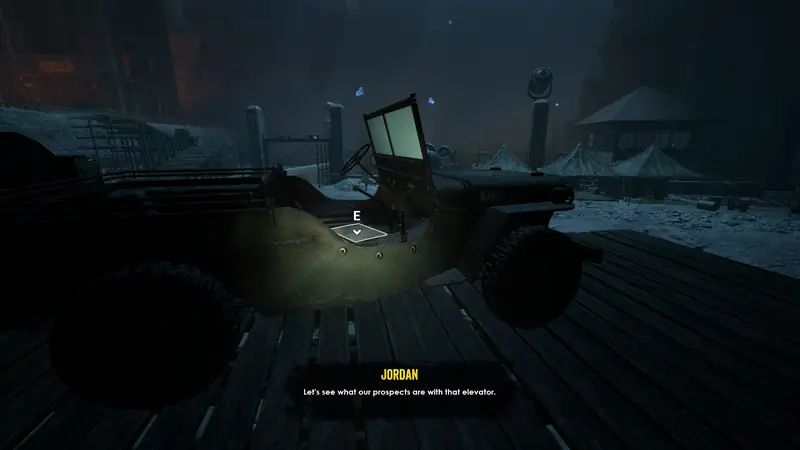
Note 13
When you reach the large HQ, the note is on the car seat on the ramp going down.
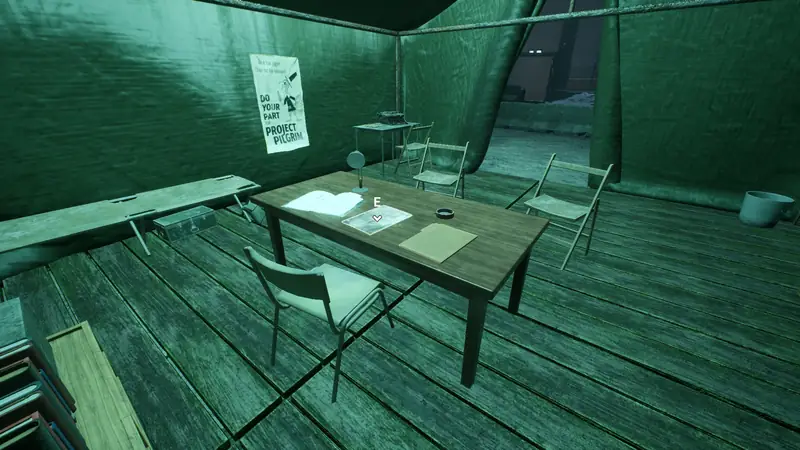
Note 14
In the tent to the left of that car.
Note 15
In the next tent over, on a shelf.
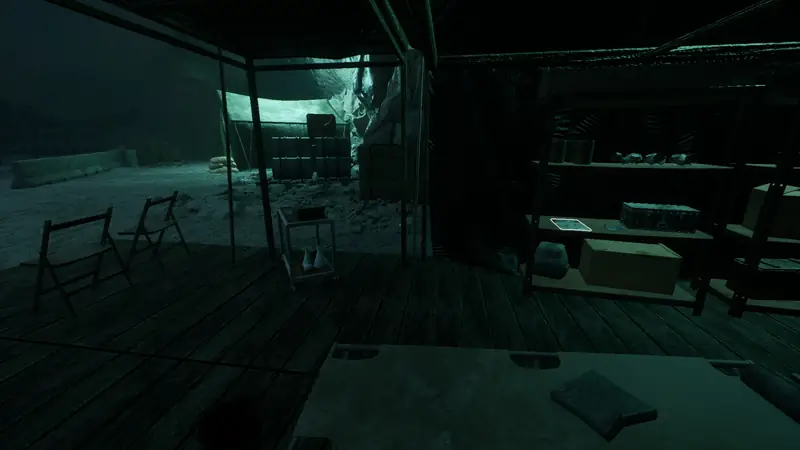
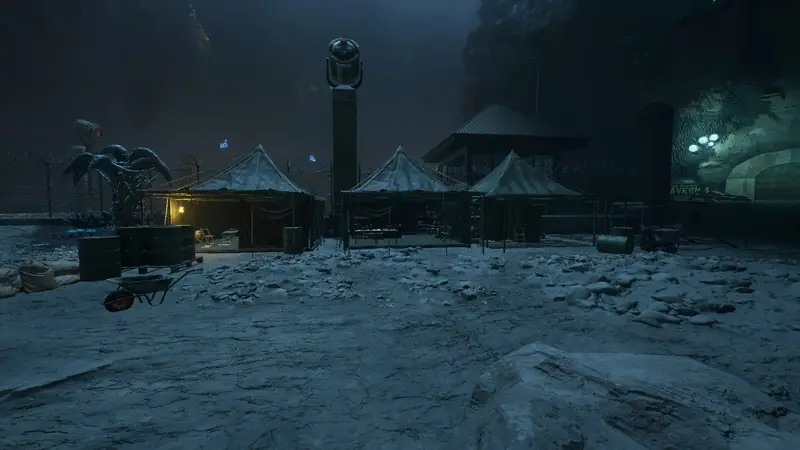
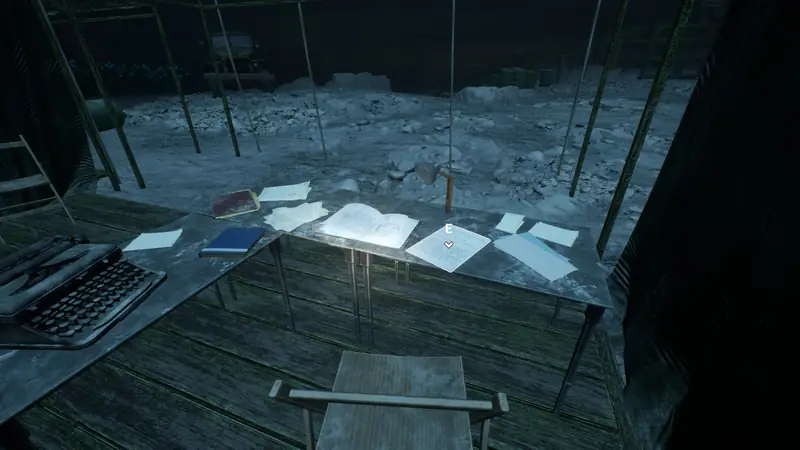
Note 16
Three tents stand toward the right side. Go into the middle one.
Chapter 4: Part 2
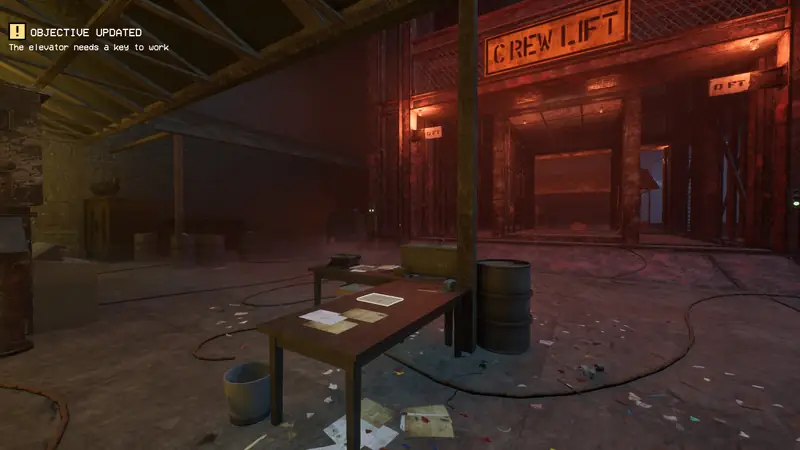
Note 17
Go up to the raised ground with the big lift. The note is on a table under the yellow-lit tent.
Audio Tape 4
Go behind the lift and down to the ground floor. Keep going until you see more raised ground with a slope. Up there, the tape is in the first tent on the left.
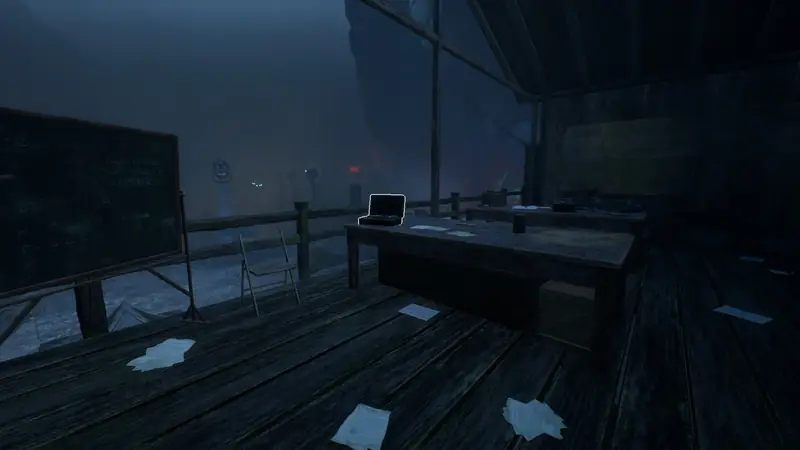
Note 18
In the same area there is a tent at the back. The note is in its back room.
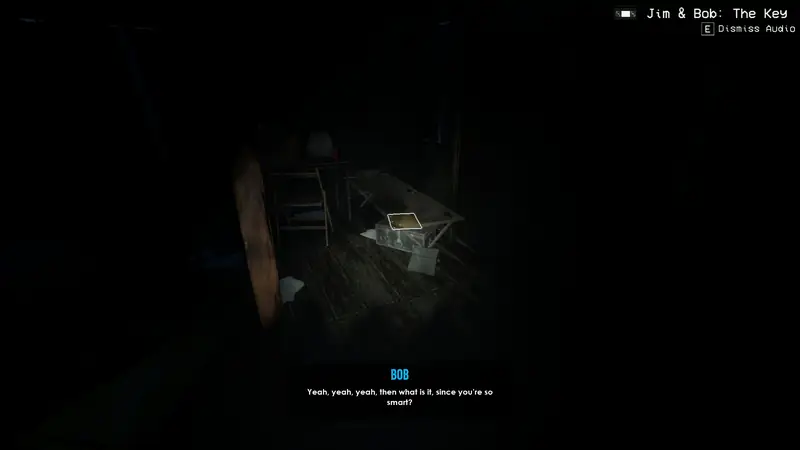
Note 19
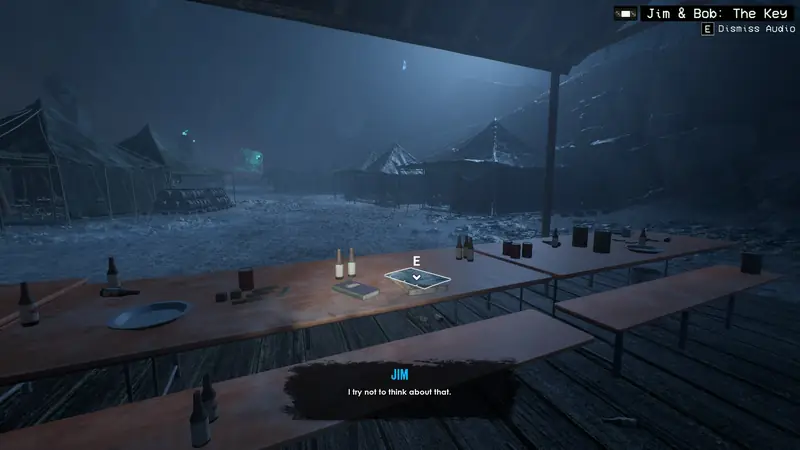
Head down from this upper area and go left to more tents. The note is in the dining tent in the middle.
Note 20
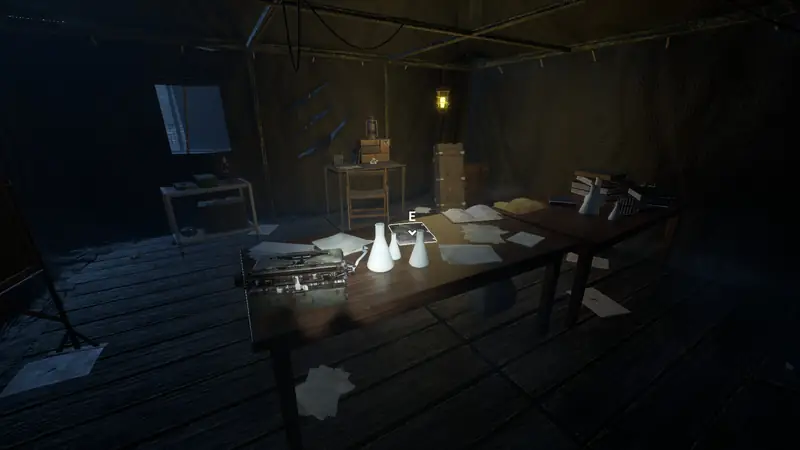
At the back right of this area is a tent with claw slashes on its back. The note is inside.
Note 21
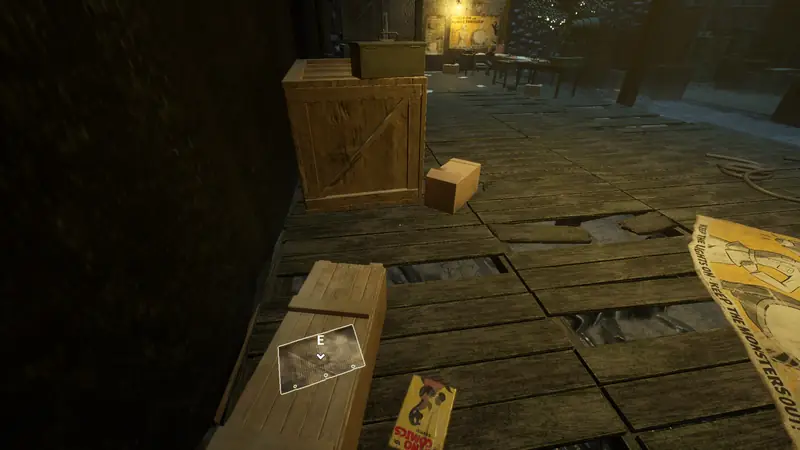
Go back to where you came in. A massive gate leads downward. Go down and to the right, where DJ is. The note is in the left corner of his spot.
Note 22
Continue through this area, keeping to the right side. The note is on a table in a tent.
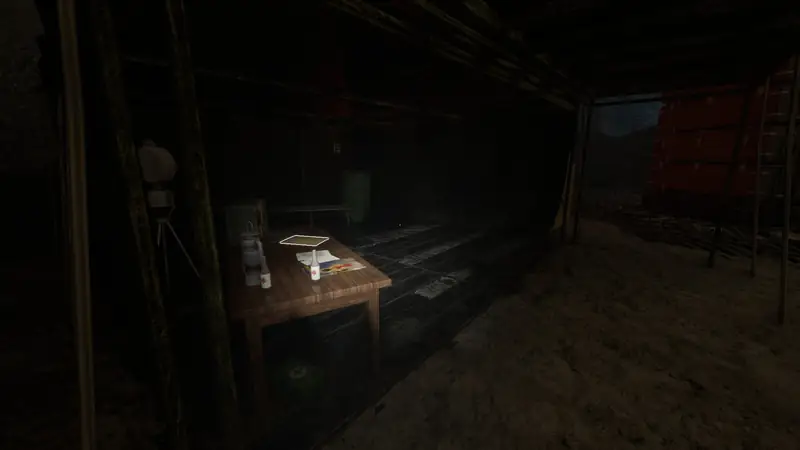
Sample 3
Past that tent you find wall running goo. Use it to reach the platform with the sample.
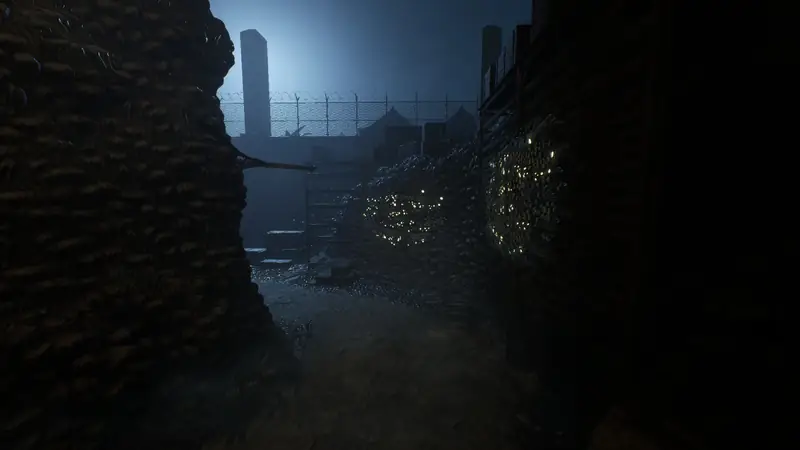
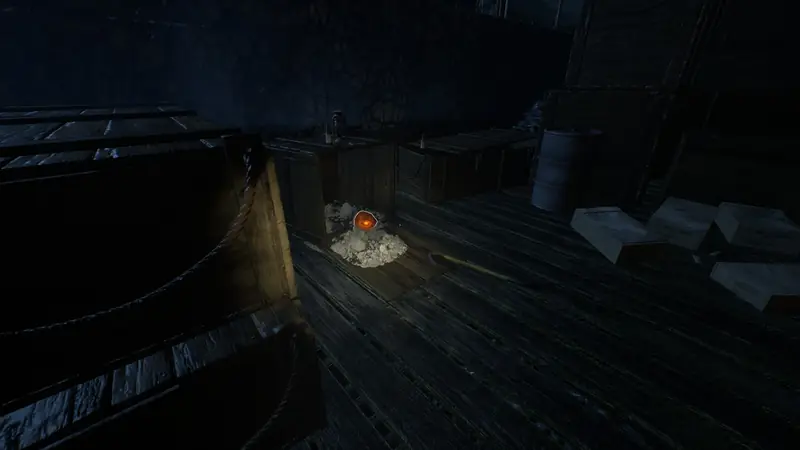
Note 23
After entering Cave A and climbing a large wall, go left to a table and chairs with the note.
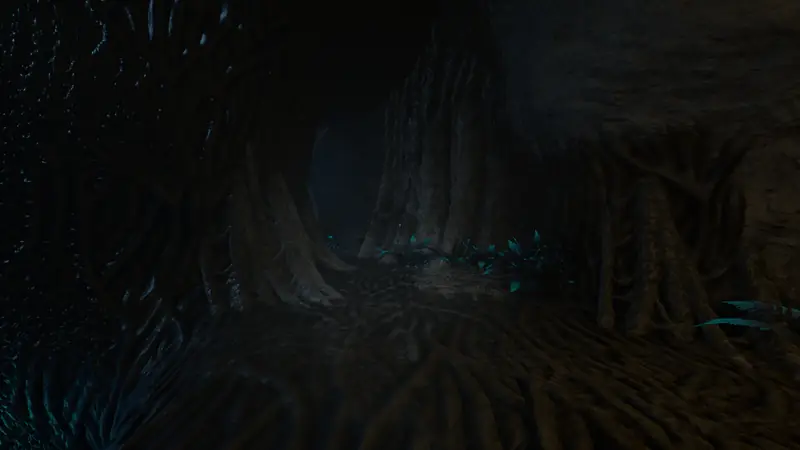
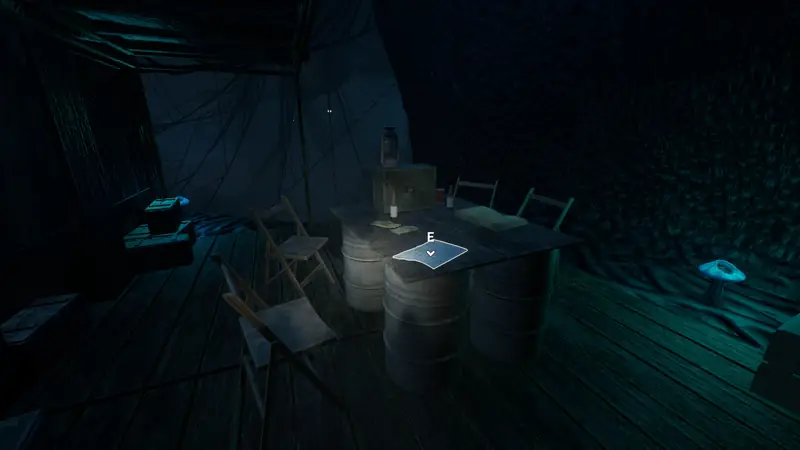
Note 24
Next to the dynamite you have to collect.
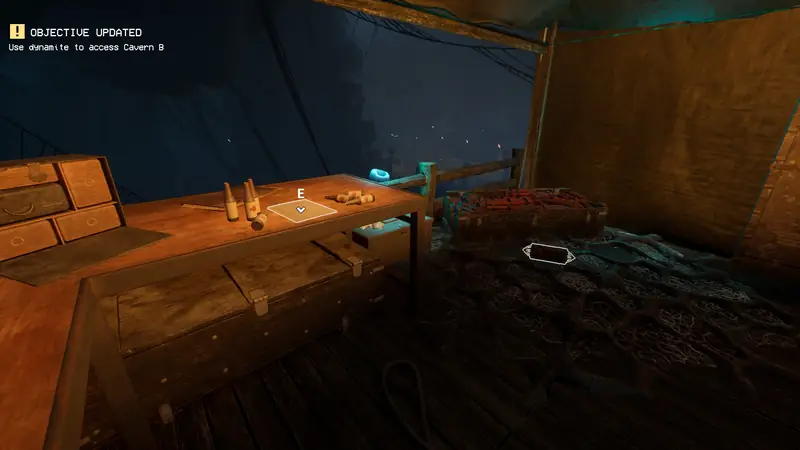
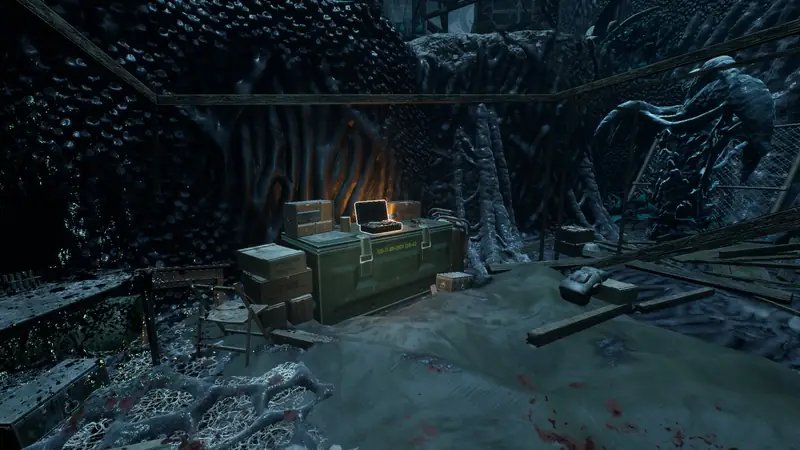
Audio Tape 5
In Cave B, do not climb the structure straight away. Stay on ground level and go all the way to the back.
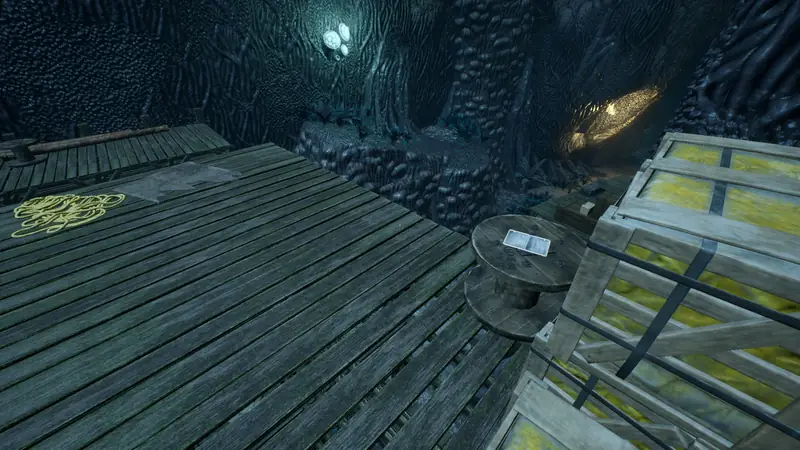
Note 25
Once you start climbing the structure, the note is on the third wooden platform, on a cable drum in the left corner.
Audio Tape 6
Further into Cave B you see goo spires. Keep going around until you can turn right. The tape is in the middle of that area.
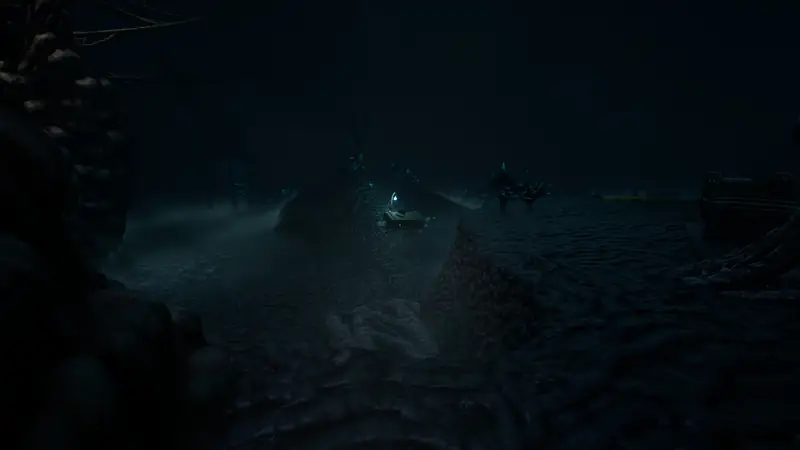
Note 26
From that tape, turn around and wall run to the left. Keep climbing until you reach a tent. The note is on a box on the left side.
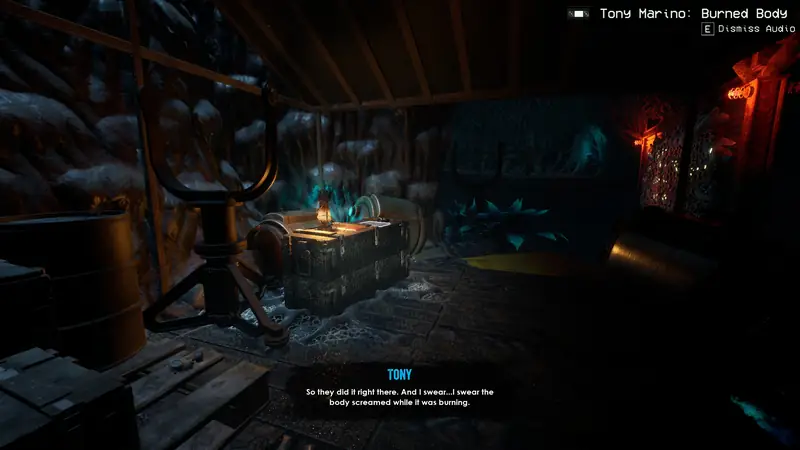
Sample 4
Keep climbing. After you pass a metal tower and make a few more wall runs, there is a narrow path on the right.
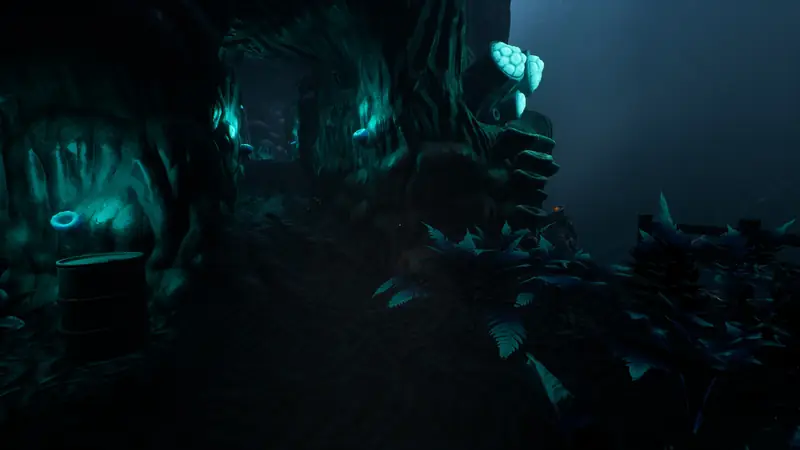
 | Bingo, Dino DNA Find all the amber samples. Hidden achievement |
Note 27
Next to the keys and Matpat’s dead body.
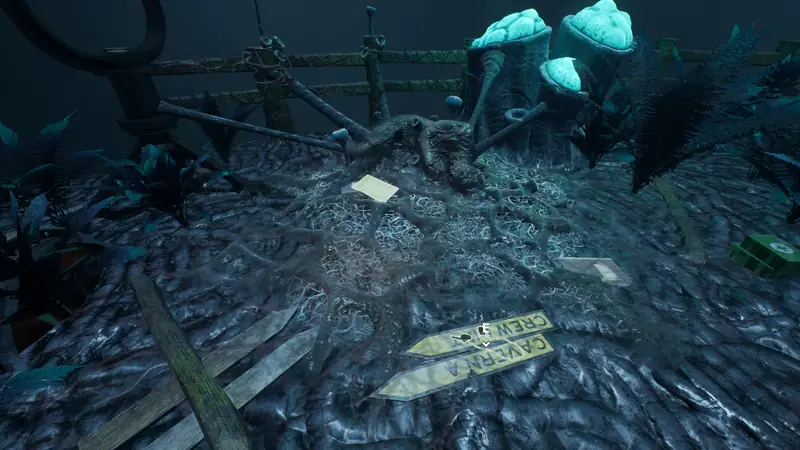
Note 28
After the next chase scene, go left through the strands of goo.
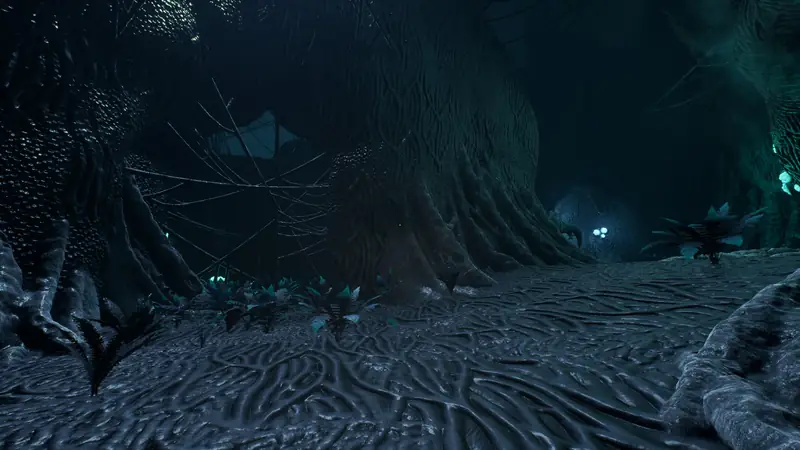
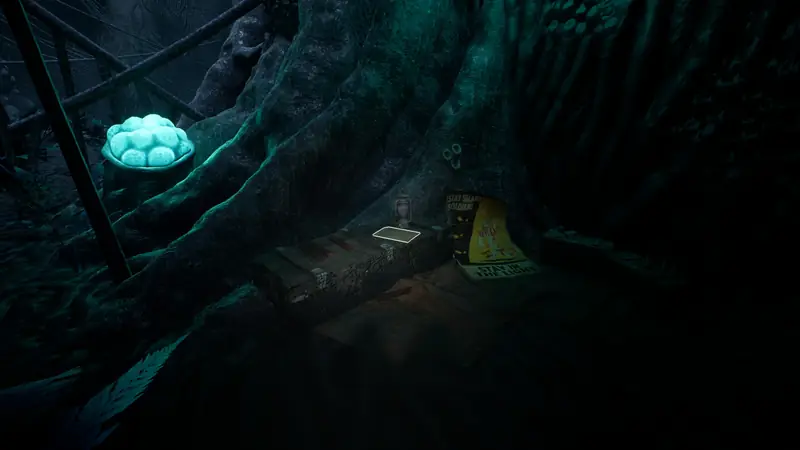
Chapter 4: Part 3
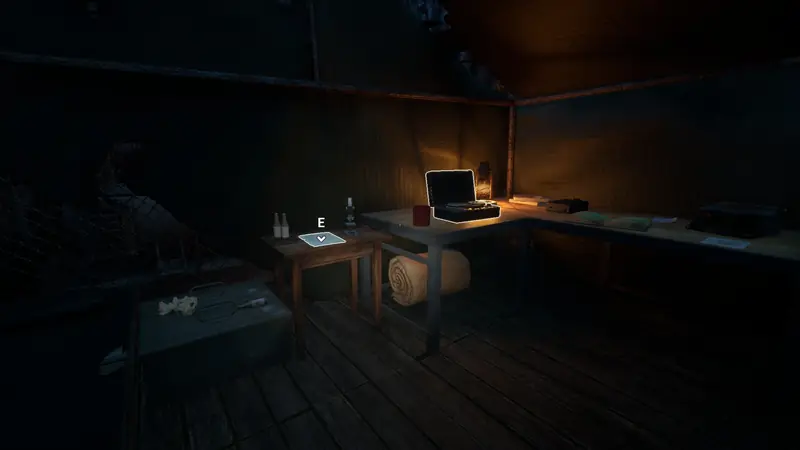
Note 29 and Audio Tape 7
After the dinosaur cutscene, go into the tent on the left side.
| Icon | Achievement | Description (hidden) |
|---|---|---|
 | Pterry’s Scrapbook | Find all the notes. |
 | Audiophile | Find all the audio tapes. |
 | Hoarder | Find all collectibles. |
Plushie Pedestal 4
After blowing up a door, keep following the path. The pedestal is in plain sight on the left.