Get all 52 secrets in Paperhead by following the directions to each hidden spot, chapter by chapter.
Paperhead: All Secret Locations
Introduction
- Almost half of the game’s achievements are tied to the secrets.
- The second secret in Chapter 2 needs the erasing ability, which you get in the next chapter. Even so, it’s still best to come back for it after you beat the game.
- A few very late secrets need some fancy way of gaining height, such as rocket jumps or quadruple and quintuple jumps. The Ghost (Lost Soul) character reaches them with very little effort. It unlocks once you find all the lore.
Chapter 1 (2 Secrets)
Secret 1
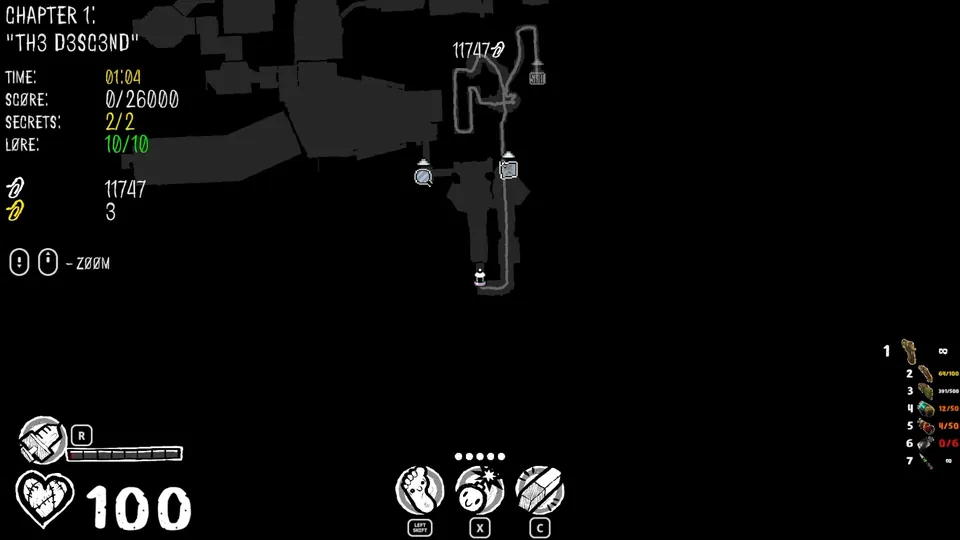
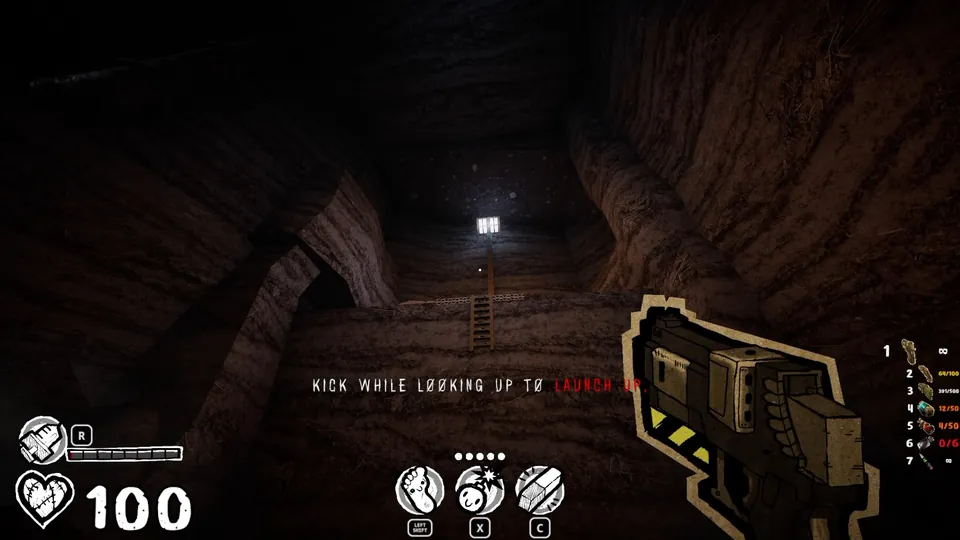
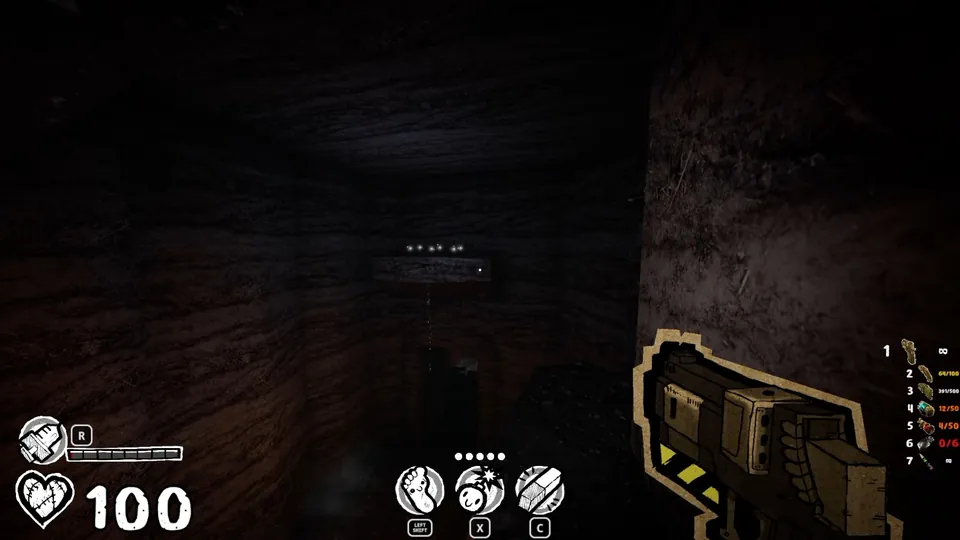
Find the spot where the game tells you that a kick launches you upward. The secret is on the platform across from the ladder there.
Secret 2
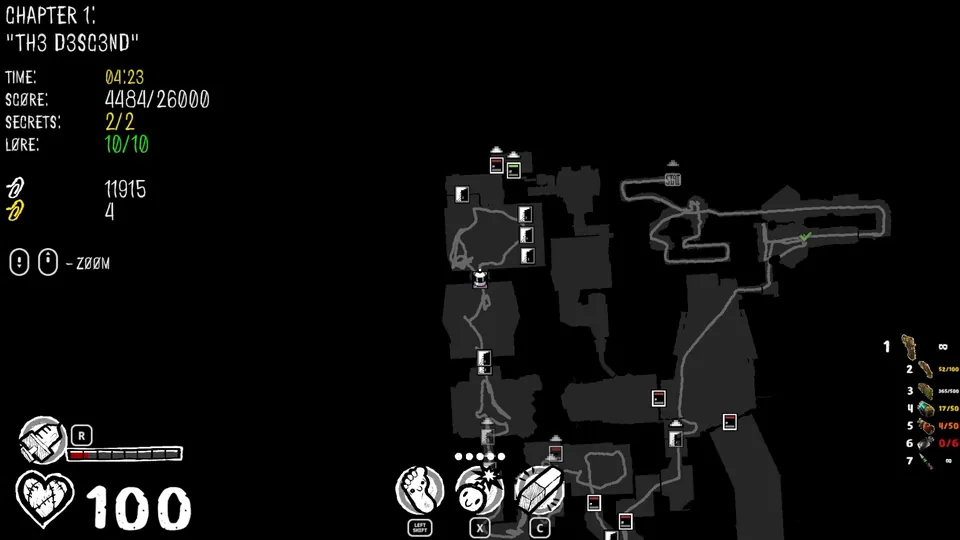
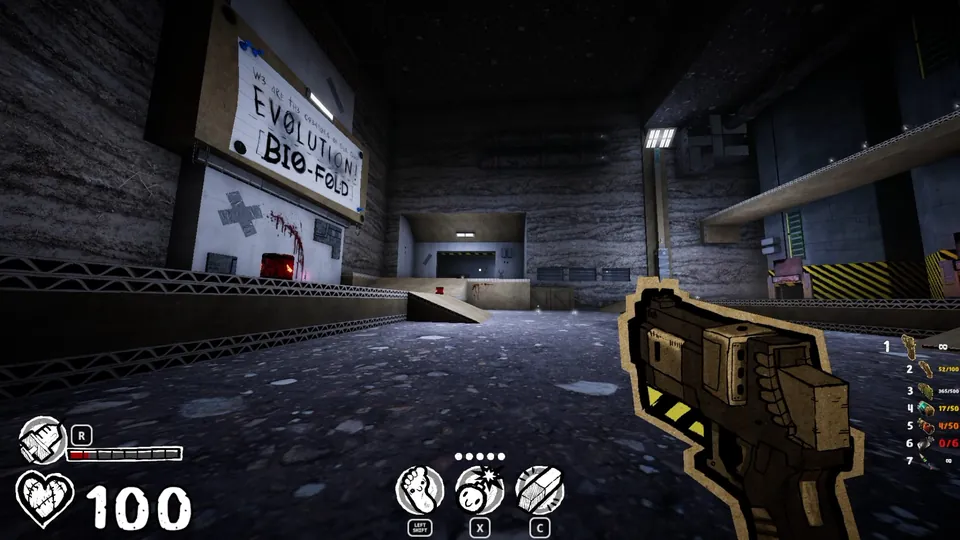
Go to the room with the barrels and the “Evolution! [Bio-Fold]” sign. The secret sits on the top platform facing that sign.
Chapter 2 (2 Secrets)
Secret 1
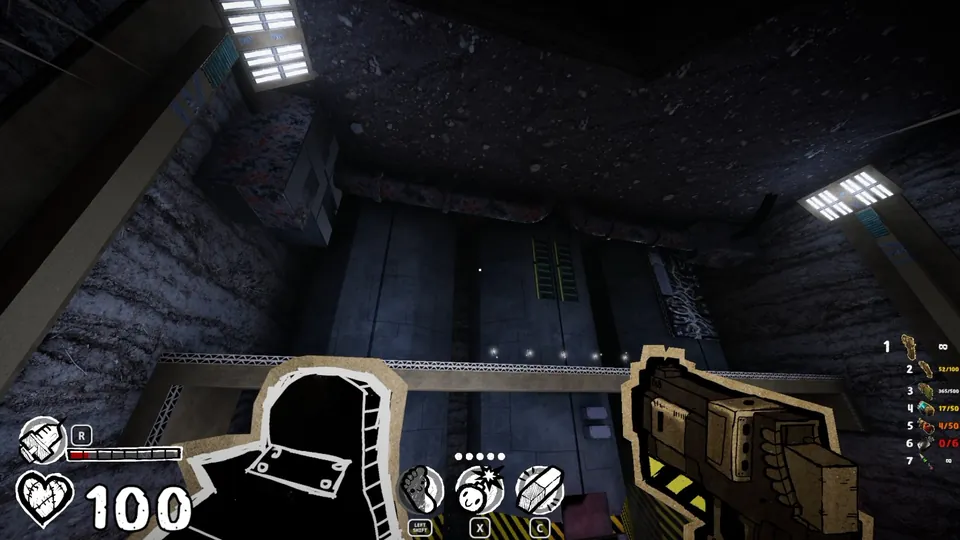
The last note in the chapter has graffiti of a cool moon dude. Turn left from it and you’ll see a second moon dude graffiti below. Go to it, turn around, and look up for a small metal platform you can jump onto.
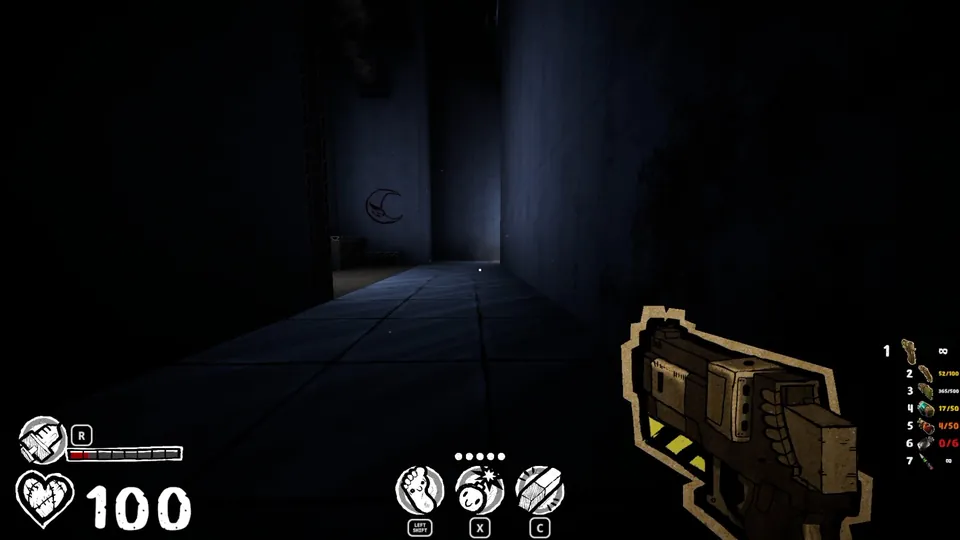
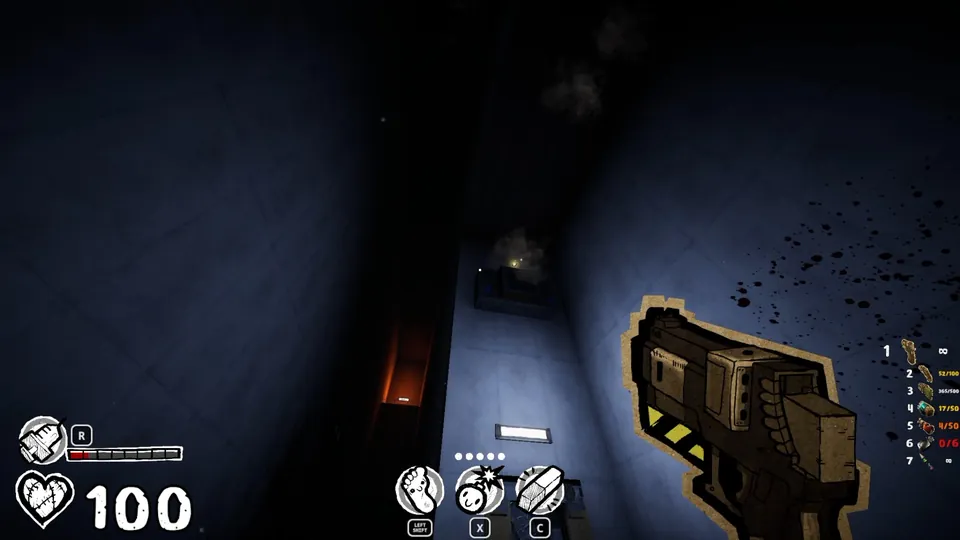
Secret 2
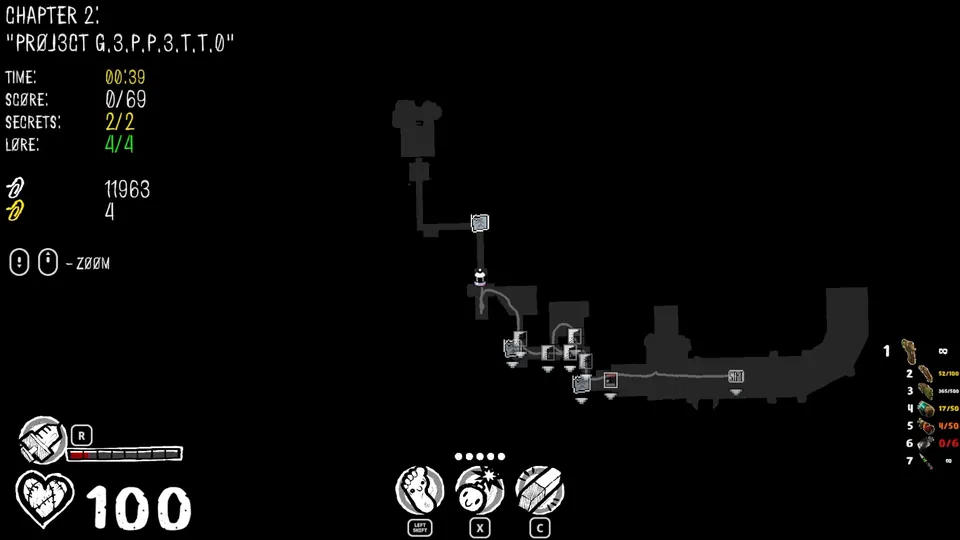
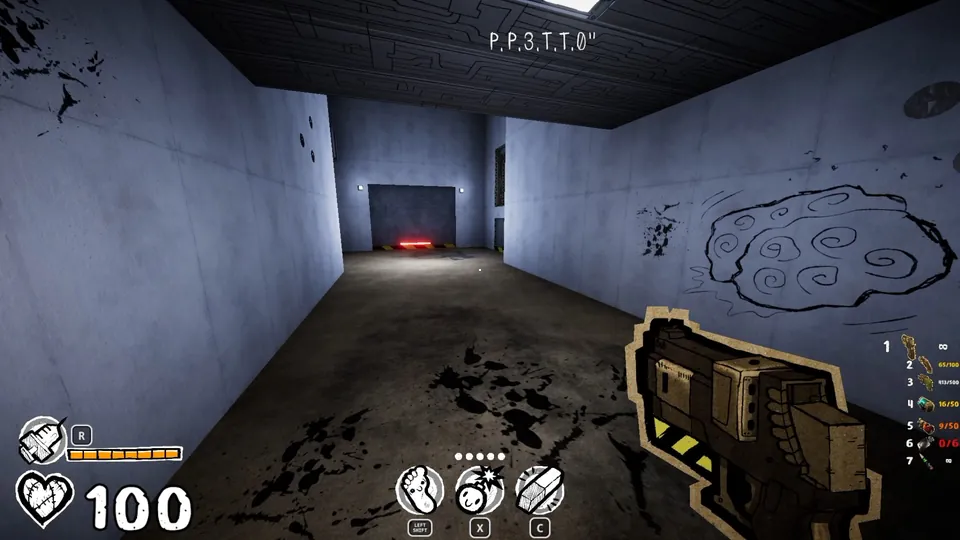
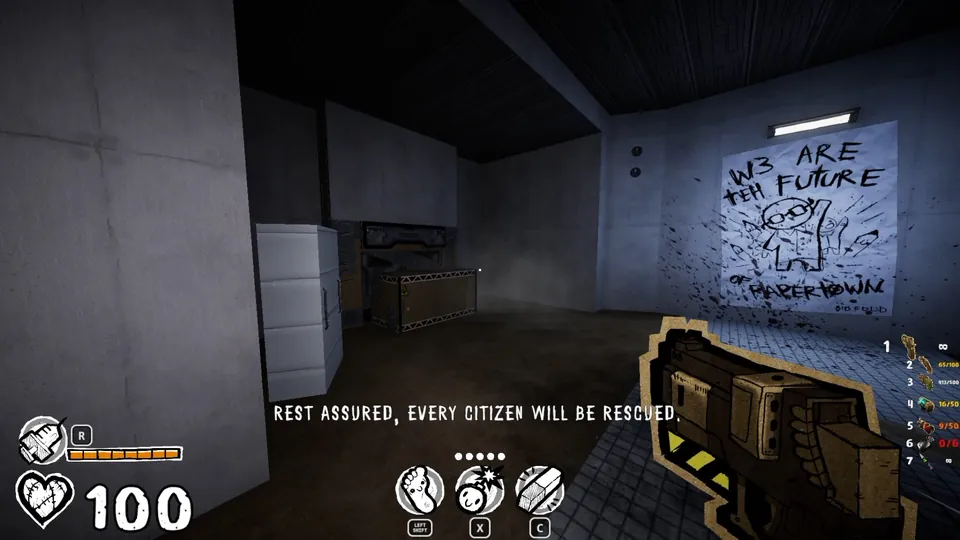
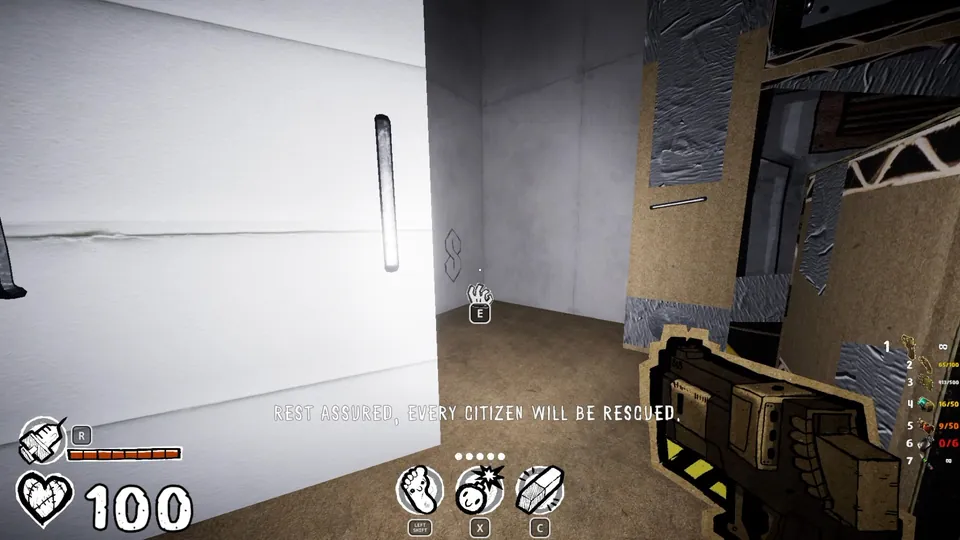
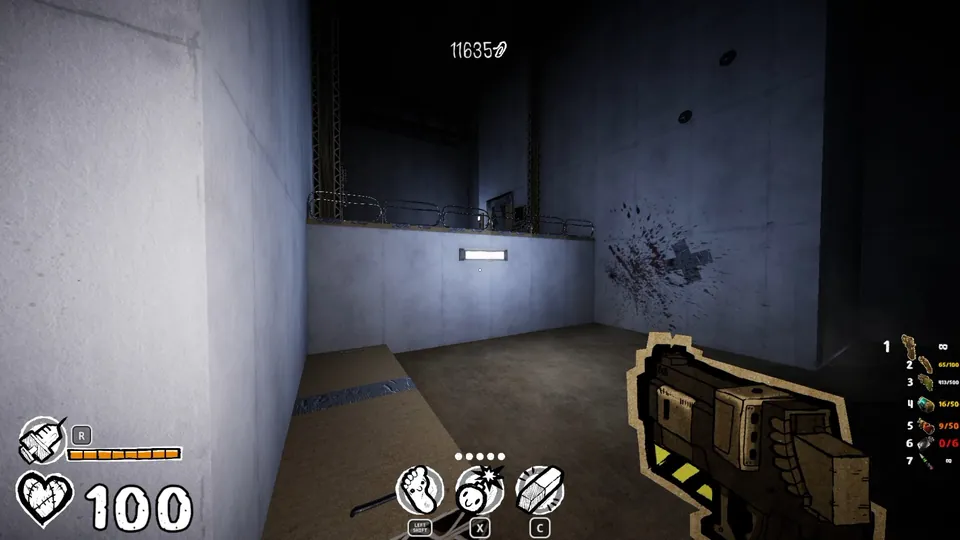
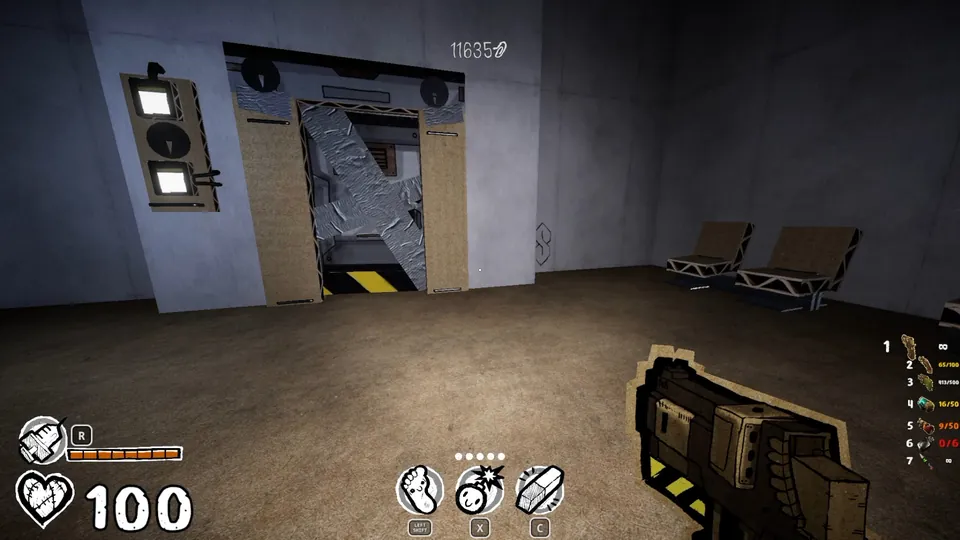
You need to erase the three S’s in this chapter. They may disappear if you’re not quick enough.
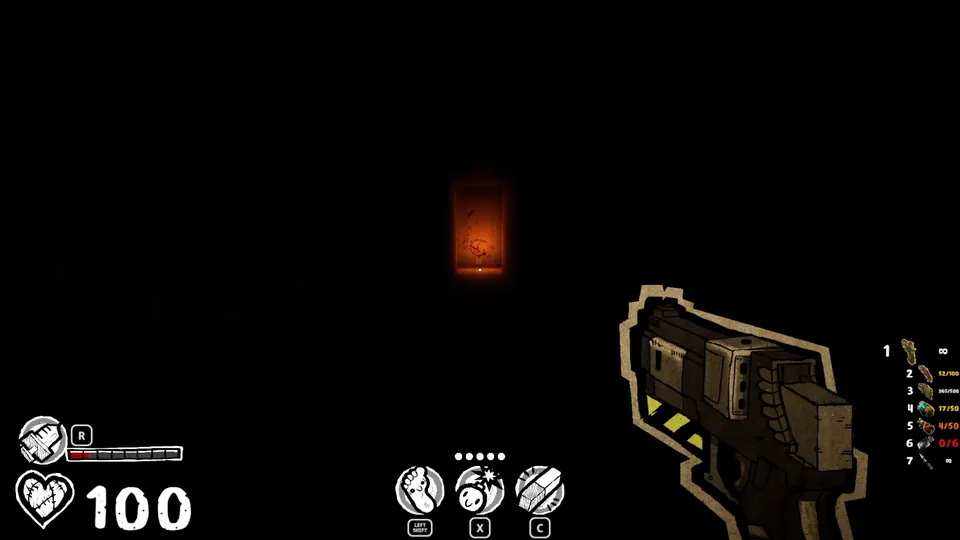
- First S: Go past the brain graffiti into the dark room where the PA announcement plays.
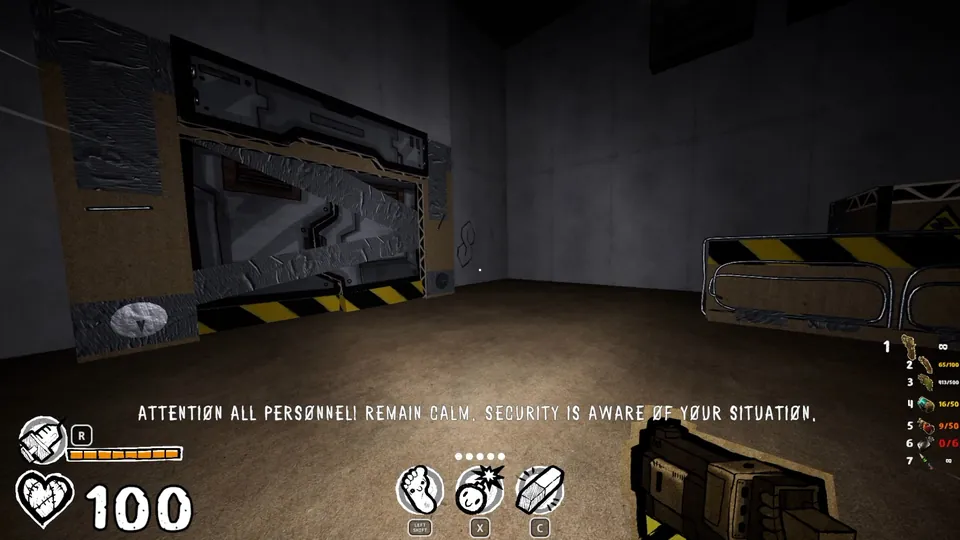
- Second S: Look left of the “we are the future” sign, behind the big white box.
- Third S: Check the area just before the moon graffiti note that took a very high jump to reach.
- When a message says you’ve awoken something, keep moving through the level. A couple of enemies spawn and the secret unlocks. Damage them a little to meet the level’s score requirement as well.
Chapter 3 (4 Secrets)
Secret 1
In the room with the giant closed vault door, find the wall section with two vents. You can enter either one, since they connect.
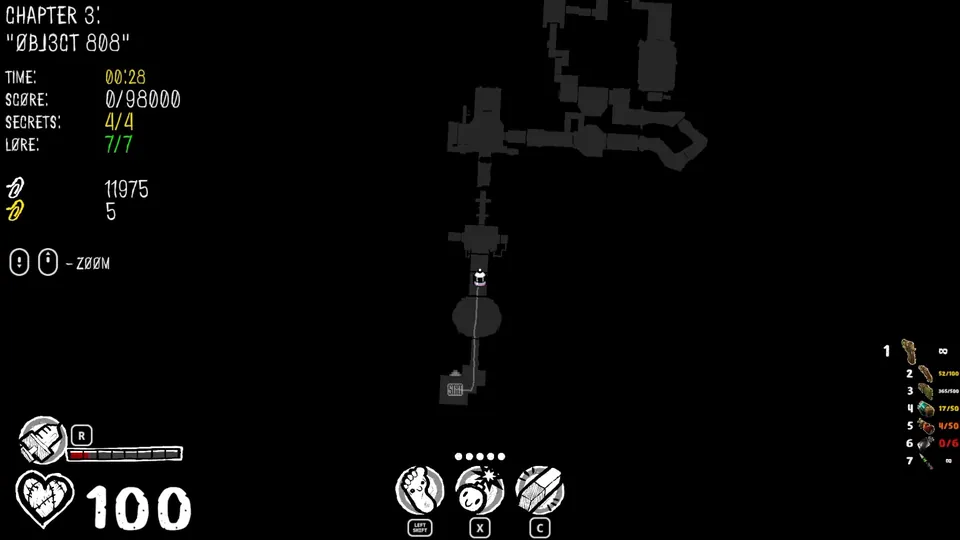
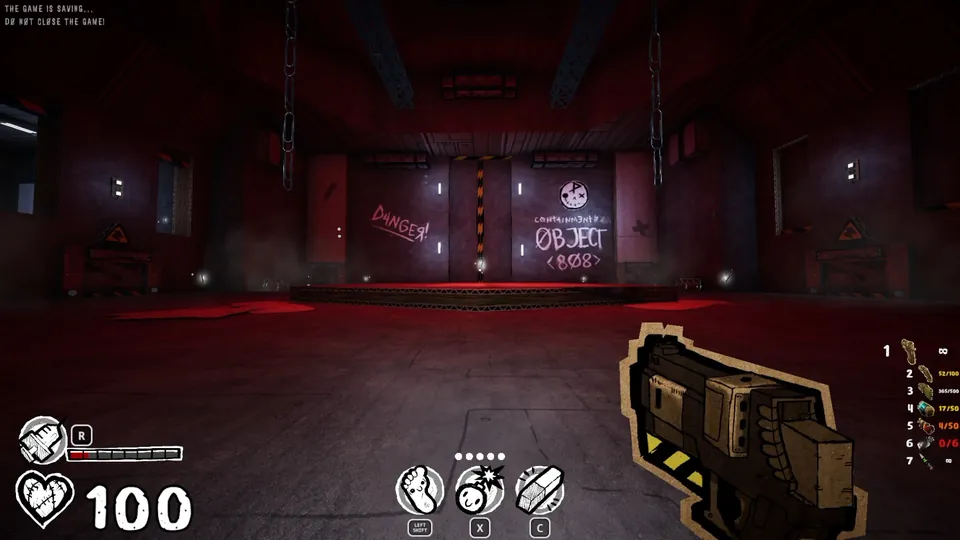
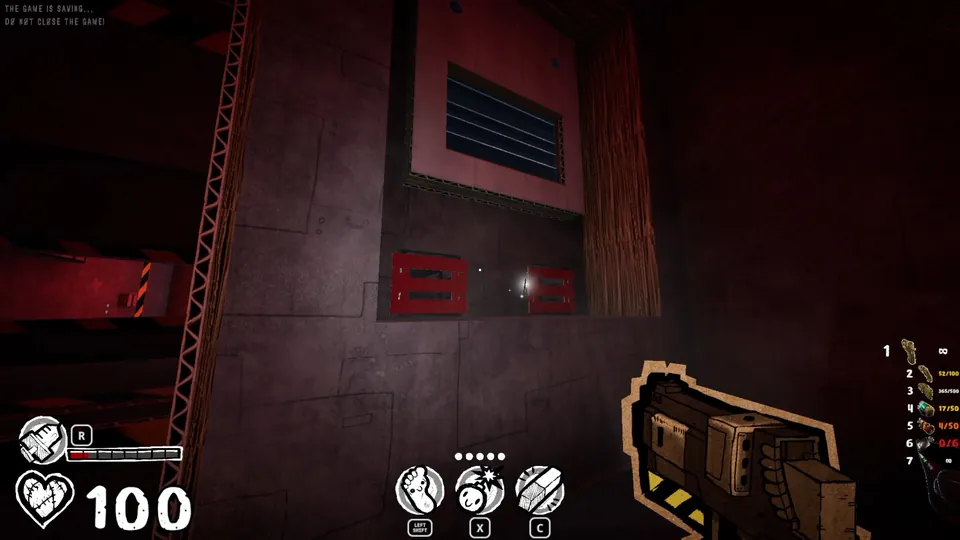
Secret 2
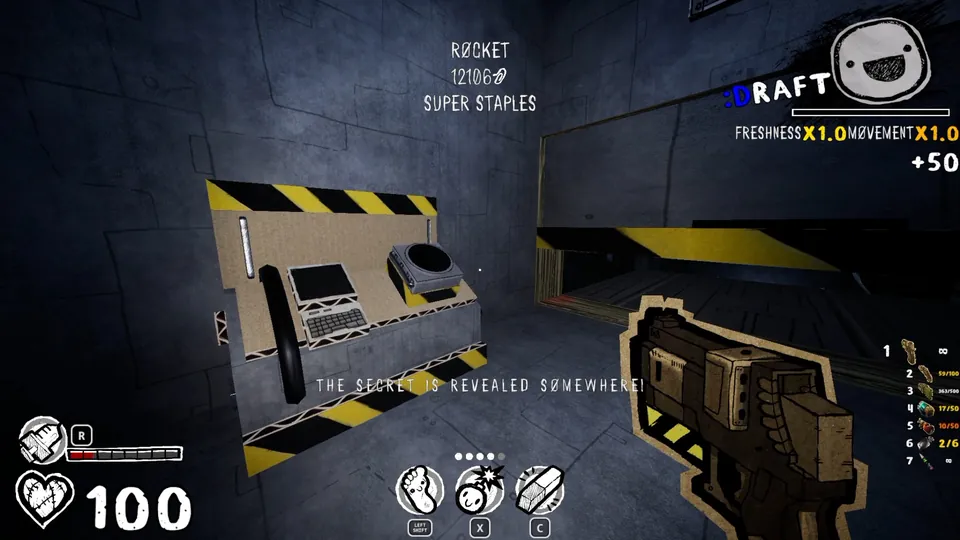
- Left of the “808” room, where you pick up the pencil, break through one of the destructible walls. It leads to a dead end with a single razor and a glowing green sign.
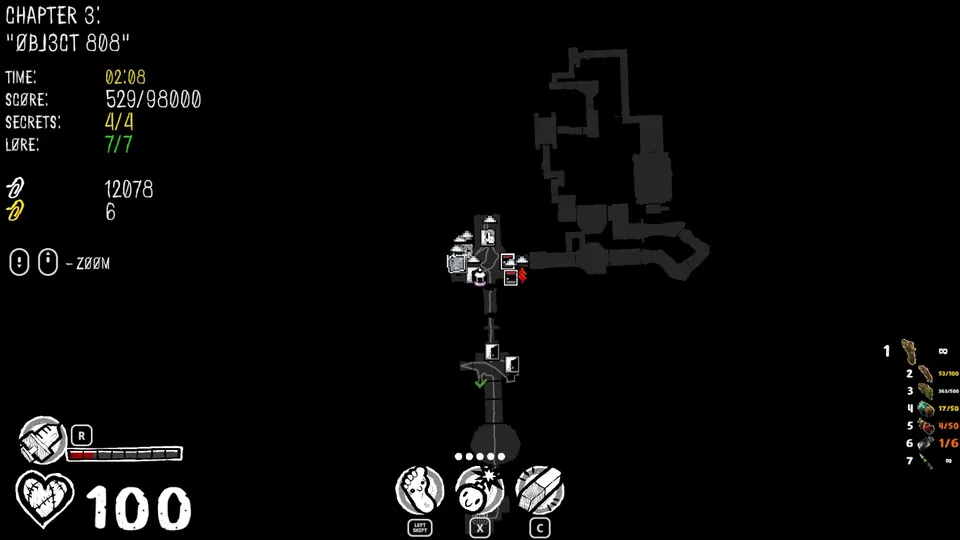
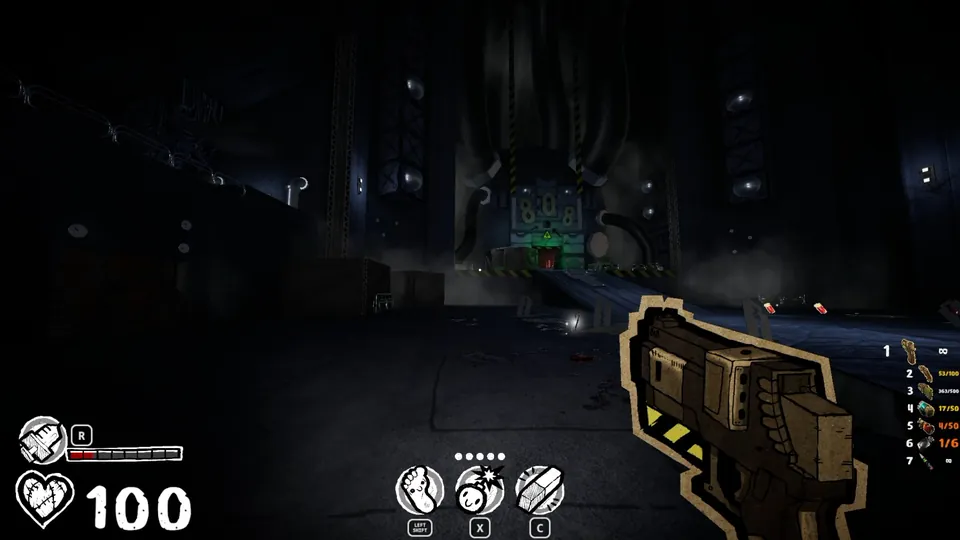
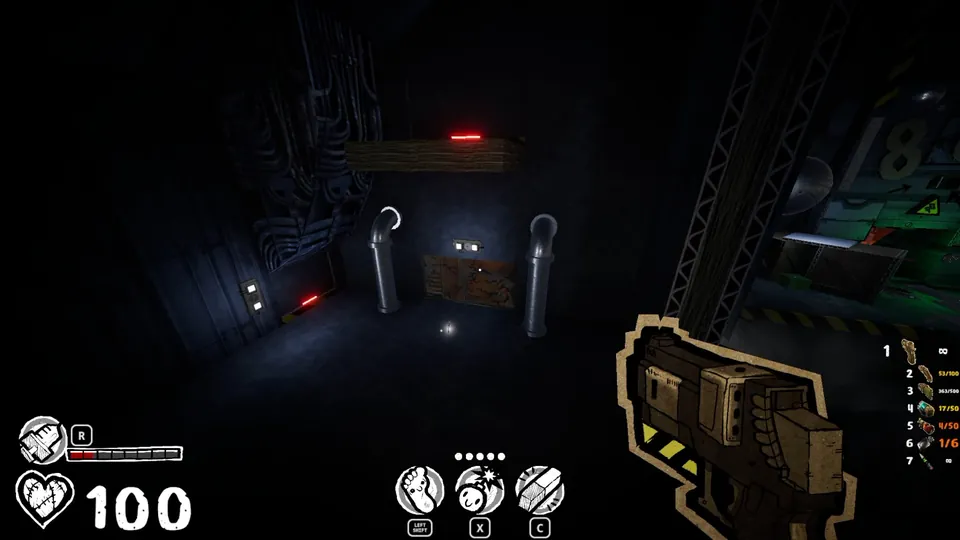
- Turn around from the razor and look up. A destructible wall there hides a button.
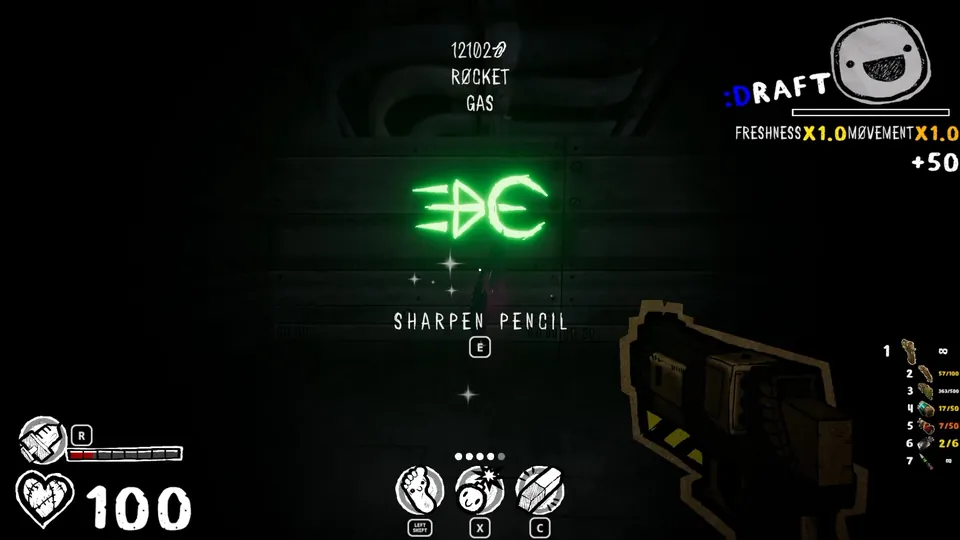
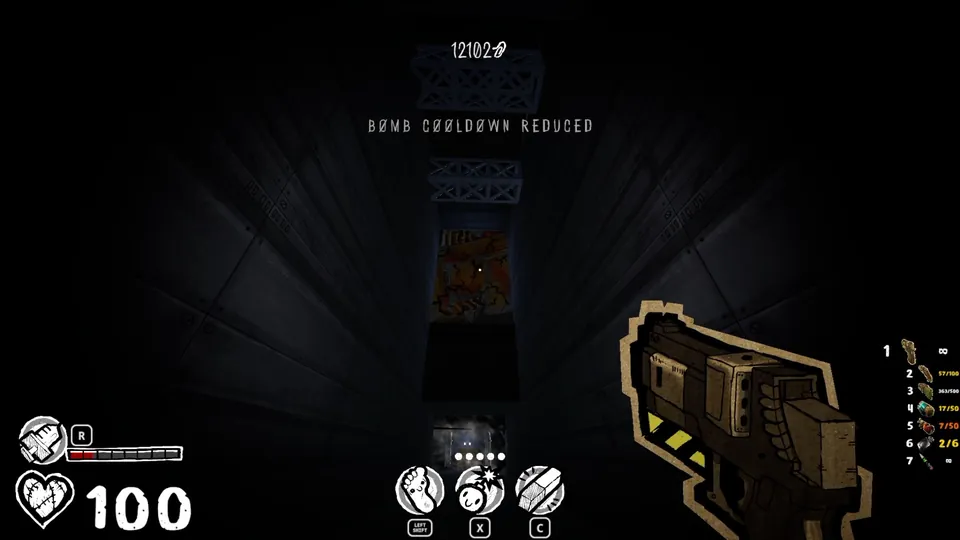
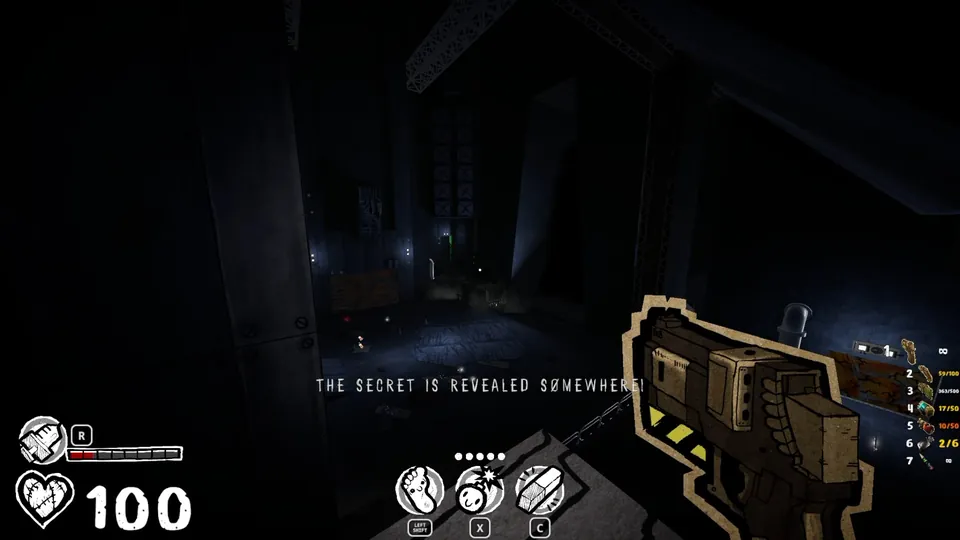
- Press the button. A wall opens to a green room, which is to the right of the path you’ll take later to progress.
Secret 3
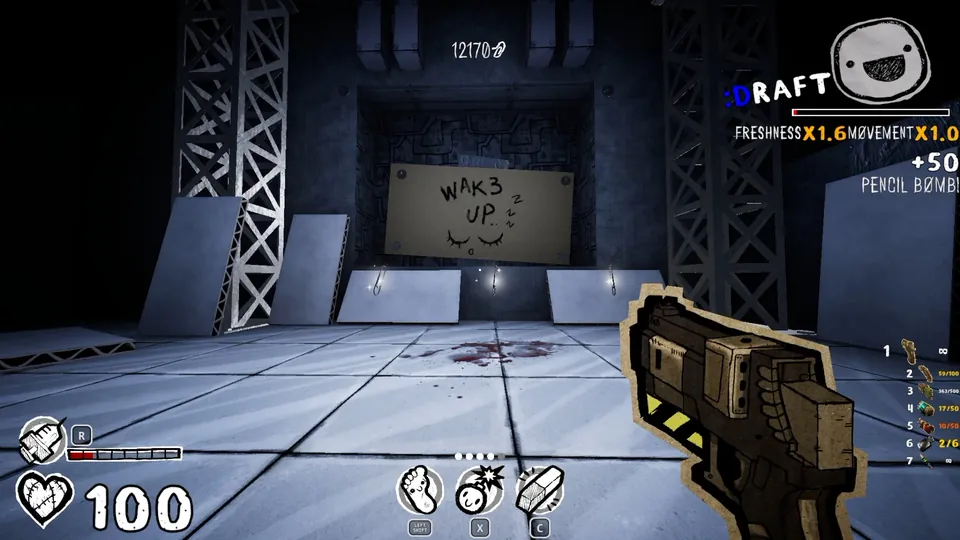
You have to pass through here, so it’s hard to miss. Erase the “wake up” graffiti, then turn around to find the reward.
Secret 4
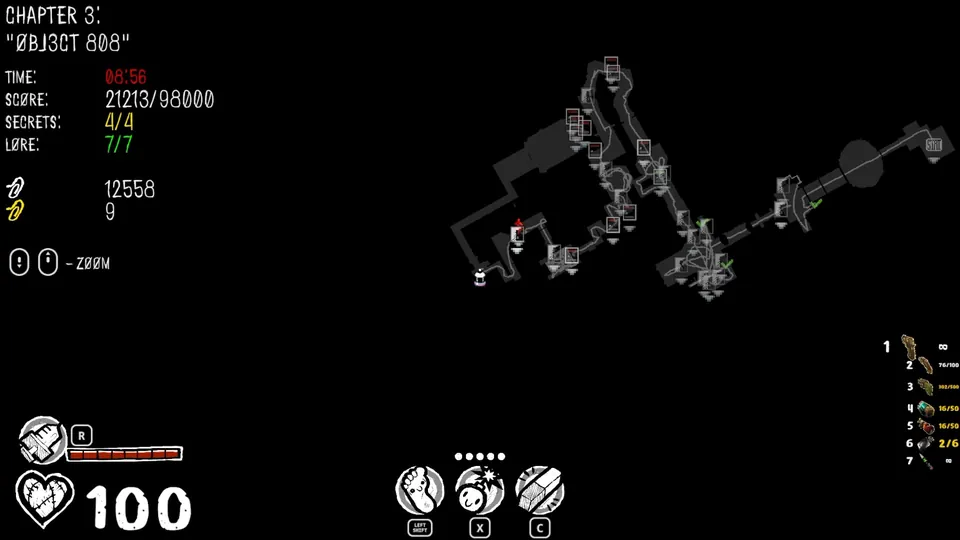
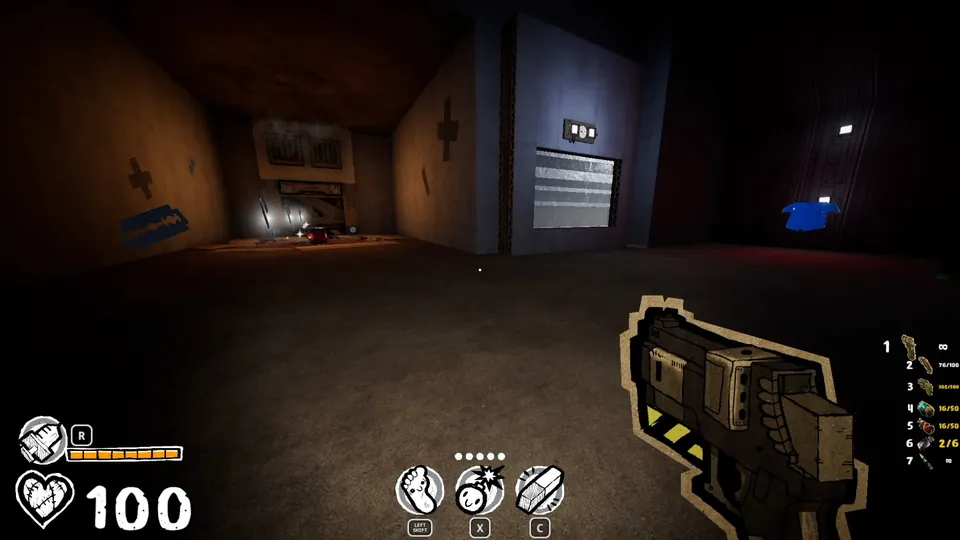
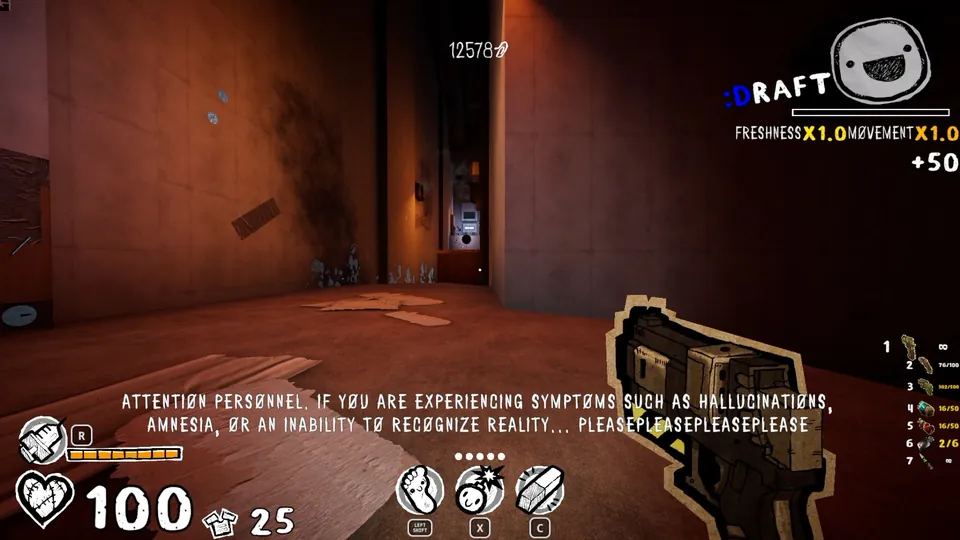
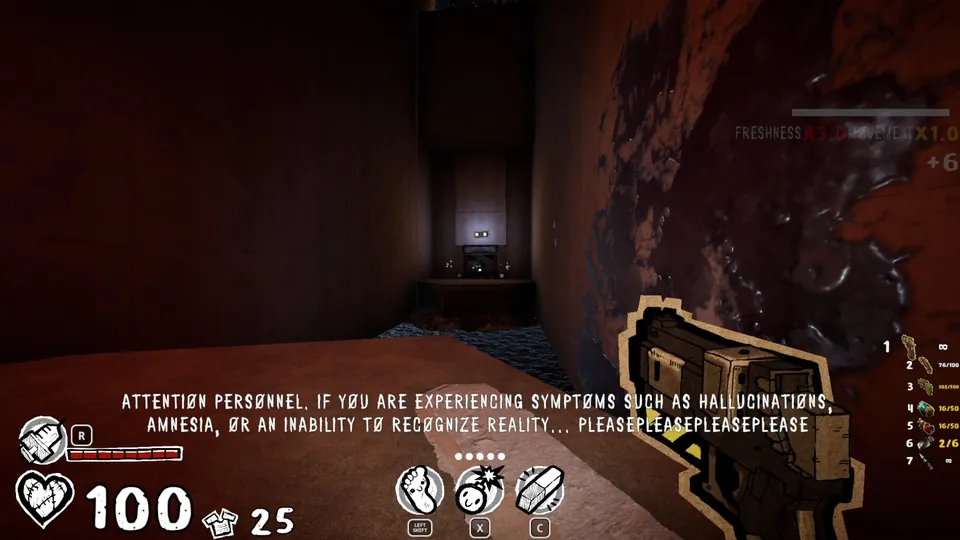
Early in the hallway with rotten liquid, the announcement mentions the “inability to recognize reality”. The secret is inside the hole near the armor pickup there.
Chapter 4 (2 Secrets)
Secret 1
- Pick up the SSG in its room.
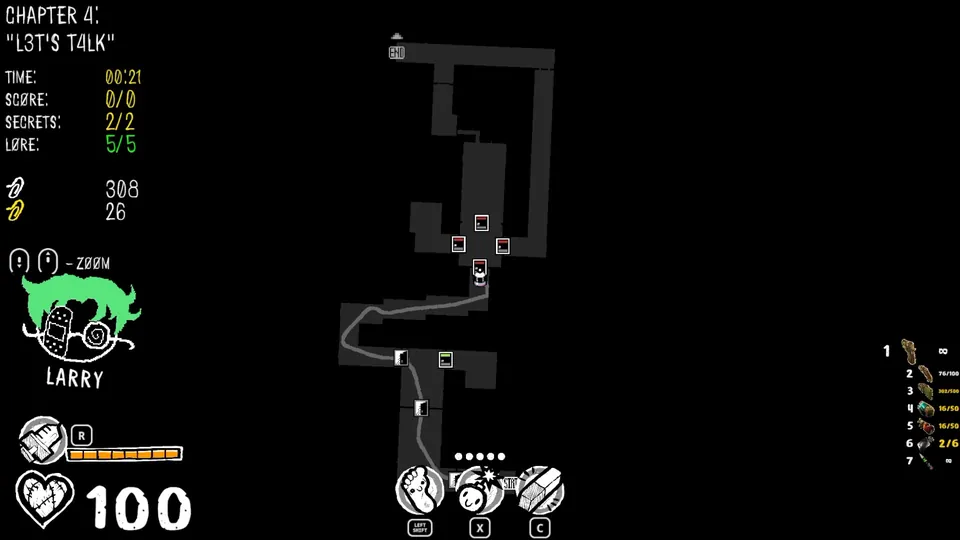
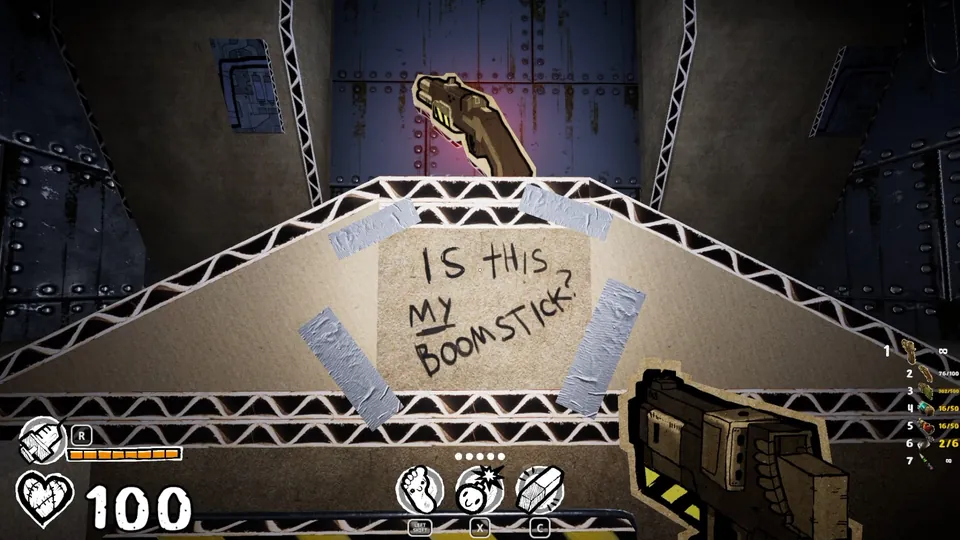
- An erasable S now appears above the doorway and monitor that led into that room. Jump up high and grab a clip or two so the secret counts.
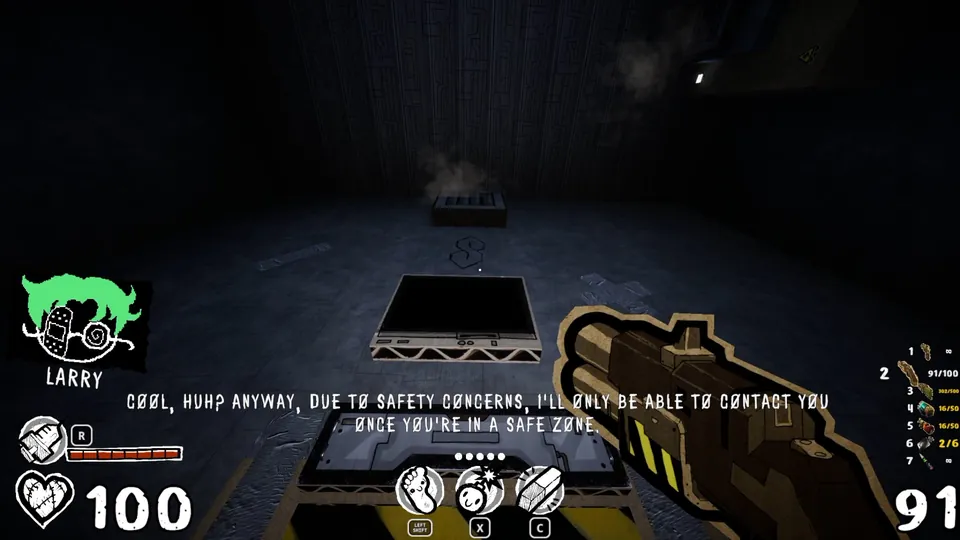
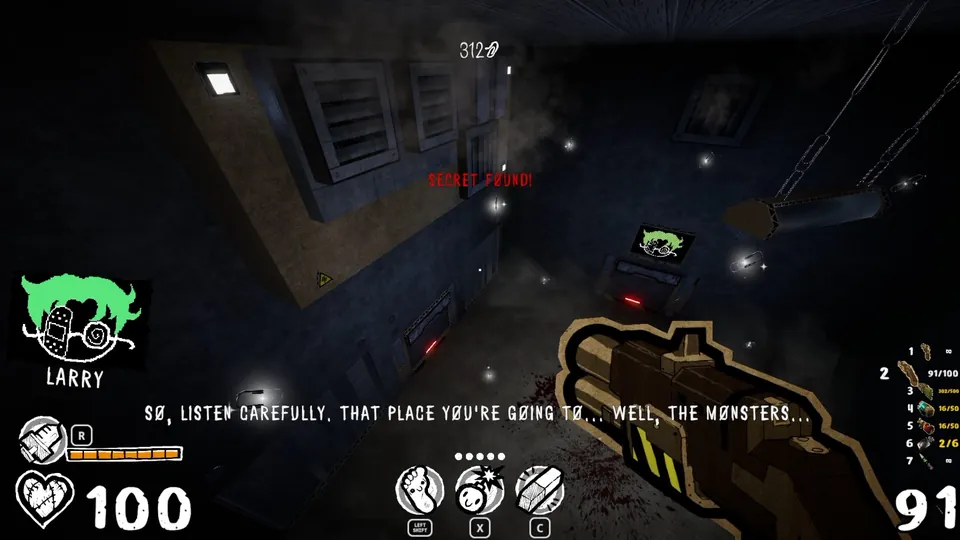
Secret 2
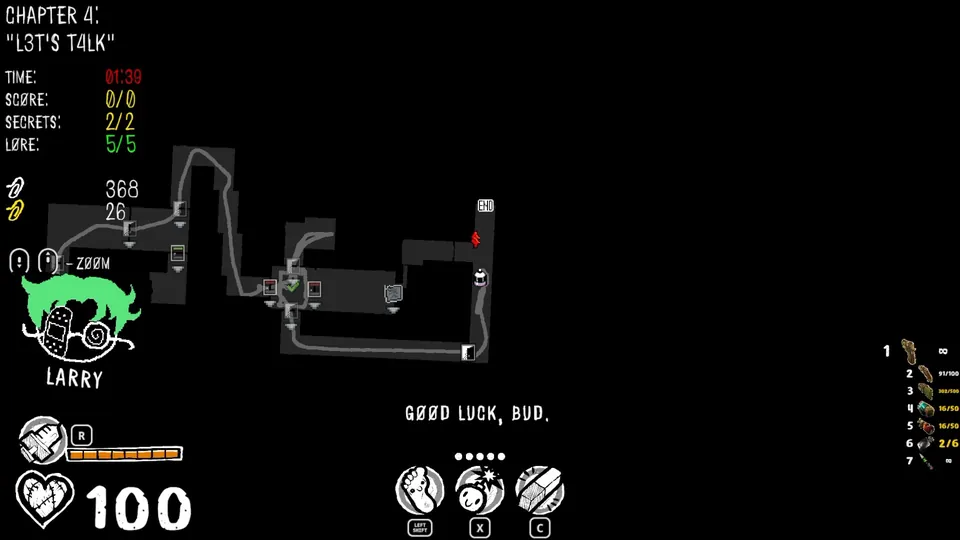
Look to the left of the chapter exit. Follow the path beyond the white wall until the secret unlocks.
Chapter 5 (5 Secrets)
Secret 1
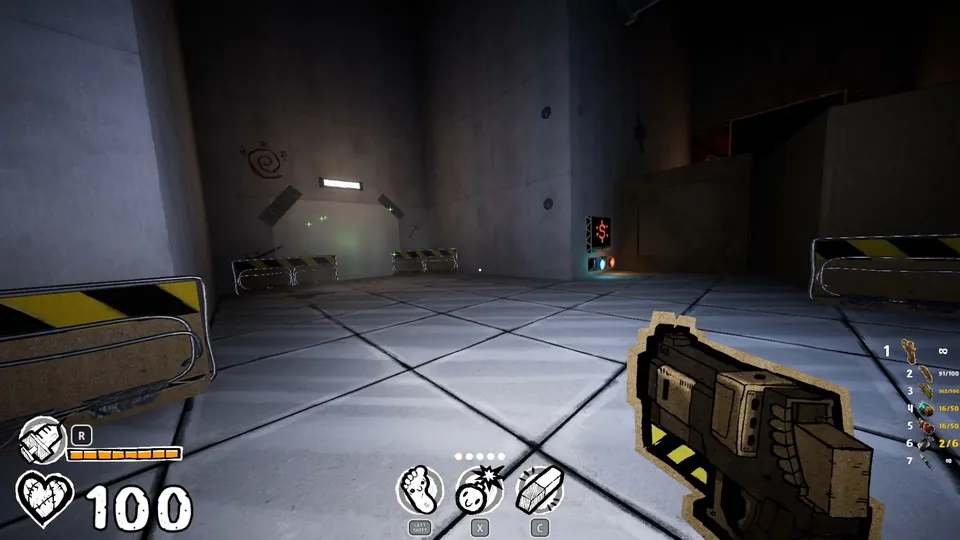
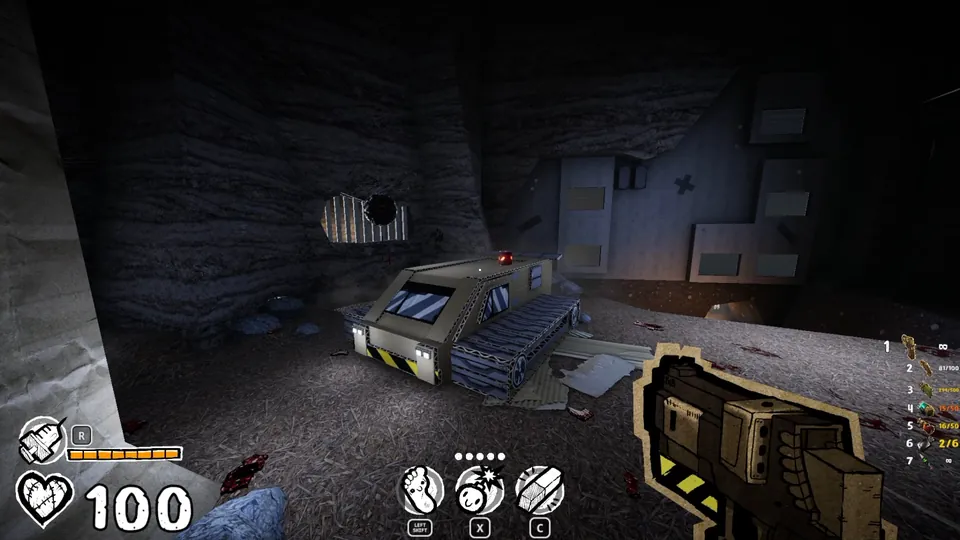
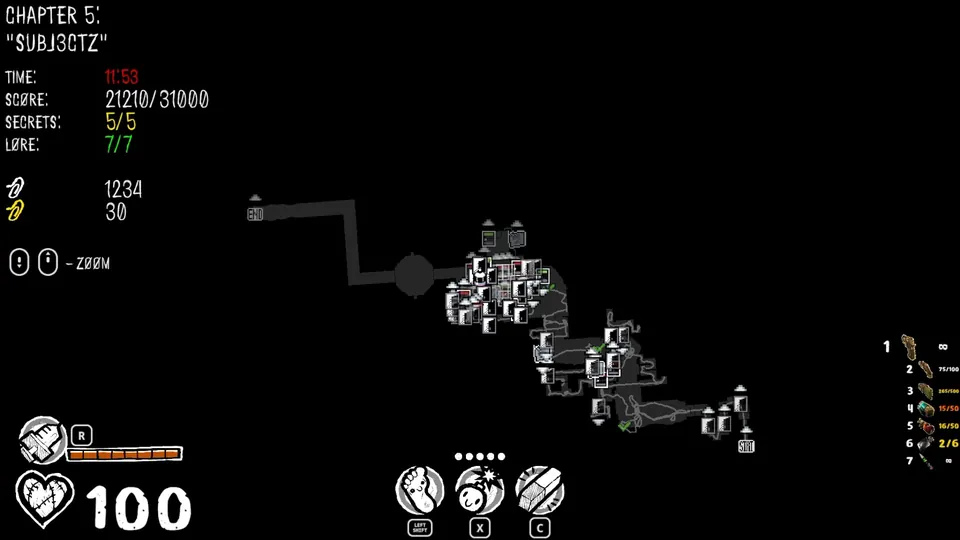
- Go to the first area where the metal music starts. Some boxes sit to the left of where you first spot the treaded vehicle.
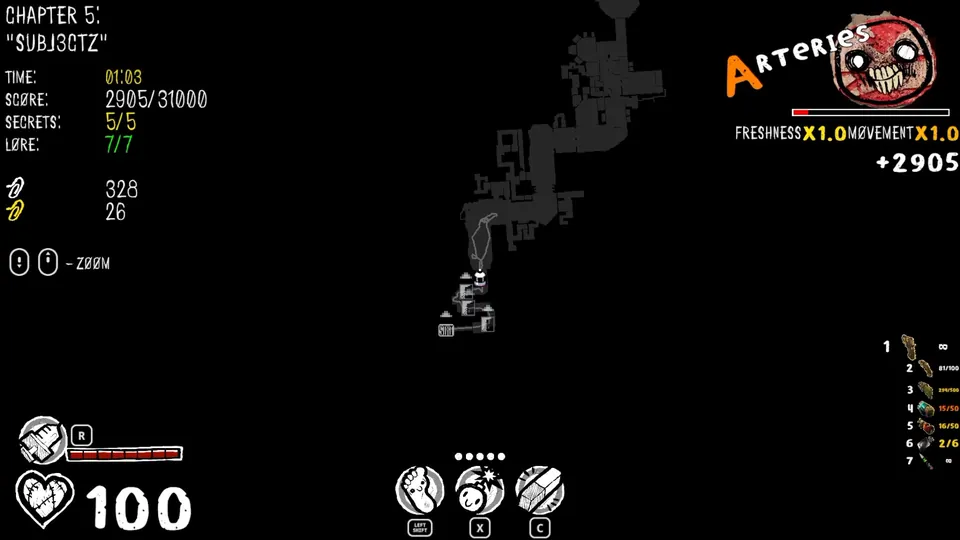
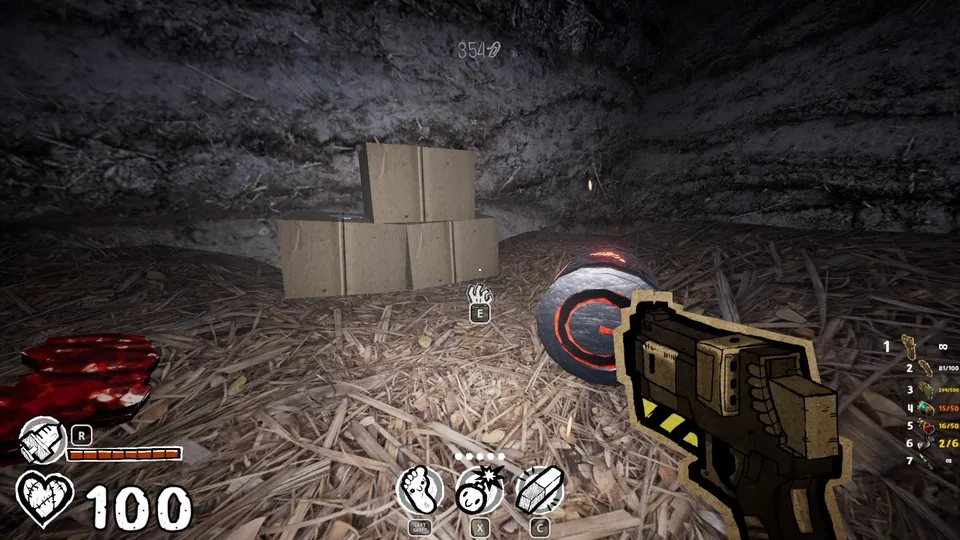
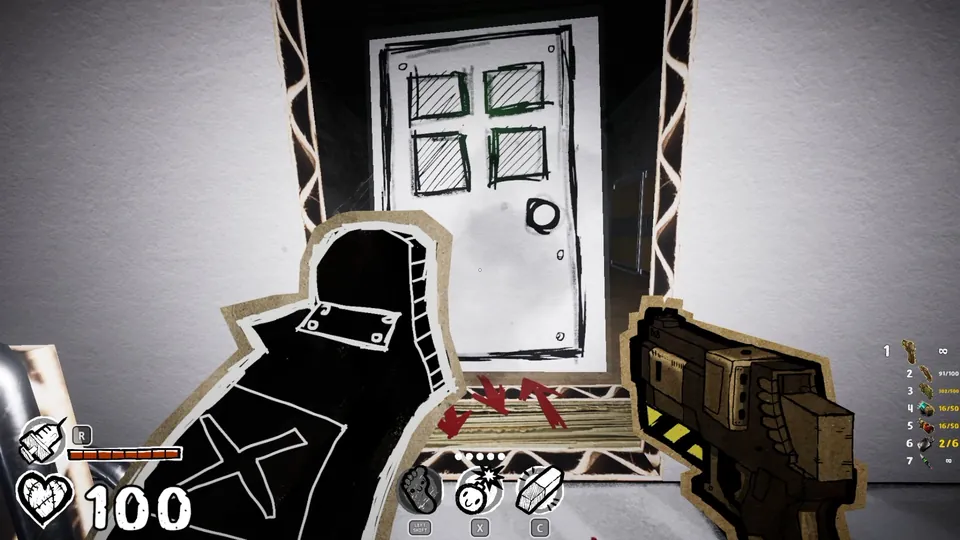
- Push the boxes aside and go through the crawlspace behind them. If the secret doesn’t count when you reach the end, move around the room until it does.
Secret 2
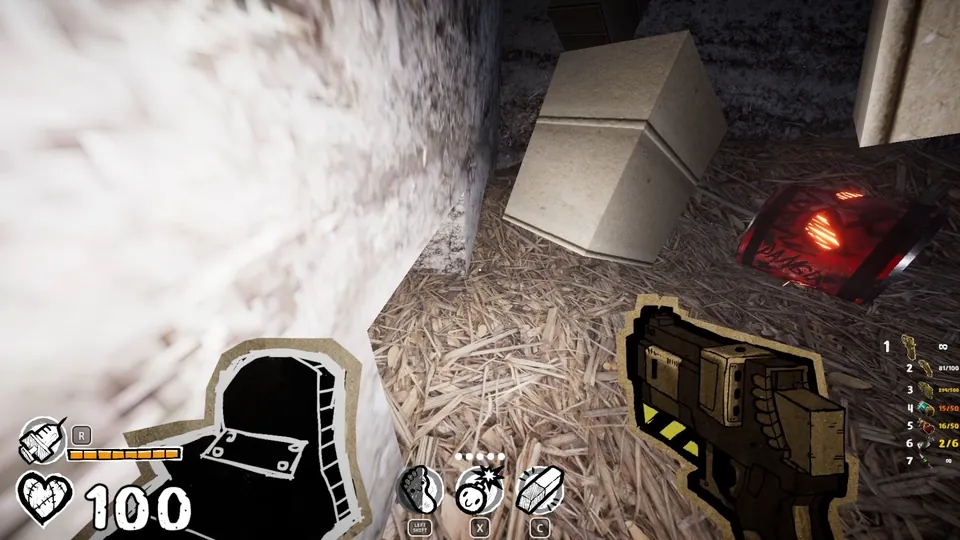
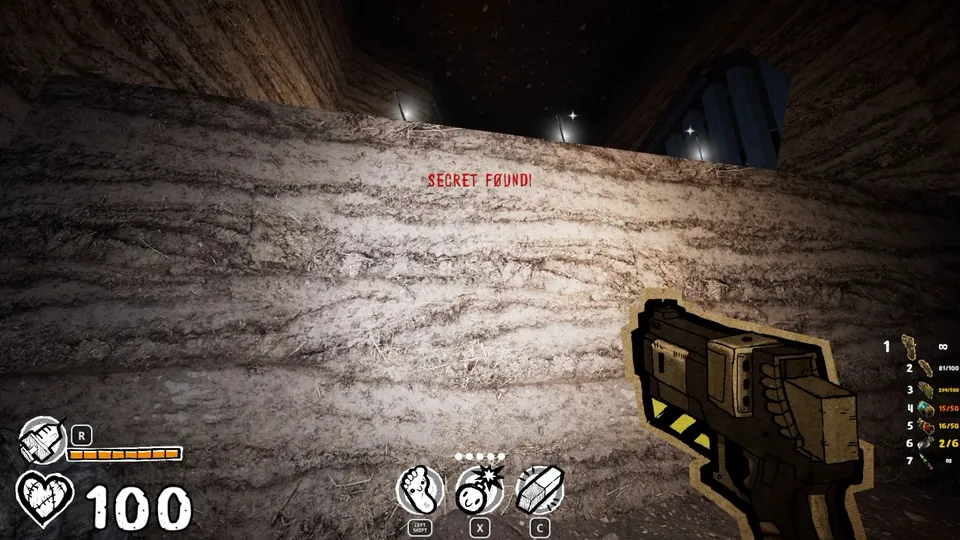
Start from the platform where you first see the big burning effigy statue. Under that platform is an opening into a small dark area.
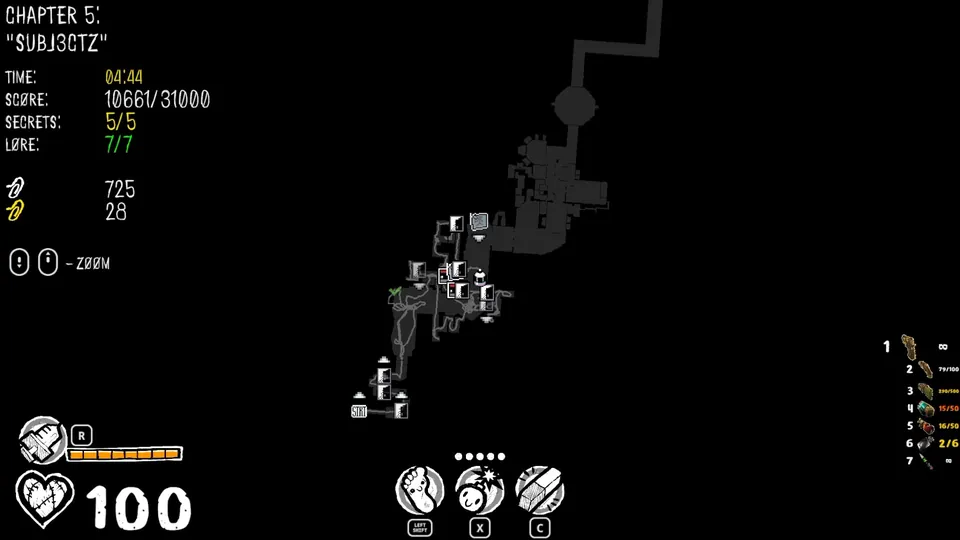
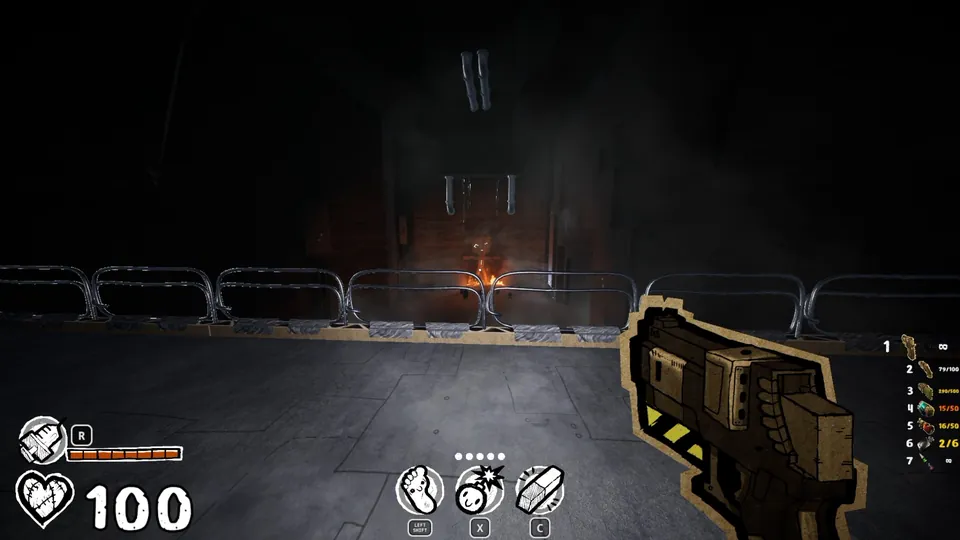
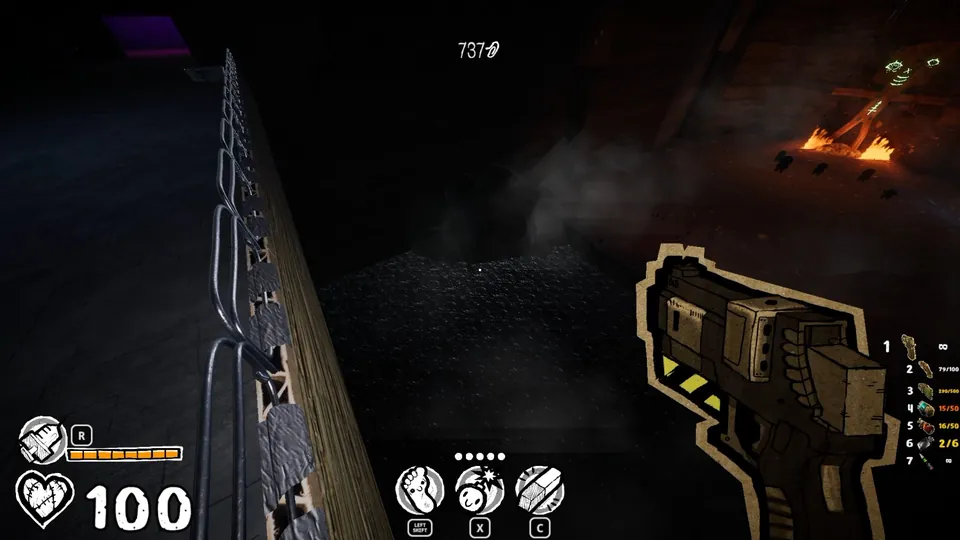
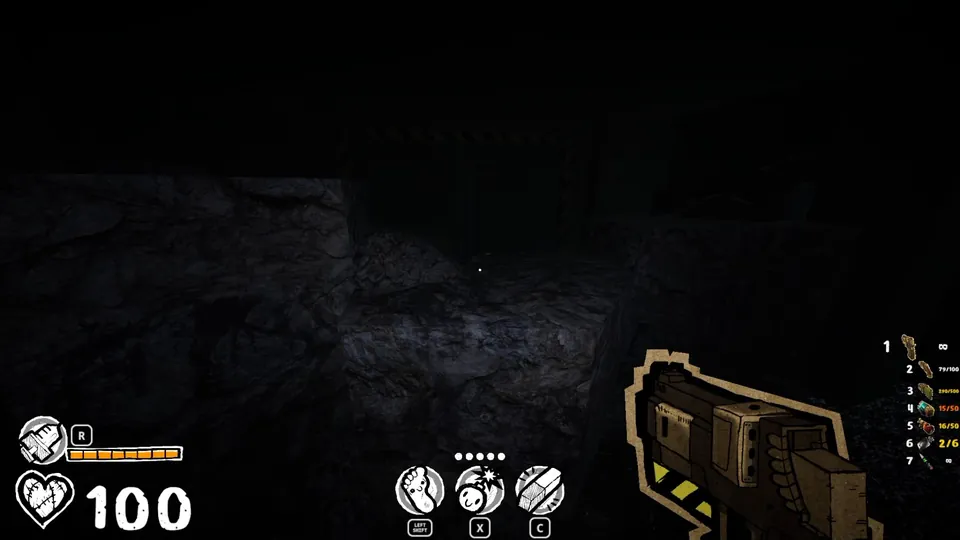
A note is also hidden behind the big effigy, in case you missed it.
Secret 3
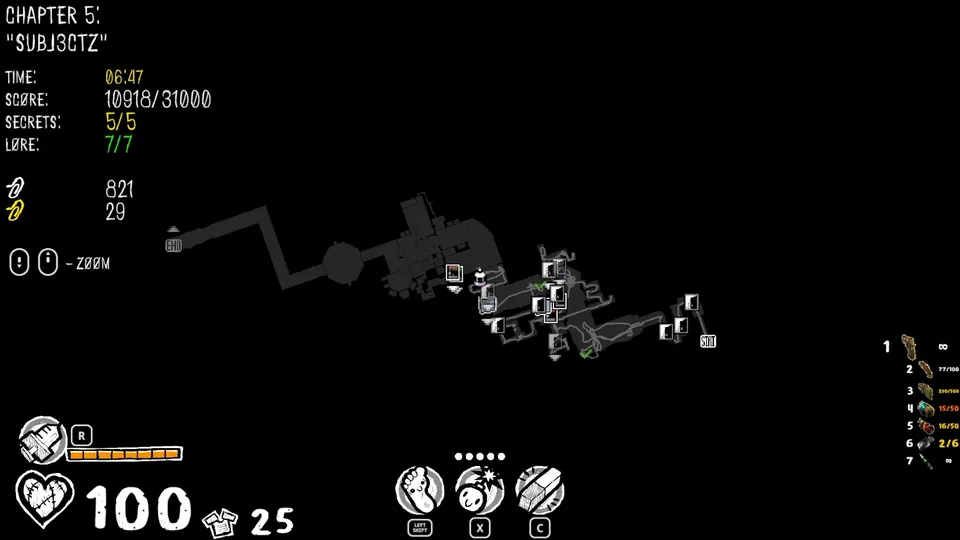
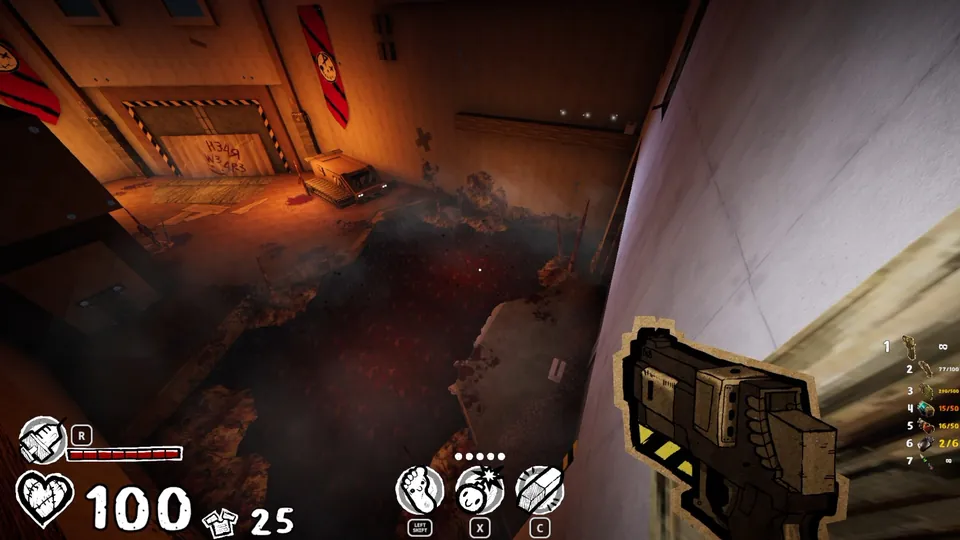
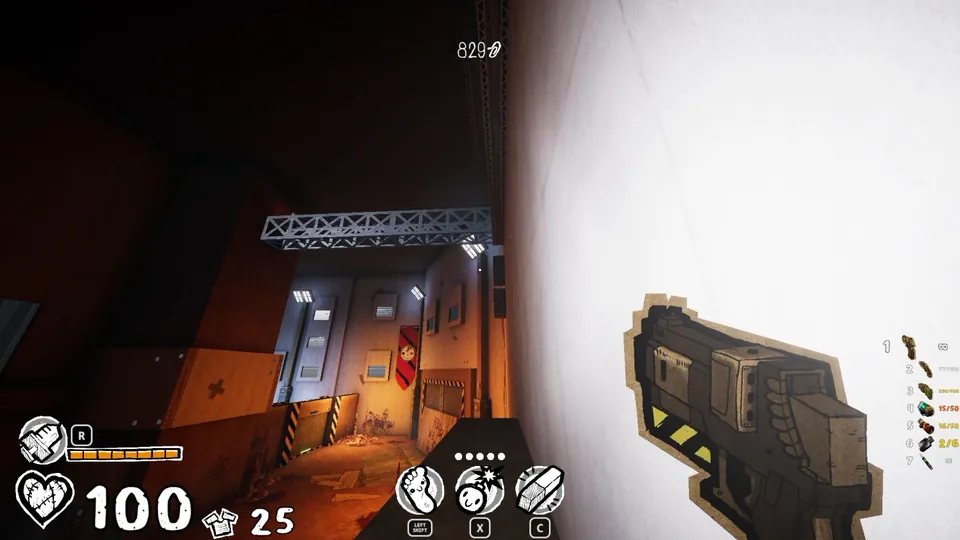
In the large area with the “hear we are” graffiti beside the treaded vehicle, look near the ceiling. A single long metal frame up there is close enough to jump to.
Secret 4
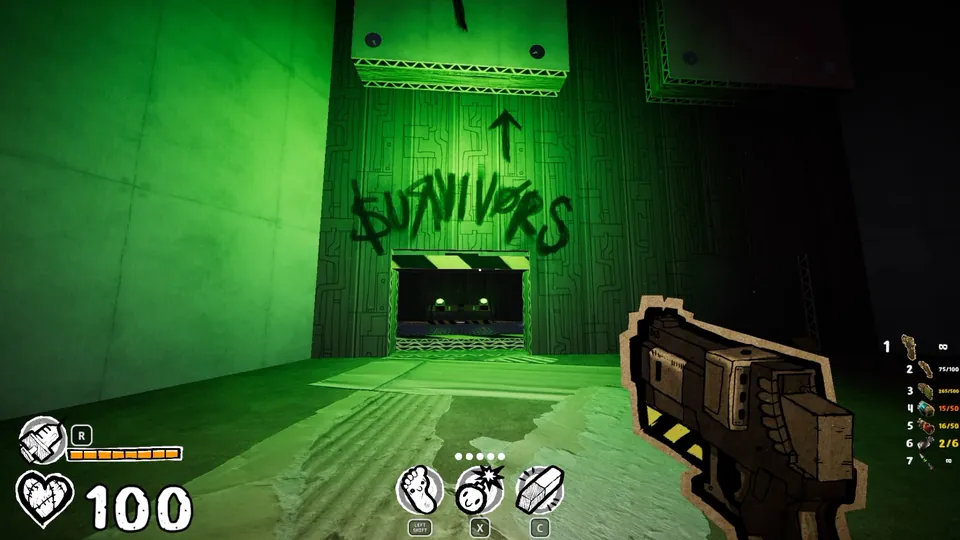
Ride up the elevator marked with the “survivors” sign. Step out, turn left, and crawl through the door that’s slightly open.
Secret 5
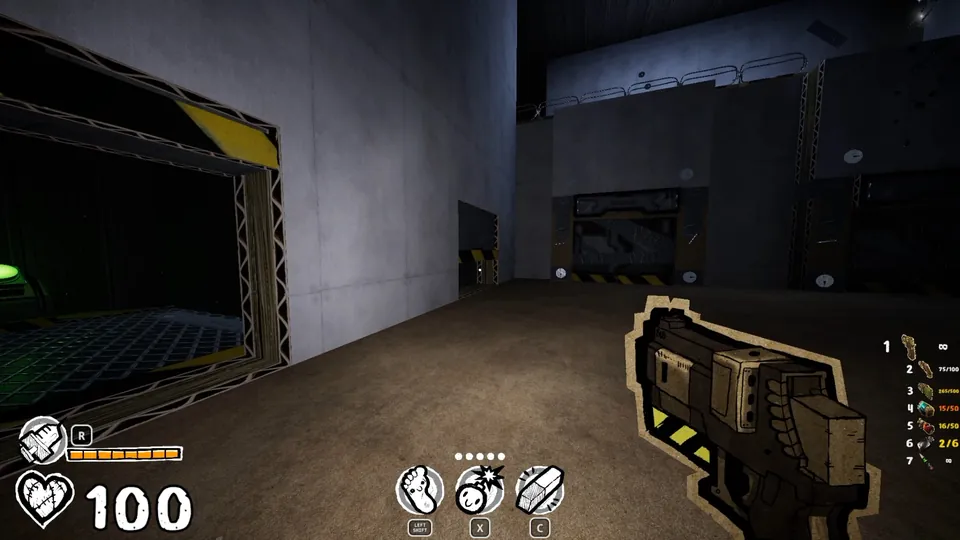
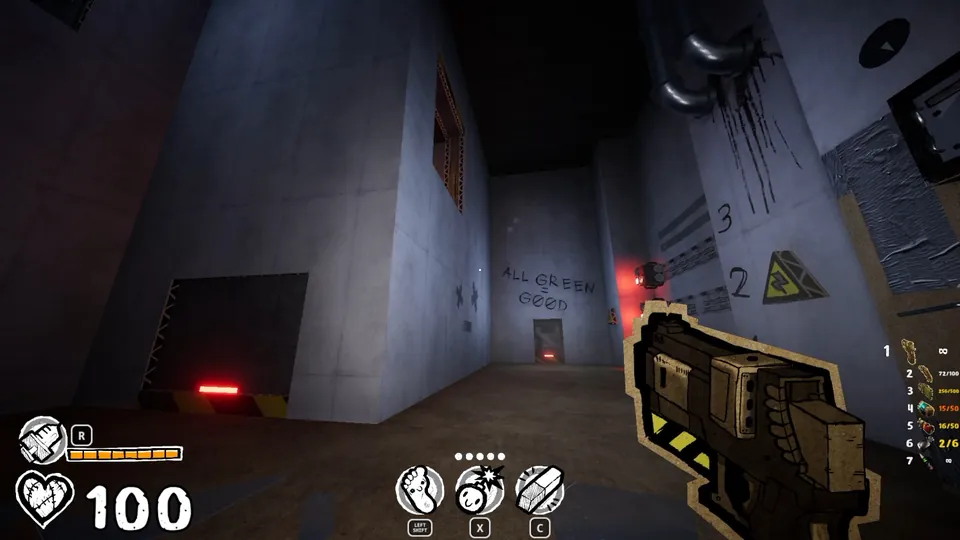
Near the “all green = good” sign, look up for a hole you can jump into.
Chapter 6 (1 Secret)
Missable Lore
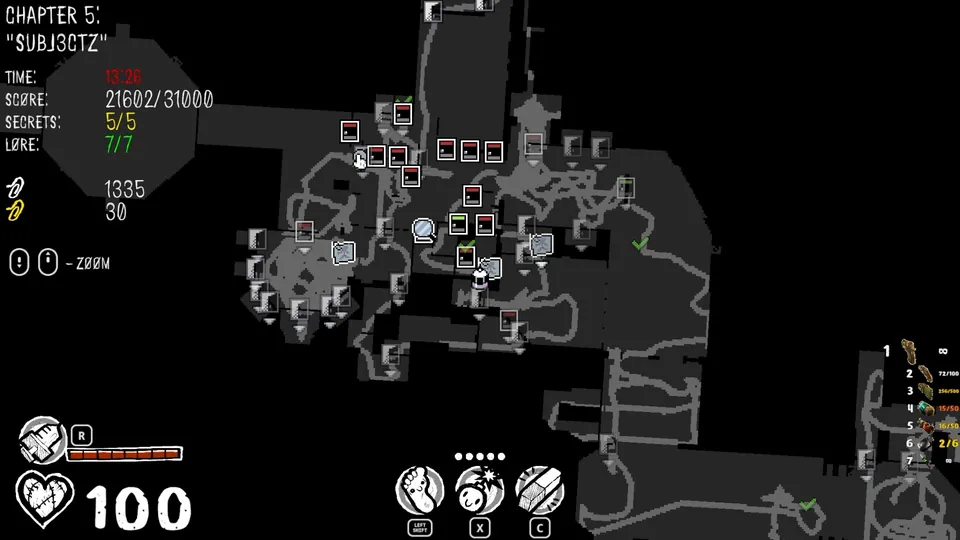
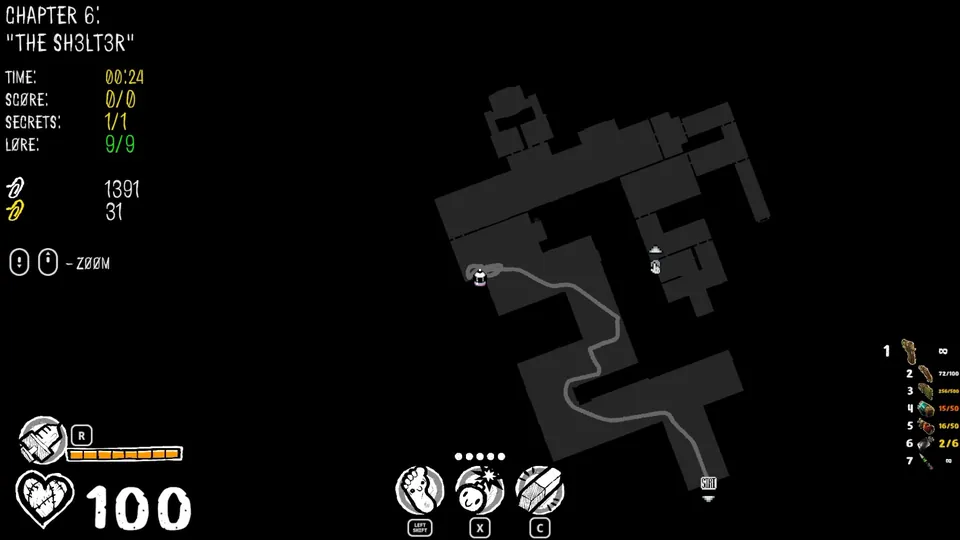
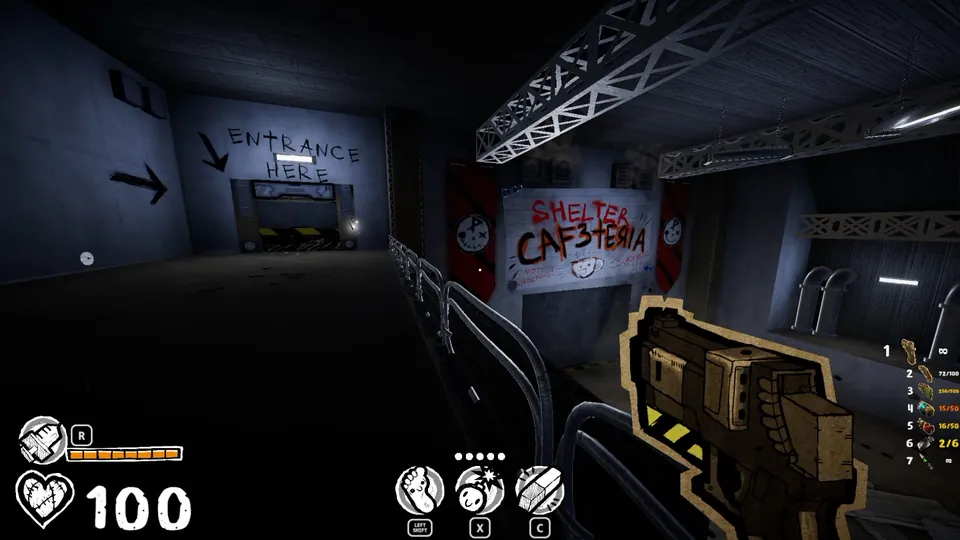
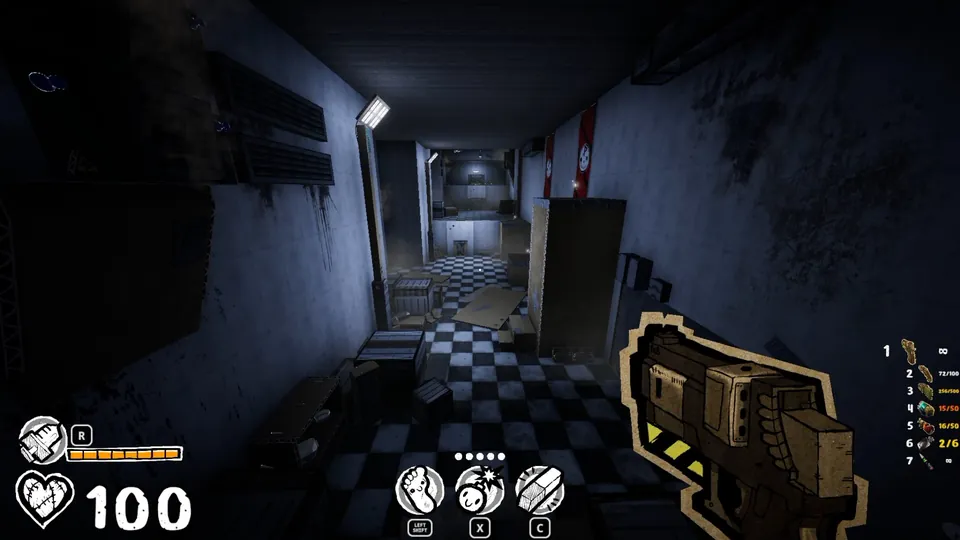
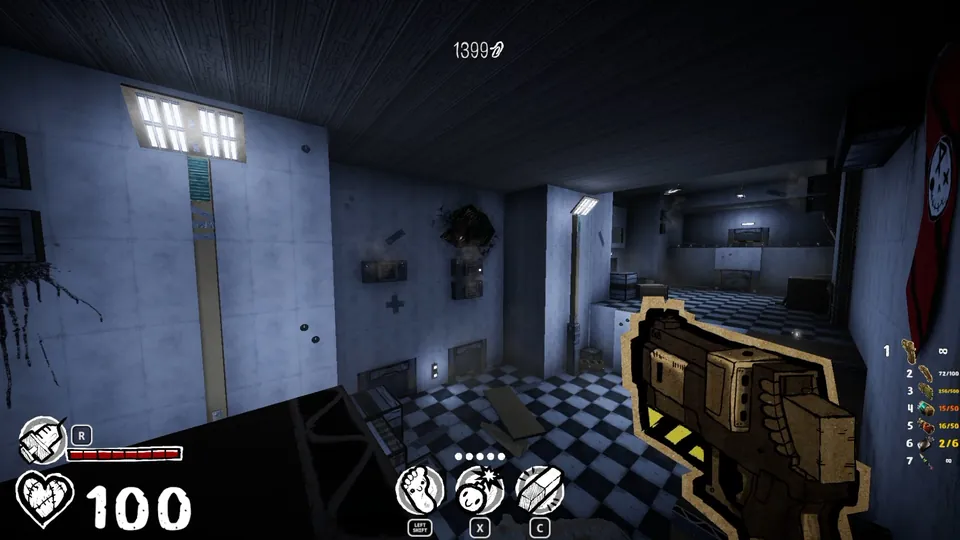
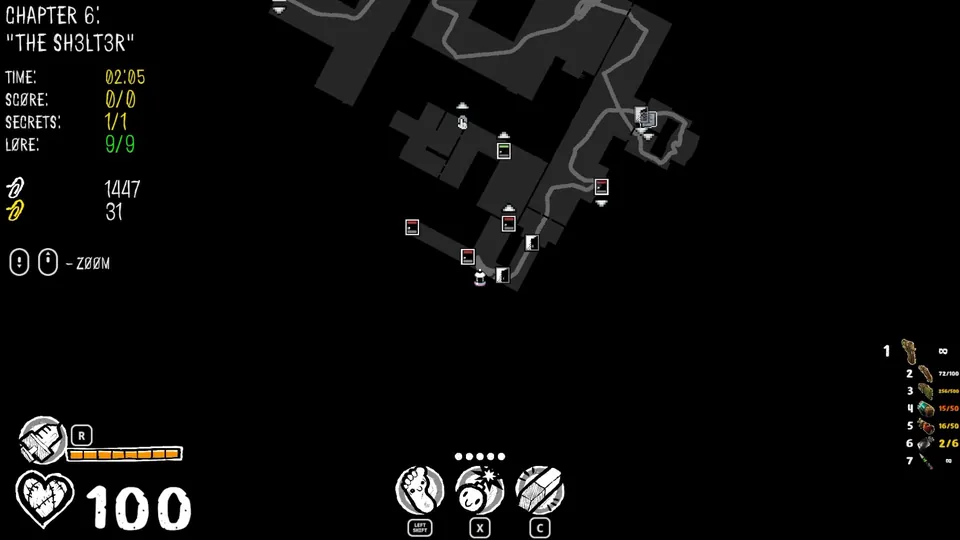
This lore pickup isn’t counted as a secret, but it’s easy to miss. Go a little past the “cafeteria shelter” and “entrance here” sign. Just above two metal platforms with vents is a very dark hole you can enter.
Secret 1
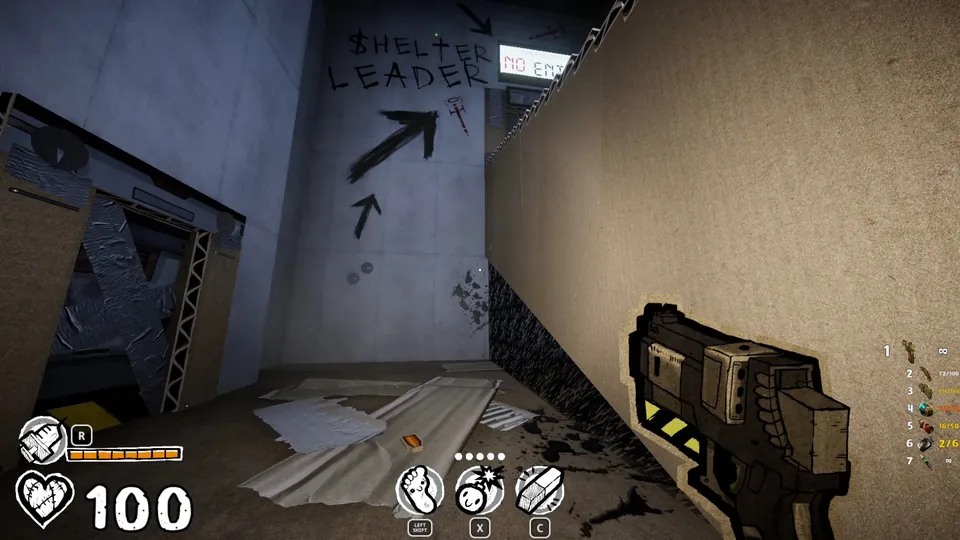
Look under the stairs, below the “shelter leader” and “no entry” sign.
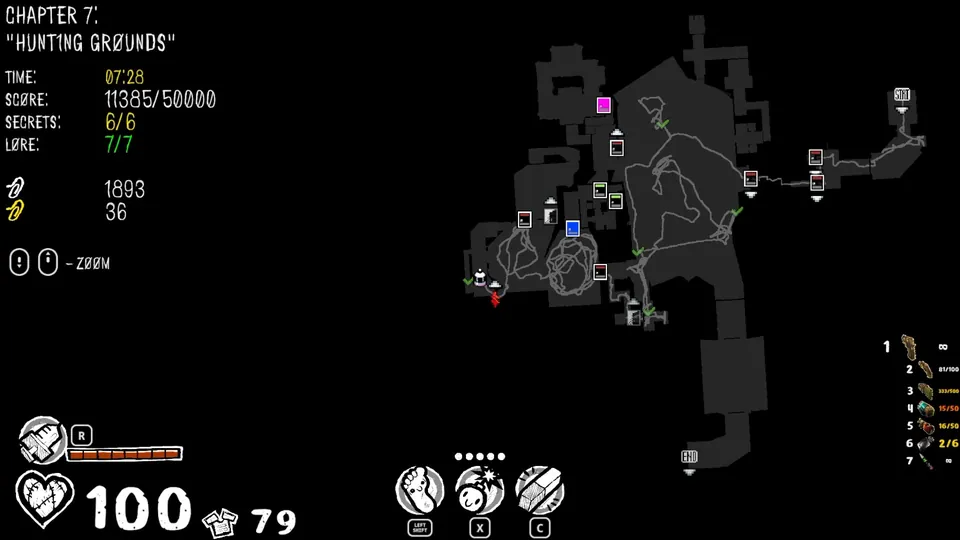
Chapter 7 (6 Secrets)
Secret 1
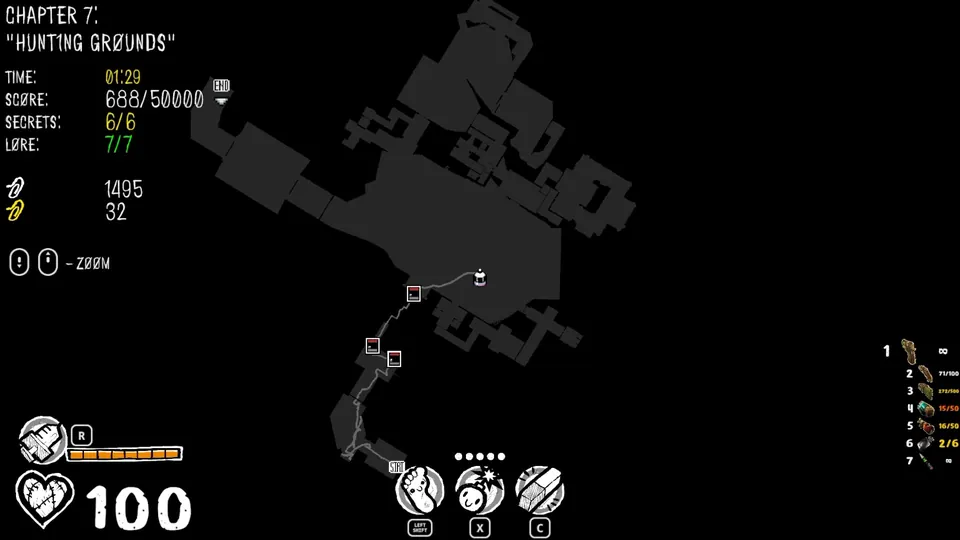
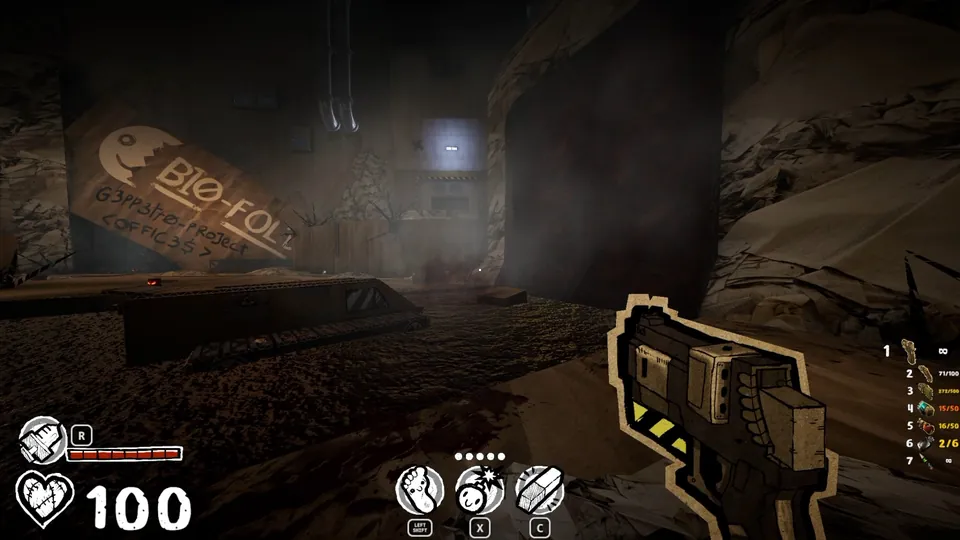
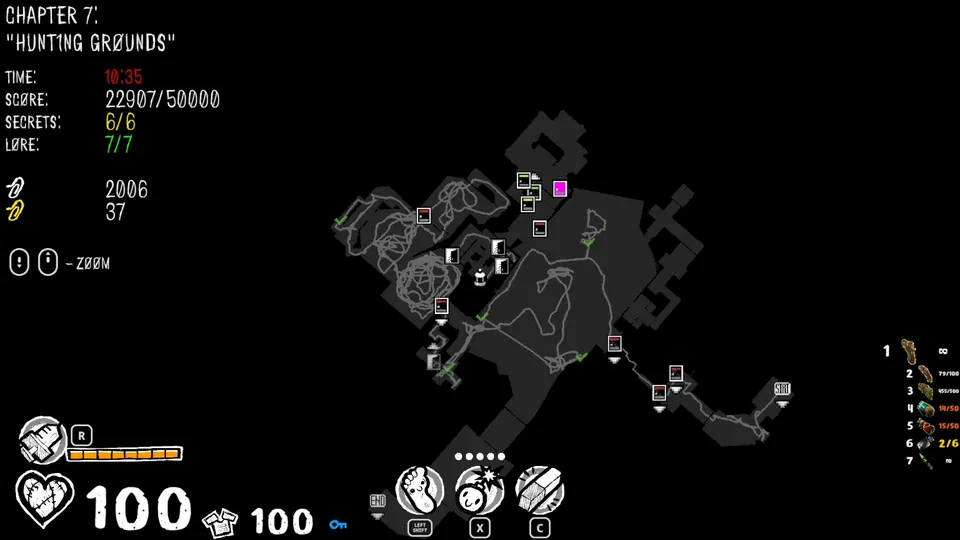
Head to the huge open area with the large fallen “Bio-Fold Geppetto-Project Offices” sign. Jump through the rotten waterfall on the right side of the sign.
Secret 2
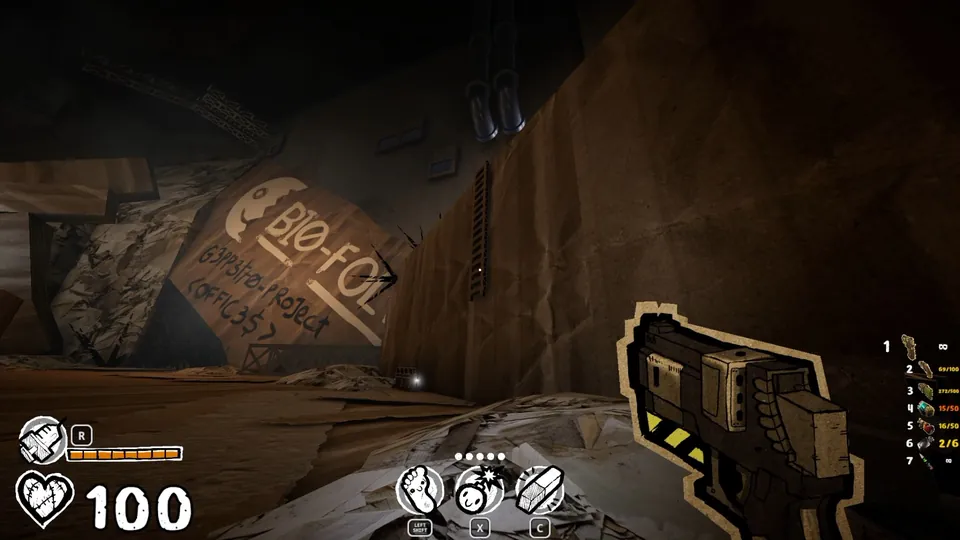
This one is in the same open area. It’s on the platform slightly above and to the left of the fallen sign.
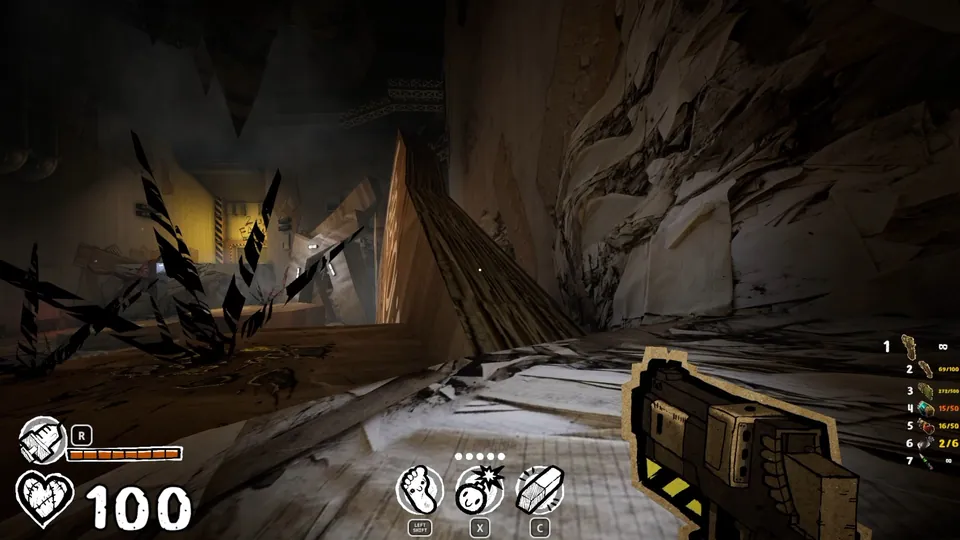
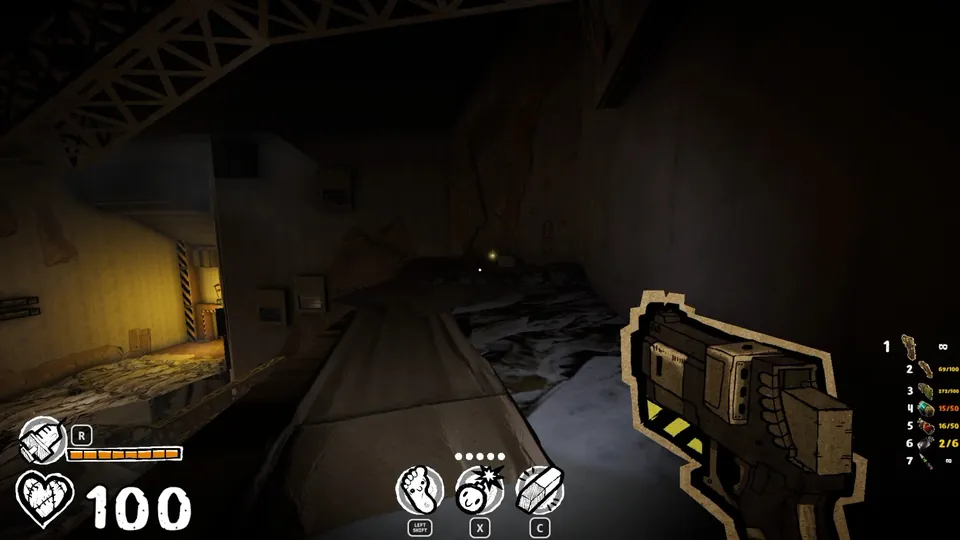
Secret 3
Across from the previous secret is a little cliff near one of the jump pads. It has armor on it and spawns enemies. The cliff is to the left of where you first entered the open area. Under it, erasable spikes partly hide an opening.
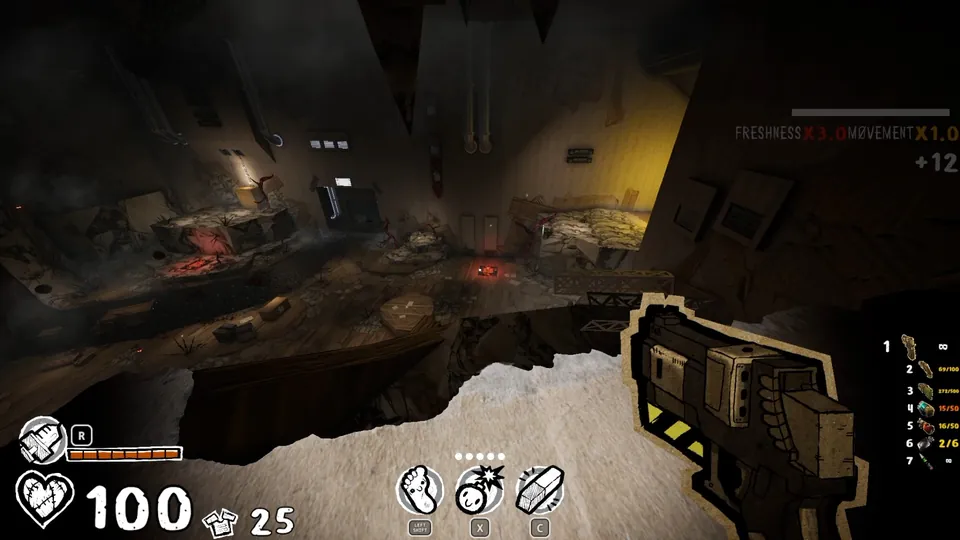
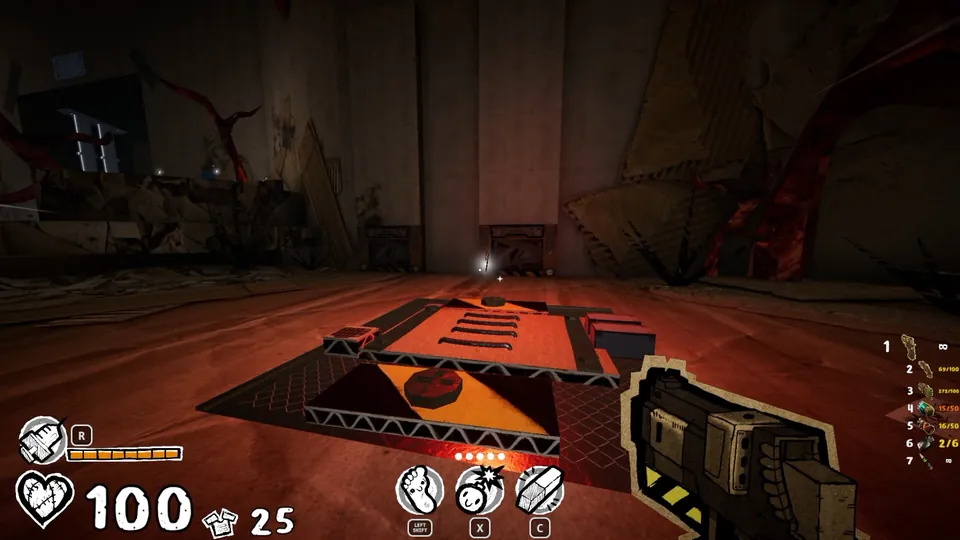
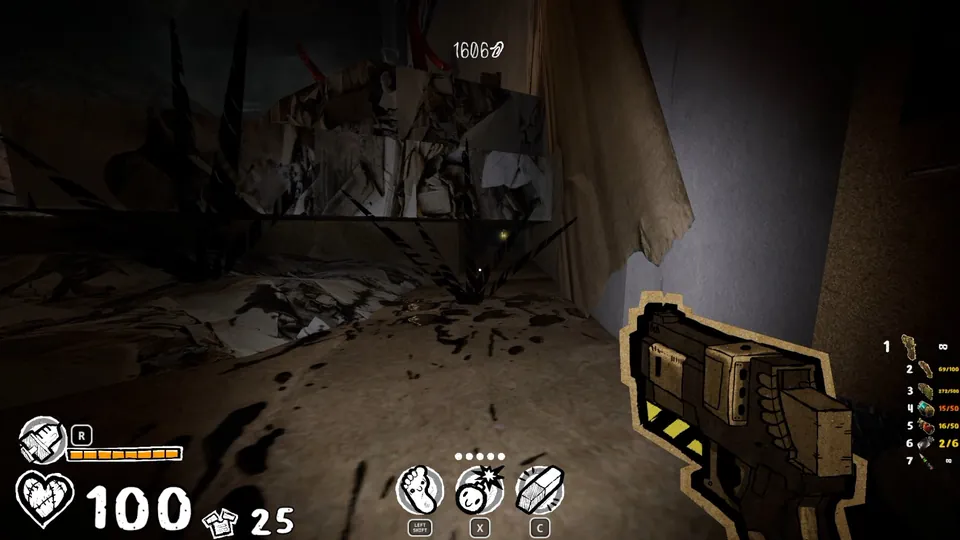
Secret 4
Still early in the chapter, you have to jump from the open area into a big hole in a wall. The path behind it spawns some enemies as you move along. At one end, just before the ladders, you can drop into a little area with a hole to crawl through.
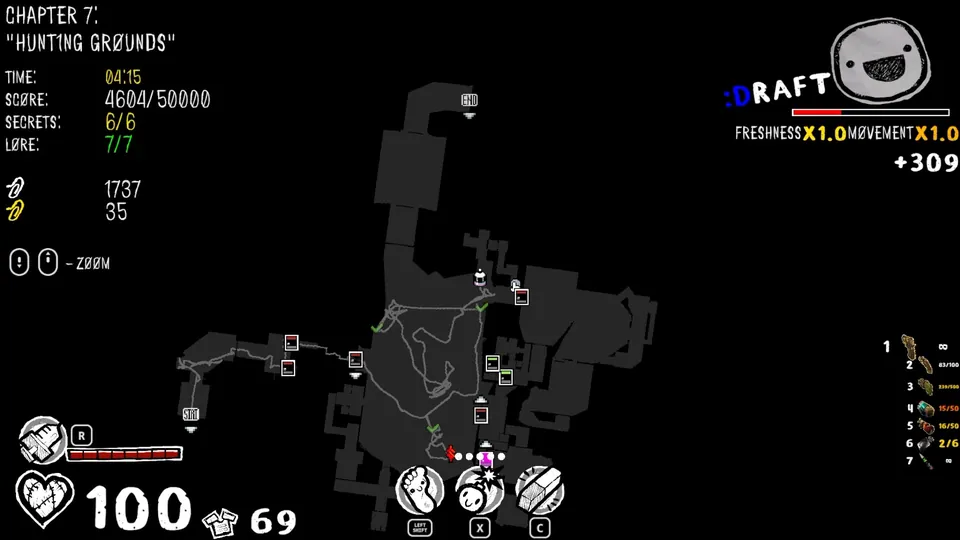
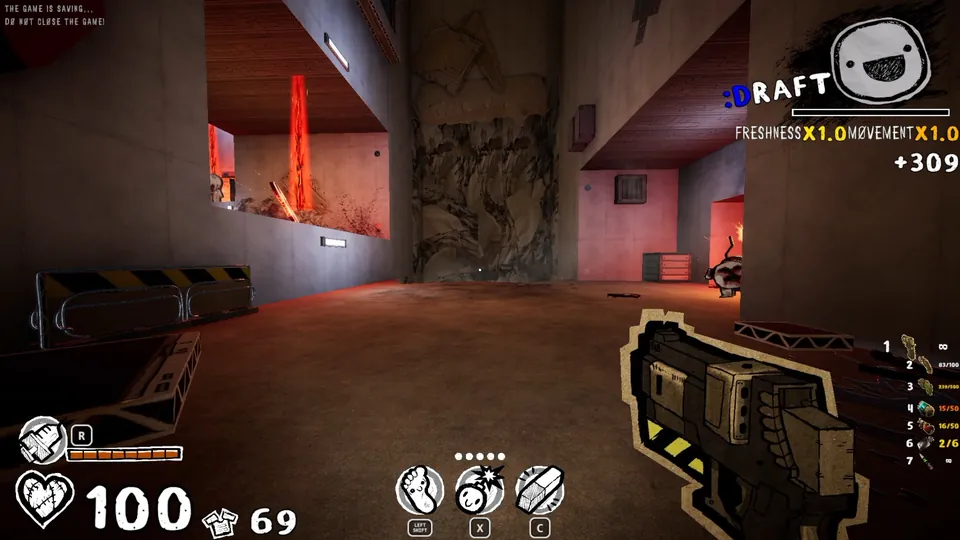
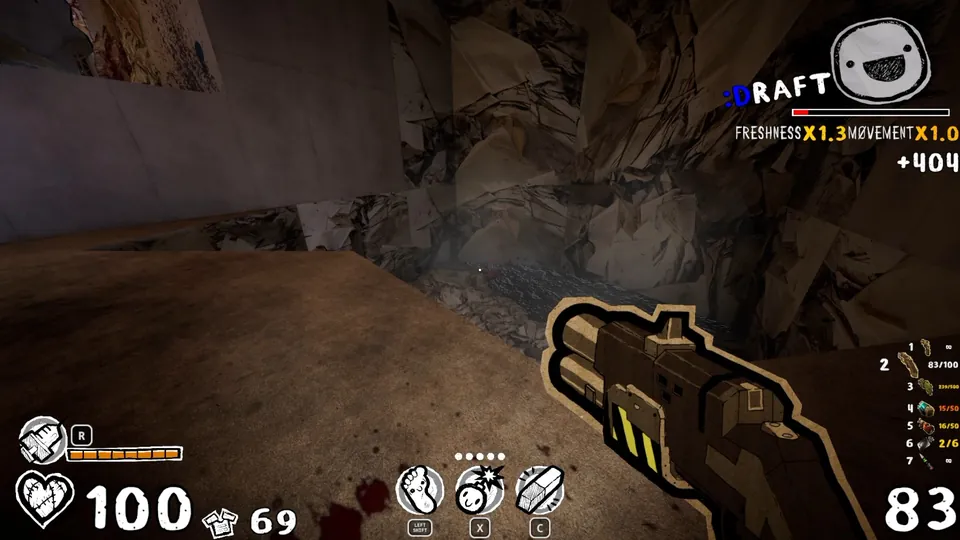
Secret 5
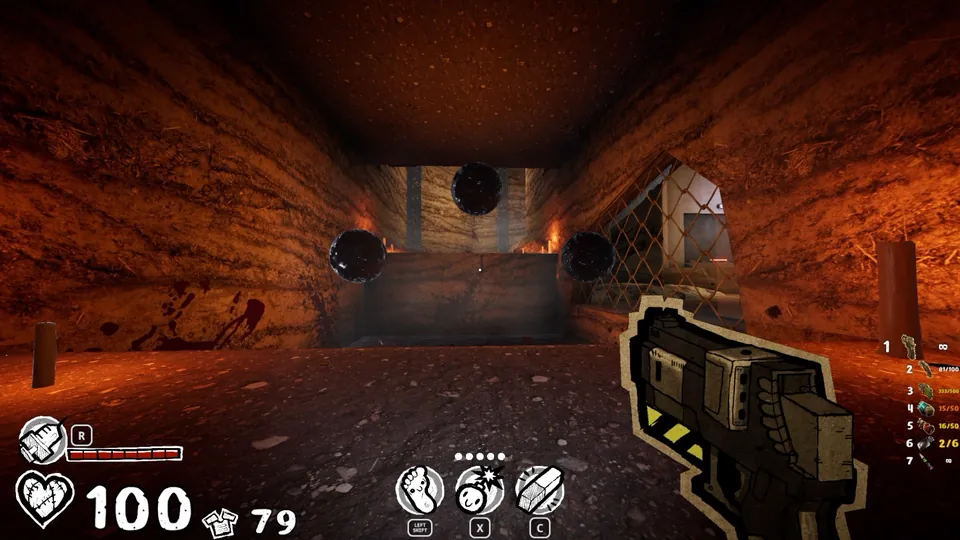
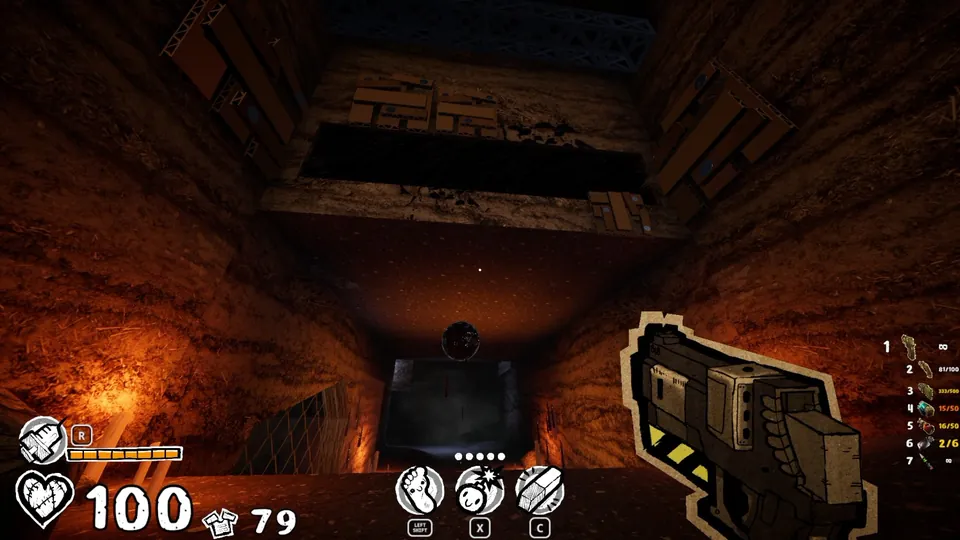
In the hallway with the three balls, walk past them, turn around, and look up for an opening. Follow that path to its end.
Secret 6
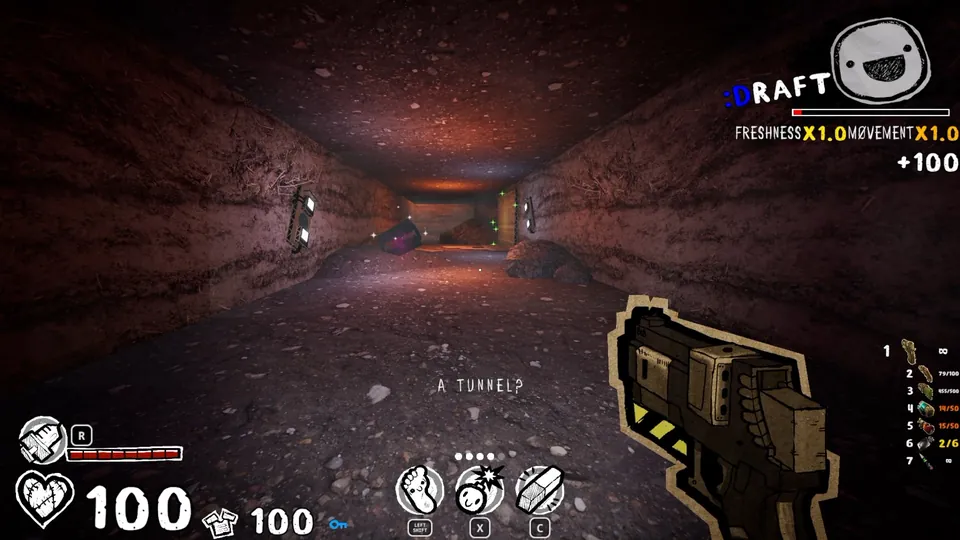
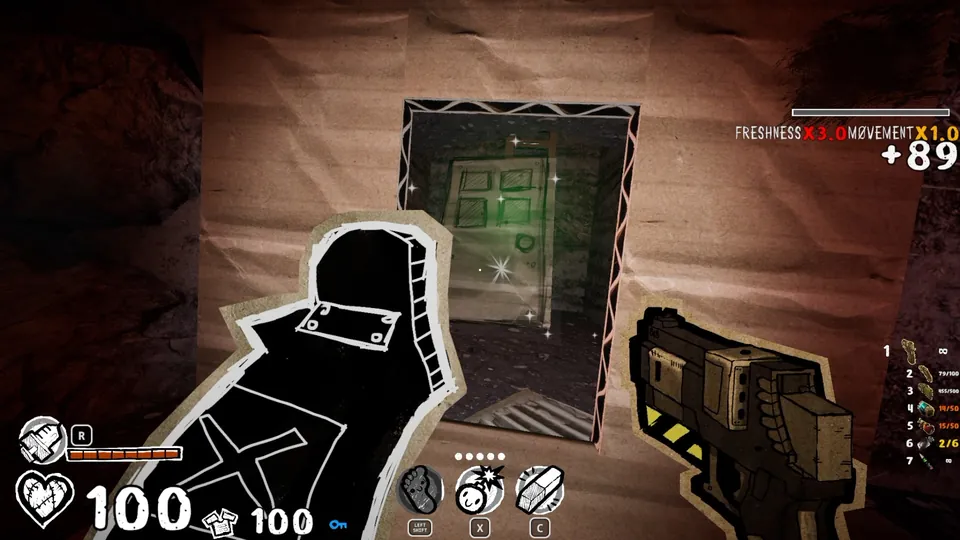
In the tunnel where the character says “a tunnel?”, find the one sparkling wall and draw a door on it.
Chapter 8 (1 Secret)
Secret 1
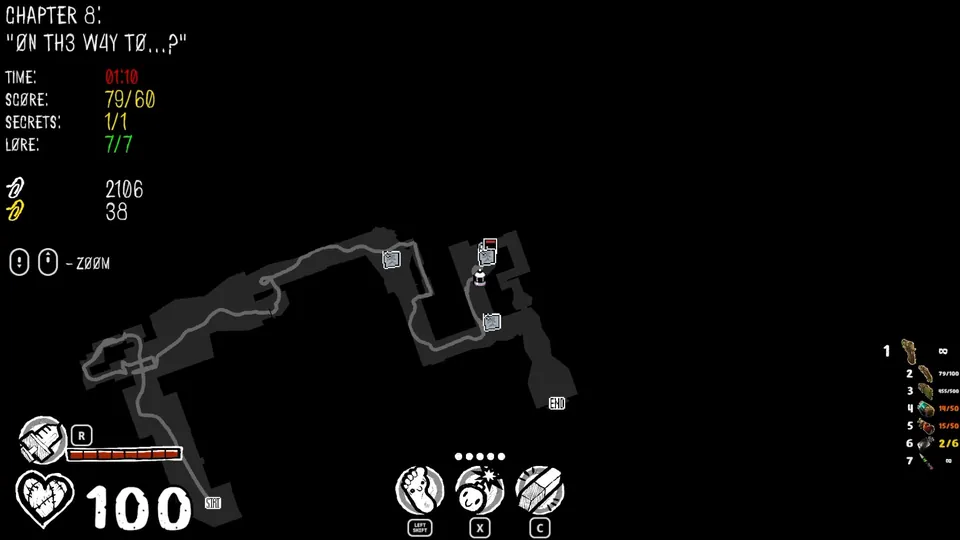
Near the exit, the “serum research 3” note and an audio recording sit next to each other. A tiny path to their left leads to the secret.
Chapter 9 (9 Secrets)
Secret 1
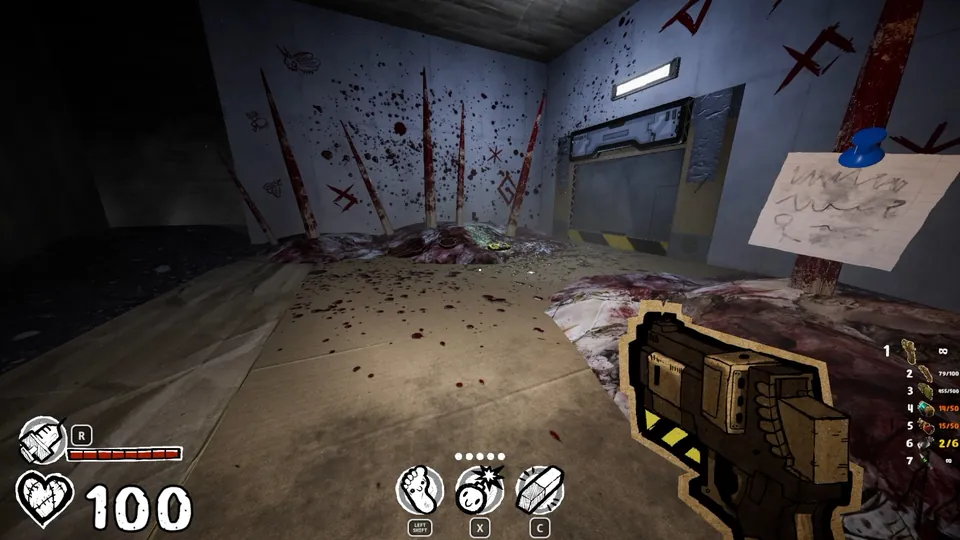
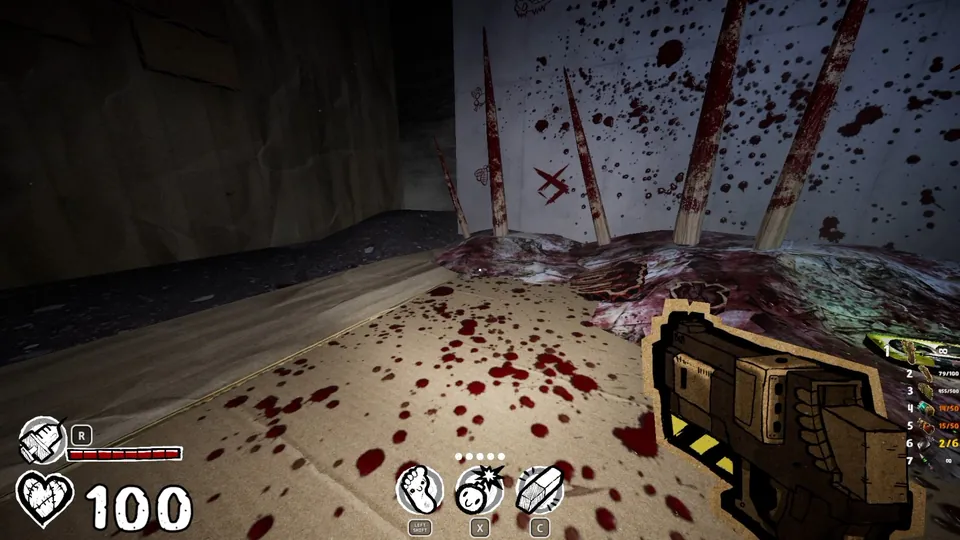
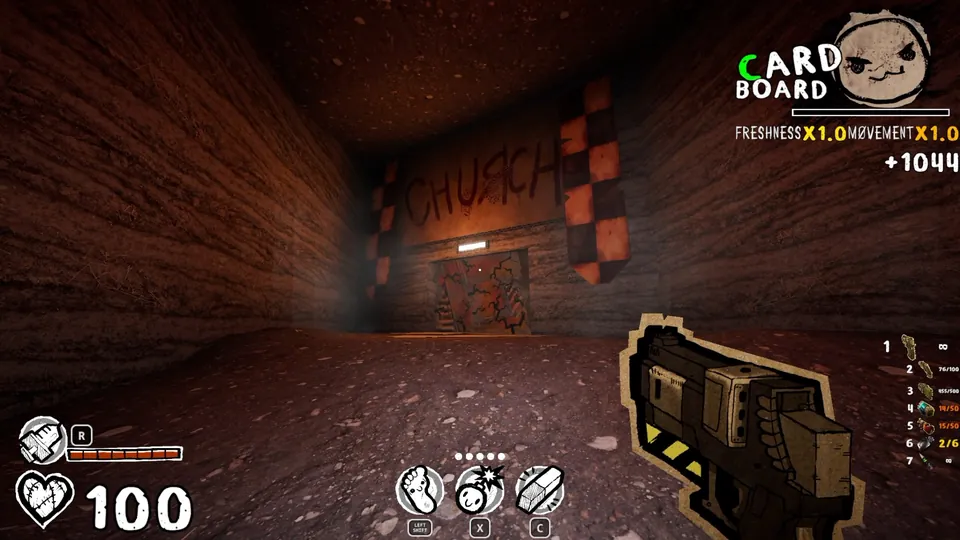
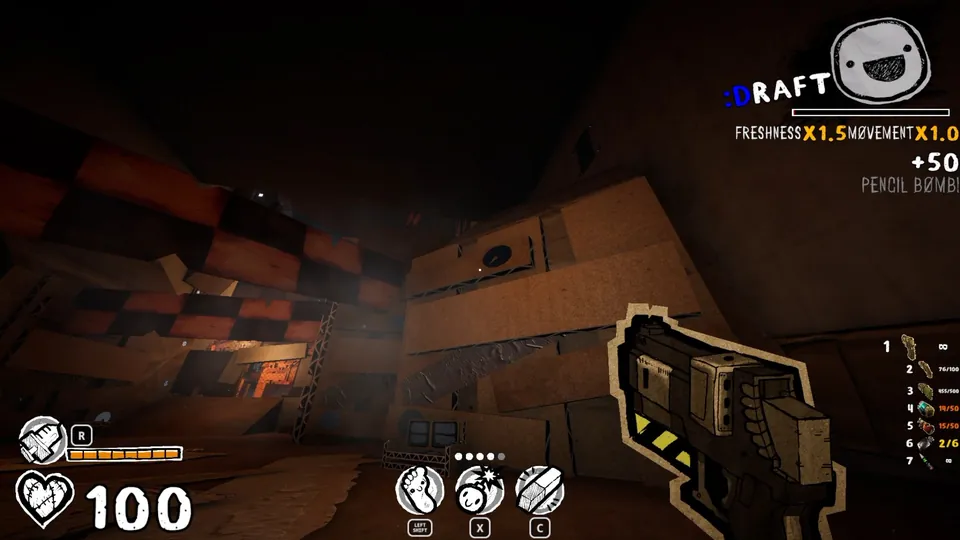
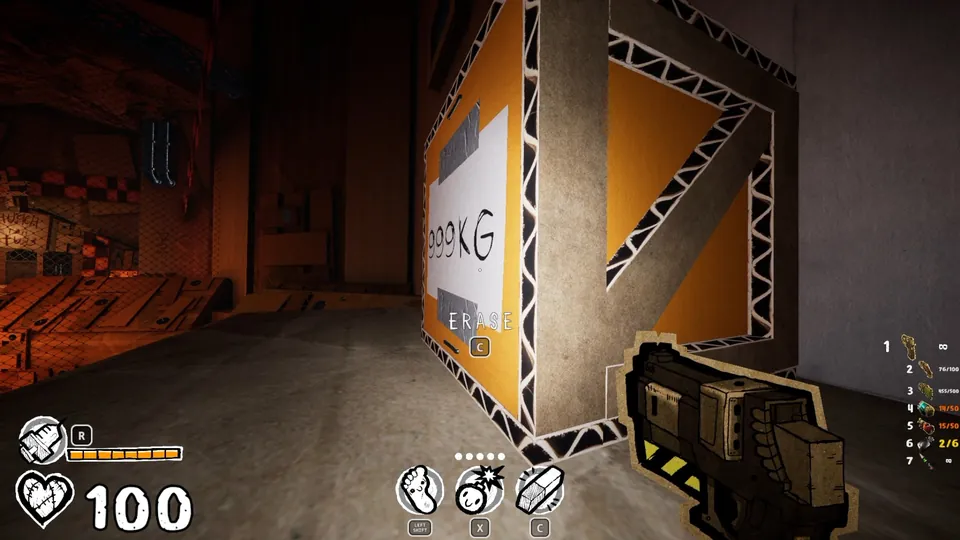
Go a little past the “church” sign that has a destructible wall below it. From the entryway, jump onto the rooftops on the right. Move a box out of the way to reveal a path, then follow it.
Secret 2
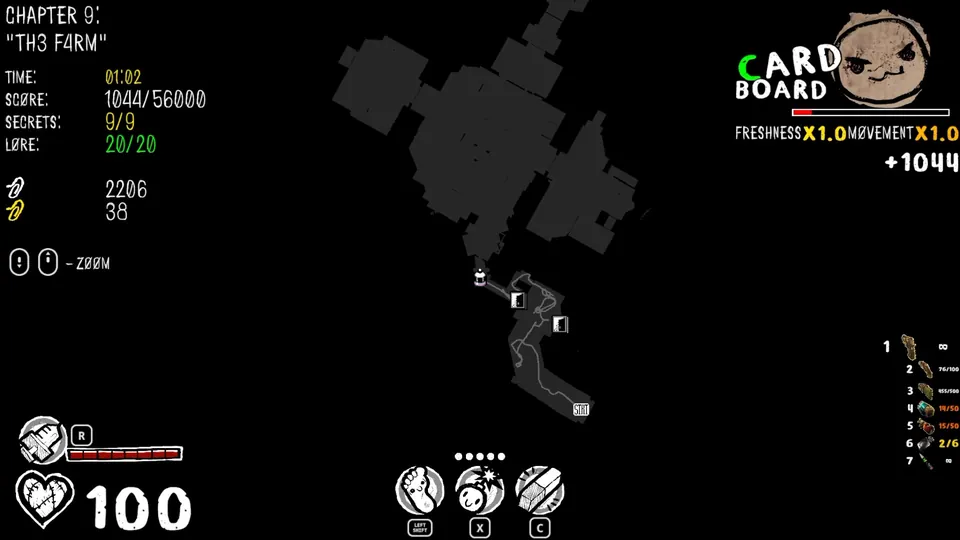
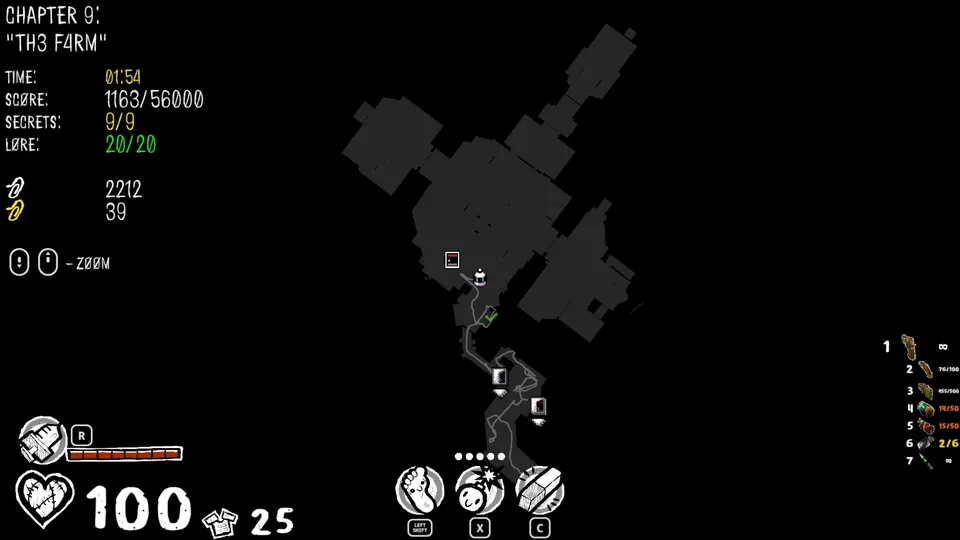
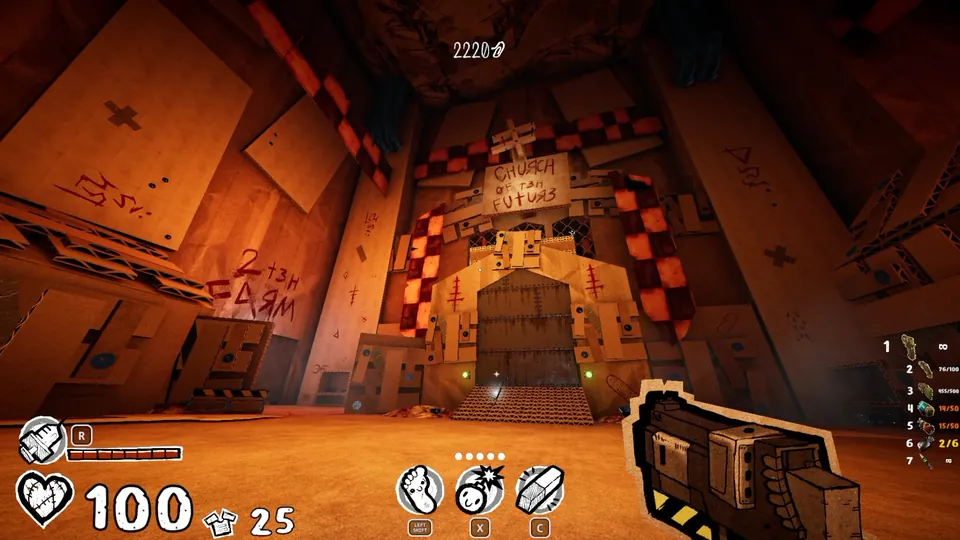
A bit further on from the previous secret, climb onto the roof of the church entrance. The secret is behind the cross and the “church of teh future” sign.
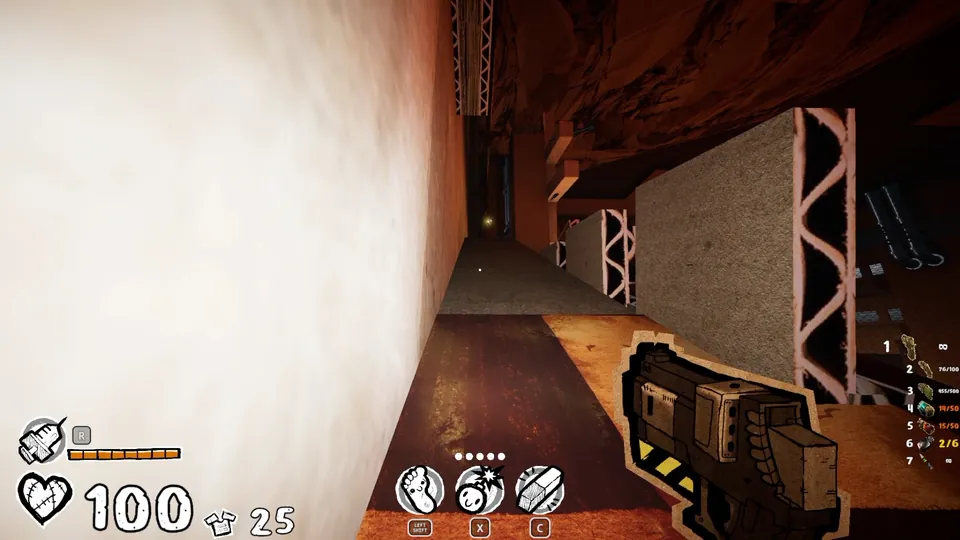
Secret 3
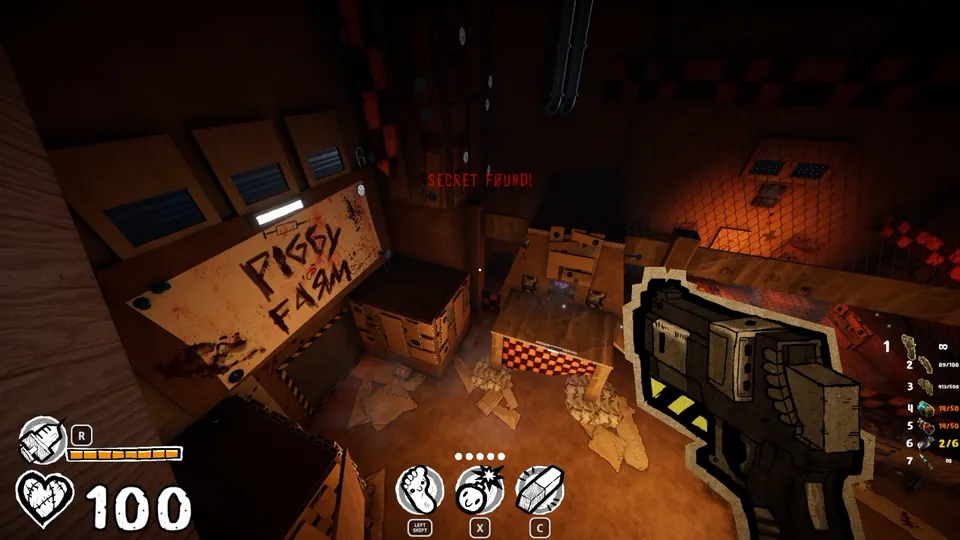
In the open area you can see the “piggy farm” sign and a windmill marked “conversion center”. Get onto the windmill’s roof.
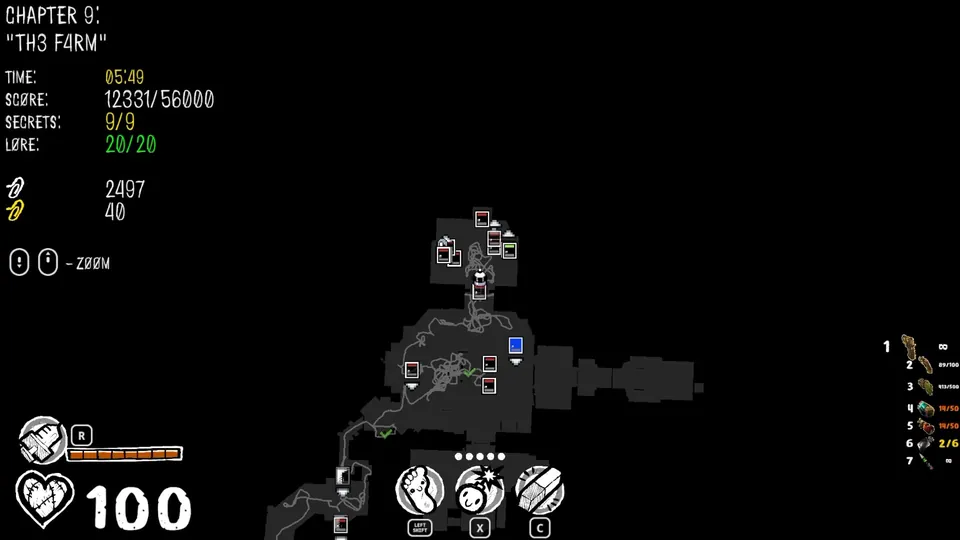
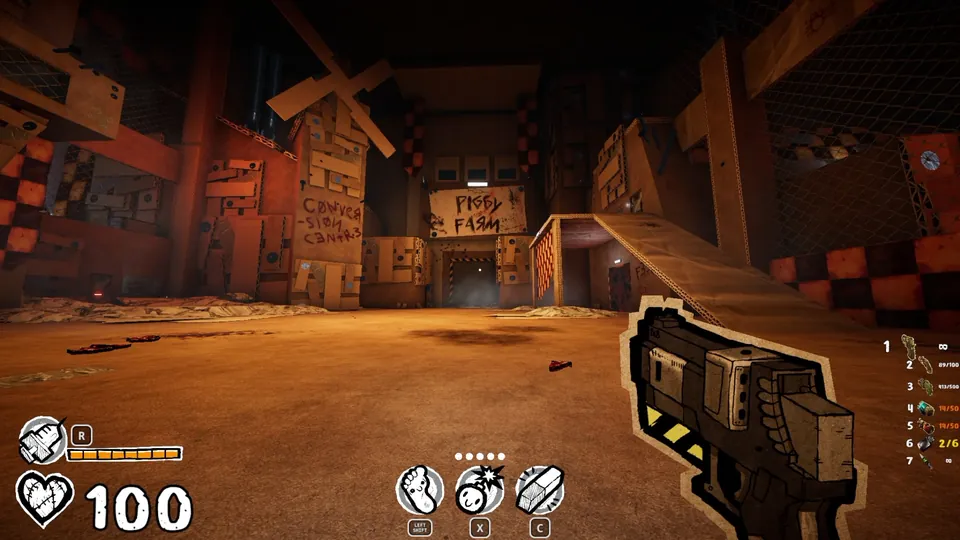
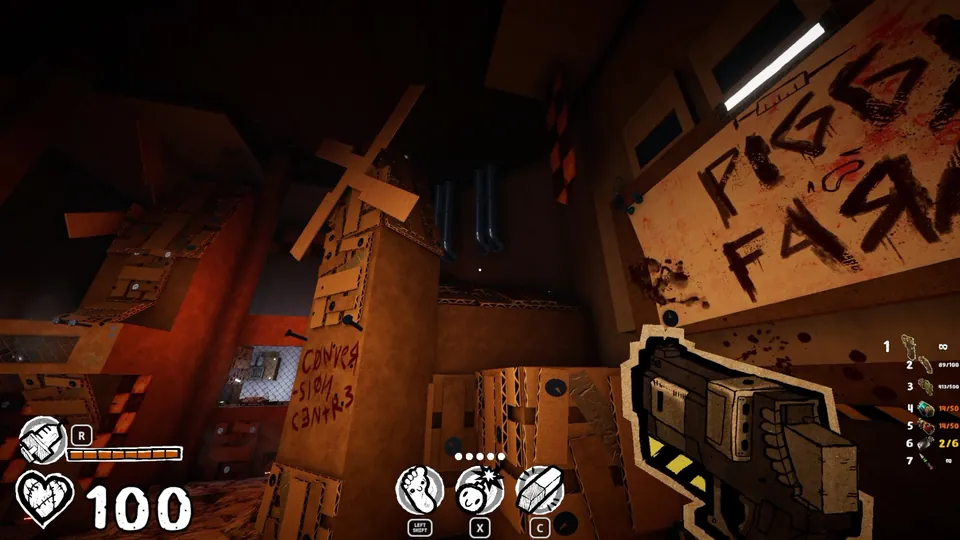
Secret 4
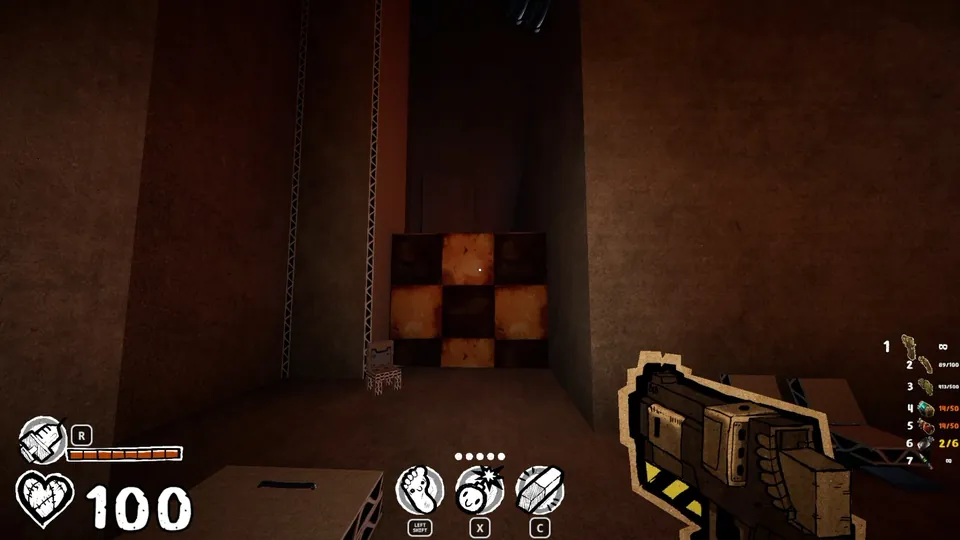
Stay in the same open area. Below and to the right of the “piggy farm” sign, jump over a small wall with a checkered pattern.
Secret 5
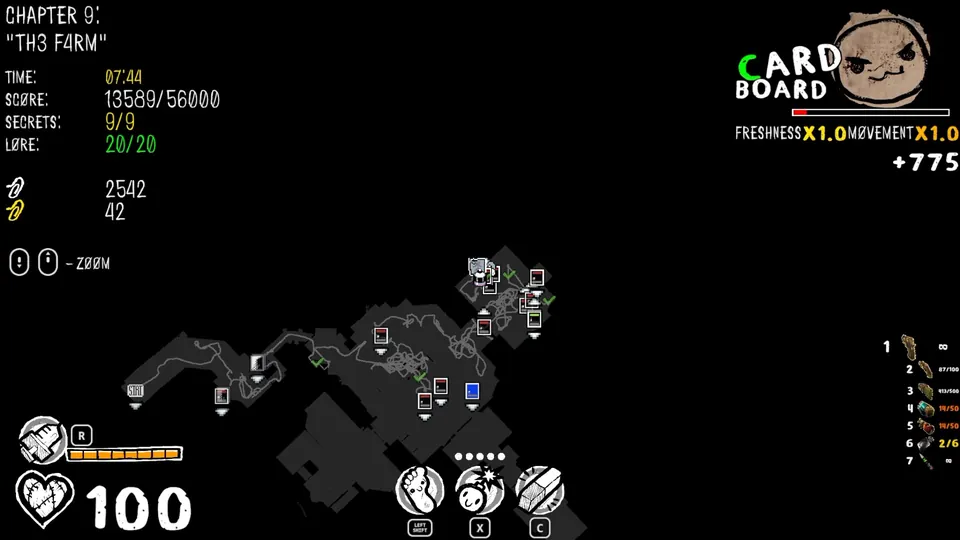
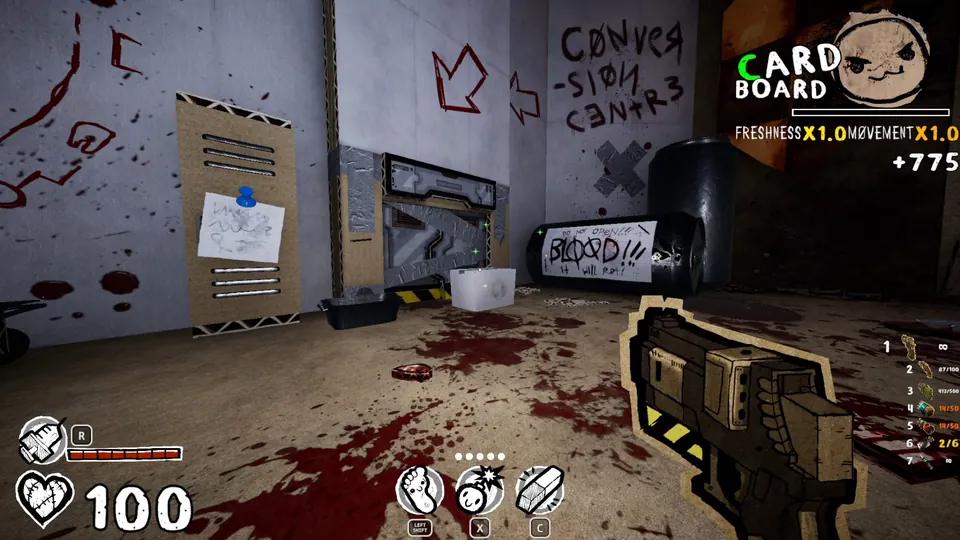
Stand facing the “specimen no. 4434” note near the “BLOOD!!!” sign. Turn around and jump onto the small rooftop.
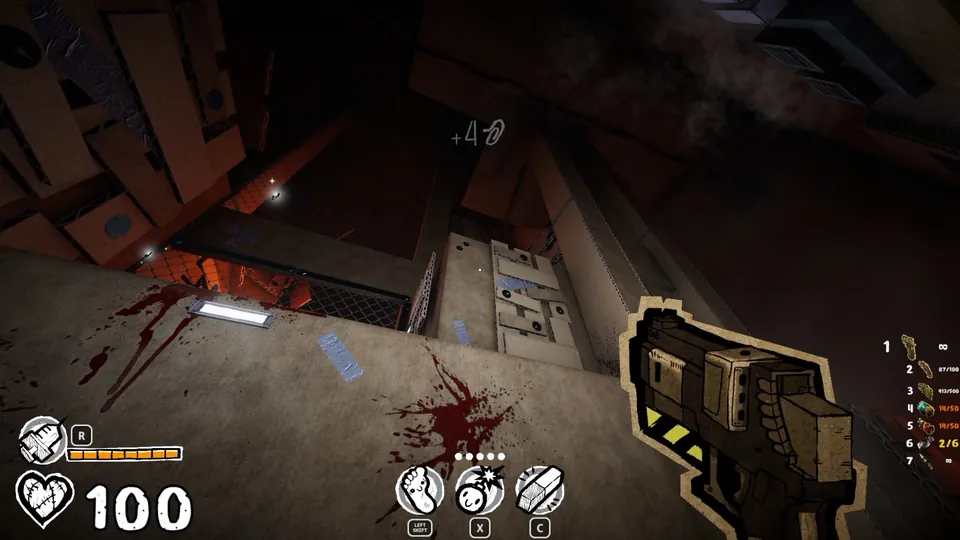
Secret 6
In the open area with the big white “commander cave” sign, jump to the highest platform on the sign’s left.
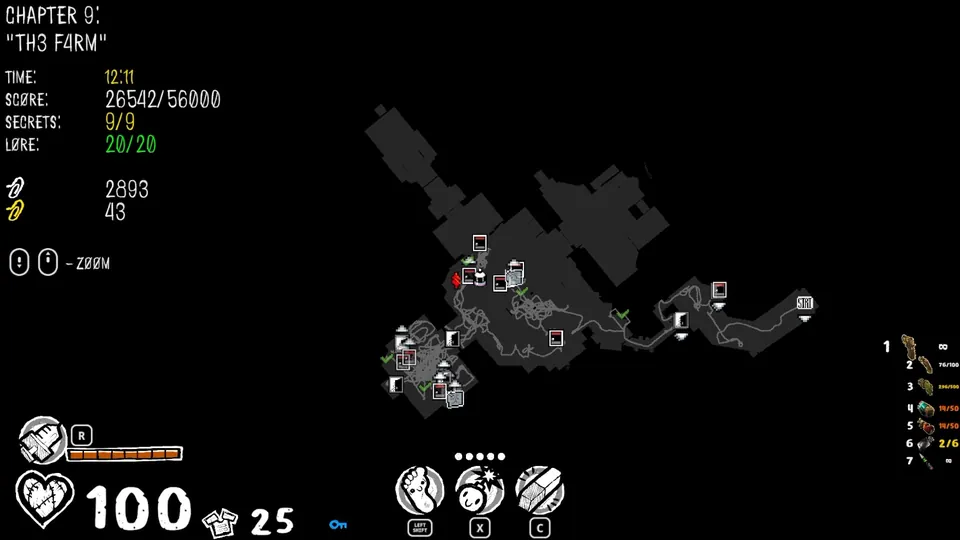
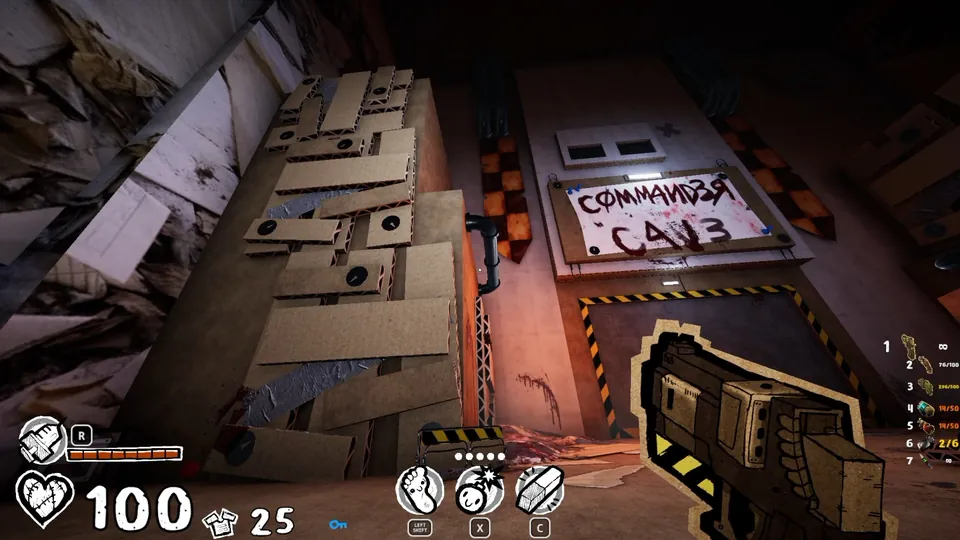
Secret 7
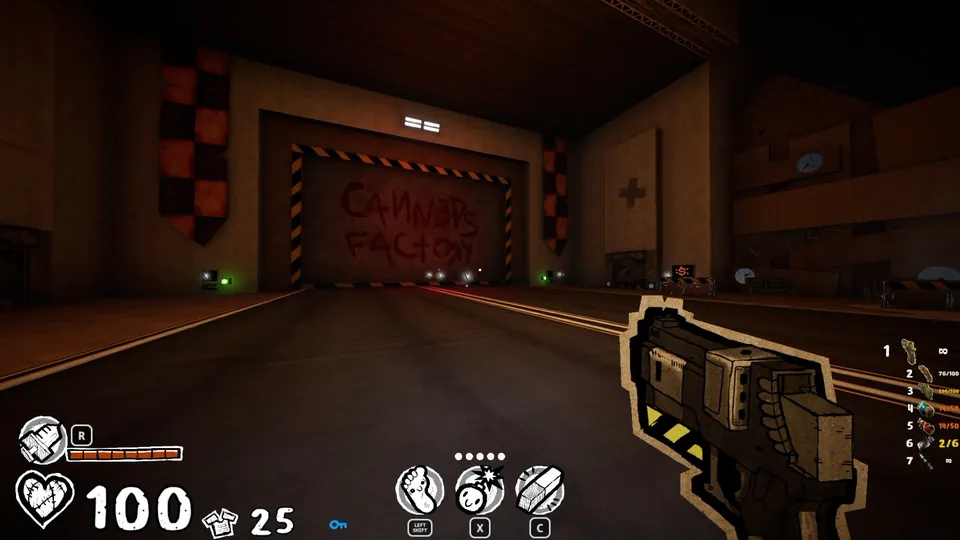
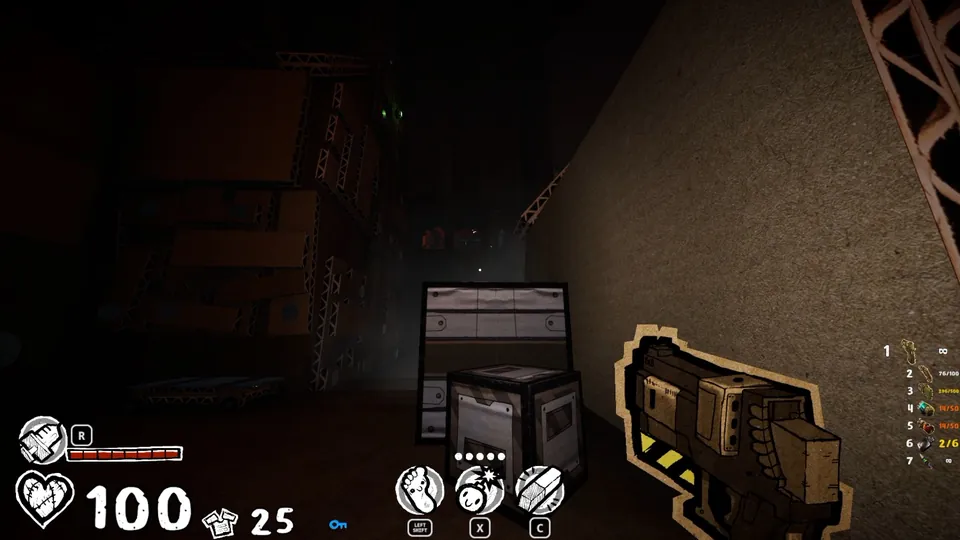
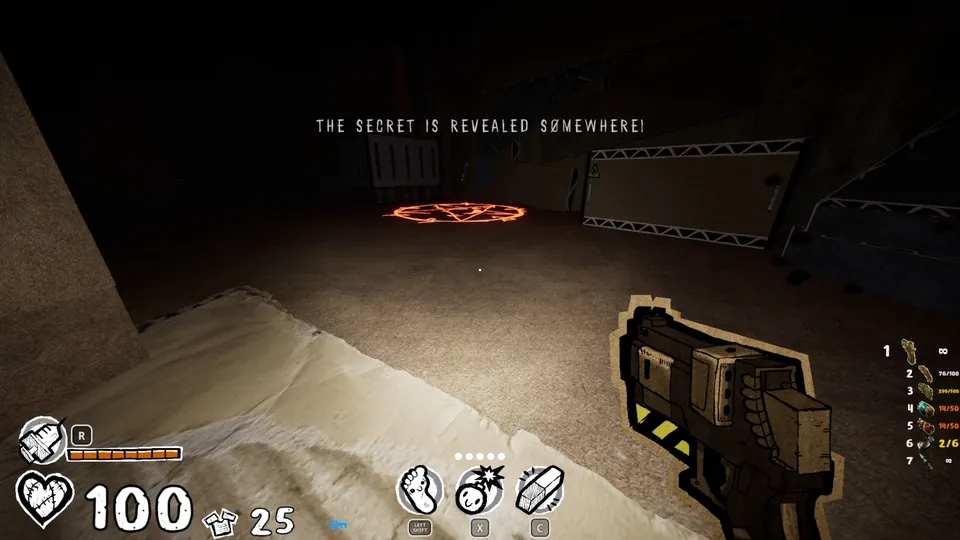
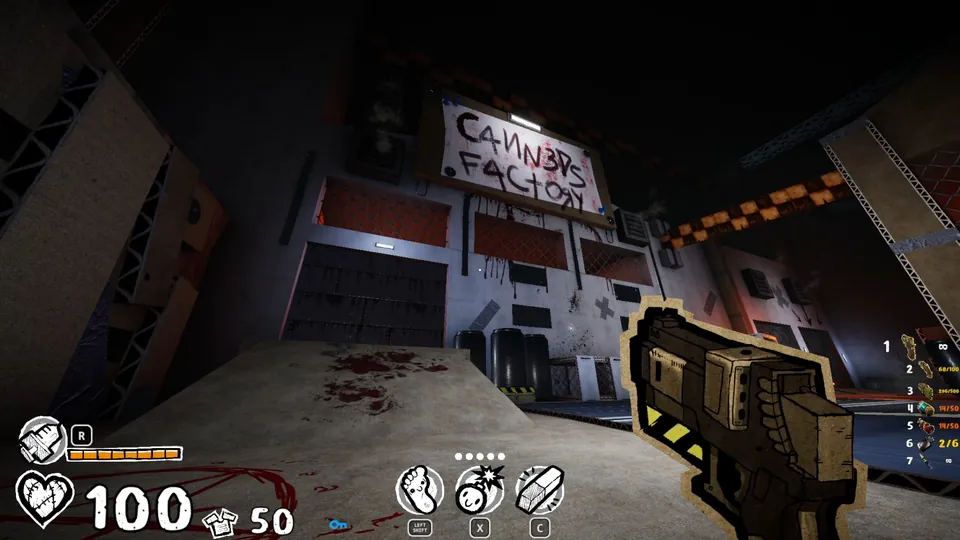
Just before the big door with the “canneds factory” sign and 2 green buttons, look across from the door. A dark area there has 3 more green buttons set close together, roughly around a sigil on the floor. Press all 3 and the reward appears on top of the sigil.
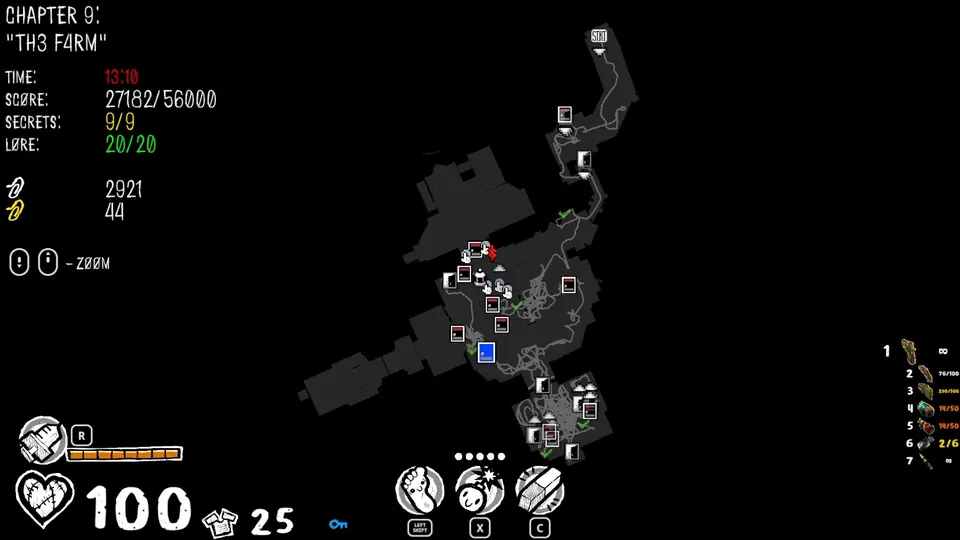
Secrets 8 and 9
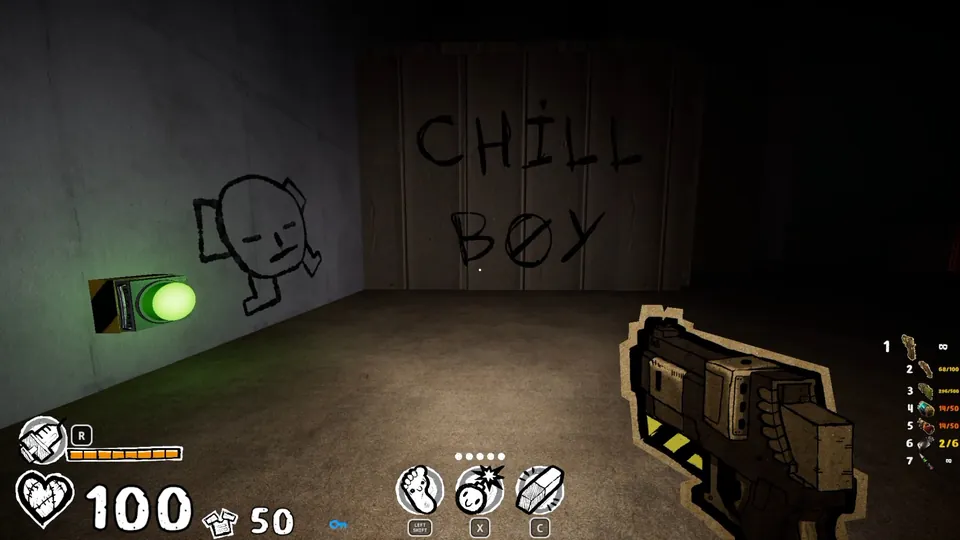
Climb to the dark rooftop of the “canneds factory” and find a green button.
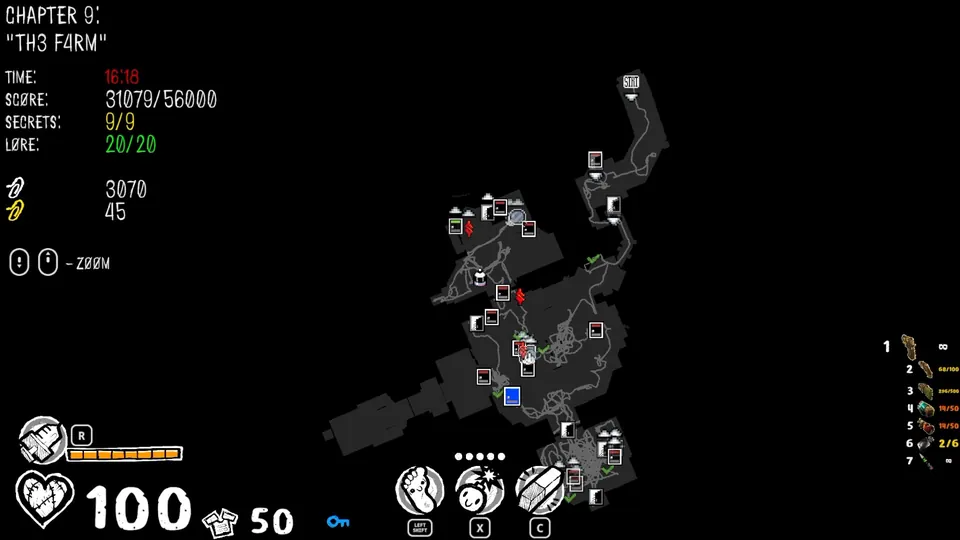
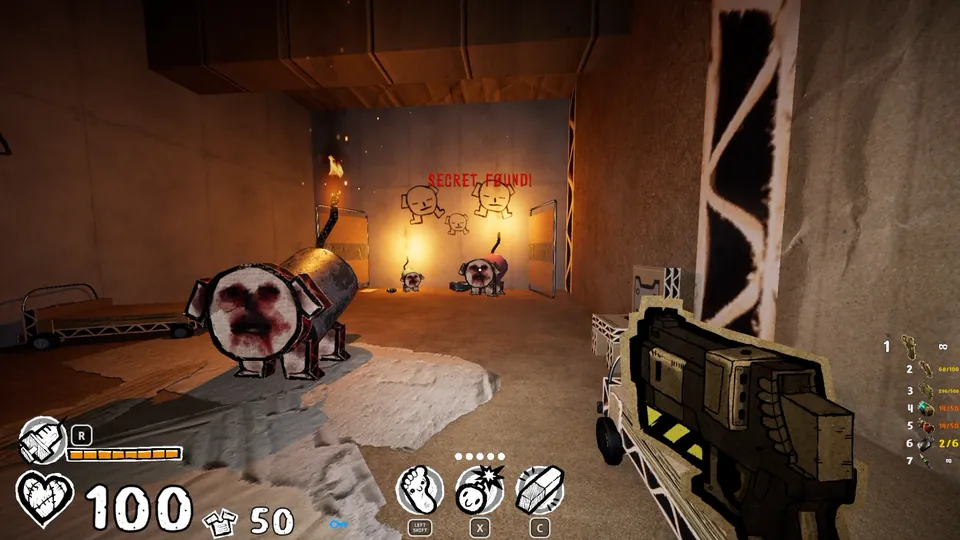
For the other secret, shoot the wall behind the “dog” to open it. If you’re mid-combo, killing everyone there keeps the combo going.
Chapter 10 (No Secrets)
This chapter gives you a perfect rank automatically.
Chapter 11 (3 Secrets)
Secret 1
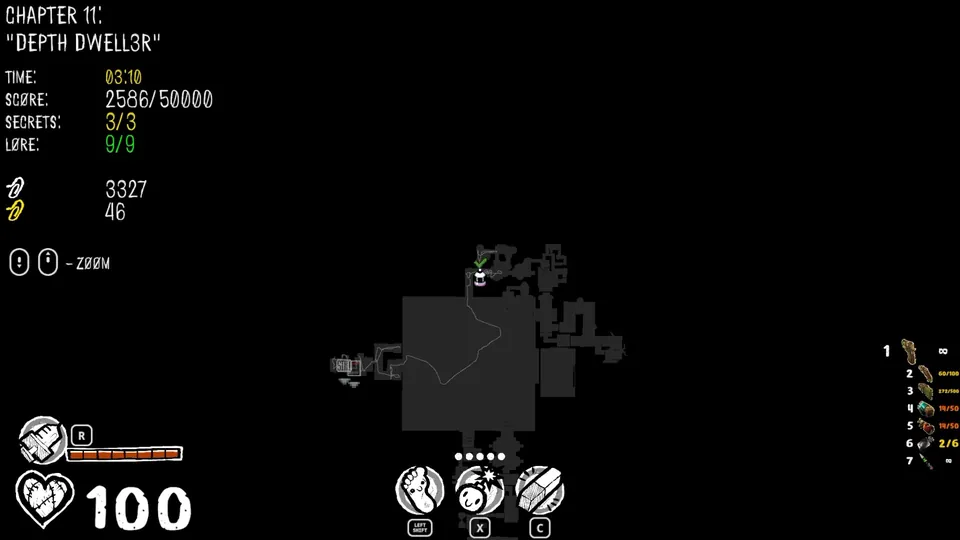
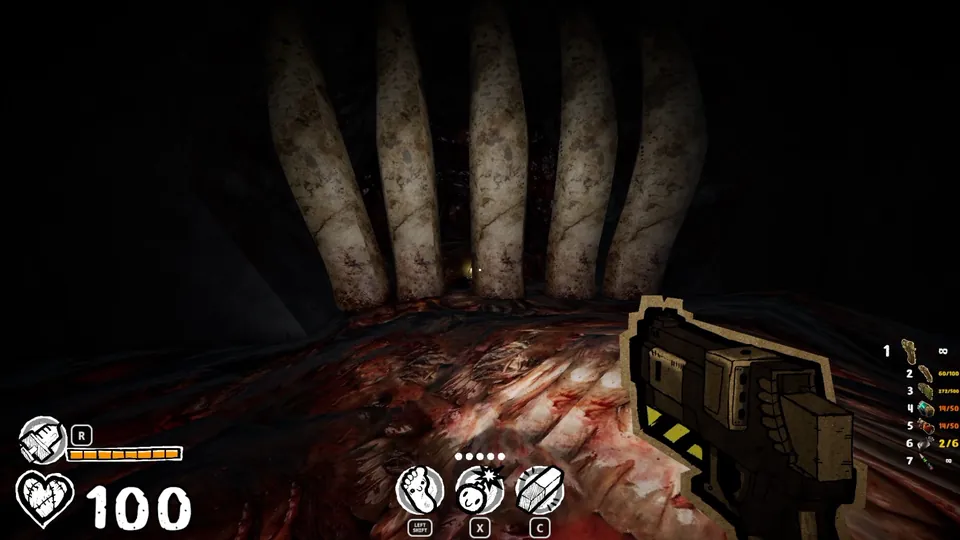
The first time teeth block your way, the game makes you turn around and jump up to a path overhead. Go through a small hole and drop down a little. Turn around where you land to see a gold clip behind some teeth. Moving ahead a bit lowers all the other teeth nearby, so return here once that happens.
Secret 2
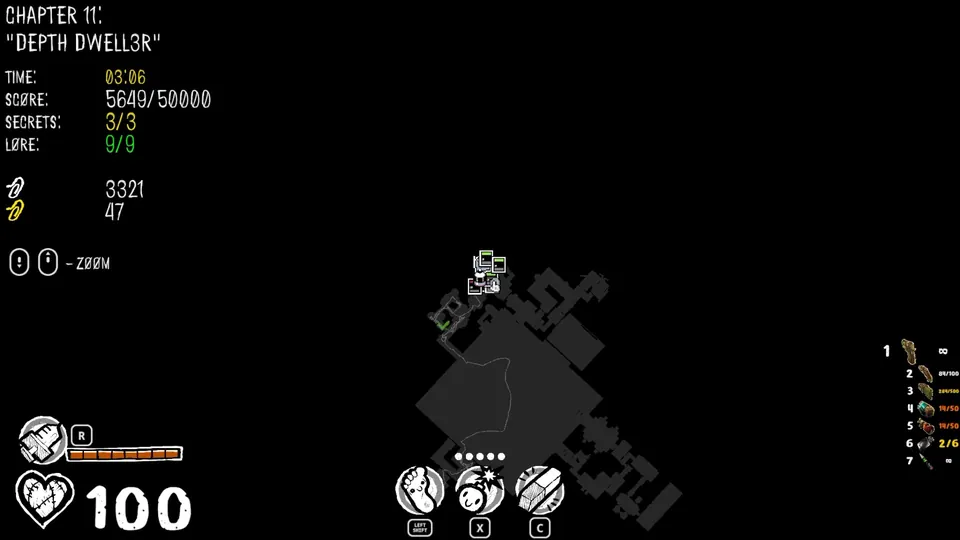
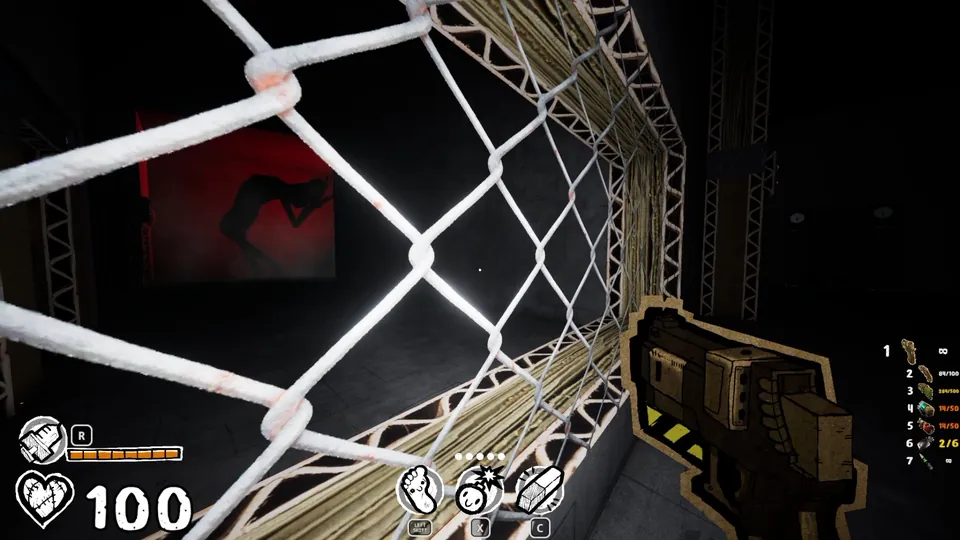
This is near the spot where you hear the crying creature and see its shadow. Go past it into the dark hallway and listen for a door opening. The sound draws your attention to a path on the left. Follow it all the way.
Secret 3
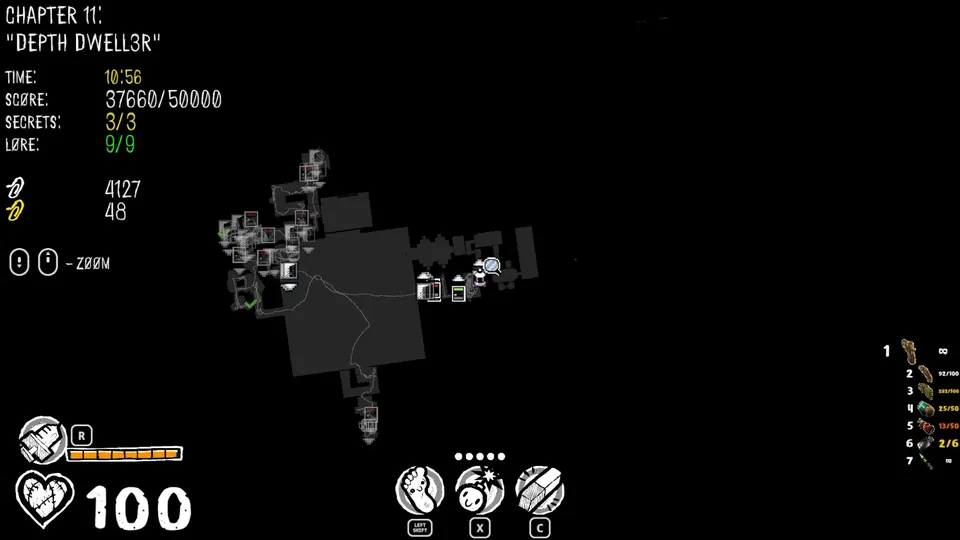
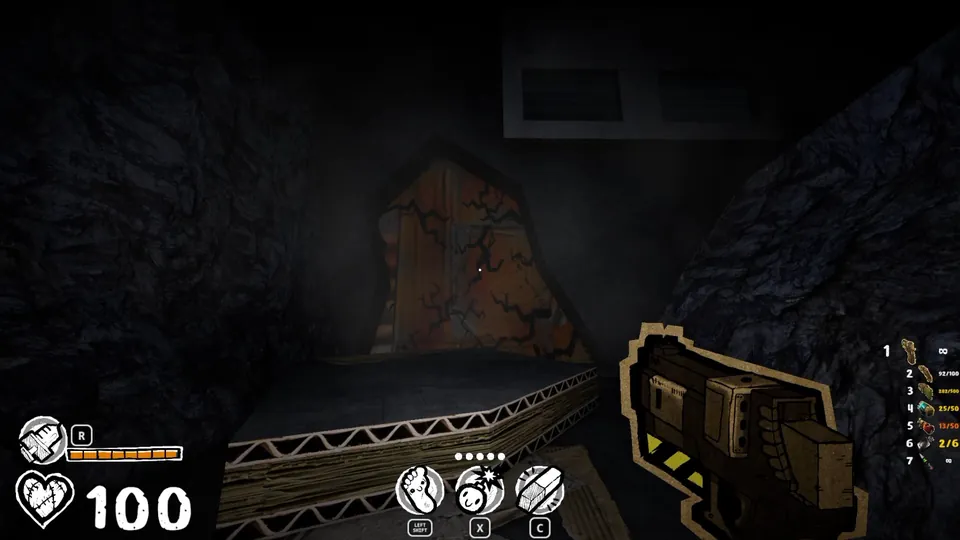
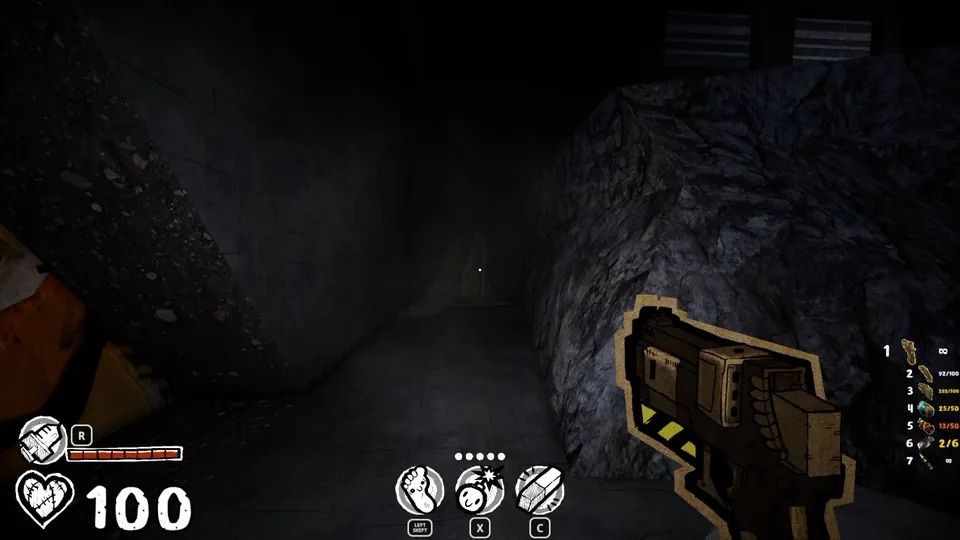
At some point after you raise the water for the first time, you have to go through a destructible wall. Before you do, check to its right. A smaller wall with a similar shape, but more like cardboard, opens when you shoot it.
Chapter 12 (1 Secret)
Secret 1
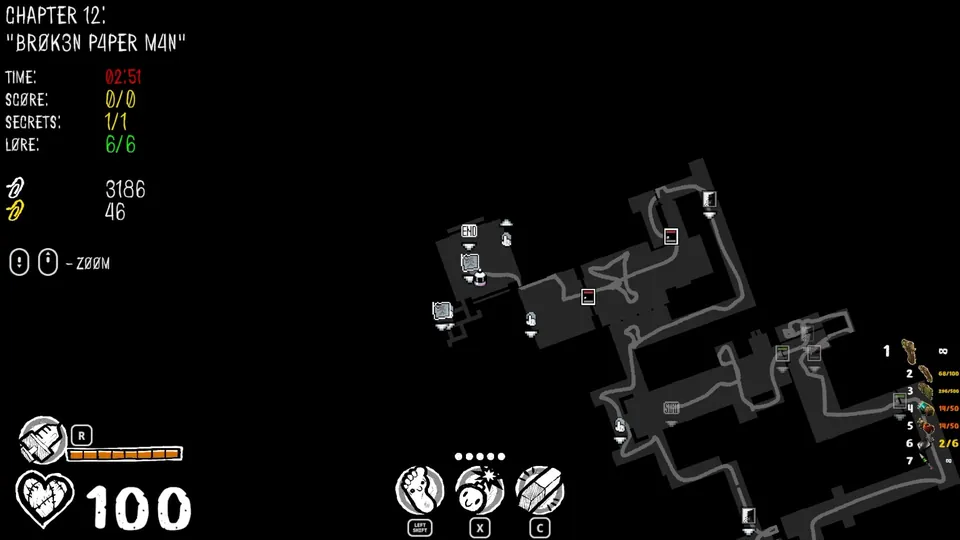
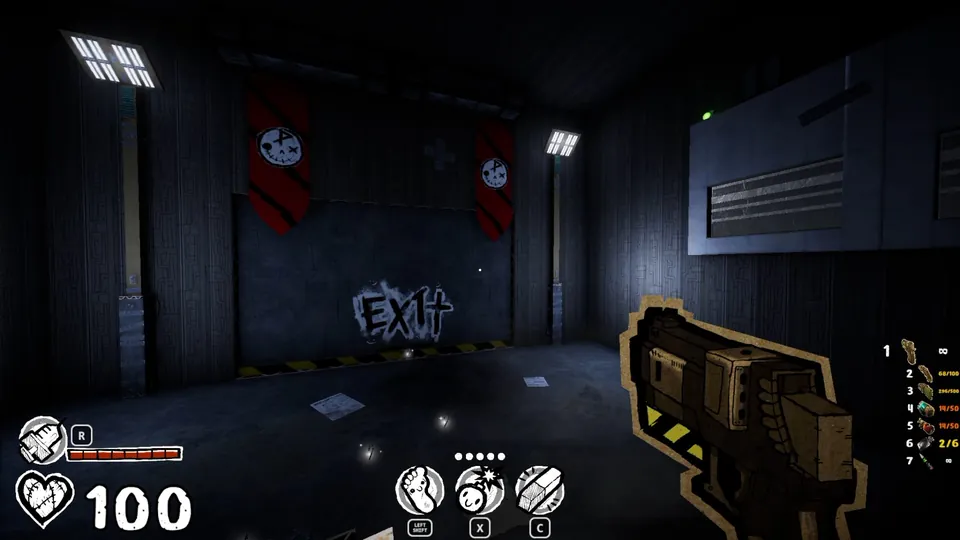
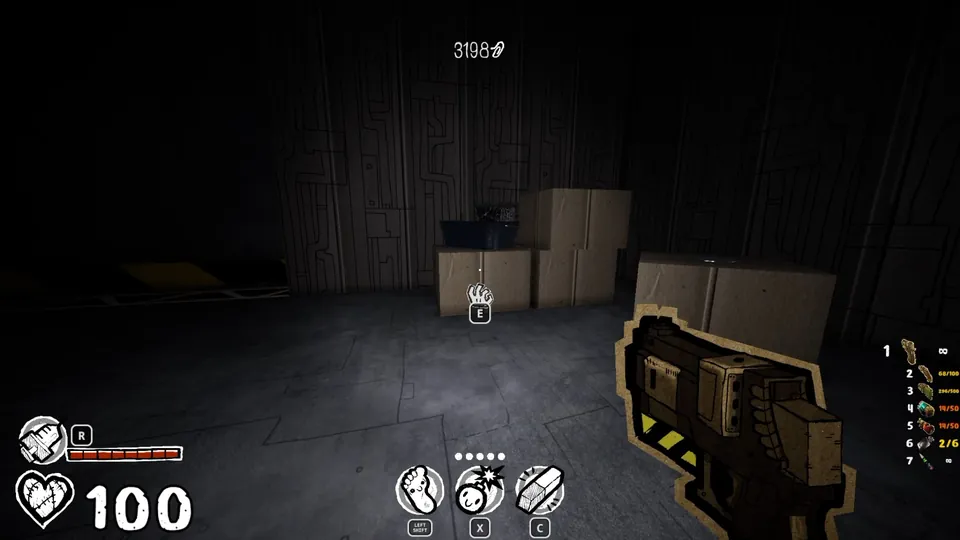
In the room with the chapter exit, find the green button above and to the right of the exit. Pressing it opens a wall hidden behind some boxes elsewhere in the room.
Chapter 13 (6 Secrets)
Secret 1
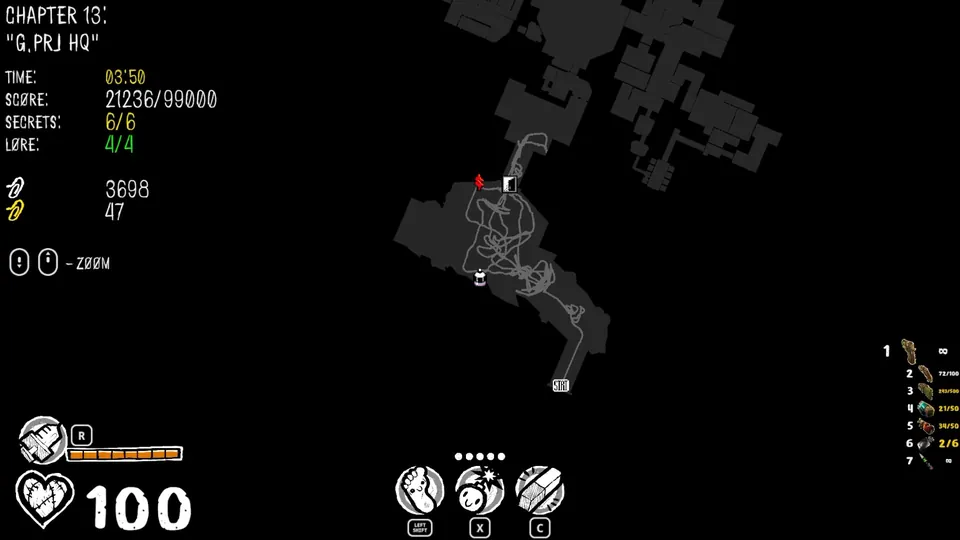
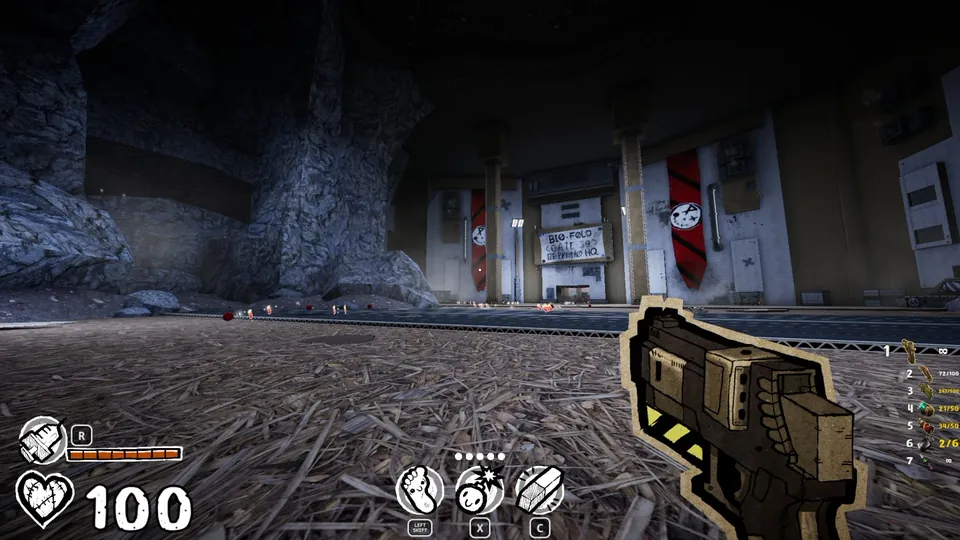
Go straight ahead from the first jump pad in the chapter. To the left of the “geppetto HQ” building, the rocky section has a big, wide opening you can jump into.
Secret 2
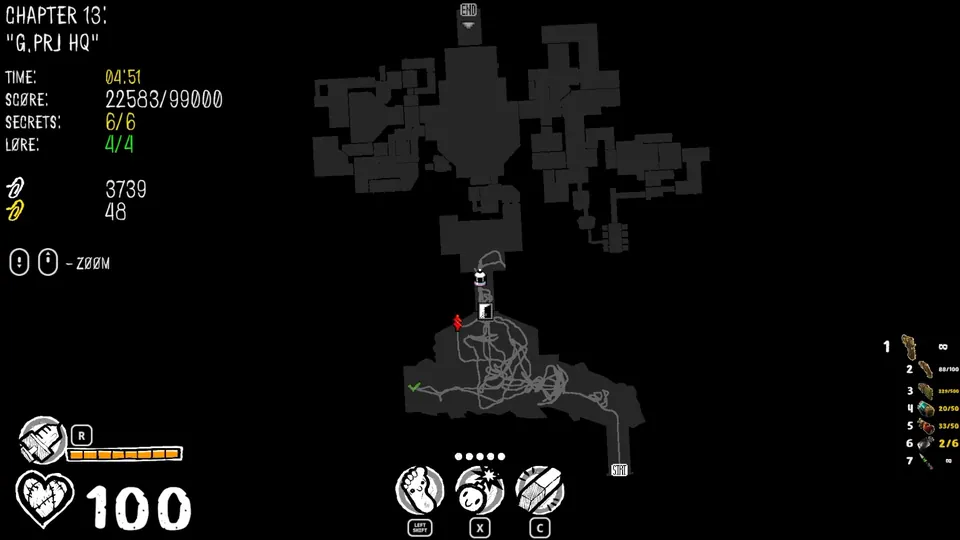
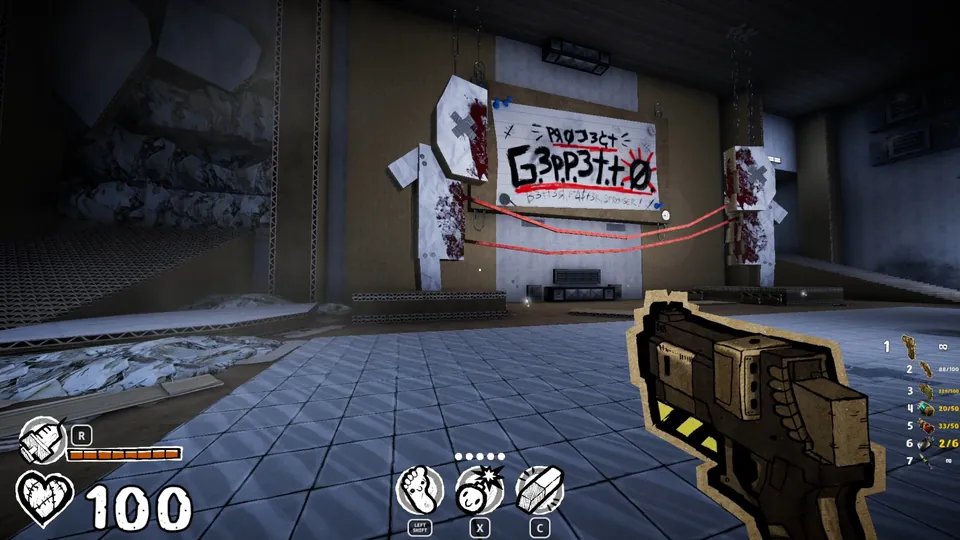
Soon after you enter “geppetto HQ”, look left of the big “project geppetto” sign. The rubble there has an opening to jump through.
Secret 3
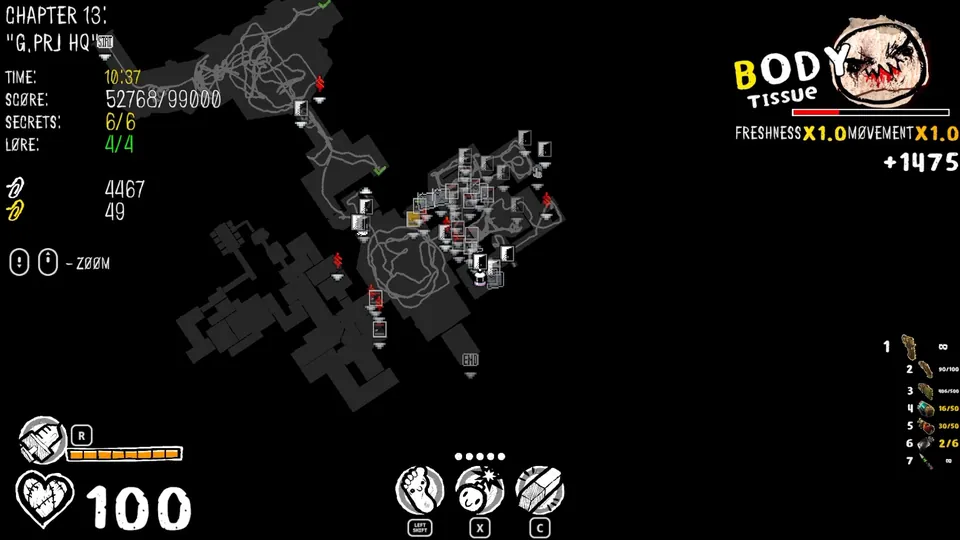
At the elevator with a cool moon dude to its left, press the up button instead of down. Then follow the path to the end.
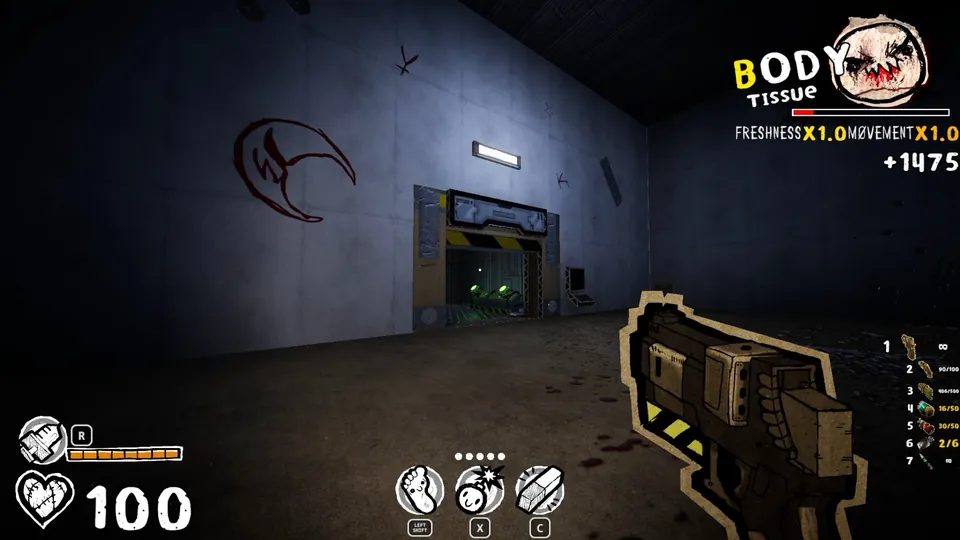
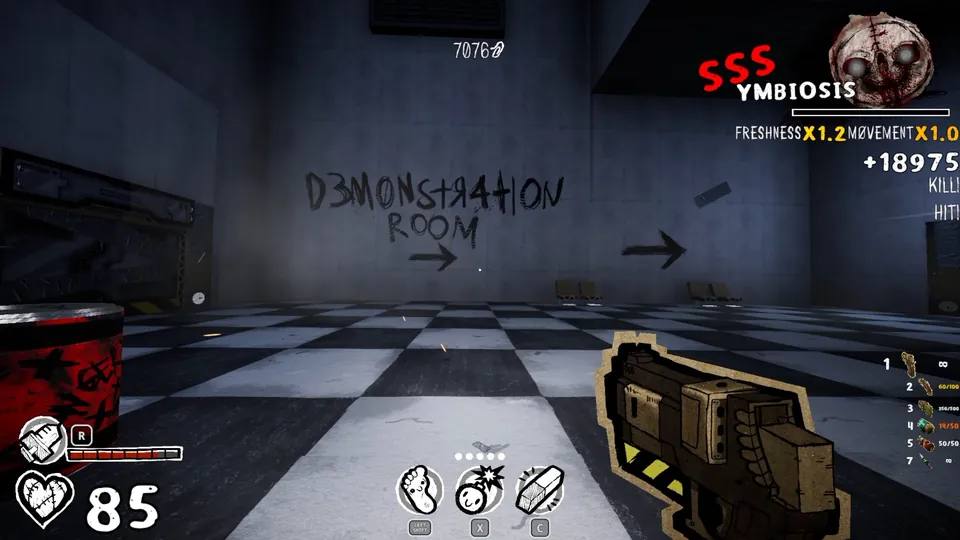
Secret 4
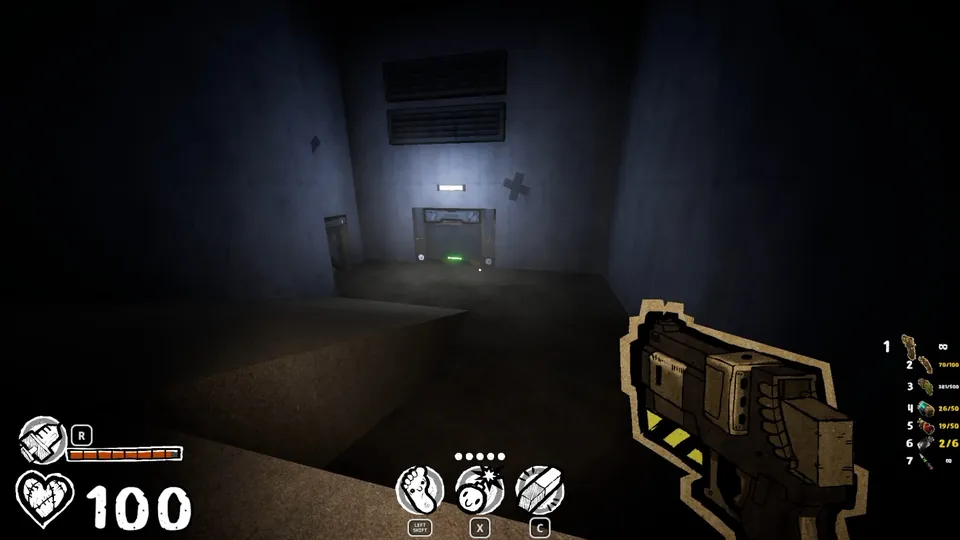
Some time after the “demonstration room”, you reach a brown platform with a small ramp down to a door. Turn around from the door and you’ll see an opening under the platform. Go under it.
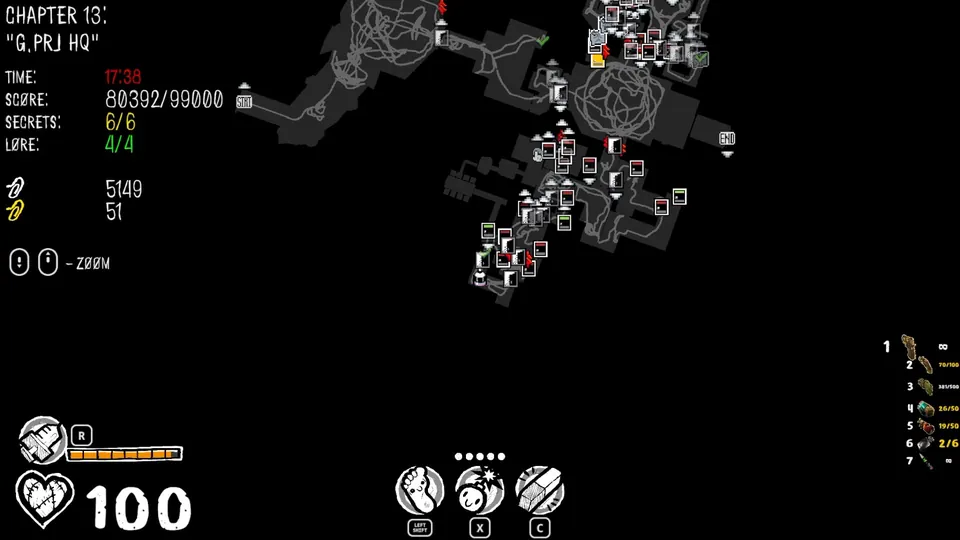
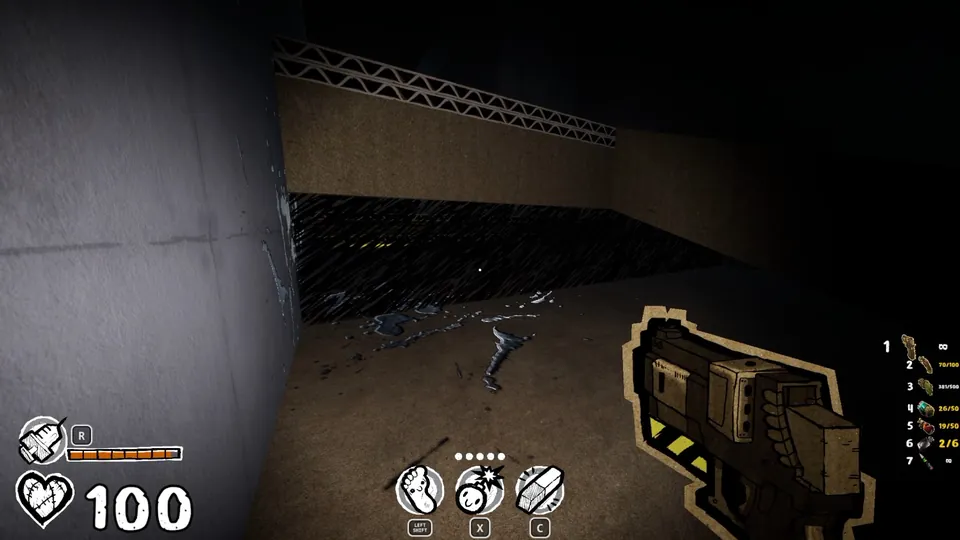
Secret 5
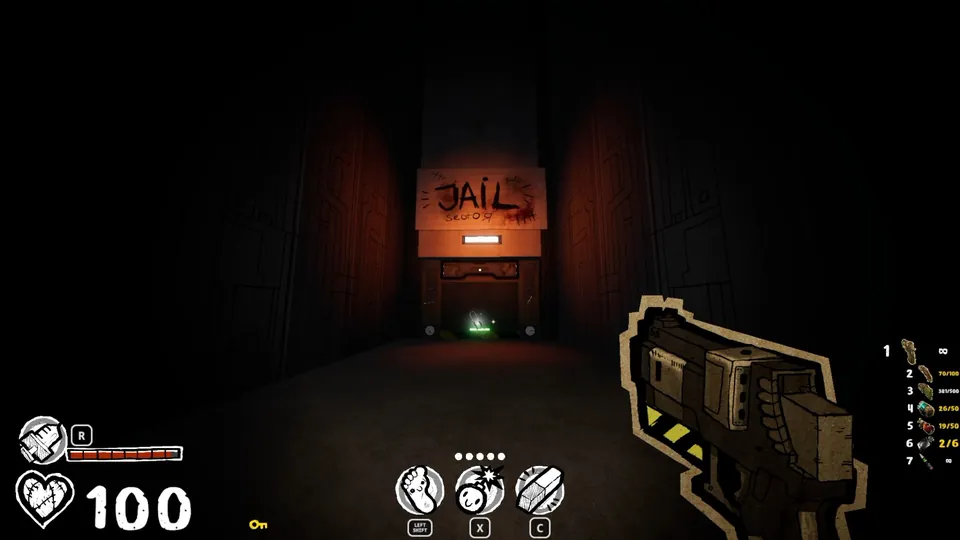
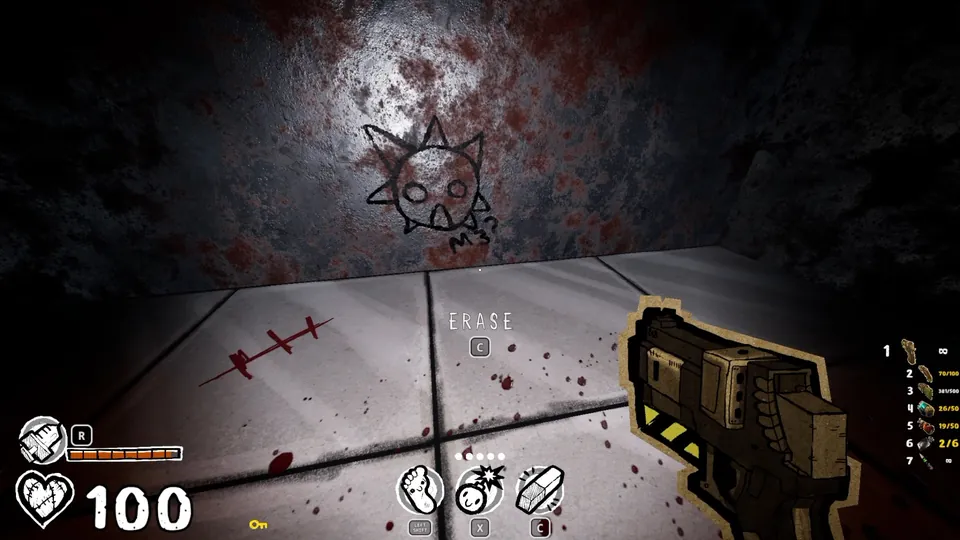
Inside the “jail sector”, the first cell on the left has a drawing you can erase.
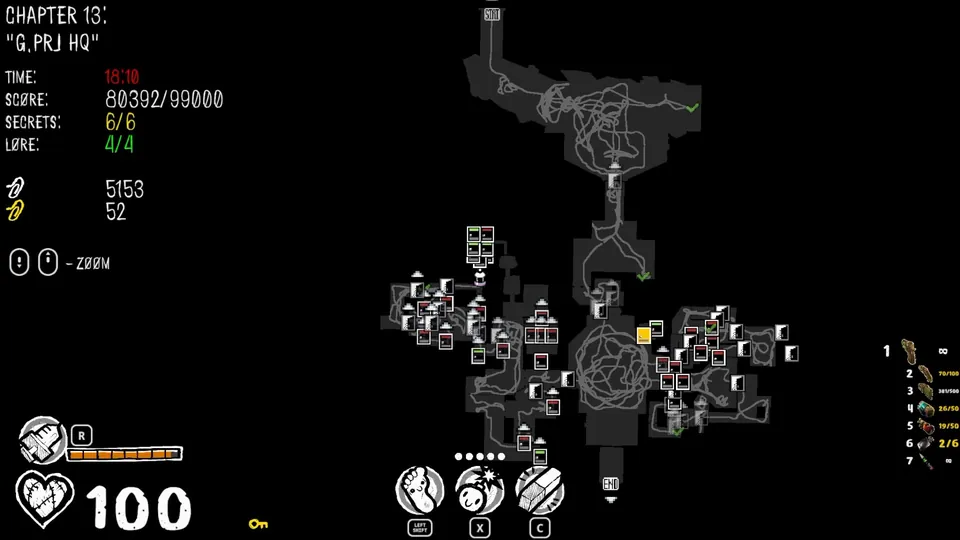
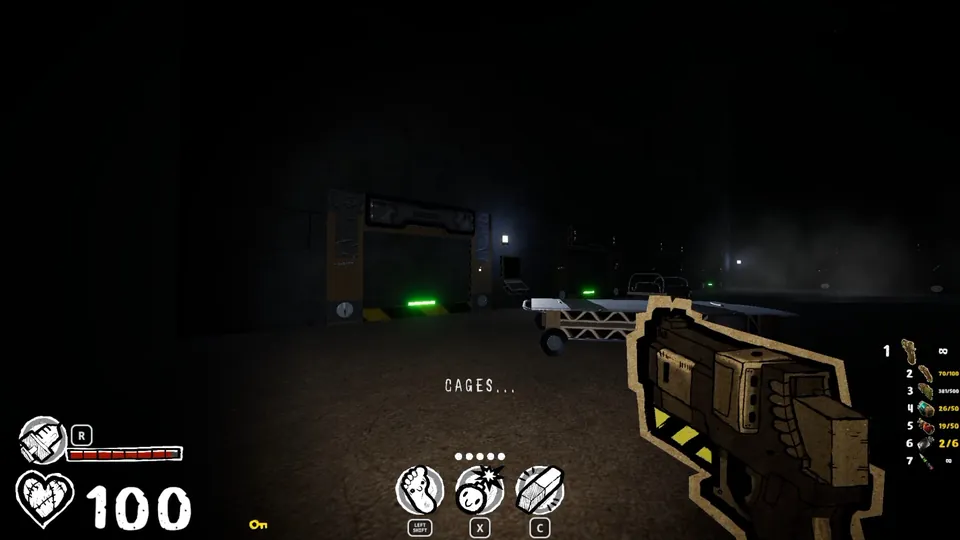
Secret 6
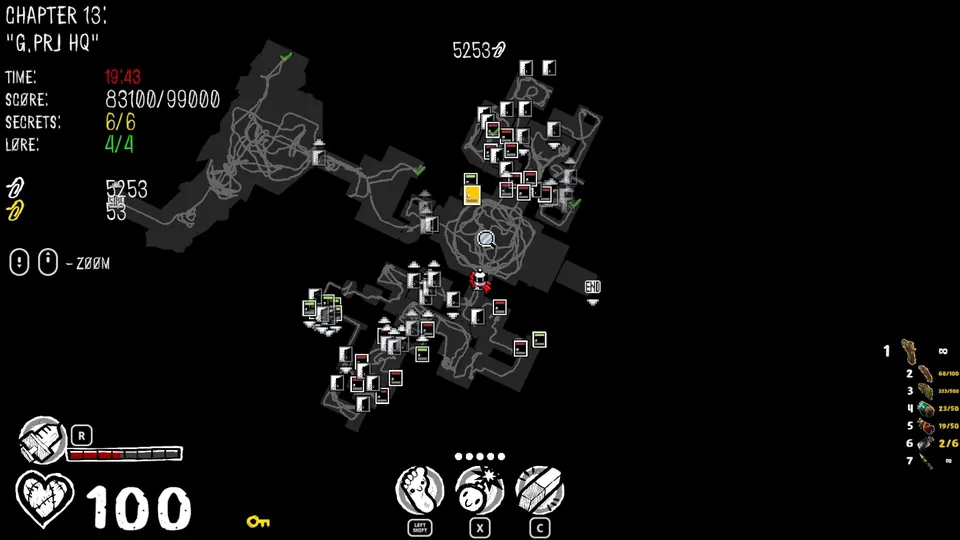
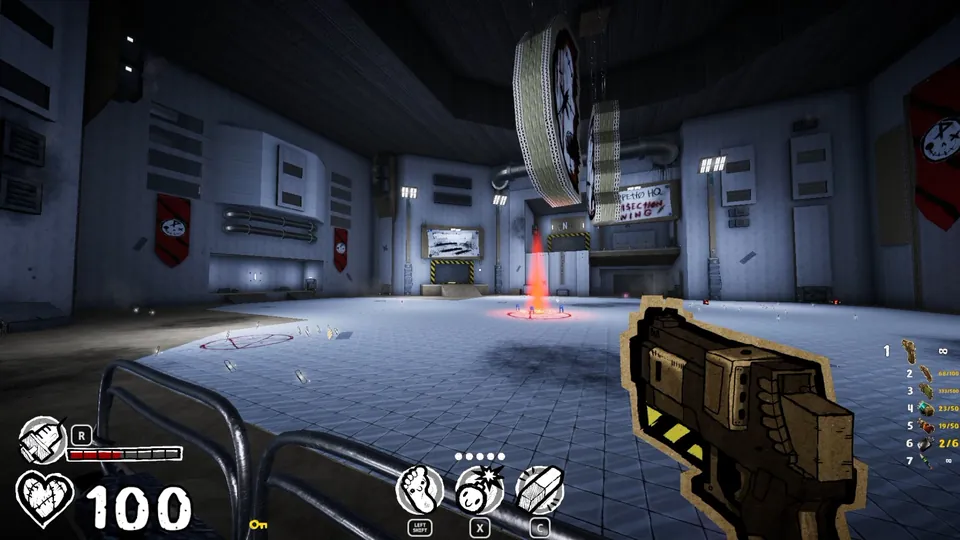
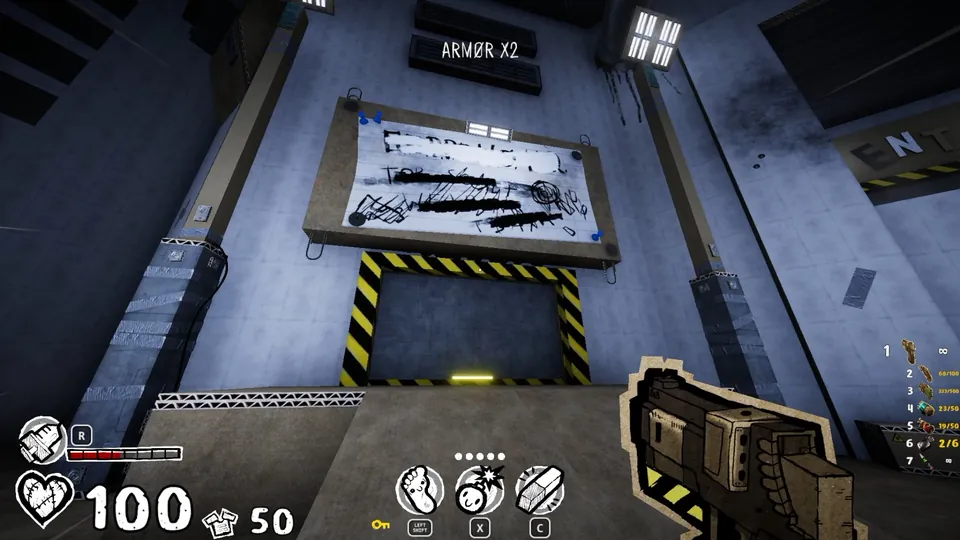
You need the yellow key from one of the earlier secrets. It opens the locked door in the huge open area inside the HQ. The game sends you back to that area anyway for a “ritual”.
Chapter 14 (1 Secret)
Secret 1
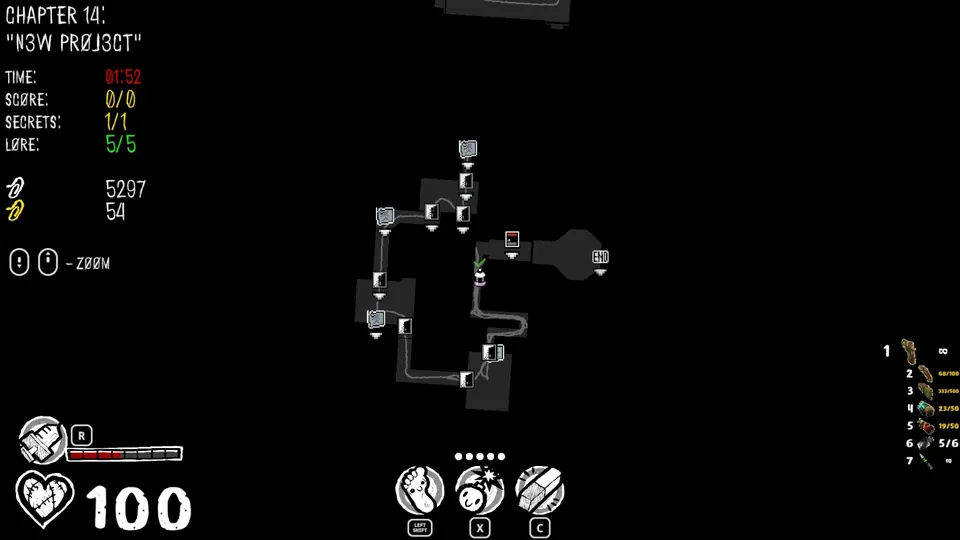
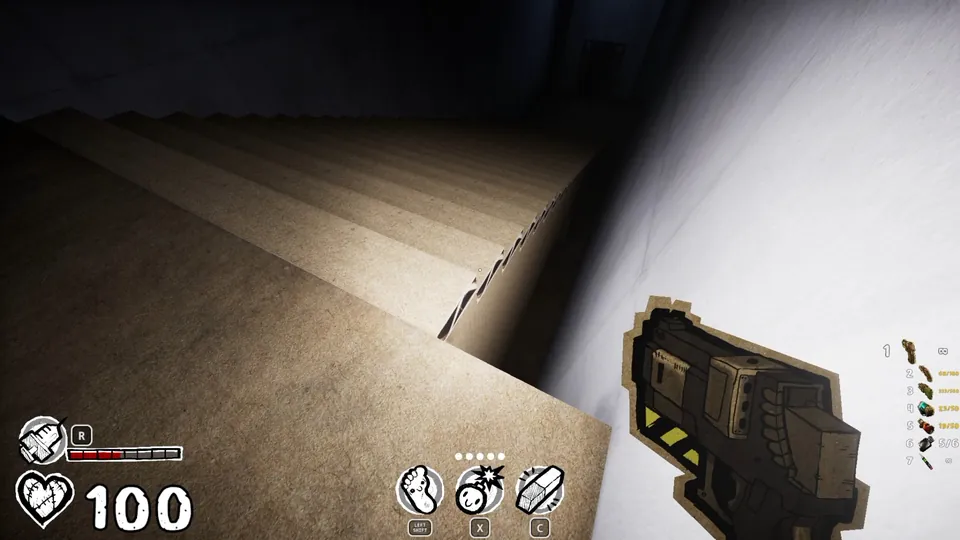
In the hallway right before the room with the chapter exit, slip through one of the narrow gaps between the wall and the big staircase.
Chapter 15 (3 Secrets)
Secret 1
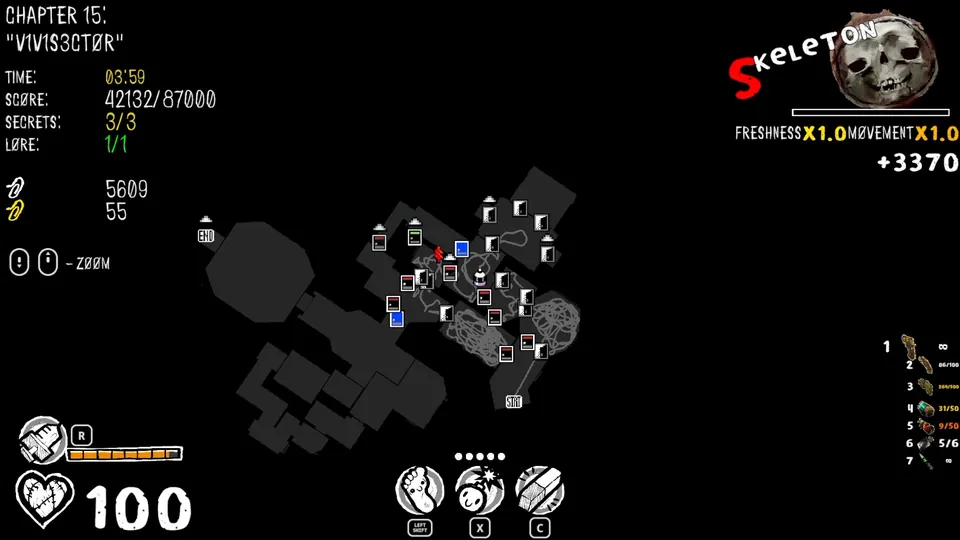
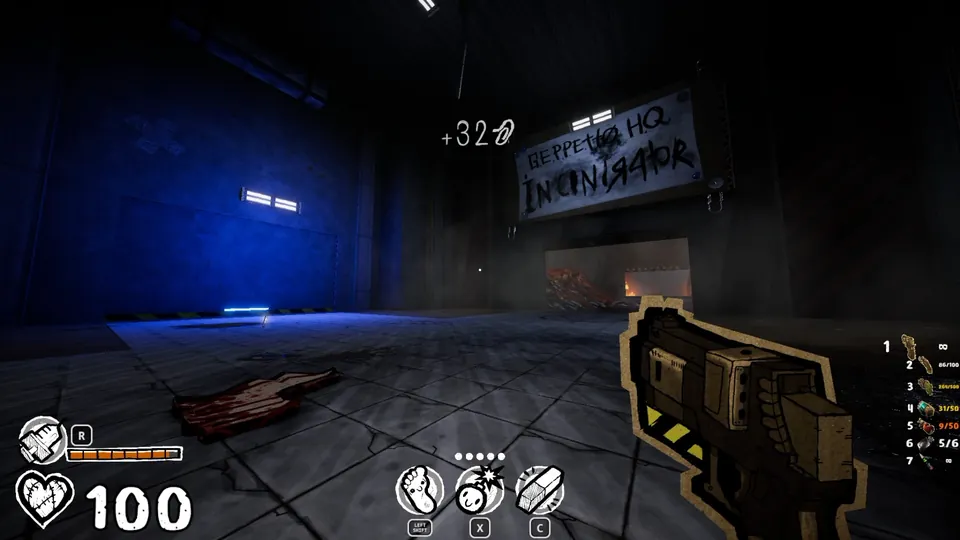
Inside the “geppetto HQ incinerator”, the room to the left of where you first enter has a drawing you can erase.
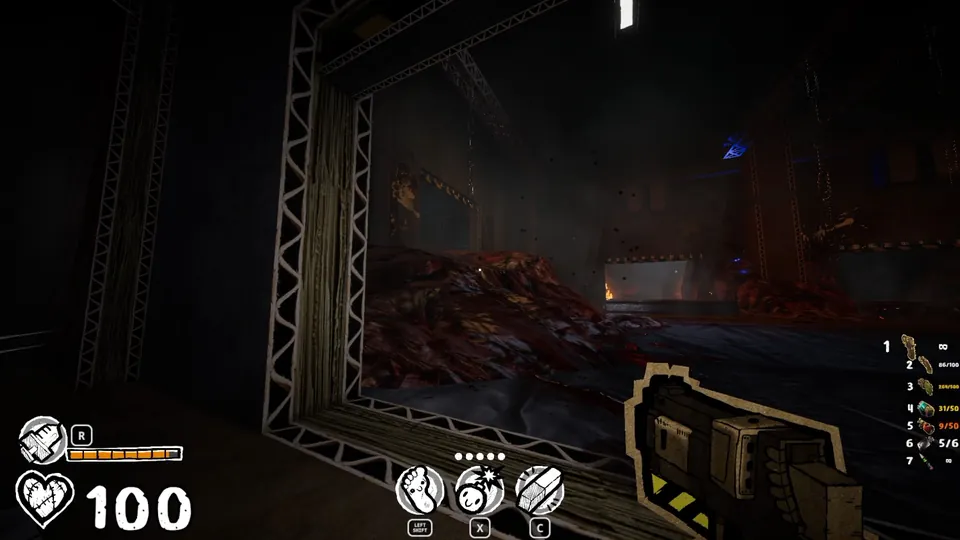
Secret 2
After you get the Smoker, head past the “nuke em” graffiti.
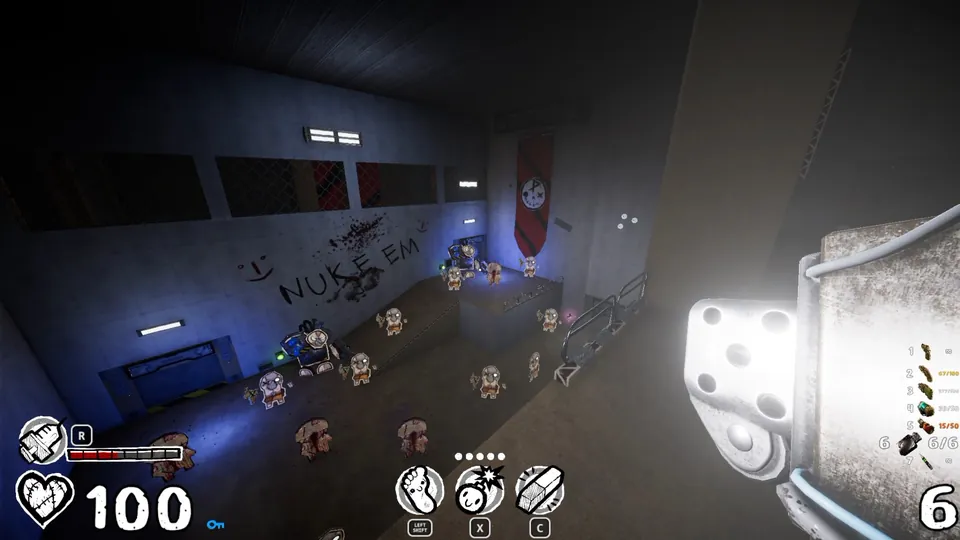
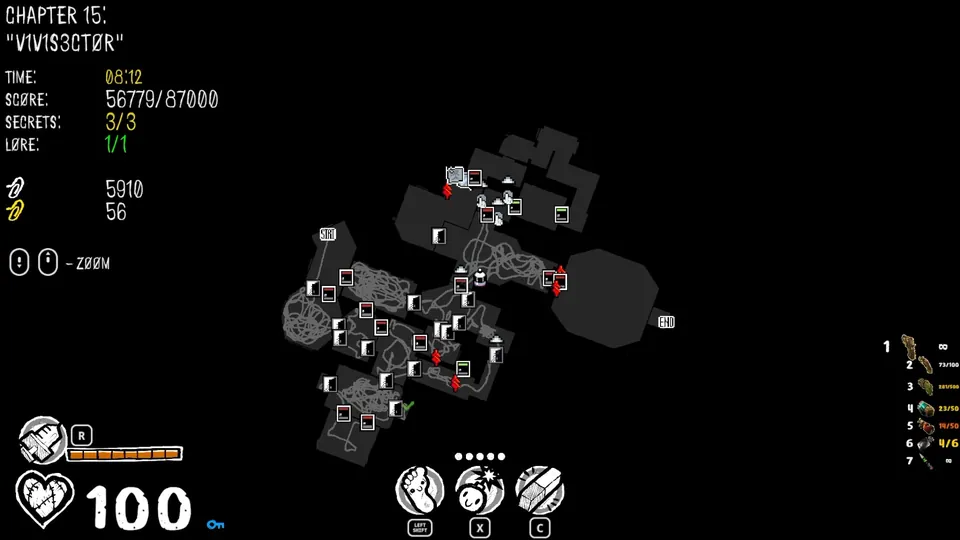
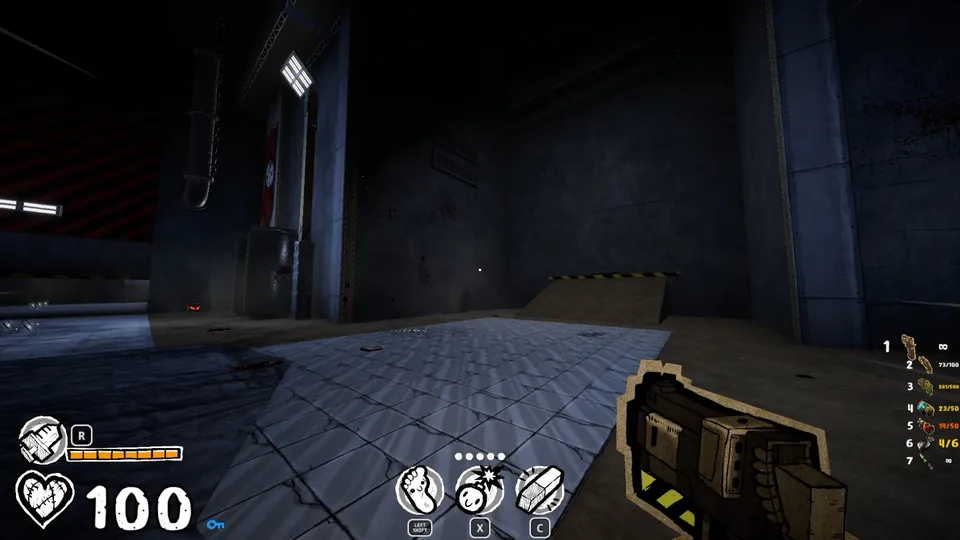
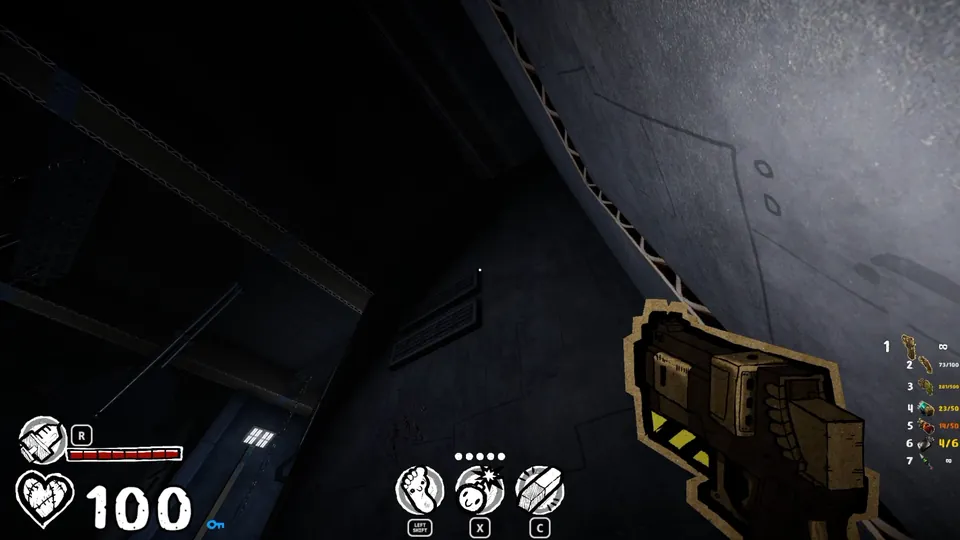
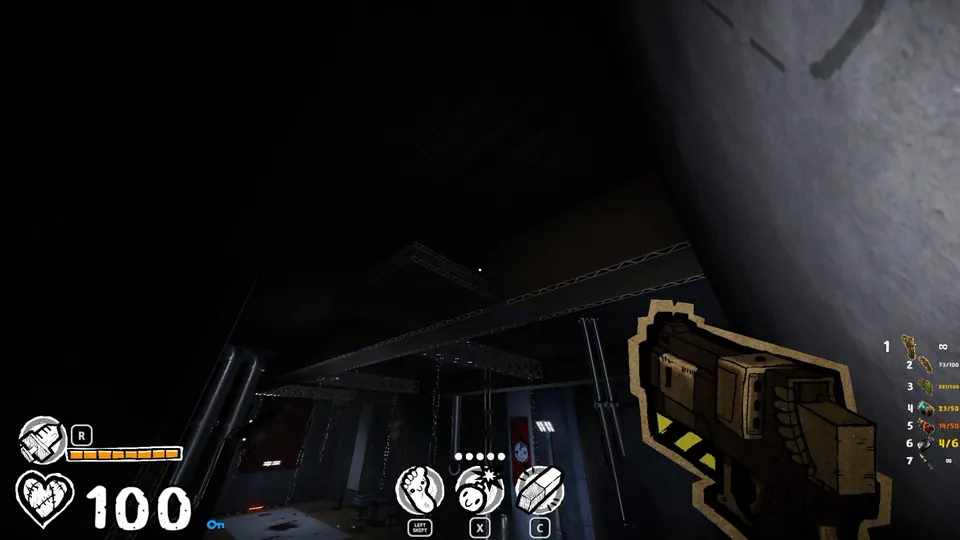
The first room there makes you fight a few waves of enemies. Find the small brown ramp that leads to a closed door, walk to it, turn around, and look up. A platform sits up there in the dark. To skip the tougher jumps, climb the extremely thin ledges on the walls.
Secret 3
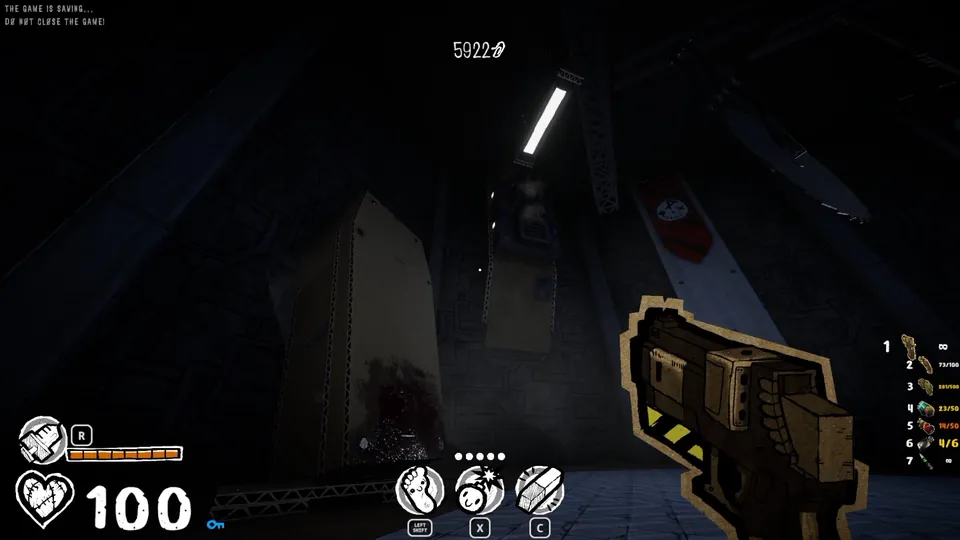
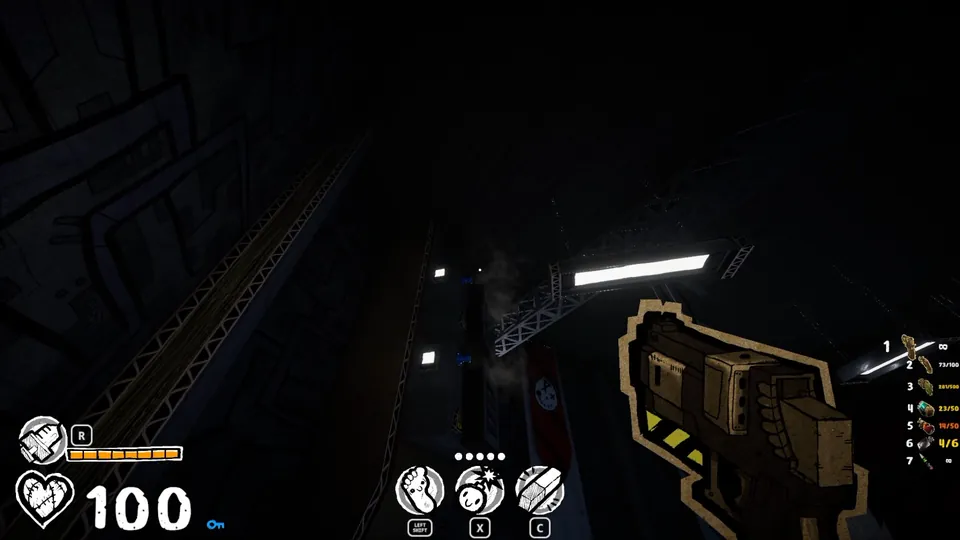
In the area right after the previous secret, what looks like a single giant coffin leans against a wall. Above and to its right is a platform with some vents that you can jump to. The secret is in a narrow gap at the top, almost touching the ceiling.
Chapter 16 (1 Secret)
Secret 1
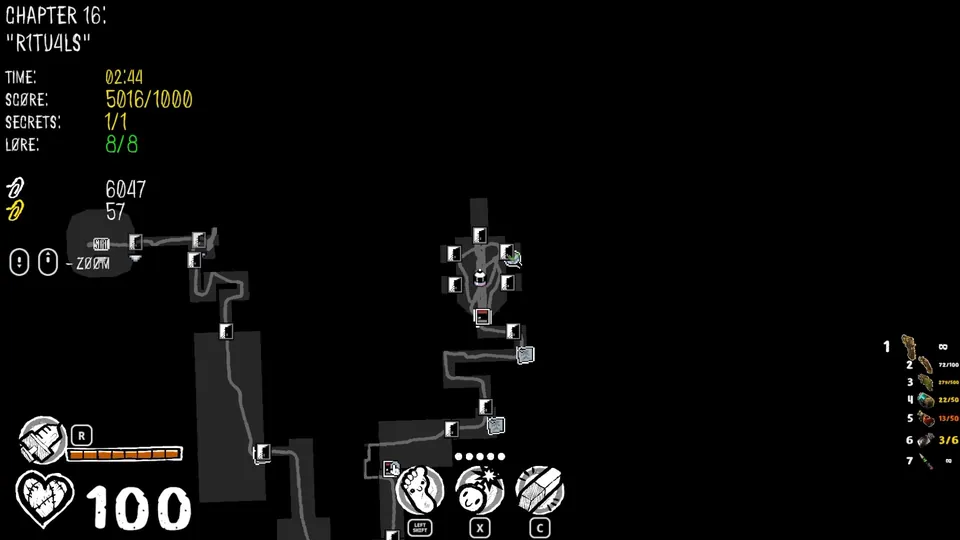
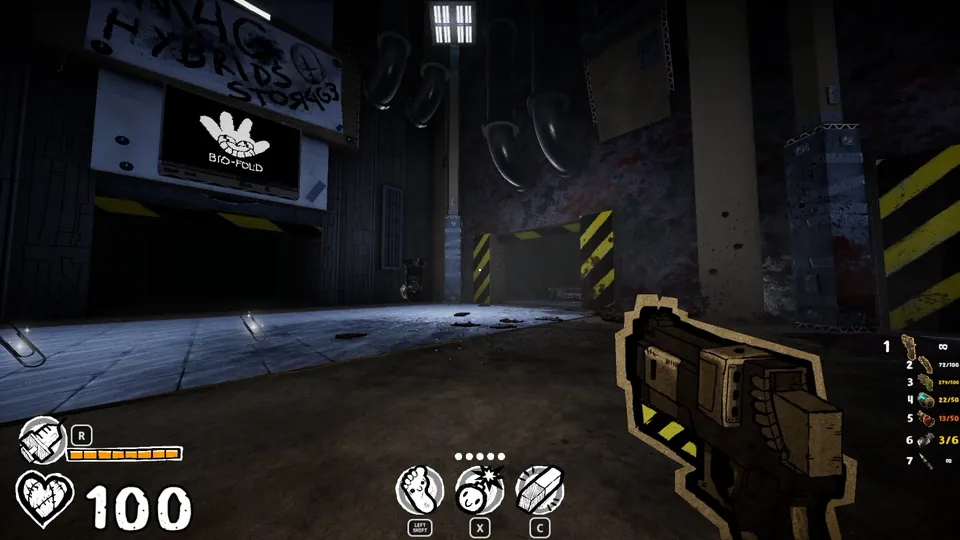
In the boss arena, the room just right of the “M4G hybrids storage” sign has a glowing green graffiti.
Chapter 17 (3 Secrets)
Secret 1
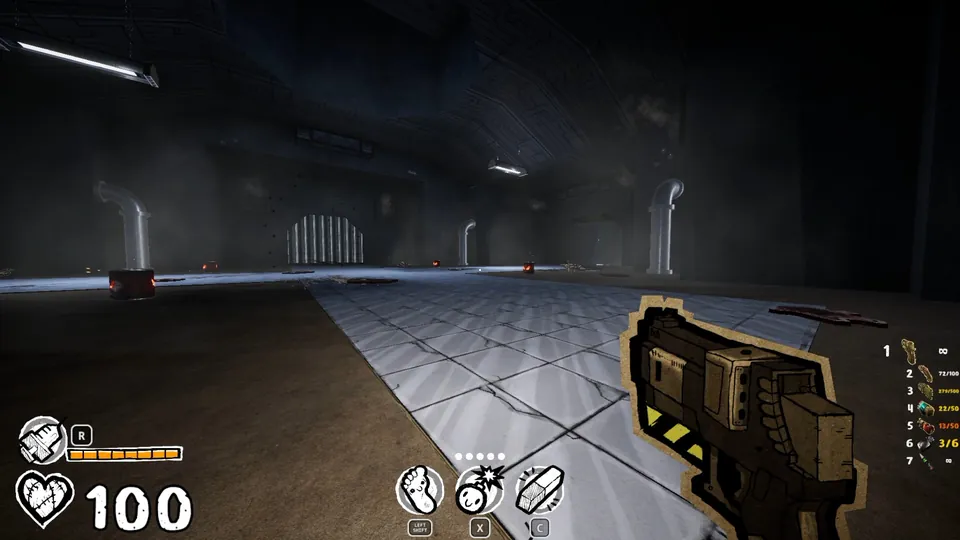
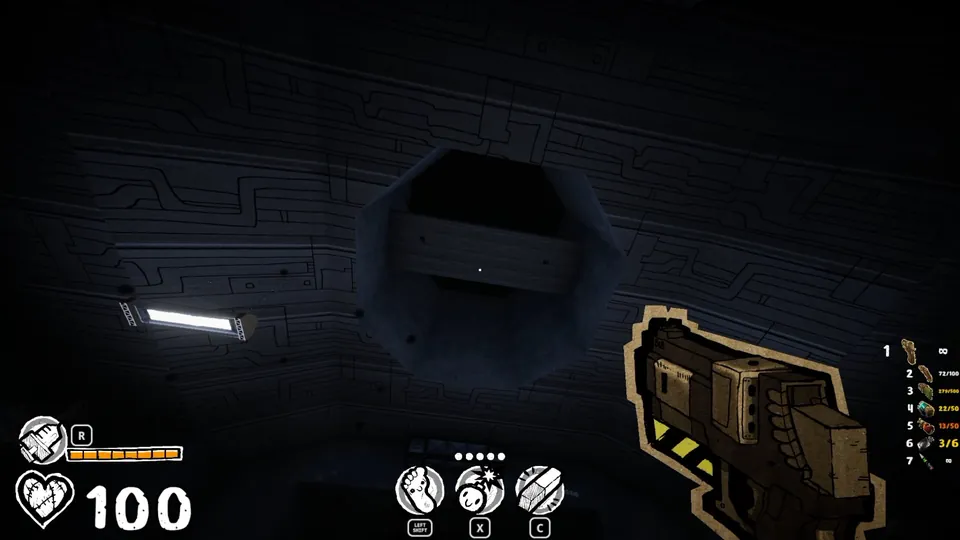
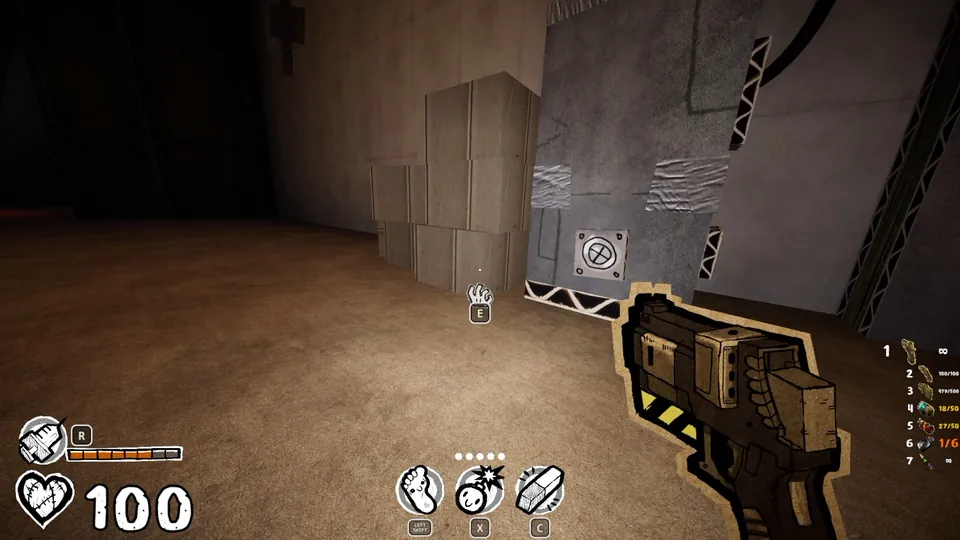
It’s in the very first room you open with the pencil, before any fighting starts.
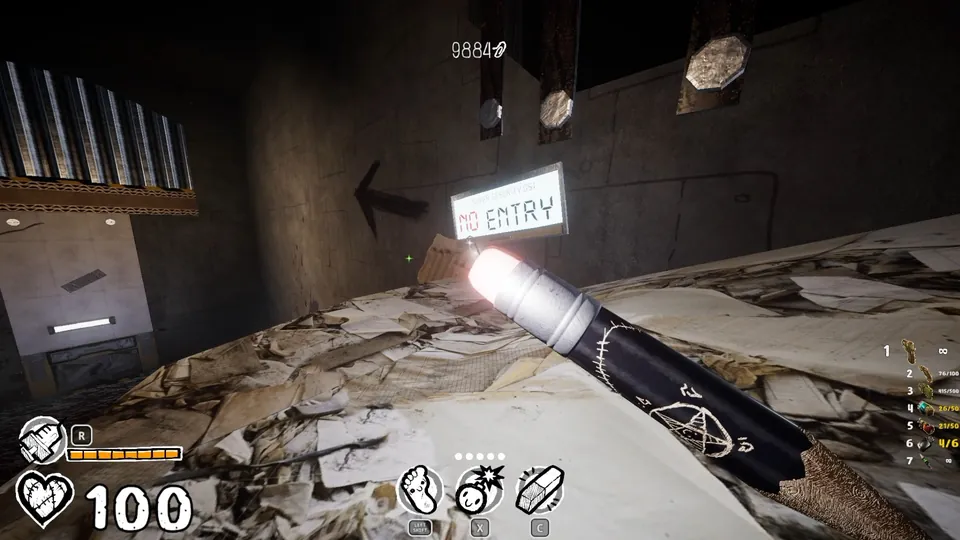
Stand in the middle of the room and look up to spot a platform. Getting up there takes a non-standard way of gaining height.
Secret 2
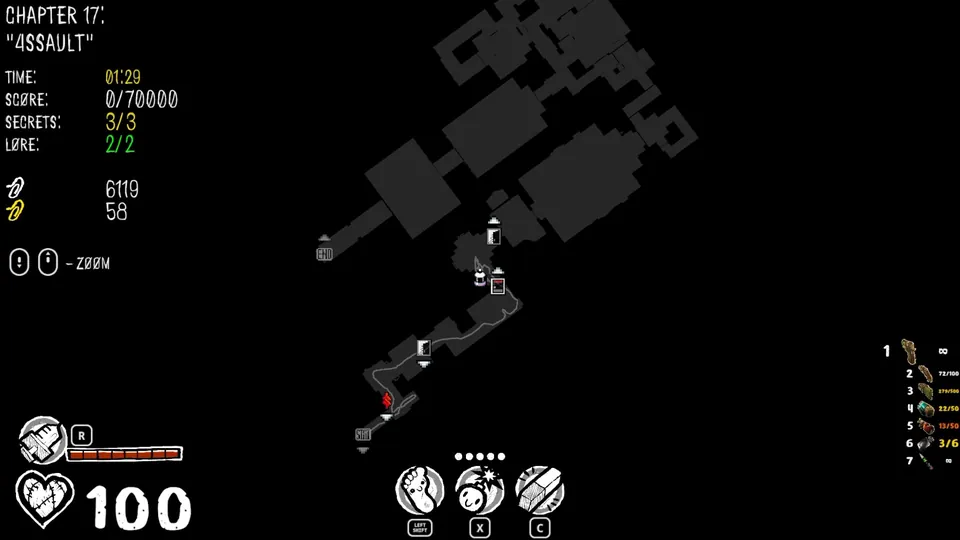
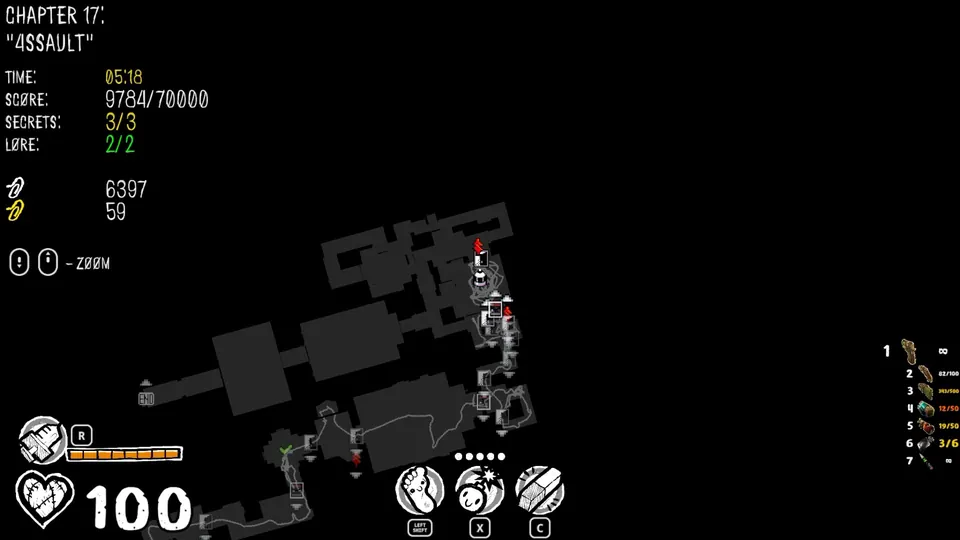
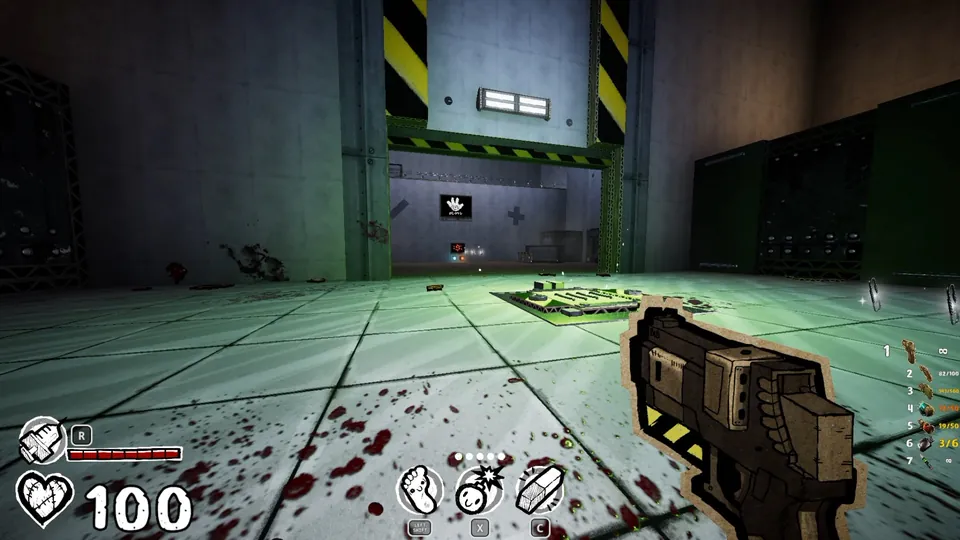
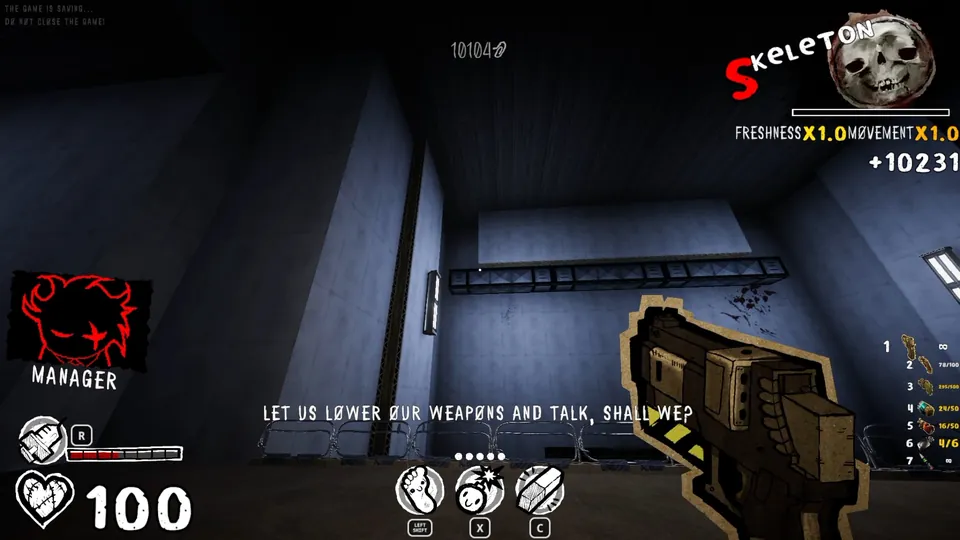
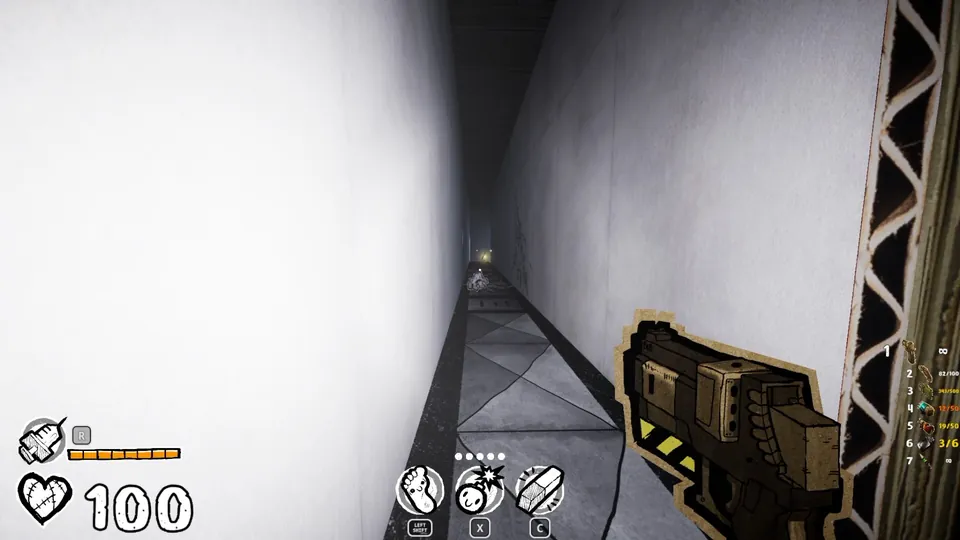
You’ll fight in a room where the Manager tells you to lower your weapons and talk. The area right after it has a shop with a monitor above. Turn around somewhere nearby and look up. You’ll see a vent shaft you can jump into and part of a white wall sticking out.
Secret 3
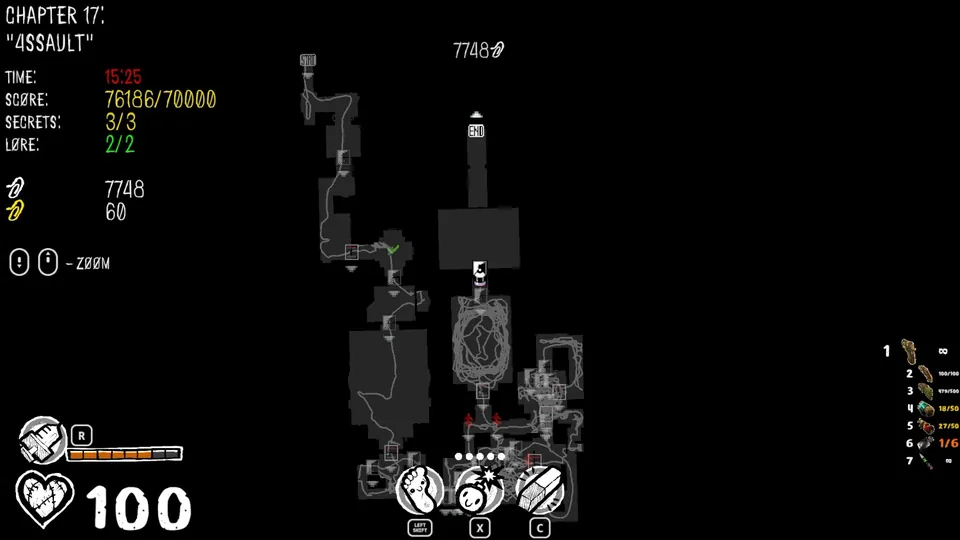
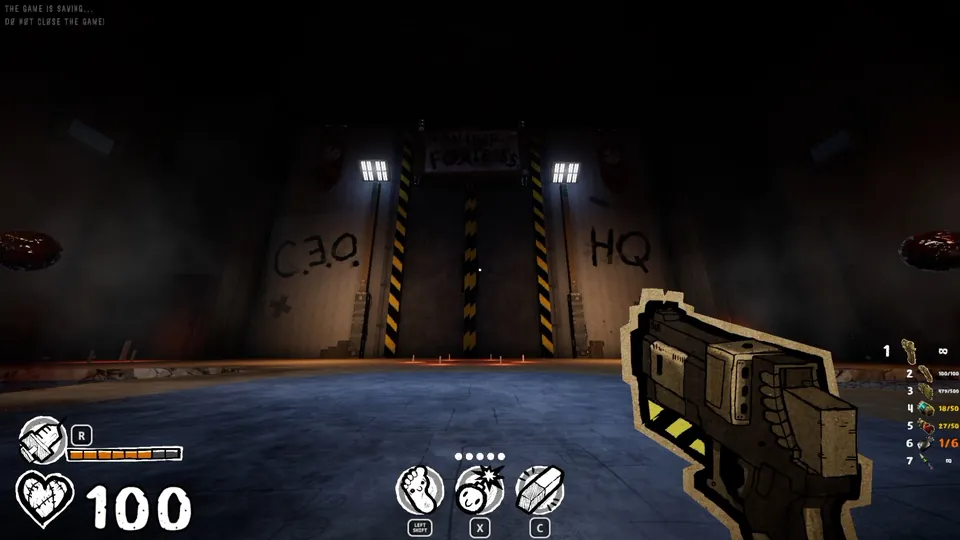
After the chapter’s last wave fight, you reach a large room with the big “CEO HQ” door. Each side of the door has a green button hidden behind some boxes.
Chapter 18 (2 Secrets)
Secrets 1 and 2
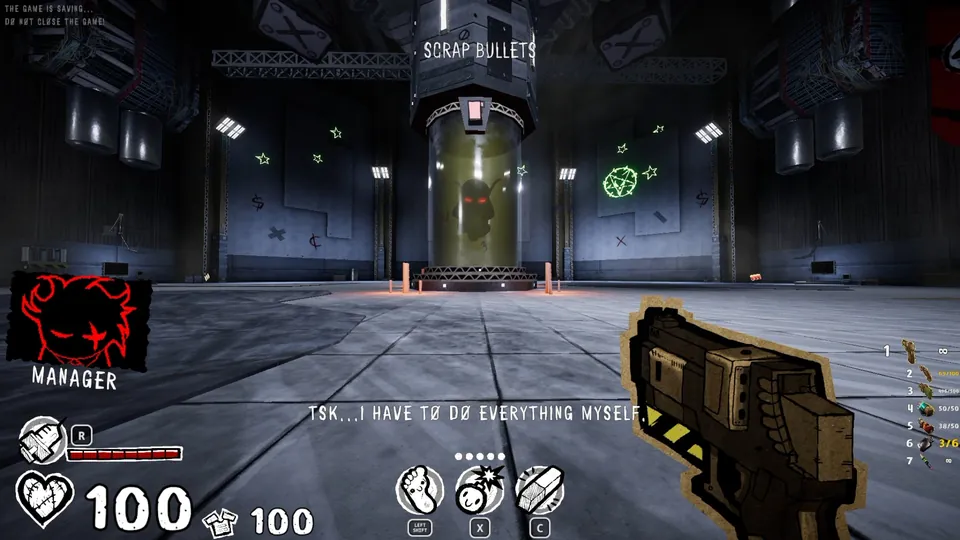
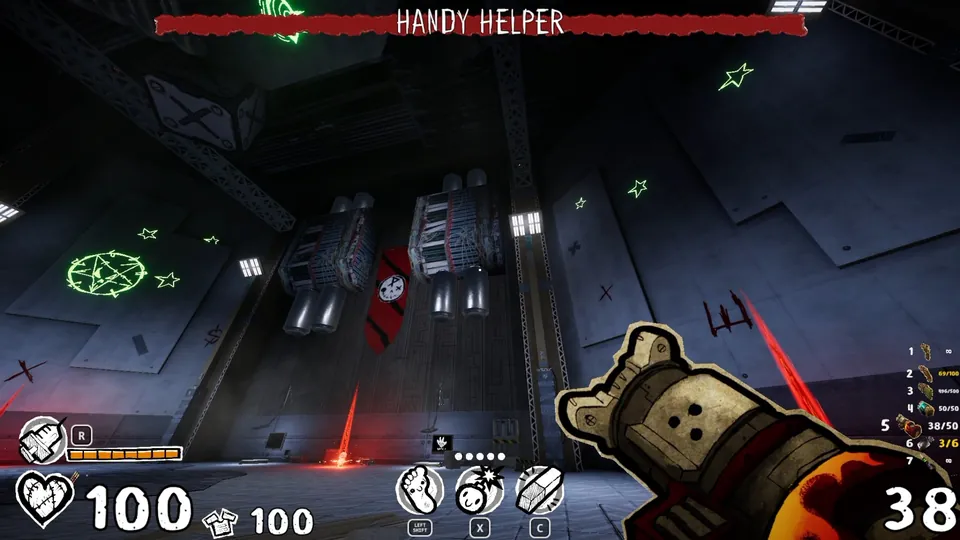
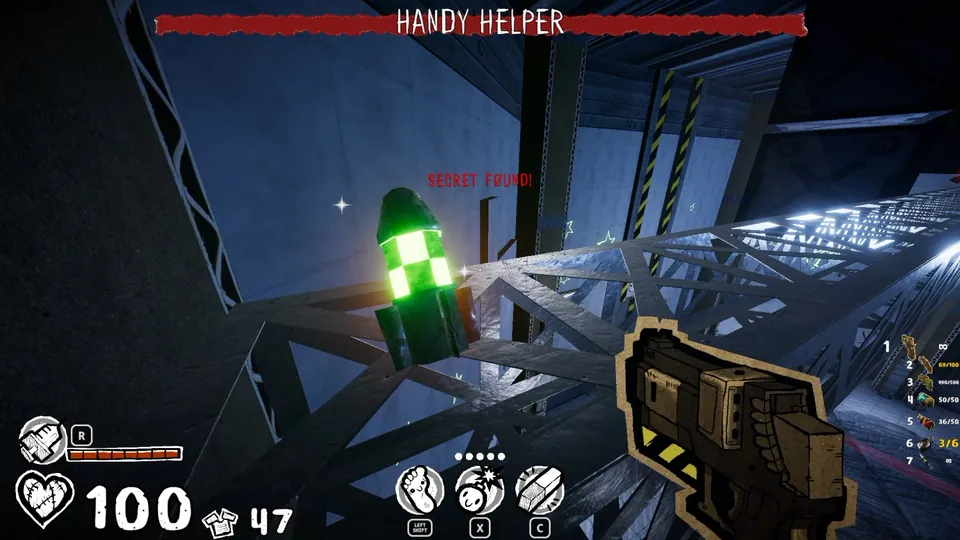
The boss room has two long metal frames you can jump onto. Each frame holds the item for one of the secrets, but the items don’t spawn until the boss does.
Achievements
Secret Achievements
These unlock when you find the secret, or when you interact with something inside it.
- Chapter 2, Secret 2: Aha!
- Chapter 5, Secret 3: CAREER ADVICE
- Chapter 9, Secret 8: Can I Pet the Dog?
- Chapter 9, Secret 9: Family Boi
- Chapter 11, Secret 3: MOLLY
- Chapter 13, Secret 5: Episode 0?
- Chapter 15, Secret 1: R.I.P. GL
- Chapter 15, Secret 3: ANIME 2 WATCH
- Chapter 16, Secret 1: YES THIS IS MADNESS
- Chapter 17, Secret 3: Peaceful solution
Story Achievements
You earn these just by playing through the game.
- P33 RANK
- THE END
- Drone 0
- World War Paper: Don’t skip the credits cutscene.
Skill Achievements
- ULTIMATE P33ING: Meet the score, time, and secret requirements for every level. You can complete each requirement in a separate run, on any difficulty.
- Hardcococococore: Every level has to show that it was beaten on hardcore. The character doesn’t matter.
- Blood Runner: Beat the game as Jeb on any difficulty.
- HOTLINE: Beat the game as Super Bandage Boy on any difficulty.
Character Achievements
The game also shows most of these requirements.
- Jeb The Scientist: In Chapter 12, go to the room after the final audio recording. An interactable spot there lets you spend 500 clips. Say yes.
- Super Bandage Boy: The in-game requirement is to beat the game with max health. This most likely means finishing Chapter 18 at full HP, not having maxed-out HP upgrades. It has been unlocked without buying any HP upgrades.
- Lost Soul and Thats Just a Theory: The requirement is to find all the lore. The way the game counts lore is a bit odd, and it’s hard to tell when a piece actually registers. Check your Lore Map, and ask other players online if you can’t find a piece.
- Golden Fre…Buddy: This used to need 1000 golden clips on one character. It now needs 50 golden clips and 1000 regular clips on one character. You probably can’t get it in Survival.
- Otherworlder: Learn to shoot and circle rooms, then grind Survival.
Anomaly
Smiling friend is the most commonly unlocked achievement, yet some players still miss it. It likely unlocks when you find one of the 🙂 faces, but the exact trigger isn’t confirmed.
Credit: @Anitude