How to automate your farming with small dinosaurs in Paleo Pines.
Paleo Pines: Farm Automation Guide
This guide will explain how to use seed pots, produce baskets, and water bowls to automate your farm. As you befriend Avery, he will offer you three quests in which he gives you one of three work hubs to try out. After completing each quest, you can keep the work hub Avery gave you, and all three sizes will be available for purchase from Marlo starting the day after you finish the quest.
Work hubs are used by dinosaurs with the “tender” skill (the “small dinos”). Each work hub comes in three sizes: small, medium, and large. Avery will provide you with a small hub for his quests. Small work hubs allow you to assign up to 2 dinos, medium work hubs allow up to 3, and large work hubs allow up to 4. The capacity and range of each hub also depend on its size.
Seed Pots
Seed pots are the first work hub you’ll receive. They hold one type of seed at a time. Dinos assigned to a seed pot will plant seeds in tilled soil, and will also till any uneven soil left after harvesting previous crops. Both of these actions use 10 stamina.
Small seed pots have a 5 x 5 range extending 4 tiles ahead and 2 tiles to each side. They hold one stack of 40 seeds and cost 50 shells at Marlo’s shop (not including any buddy discounts you may have).
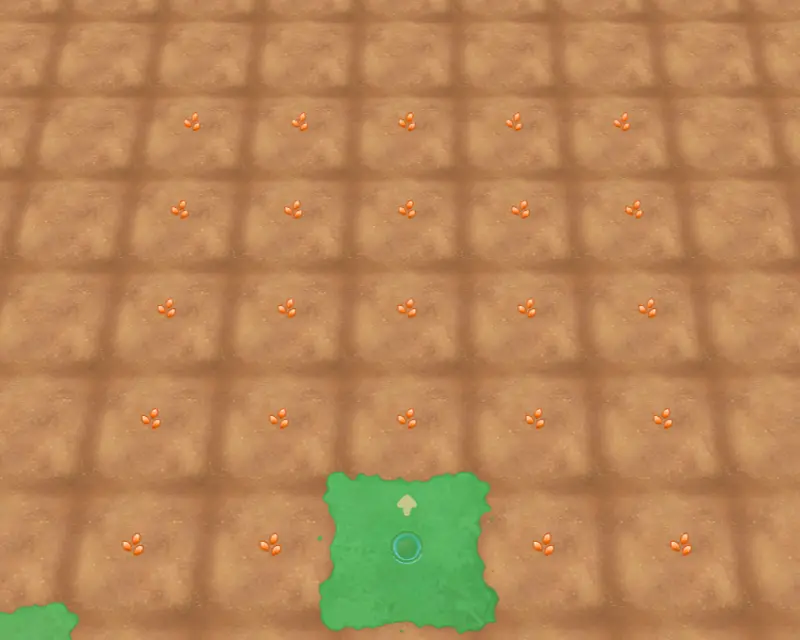
Medium seed pots have a 7 x 7 range extending 6 tiles ahead and 3 tiles to each side. They hold 2 stacks of 40 seeds (80 total) and cost 100 shells.
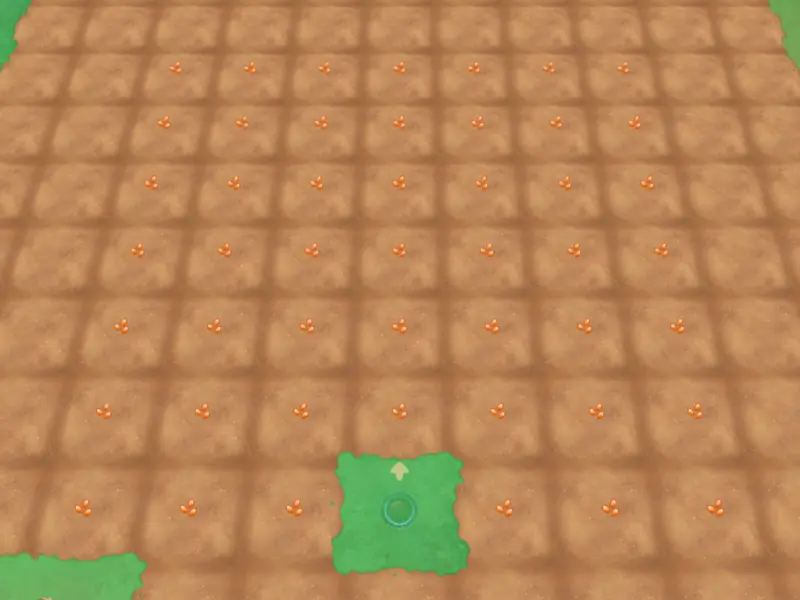
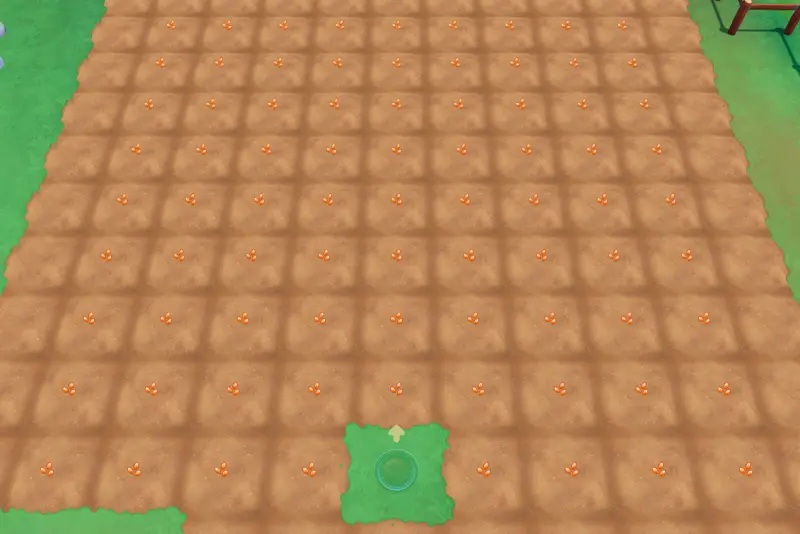
Large seed pots have a 9 x 9 range extending 8 tiles ahead and 4 tiles to each side. They hold 4 stacks of 40 seeds (160 total) and cost 150 shells.
Produce Baskets
Produce baskets are the next work hub you’ll get. They allow dinos to harvest fully-grown crops. You can collect the harvested crops by simply walking up to the basket. The crops will be pulled toward you and into your inventory the same way loose items on the ground would.
Dinos harvest one tile at a time, regardless of how many crops that tile produces. They use 10 stamina to place one tile’s harvest into the basket. If the produce basket fills up, any already-harvested crops will be dropped as a bag that you can pick up later. Dinos will not continue harvesting until you make space in the basket.
Note that dinos can only harvest ground crops, so if you have berry bushes and/or fruit trees, these will still need to be harvested manually.
- Small produce baskets have the same range as small seed pots. They hold a single stack of 40 crops and cost 100 shells at Marlo’s shop.
- Medium produce baskets have the same range as medium seed pots. They hold 2 stacks of 40, but interestingly, the stacks cannot be of the same crop. They cost 200 shells.
- Large produce baskets have the same range as large seed pots. They hold 4 stacks of 40 and cost 300 shells.
Water Bowls
Lastly, water bowls allow your dinos to water your crops for you. You do not need to refill water bowls, they are an infinite water source. Dinos assigned to a water bowl will water one tile at a time. Each tile uses 10 stamina.
- Small water bowls have the same range as both other small works hubs. They cost 100 shells at Marlo’s shop.
- Medium water bowls have the same range as both other medium work hubs. They cost 200 shells.
- Large water bowls have the same range as both other large work hubs. They cost 300 shells.
Recommended Layouts
Now that we’ve covered how all these work hubs function, here’s a few layout suggestions based on my own experience.
Manual Watering
Before you unlock the water bowls, chances are you’re watering crops using a dinosaur with the “waterer” skill. Since these dinos can water up to 25 crops at a time, my preferred layout is 5 x 5 plots with one seed pot and one produce basket assigned to each. Put the seed pot on one side and the produce basket on the other, like so:
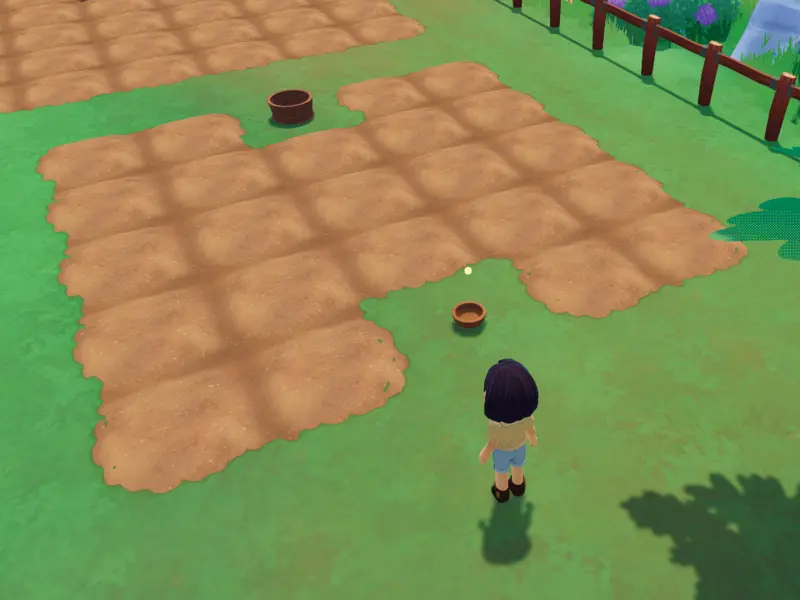
This will allow your waterer dinosaur to water all the crops in one go, and you’ll also maximize the range of both the seed pot and produce basket.
Or, if you don’t mind taking longer to water, you can scale this up to 7 x 7 with a medium seed pot and basket, or even 9 x 9 with large hubs. However, keep in mind that a seed pot only holds one type of seed at a time, so several smaller plots will allow for more crop variety.
Automated Watering
Water bowls can easily be added to the above layouts:
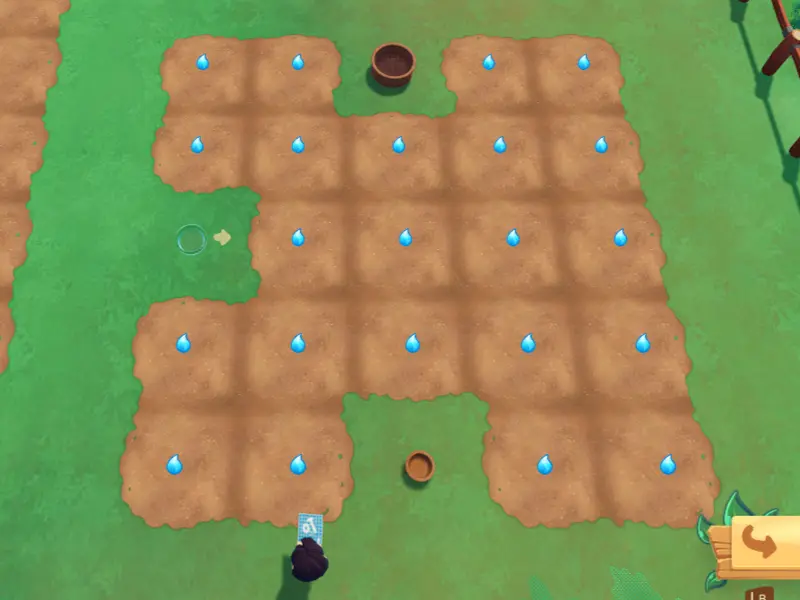
Option 1: Remove one tile of farmland and use whatever size water bowl matches the seed pot/produce basket being used.
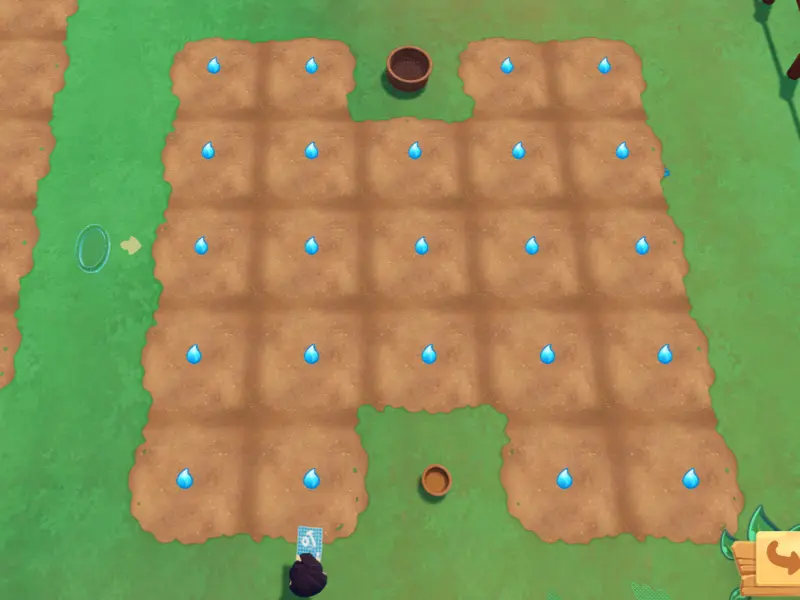
Option 2: Go up one size relative to the other hubs (for example, using a medium water bowl with a 5 x 5 plot and a small seed pot and basket) and placing the bowl outside the tilled land.
Option 1 is cheaper and more space-efficient when working in small areas. Option 2 is more expensive, but will save you an extra tile of farmland, which leads to greater profits. It’s really up to you.