In Orebond, start quickly by gathering core resources and setting up basic automation to boost efficiency early on.
Orebound: Beginner Guide
You awaken in your quarters within the Dwarven barracks. A screen nearby displays your game stats, which should be empty for now. As you explore maps, it will track your gold earned, deaths, kills, and boars cooked. Take a moment to look around at what you’ll soon leave behind. When you’re ready, head out through the door to the Great Hall.
As you step into the Great Hall, you’re greeted by the remarkable engineering and architecture of the dwarves. Take your time to explore-the hall is buzzing with a celebration in your honor, so why not join in for a while? When you’re ready to begin, head toward the blue light you likely noticed on your way in.
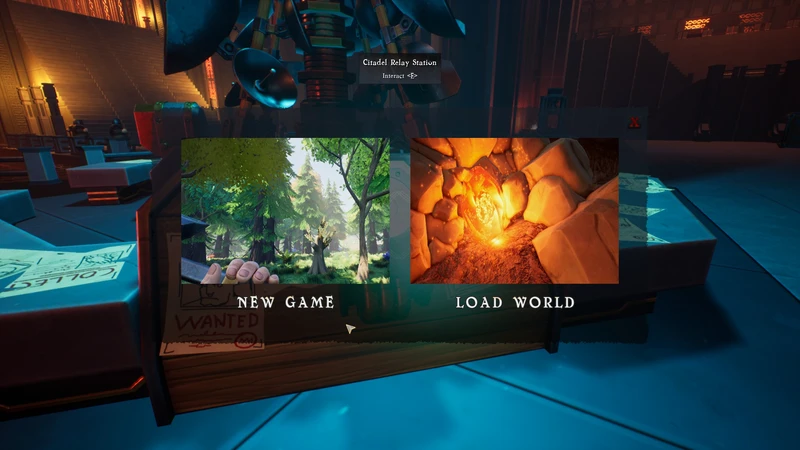
Here, you can choose to load a saved game or start a new map. For this guide, we’ll assume you’re starting fresh, so click on the left option to create a new map, and let’s dive in.
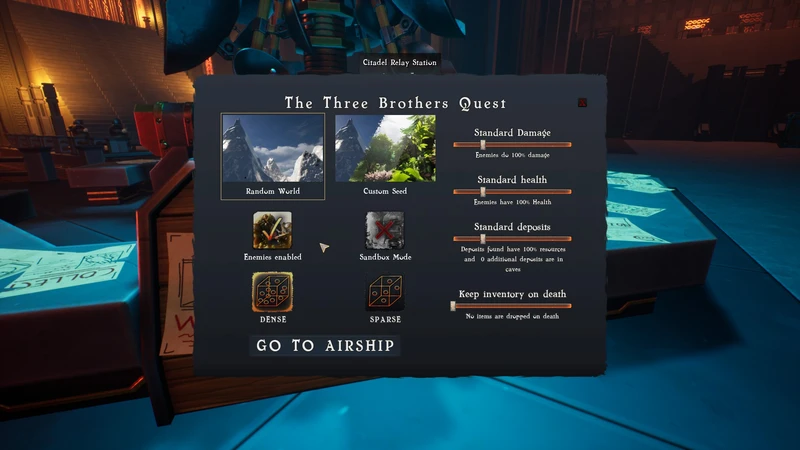
The fastest way to begin is to click Random World, which uses basic, user-friendly settings. If you have a specific seed in mind, select Custom Seed to enter it. You can also disable enemies for a peaceful, factory-building experience; however, keeping them on can yield valuable loot to speed up progression. It’s your game-choose the style that suits you best!
Sandbox mode is creative. I would not recommend it for beginners. Wait till you have some experience in the game first.
Dense and sparse are referring to the cave systems in the game. Dense means there are a lot of caves and caverns, and the game says it is for ‘beefier’ machines. I have a 10 year old computer and it works fine on dense. Sparse means there are fewer caves and caverns. Pick whichever experience you prefer.
The sliders on the right allow you to customize the game to your liking. Of particular note for newer players, you might want to look at the 3rd and 4th options. Deposits will set how rich the nodes you find on the map are, and how many. As a seasoned factory game player I started on standard settings and they were fine. If you want to spend less time searching for more resources to exploit, turn it up. If you want more belts and minecarts and to explore to keep your factory going, turn it down. The 4th option is what happens when you die. For me it is not fun to have to corpse run every time I die. I just dont like it. So I set that slider all the way to the left. My death count in game is pretty high (I use it as a quick teleport home sometimes).
When you have decided on your settings, click ‘Go to Airship’ and then do just that. Hop on that airship and enjoy the ride.
Airship Ride
Enjoy the airship ride, and take the opportunity to look over the edge as you fly in to get an idea of what your map looks like from up high. Take note of anything interesting you might want to explore, like maybe one of those giant towers?
Once the airship reaches near the center of the map, it will lower and instruct you to disembark. So go ahead, jump off and lets get started.
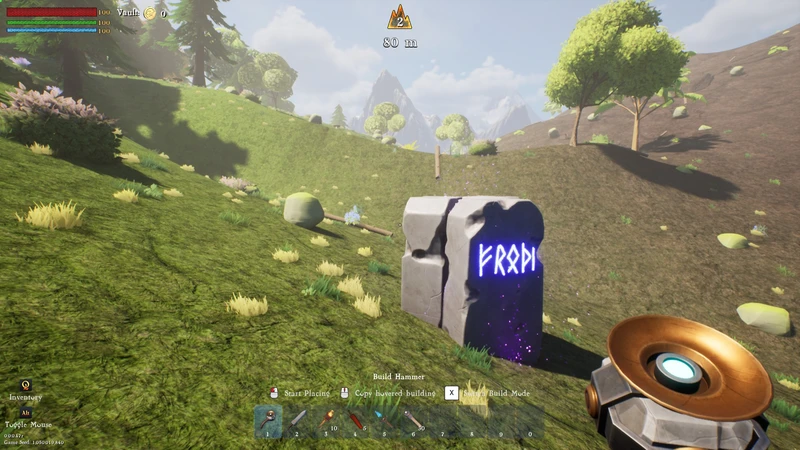
The first thing you should look for is this thing. It gives you the story of the game, and sets up why you are here. Give it a read, then lets get started.
Getting started
Alright, so we’ve spawned in… what now? Start by checking your inventory. Press Q to open it, and you’ll see your hotbar stocked with essentials (left to right): build hammer, sword, torches, flares, a beacon/compass, and tethers. Take a moment to look over your inventory items too—the health potion will be useful early on, and you’ll be able to restock it later.
To rearrange your hotbar, you have options: right-click an item on the hotbar to return it to your inventory, left-click and drag from inventory to hotbar, or hover over an item in your inventory and press Shift + [number] to assign it to a specific slot.
I usually set my hotbar (left to right) with pickaxe, healing potions, weapon, axe for wood, shovel, torches, tethers, beacon, navigator (more on this later), and building hammer—just what feels most comfortable for me. Set yours up in whatever way works best for you.
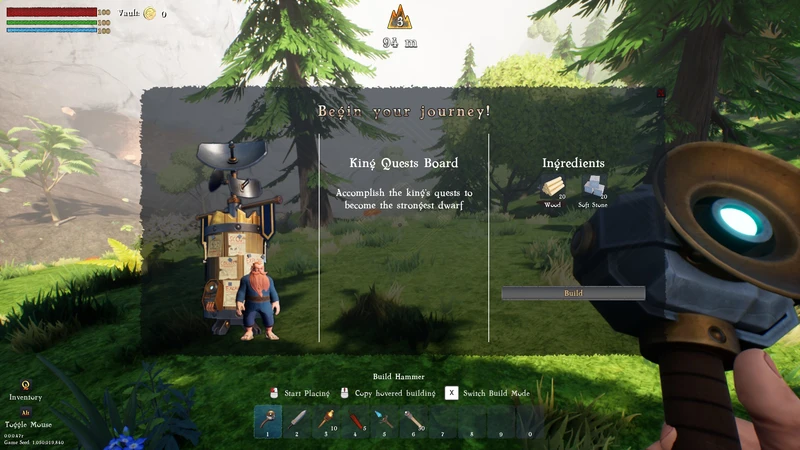
To bring it up, have the building hammer selected, and left click. This is how you would normally open the build menu up, but since we do not have the bounty board yet, it will only let you build that. Notice is has a requirement of 20 wood, and 20 soft stone. We don’t have either of those yet, what do we do? Glad you asked. That is why we are here to figure that out.
Start exploring and you will come across the following:
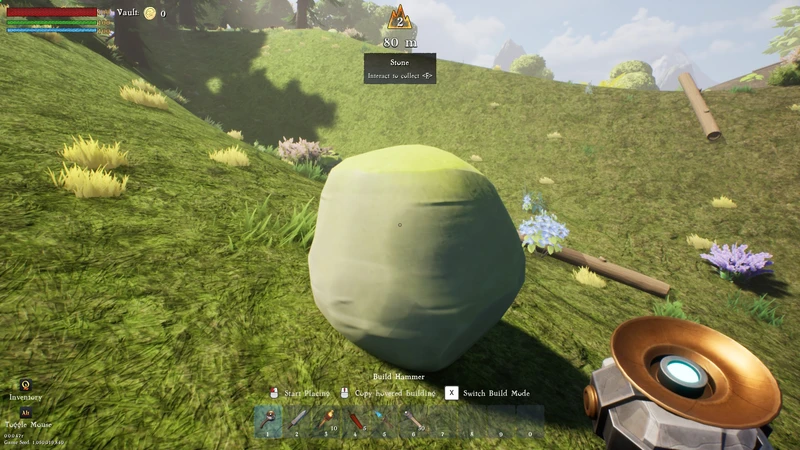
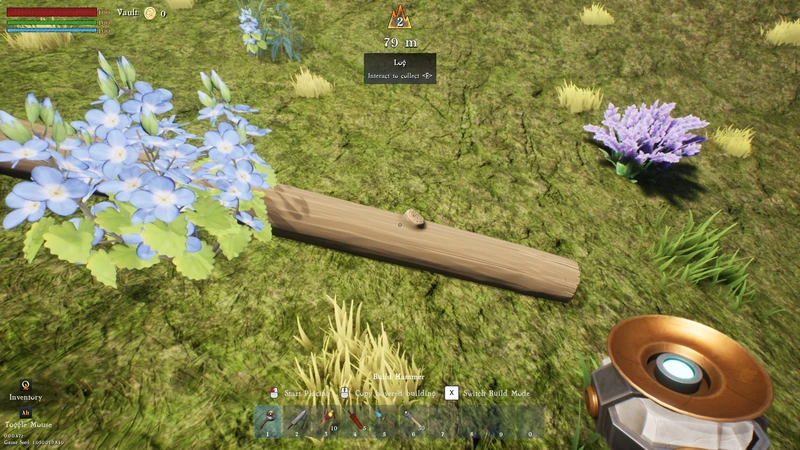
We have no gathering tools, so we cannot pickaxe up any stone, or chop down any trees. So we need to find these two things to get the wood and stone we need to get started. Take your time to explore some, and gather as much of these two things as you can. Look around and see if you can find a spot you would like to build in. Do not worry too much about choosing a spot, you can always tear it all down and move anytime you want. You get 100% of the resources used in construction back when breaking down anything you build.
It only requires 20 of each resource to build the bounty board, but go ahead and gather more. I usually pick up a couple hundred of each. You get 5 from each stone or log you pick up. When you are ready, go on to the next section.
Kings Quest Board
One you have found your spot and have at least the 20 stone and wood, select the building hammer on your hotbar, and left click then click build. A copy of the structure will appear in front of you. Click whenever you find a suitable spot (hint the outline should be blue).
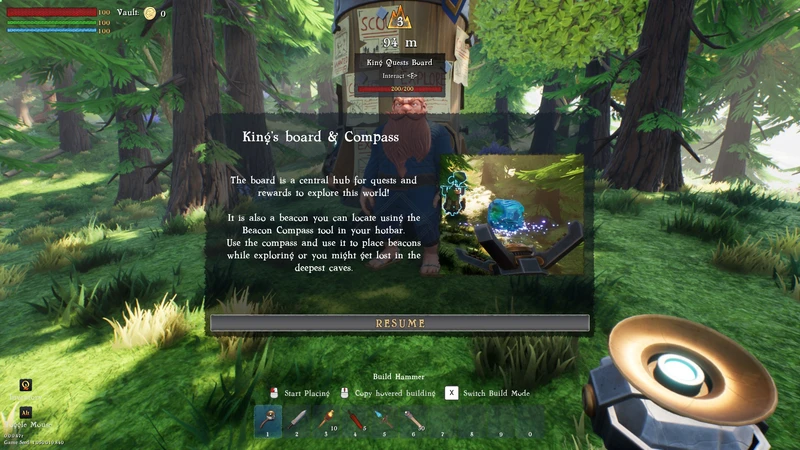
Once you build it, you will get a little text box describing what it is for. Go ahead and read it, then click resume when ready. If you do not see your mouse, you can press the ALT key to unlock your mouse and move it freely. You can do this pretty much at any time you need to use your mouse arrow in game.
Talk to the dwarf in front of you, to see the first list of quests he has for you.
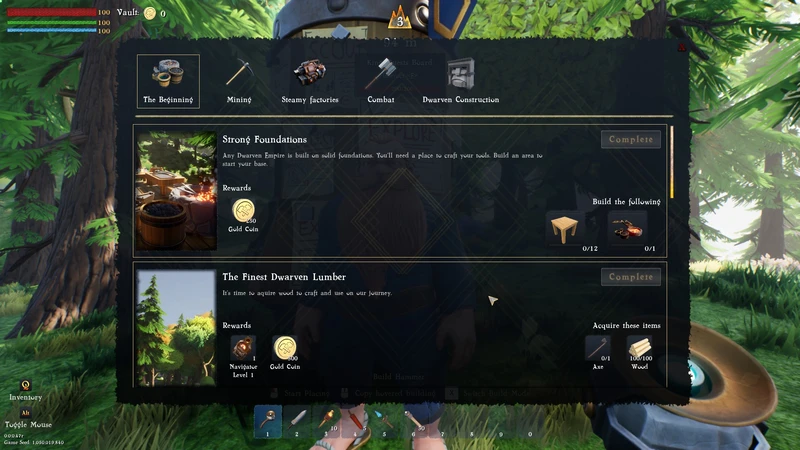
Take a moment to review what’s on your screen. Across the top are several tabs, but for now, focus on The Beginning, a set of quests that will guide you through the basics and lead up to your first machine.
Let’s dive into Strong Foundations. In this quest card, you’ll see a description of the quest’s purpose, the rewards, and the items you need to build or gather. Hover over any item to see its details. For this quest, we need to construct 12 wooden foundations and an upgrade bench.
With your build hammer equipped, left-click to open the item selection menu. Head to the 4th tab, Fortress, which contains all the building components. Select Wooden Foundation to start building.
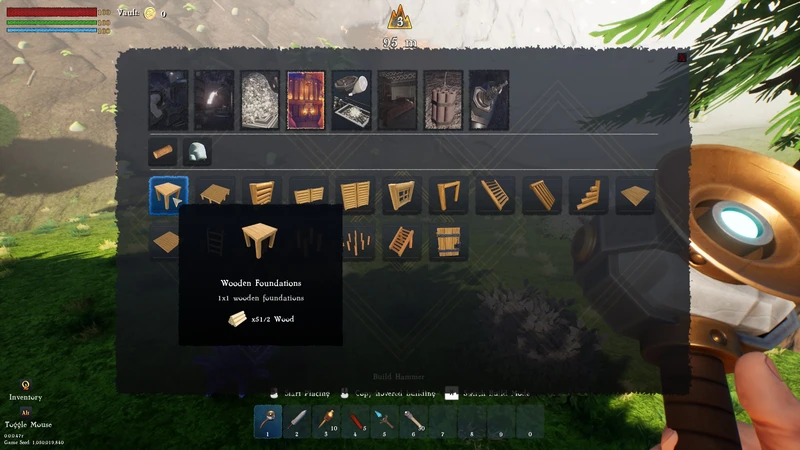
The next item it wants you to build, is the upgrade bench. I would suggest putting those 12 wooden foundations in a 3×4 pattern, because that is just about the right size for the bench. So, build out your foundations by left clicking to place them, then right click to clear the hammer, left click it again to open the build menu, and look on the first tab for the upgrade bench. Once you find it select it, then place it on the platform you made. You can use your mouse wheel to rotate the building, and move yourself and the mouse around to find a good spot for it.
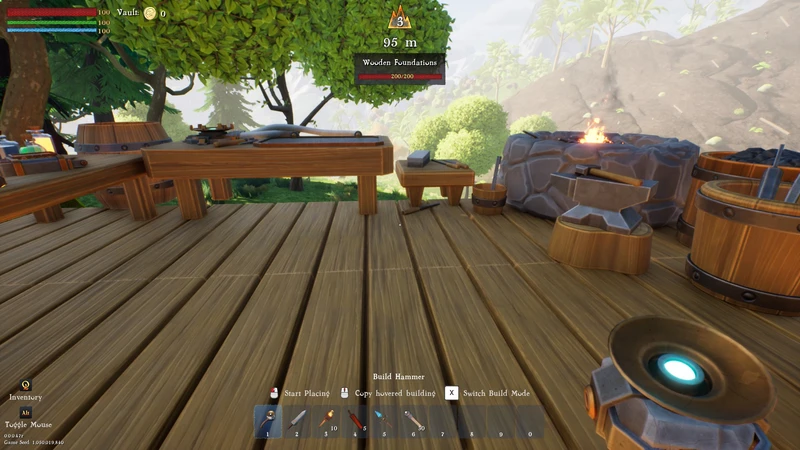
Once you place it, you can go back to the quest board, and click complete to get your gold reward and look at the next quest.
The next quest is ‘The Finest Dwarven Lumber’ and it wants you to gather an Axe, and 100 wood. If you gathered a couple hundred like I do, you would already have that, you just need the axe now. Head over to the upgrade bench we made, and hit e to open its interface.
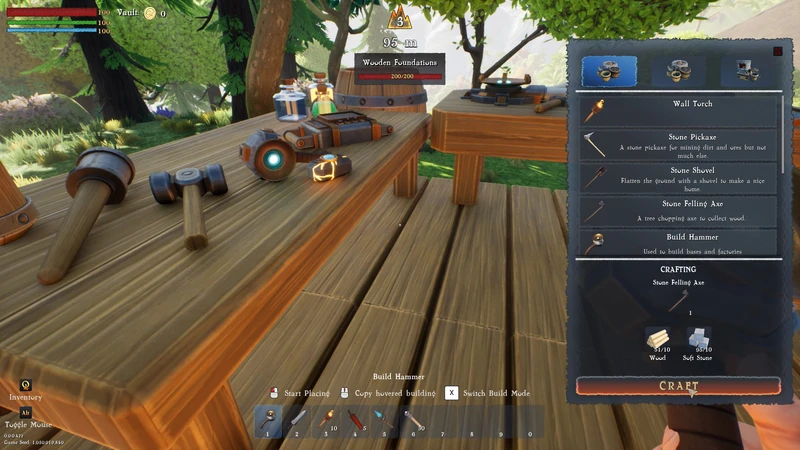
You should see something like that, with your inventory open on the right. For now, click on the axe to see what it requires to make. 10 wood and 10 stone. You should have this already if you gathered like I suggested, if not go out and gather some more till you can make it. Place it on your hotbar. If you already have enough wood, go turn the quest in. Otherwise go chop some trees or gather logs to get enough, then turn the quest in.
The next quest is ‘Dig for the King!’. It requires that we make a pickaxe, and gather some coal ore. go to the upgrade bench, and make yourself a pickaxe. Now lets use that navigator we were given for the previous quest and get some ore.
Ores and how to get
Ore comes it 2 main varieties in Orebound. Nodes, and what I call chunks.
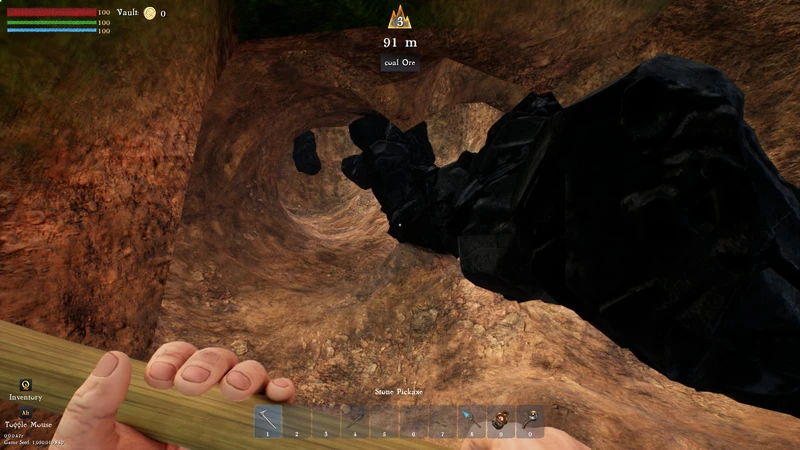
Coal
Iron
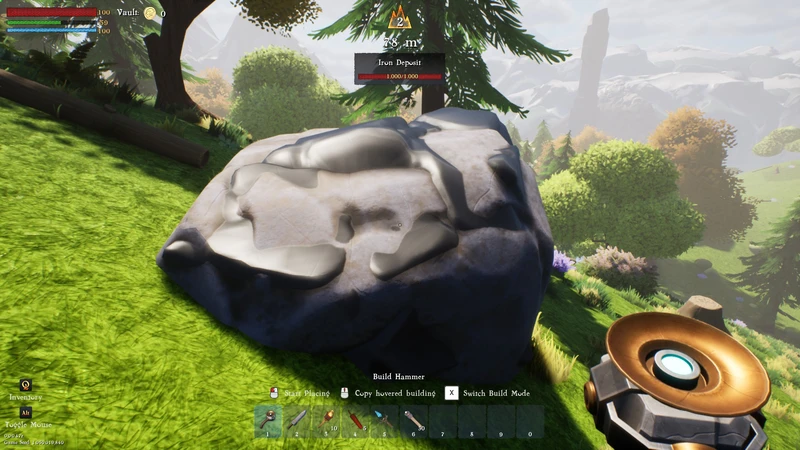
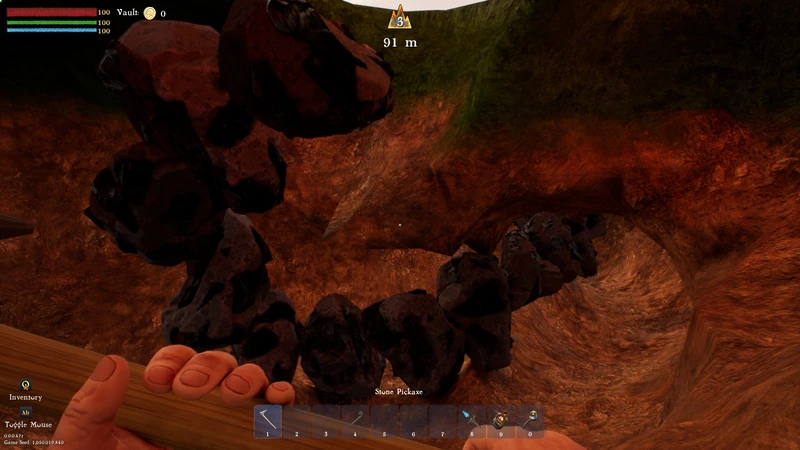
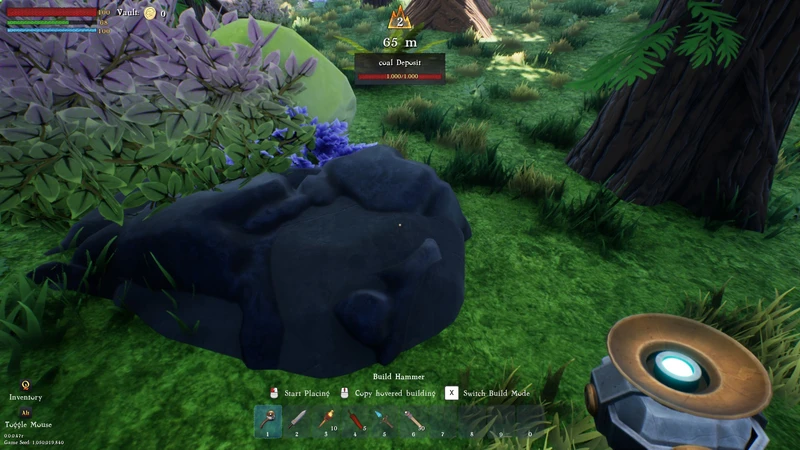
Nodes, represented on the left, are large deposits with health bars, while chunks are smaller, health bar-free nodes. For efficient gathering: your pickaxe can harvest both nodes and chunks, but chunks are quicker to collect, taking only 1-2 hits and yielding a full return. Nodes, on the other hand, function differently. Each pickaxe hit removes 50 HP from a node but grants just 2 ore, resulting in only about 4% of the node’s total potential. When you start using drills, they extract 1 ore for every 1 HP, maximizing efficiency. This information is yours to use however you see fit.
If you’re like me and want to get full value, here’s how to locate chunks with the navigator. Place it on your hotbar, then right-click to open its interface.
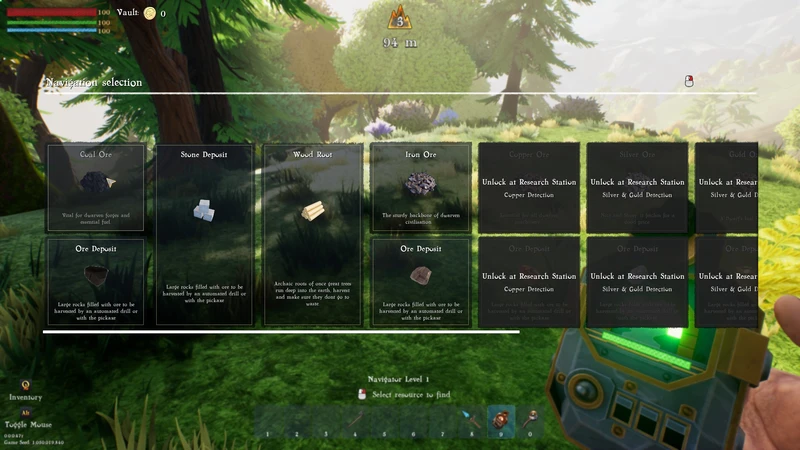
You will notice several options, some are greyed out. To be able to track other ore types, you have to research them later in the research bench. We will get back to that. For now, we are looking for some coal chunks to mine to finish our next quest. Click on coal ore, and the menu closes.
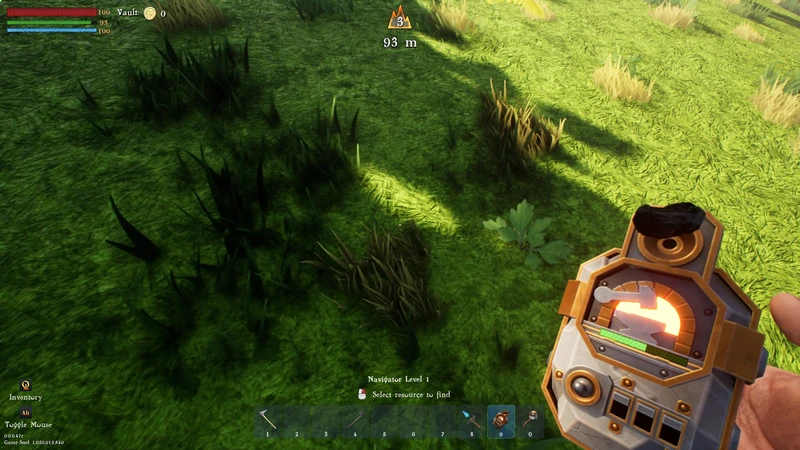
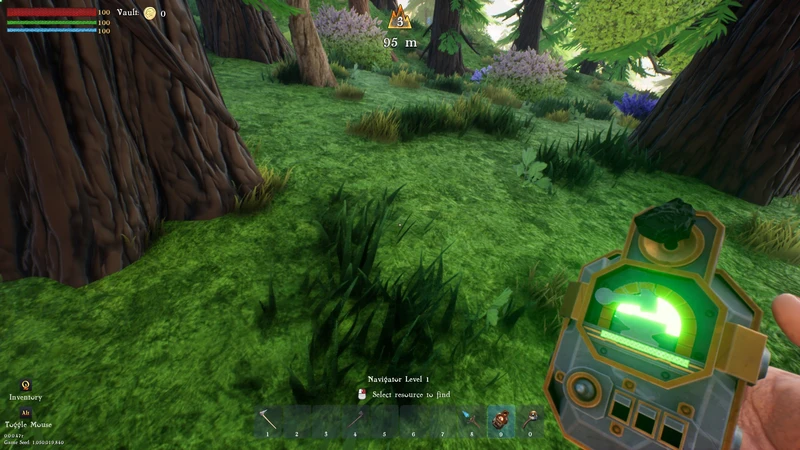
This tier of navigator is simplistic, and easy to use. It has a green bar under the hammer, which will fill up the closer you get to an ore chunk of the type you selected. The hammer will also hit the anvil faster, giving you an idea of how close you are. So get to moving. You are looking to get the bar as full as you possibly can, and for the hammer sounds to be as fast as possible.
On the left, you’ll see I found a coal ore chunk. Ore chunks often appear in veins, so dig around nearby, and you’re likely to uncover more. Collect as much as you need, then return to complete the quest.
The next quest, A True Miner, will have you gathering iron ore using the same technique you used for coal. Once you’ve gathered enough, turn in the quest to proceed.
Dwarven Industry
Finally, we are ready for some industry! The proudest day of any Dwarven guildmaster is when his young charge starts their path to industry and the command of machines.
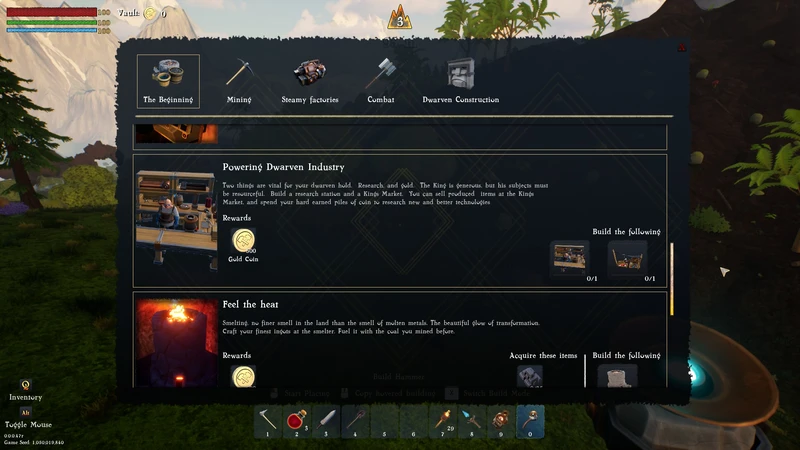
If you mouse over the two items this quest wants you to build, it will tell you what they are, and what they take to make. Once you see what you need, open your build menu again and go to the crafting tab.
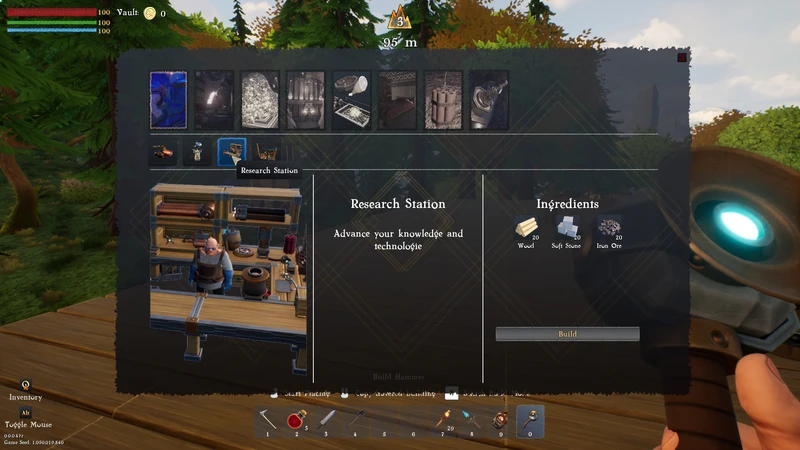
Here you see the research station. The quest also wants you to make the kings market. Use what you have learned so far and build both of those stations. You might consider some more wooden foundations at this point, but that is entirely up to you. Once built, go ahead and turn in the quest and see what is next.
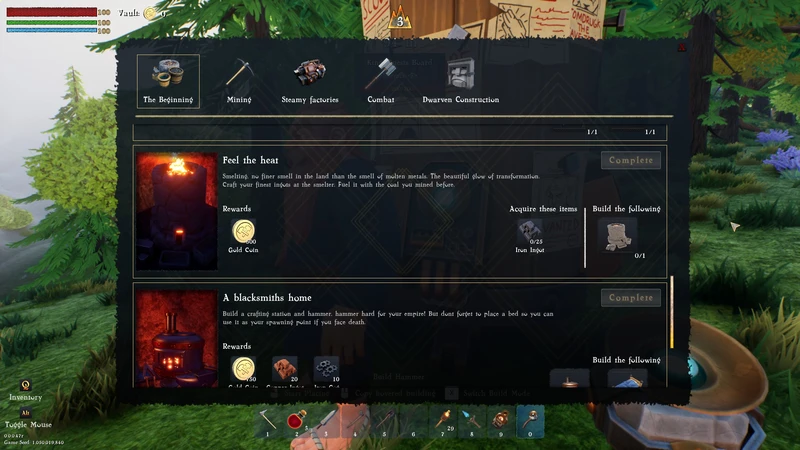
This quest requires that we build something we do not know how to make yet, and gather something we have no way of making. Time to talk to the research dwarf.
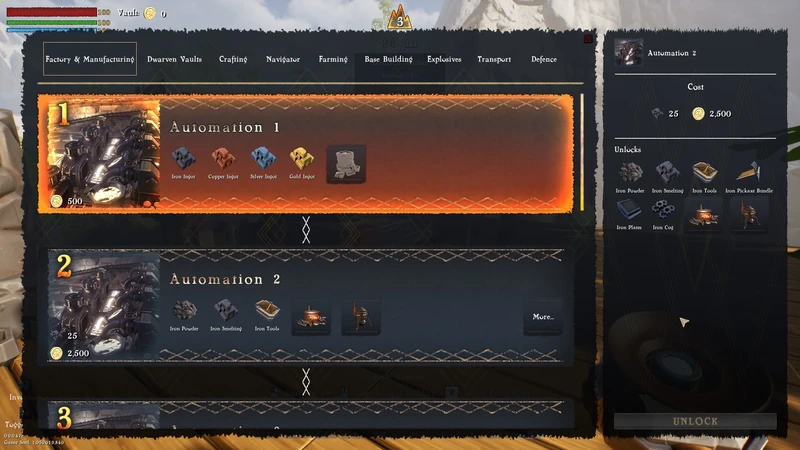
When you talk to him, it opens up what you see here. Go ahead and look through for a moment, and return to Factory and Manufacturing when you are ready to continue. The item it wants us to build is the smeltery. You unlock that with Automation 1. Since we have been doing the quests up to this point, we should have the gold needed to unlock it no problem. Do so now.
One you unlock it, go ahead and build one. Once it is built, open it up and lets smelt some iron!
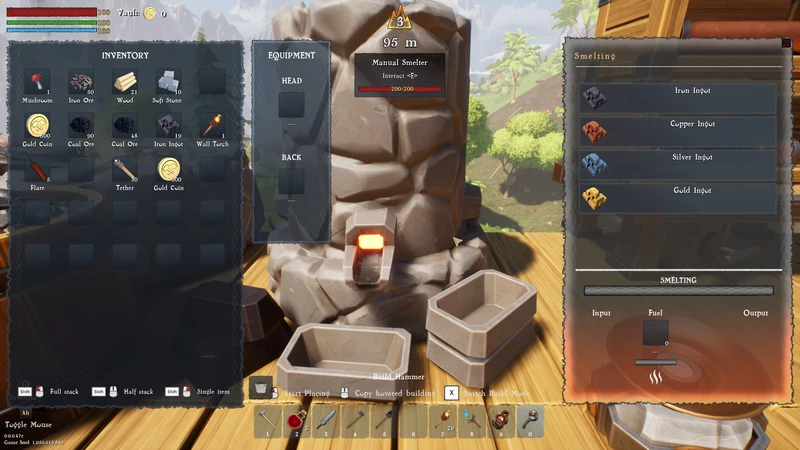
When you first open the smeltery, it’s empty and won’t accept any input. Start by selecting iron from the list. Now you’ll see input and fuel slots at the bottom. Shift + left-click on any iron ore in your inventory to move it into the input slot, then shift + left-click to add some coal. The smeltery will begin producing iron ingots. From here, it’s up to you—mine, gather resources, build your base, or simply wait as the ingots smelt. If you want to speed things up, consider building additional smelteries. Once you have enough ingots, complete the quest and check out the next one.
Alright. The next quest wants us to build a bed and a blacksmith. To build a bed, you need to go into the build menu and look at interior. It requires leather. You have 2 choices to acquire leather. Either buy some from the kings market, or go kill some boar. Lets talk combat.
Manufactured Goods and First Machine
Alright. The next quest wants us to build a bed and a blacksmith. To build a bed, you need to go into the build menu and look at interior. It requires leather. You have 2 choices to acquire leather. Either buy some from the kings market, or go kill some boar. Lets talk combat.
Combat is super simple in Orebound.
- Left click to attack
- Right click to defend.
- Once you kill the boar, loot it and gather what you find.
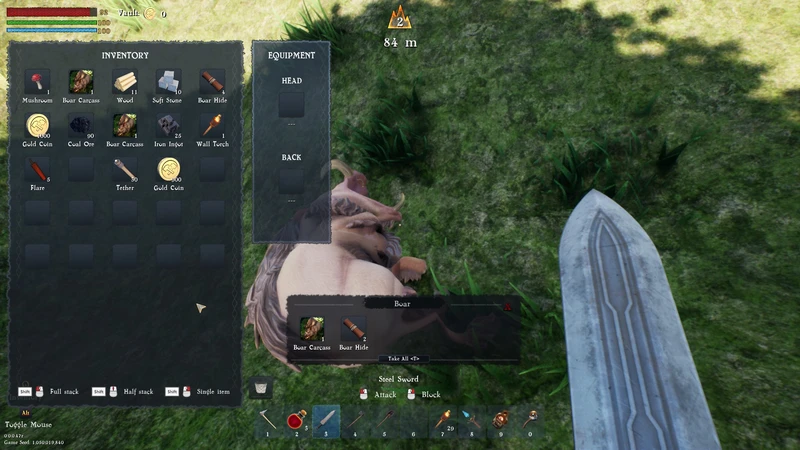
Once you have the required leather to make your bed, go do so.
Finally, we need to make a blacksmith. That requires you to unlock Automation 2, which costs 2.5k gold and 25 iron ingots. You already know how to get more ingots. Gold on the other hand is a bit trickier at this stage. Here is a hint, just about everything you can gather or craft can be sold at the kings market. OR, if you check out the kings bounty board, you might just find a way to make the money you need. Your call Dwarf, come back when you have unlocked Automation 2, and built your first blacksmith.
Once you have done that, check out what the next quest is from the board. YOu need to build a drill, and gather some coal ore. If you need more iron gears, head to your blacksmith. Select the gears from his list like you did the smelter, give him some iron ingots and gold for payment, and he will craft what you need.
Find yourself a coal node using the navigator, build that drill on the node, give it at least 1 bit of coal to get started, and congratulations. You have learned everything you need to finish the beginning quests, and start your factory growing.