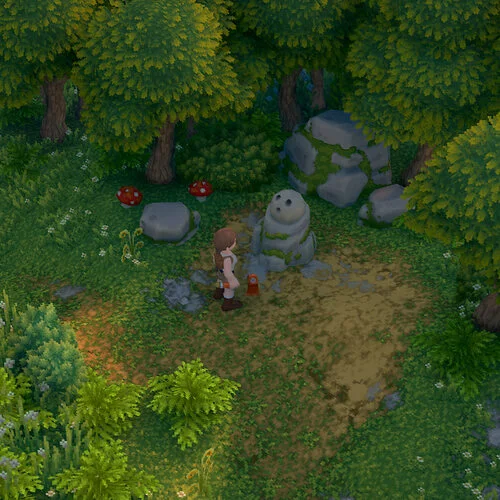
This guide covers all the basic types of puzzles you’ll encounter on Luma Island.
Luma Island: Puzzle Guide
How to solve every puzzle in Luma Island. Credit: Skyphiler
Crystal Pillar
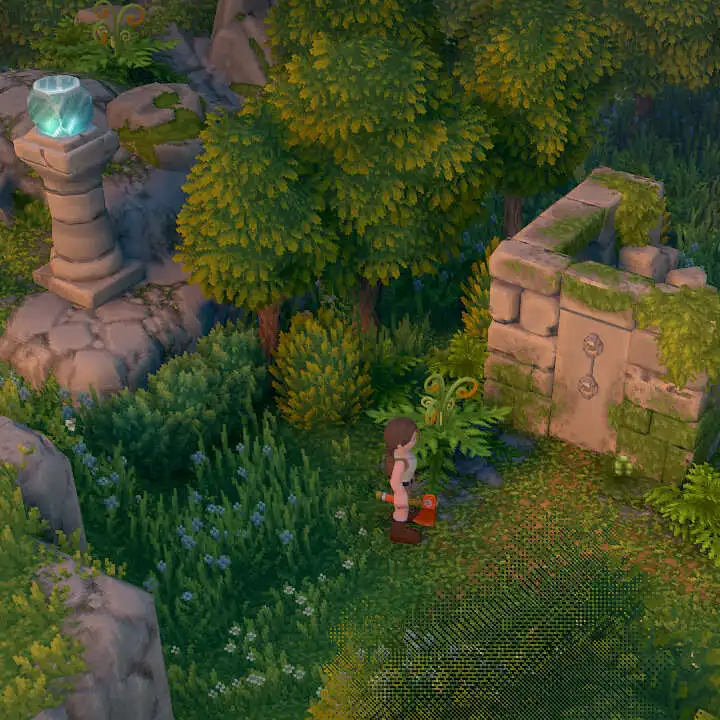
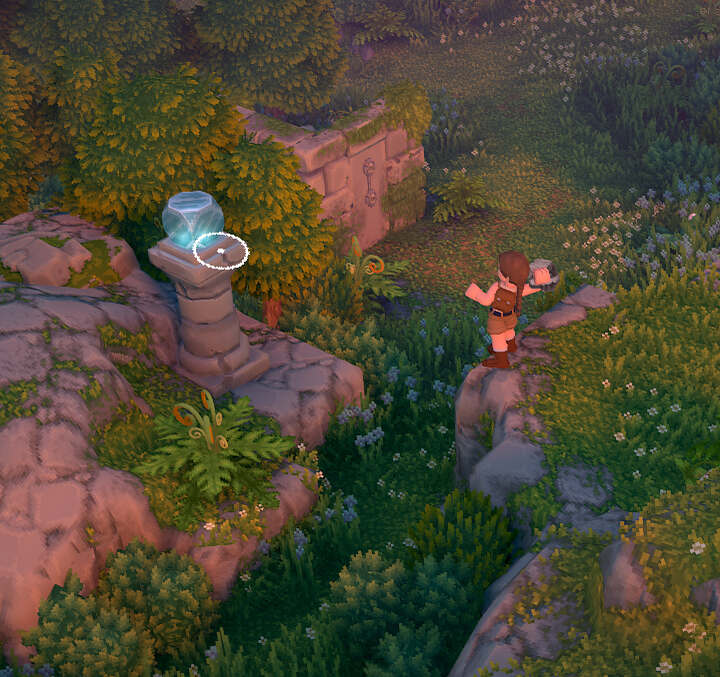
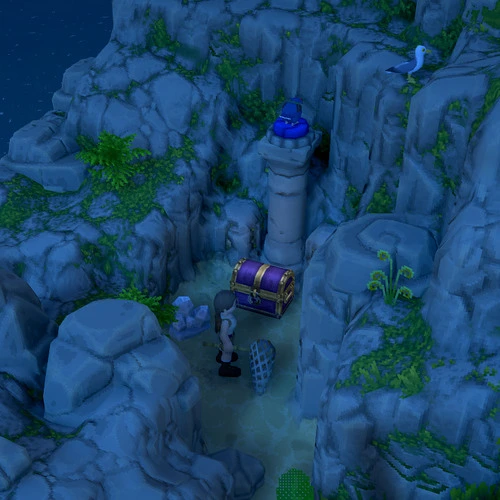
When you come across a small ruin with a chest inside and a door featuring unlit crystals, look around the area for pillars with blue crystal blocks on top. There will be one pillar for each unlit crystal on the door. To solve the puzzle, destroy each blue crystal by throwing any item at it using the R key.
Fairy
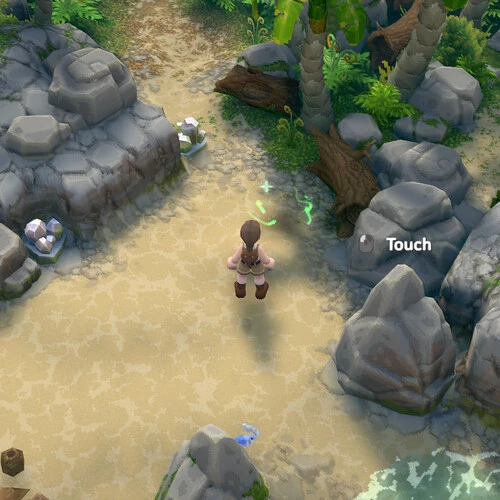
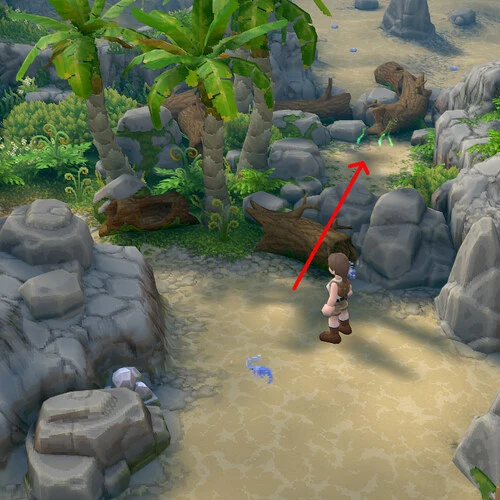
When you find a small cloud of green particles (referred to as “fairies”), you can interact with it. The fairy will teleport to a predetermined nearby location, though there’s no clear feedback indicating where it goes. The number of fairies in the cloud determines how many interactions are needed for a chest to appear.
Firefly
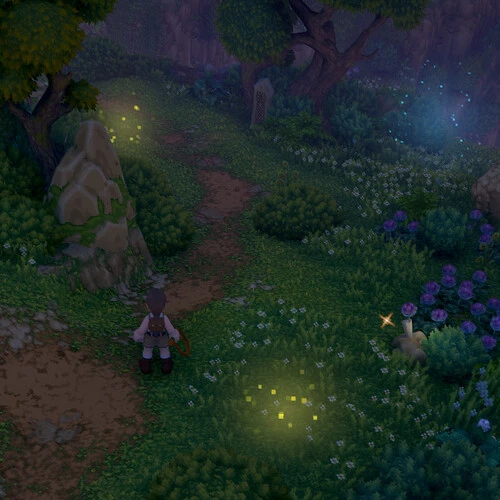
Fireflies are a repeatable puzzle that spawn at night in the Forest biome and beyond. To solve it, walk into the yellow firefly clouds to attach the fireflies to yourself. Then, guide them to the blue firefly cloud. There are typically three yellow firefly clouds. Keep in mind that each firefly cloud has a timer, and the fireflies will return to their original position if you don’t reach the blue cloud in time.
Goose Chase
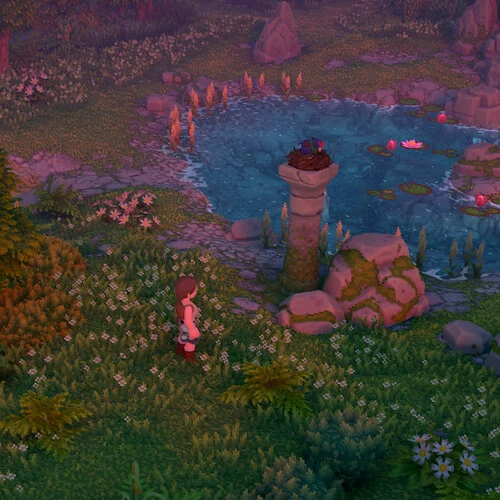
In every biome, you’ll find a bird resting on a pillar. When you approach, the bird wakes up, music plays, and the bird flies to another pillar. Your goal is to follow it from pillar to pillar until it lands on the final pillar, which has a blue switch on top.
TIP: You don’t have to follow the bird directly-just wake it up at each pillar to prompt it to move to the next one.
Lone Flower
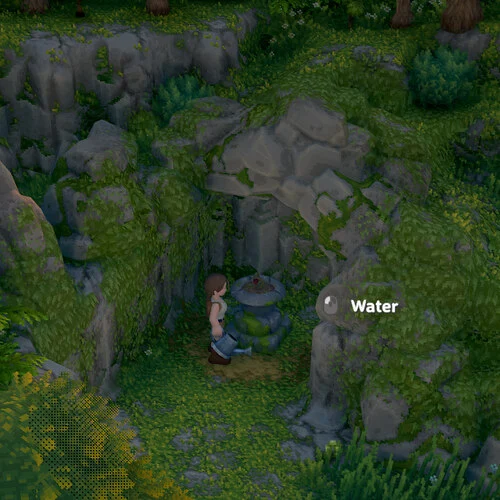
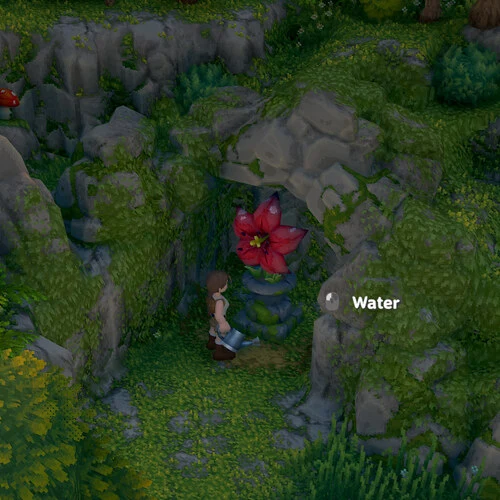
Each biome contains a lone flower in a pot. Use a watering can to water it on three separate days (they don’t need to be consecutive). On the third watering, the flower will bloom into a large plant, and a chest will appear as your reward.
Morphing Resources
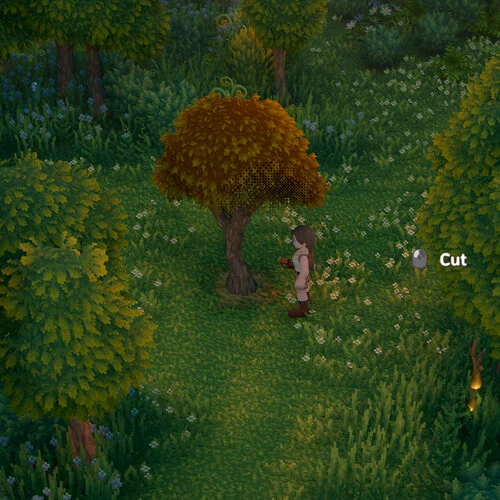
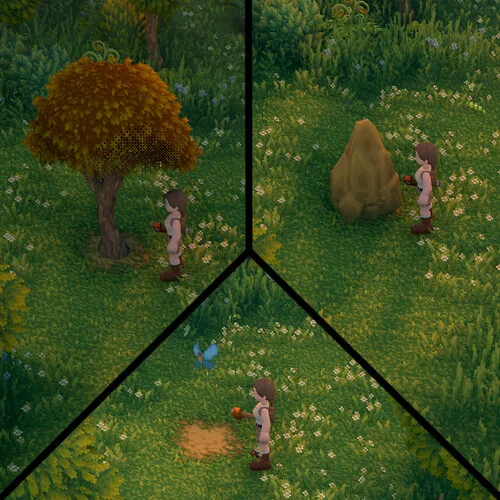
Sometime you will encounter a orange tree or yellow stone, these are morphing resources. if you interact with the right tool it will transform into another resources and you have a couple of second to use the next appropriate tool before it reset. once you interact with all the right tool in a timely manner you will be rewarded a chest.
- Tree need a axe
- Stone need a pickaxe
- Butterfly need a net
- Sunflower need watering can
Simon Says Obelisk
This puzzle is straightforward. Interact with the obelisk in the center, and it will show you a sequence of colors. You must press the corresponding colored pressure plates in the same order to solve it.
TIP: This puzzle is repeatable and resets daily. Each time you complete it, one additional color is added to the sequence, up to a maximum of 10. It’s a great way to earn tool tokens.
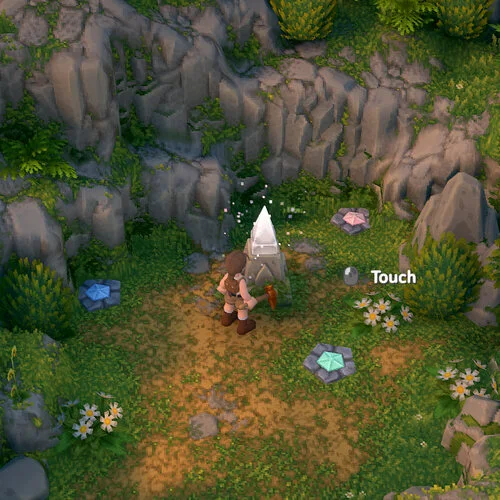
Stone Hidden Plate
In some areas, you’ll find stones partially hiding pressure plates. Break the stones to uncover the plates and press all of them to solve the puzzle. The number of plates increases with each biome: three in the Farm biome, four in the next, and so on up to six.
TIP: To locate hidden plates, walk near rocks and listen for the crystal-like sound they emit when you’re close.
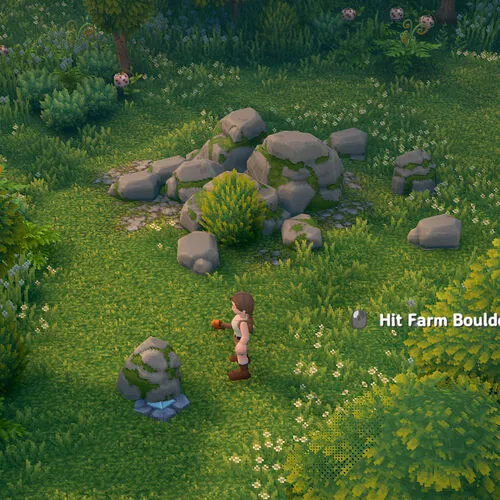
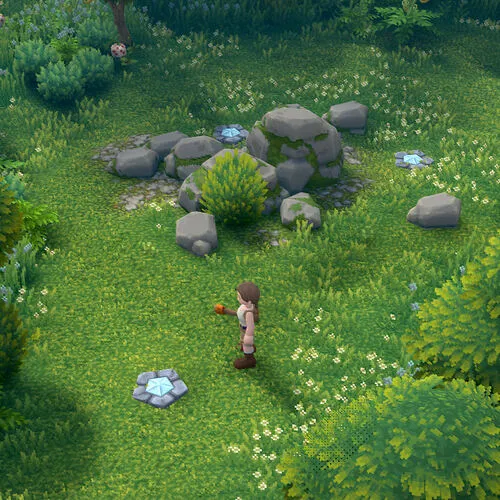
Tree Hidden Plate
Similar to the stone pressure plate puzzle, some trees hide pressure plates. These are easiest to spot at night due to the glow emitted by the plates. Clear the trees and press all the plates to make the chest appear. Like the stone plates, the number of plates increases per biome, starting with three in the Farm biome and going up to six.
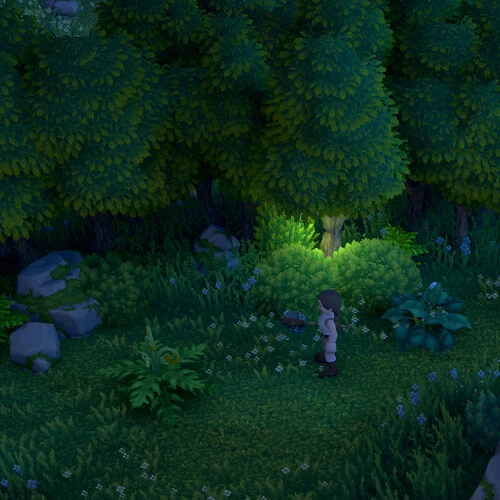
Talking Statue
Finally, this isn’t exactly a puzzle, but you’ll come across a statue with a face that you can interact with. The statue will share a short piece of lore with you and then ask three questions to test if you were paying attention or just skipping through. If you answer all three correctly, you’ll be rewarded with a chest. Don’t worry if you make a mistake; you can always talk to the statue again and retry until you get it right.
