A complete walkthrough guide for all mandatory puzzles in Great God Grove.
Great God Grove: Walkthrough Guide for All Puzzles
Prologue: The Hauzer
Fairly straightforward. After watching the opening dialogue and obtaining the Megapon, just suck up each of the four anchors on the Hauzer.
Chapter 1: The Grove Cove Walkthrough
Bug Wurth and Lumber Jacqueline
Upon reaching the Grove Cove, you’ll meet Bug Wurth, who is stuck under a pile of letters. Use the Megapon to suck the pile up.
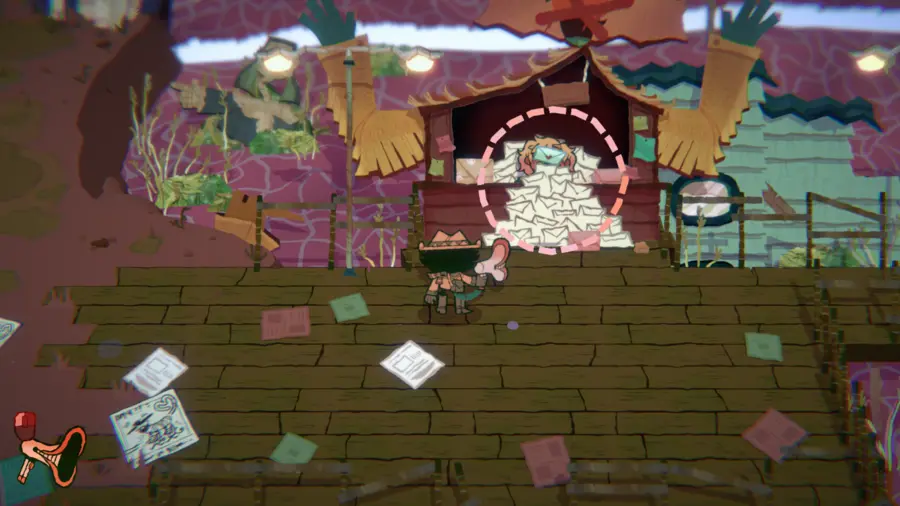
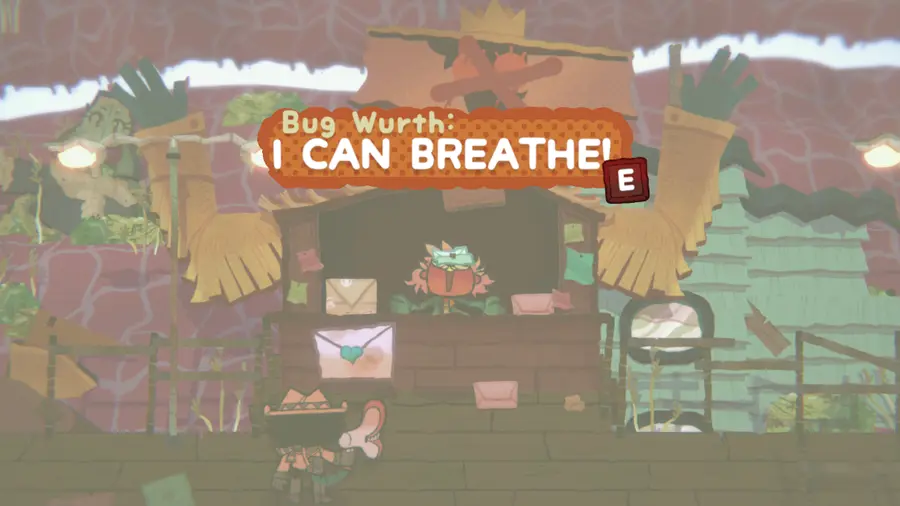
After helping him out, you’ll receive a love letter he wrote, addressed to Lumber Jacqueline. She can be found towards the bottom left. Deliver the letter to her.
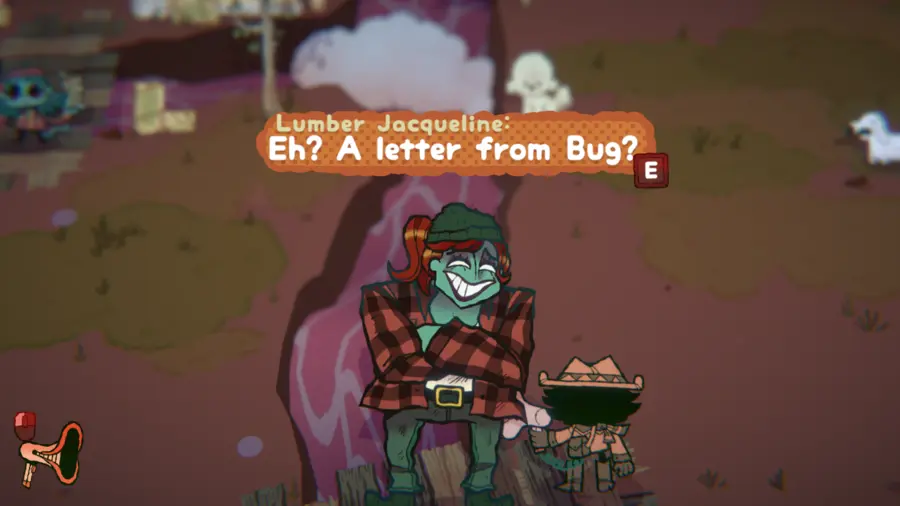
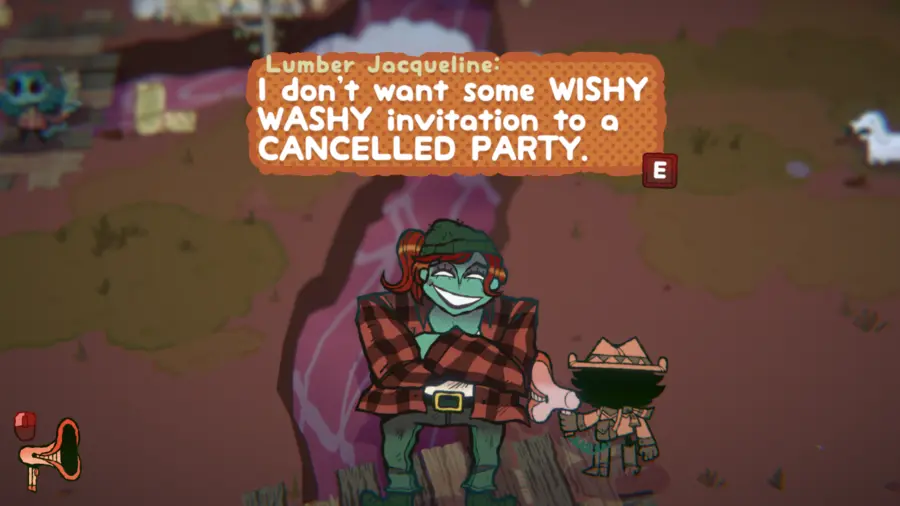
Lumber Jacqueline won’t be impressed by the letter. She wants Bug Wurth to confess his feelings himself. Return to him and tell him the bad news.
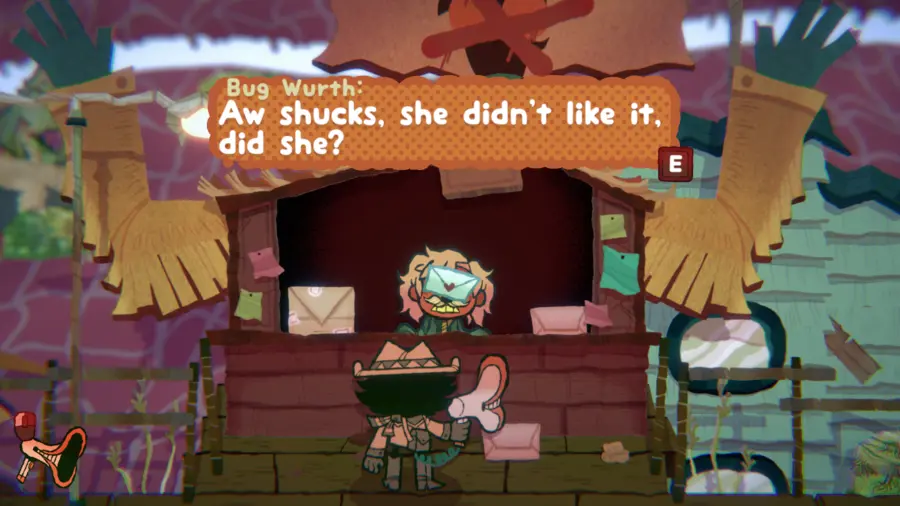
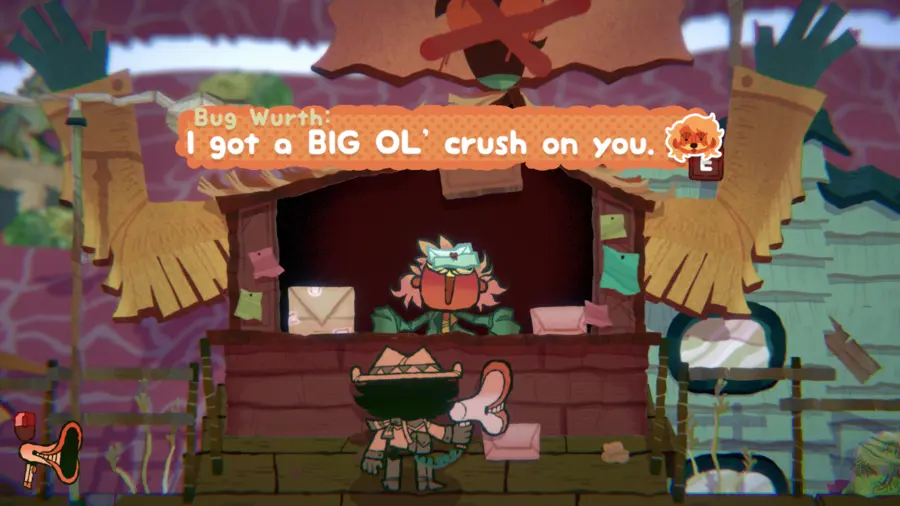
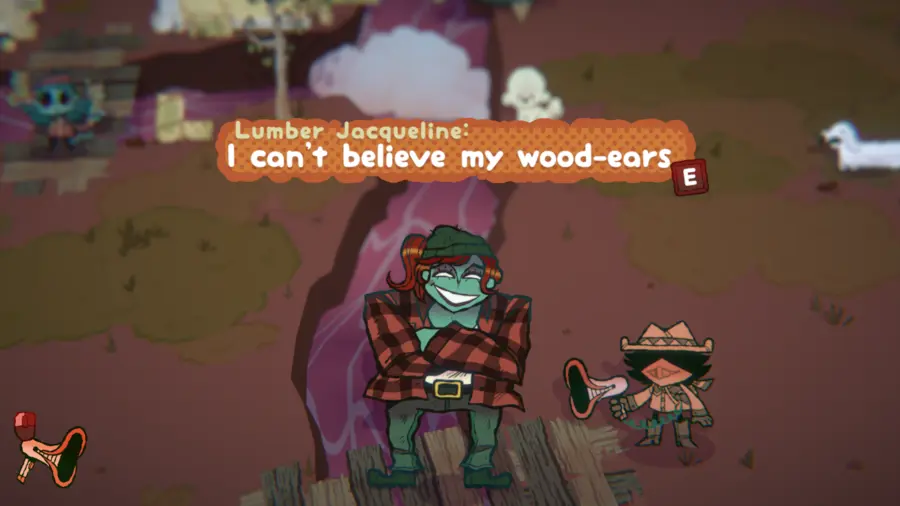
While he’s in the middle of his whining, suck up “I got a BIG OL’ crush on you.” Return to Lumber Jacqueline and give her the dialogue you just collected. From there, the bridge will open up.
The BizzyBoys (AND INSPEKTA!)
After some dialogue with all the BizzyBoys, talk to Vib. Suck up “IT’S MEGAPON!”
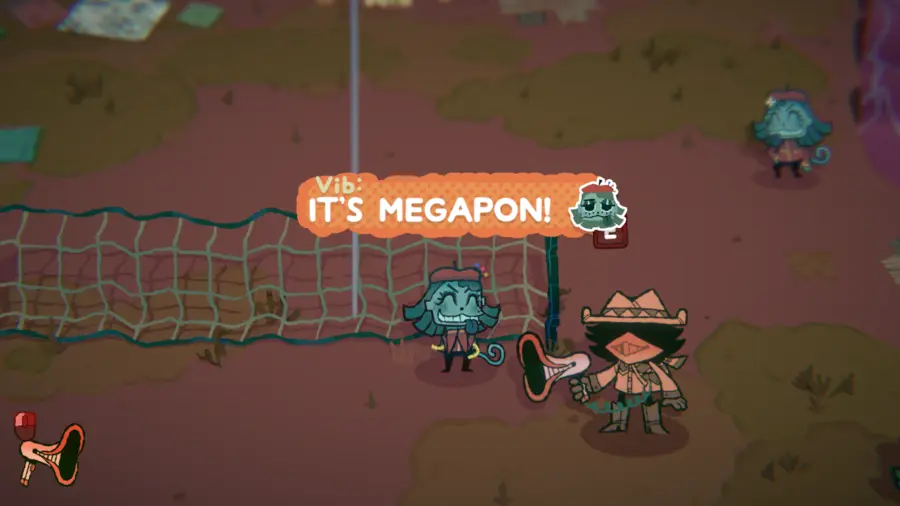
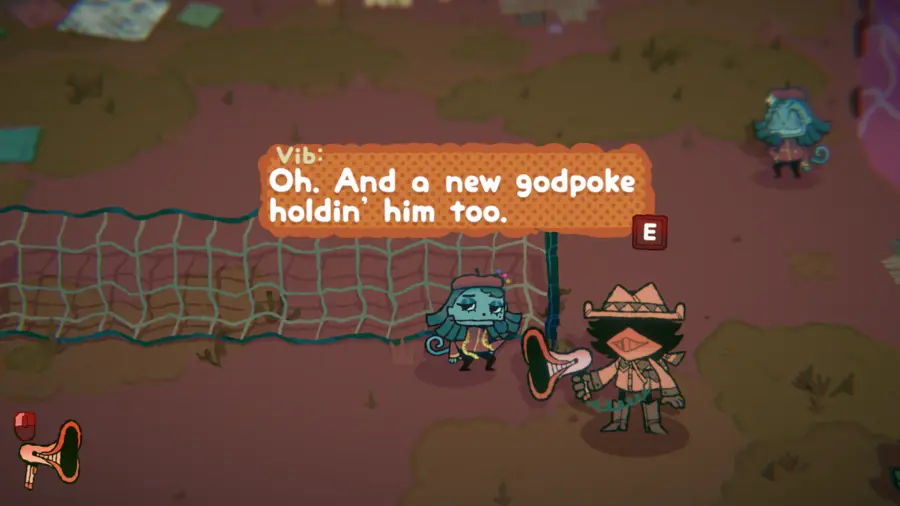
Head over to Capochin. He won’t let you talk to Inspekta unless you identify your currently-unidentified weapon. Give him the dialogue you just collected.
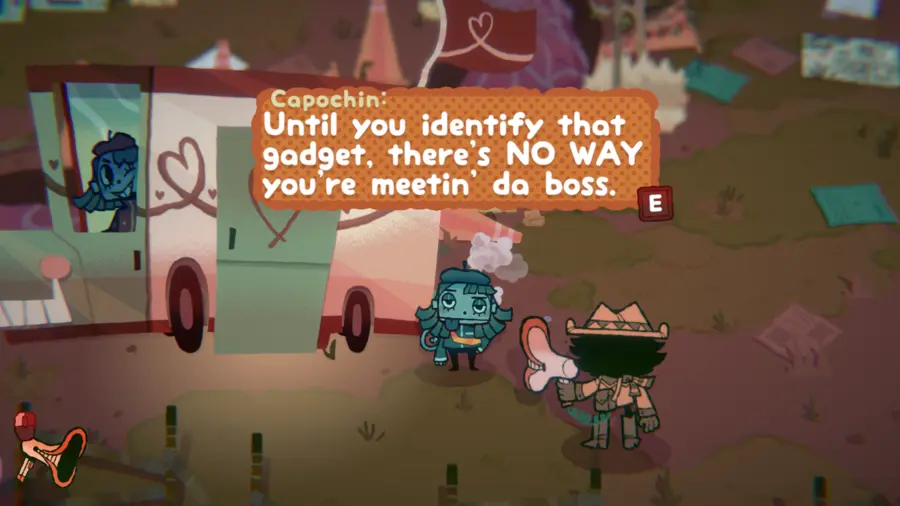
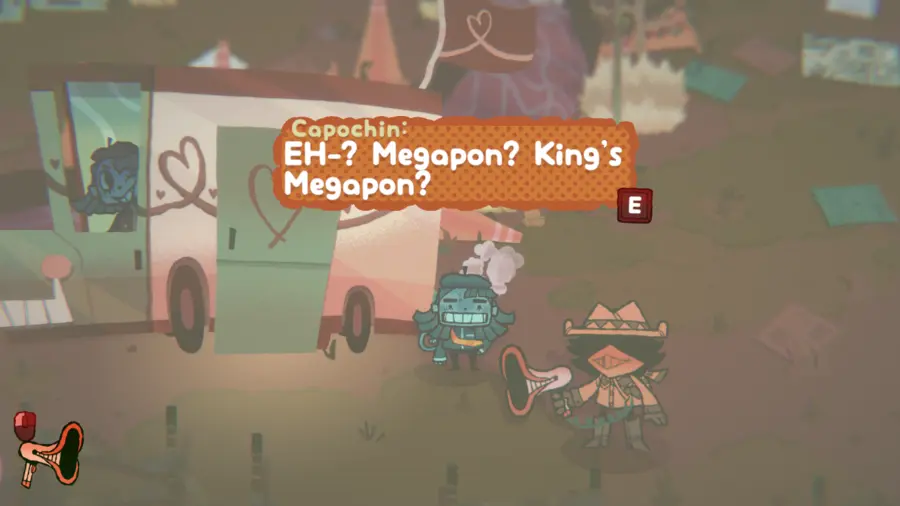
From there, Capochin will open the door to Inspekta. Walk through, and meet da God of Leadership!!! After some dialogue, suck up “God and human, we can solve this mystery TOGETHA!”
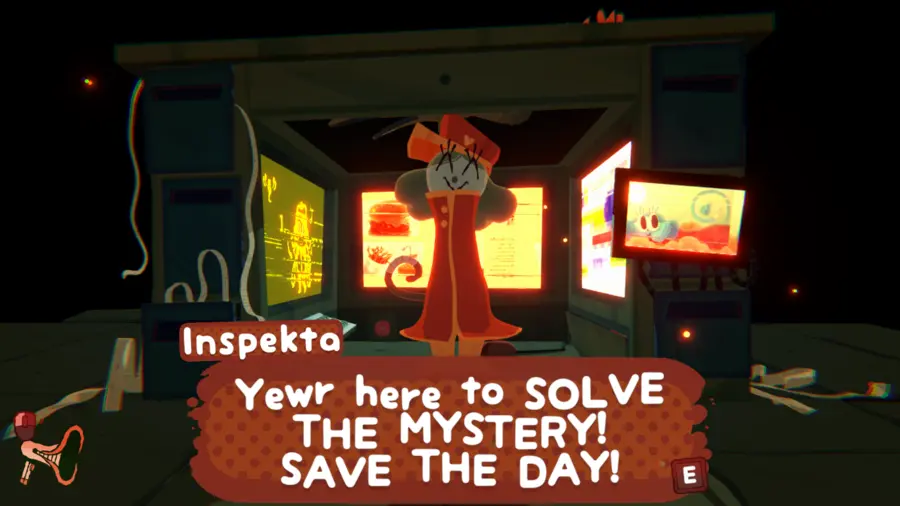
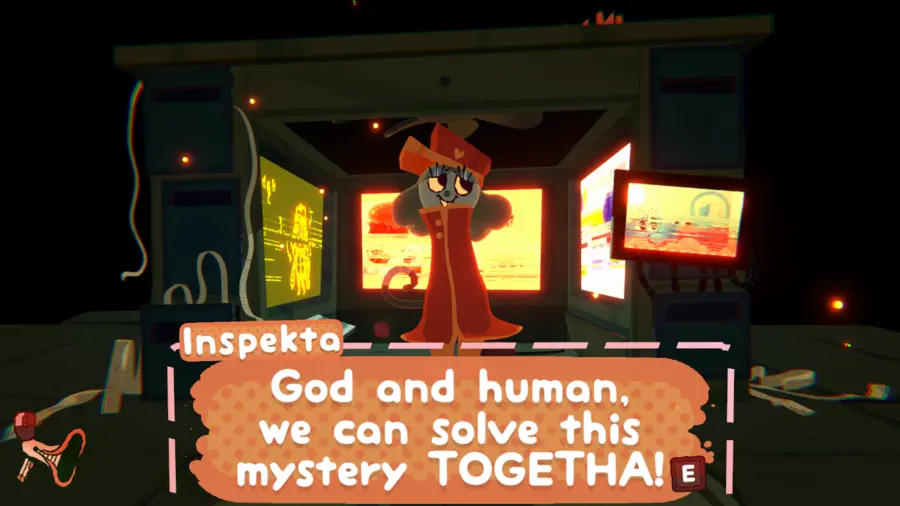
You’ll be offered a job as Inspekta’s new deputy. Shoot back the dialogue you just collected to accept your role. Continue through his dialogue (ignoring the fact he said dangeroussy???), then suck up “Lay off and take a snack break! That’s an order.”
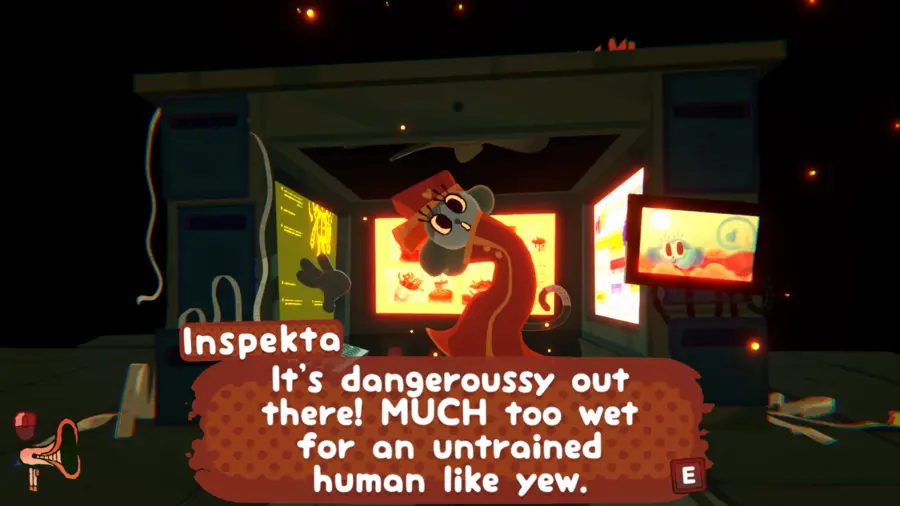
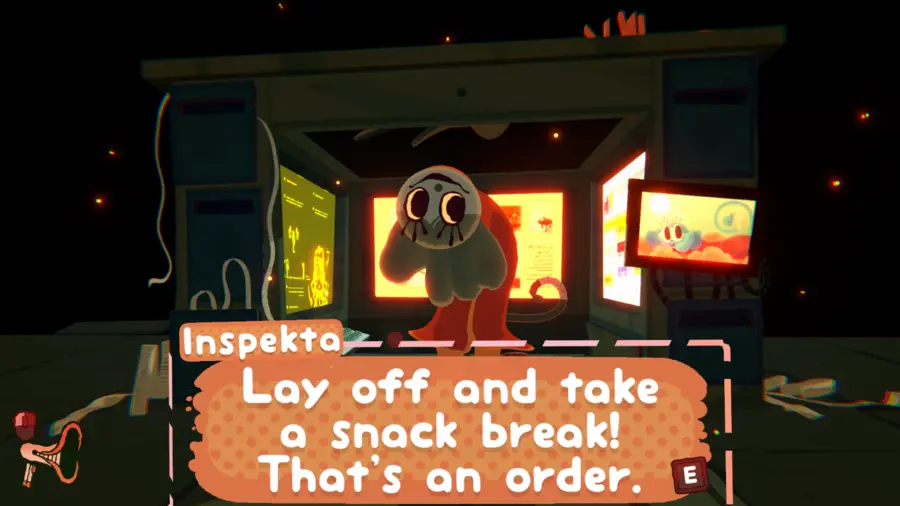
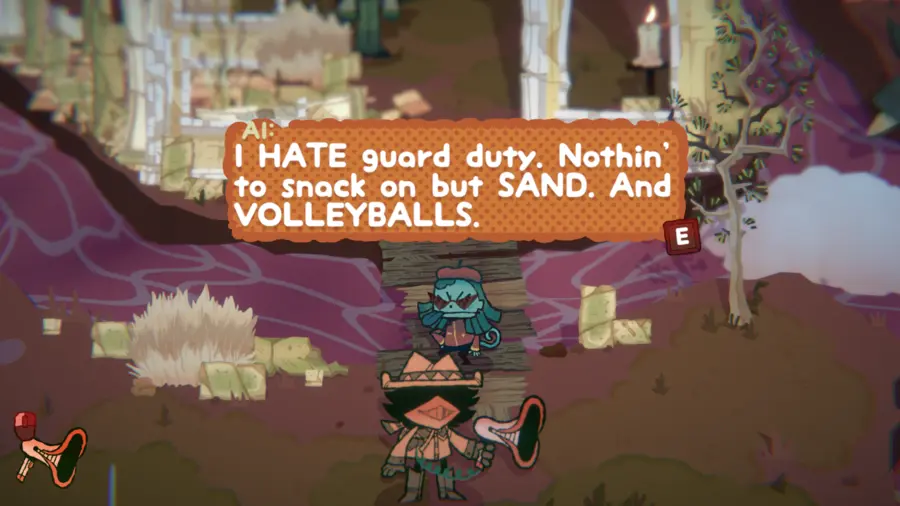
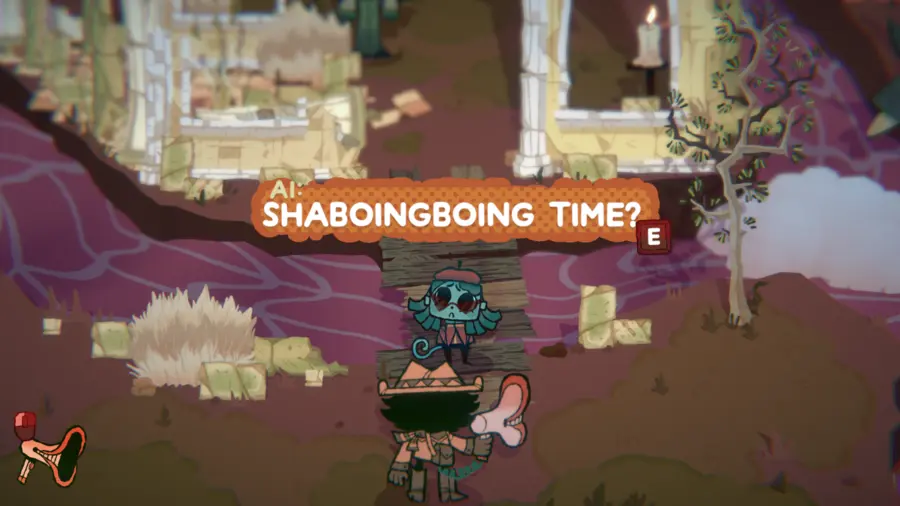
After your meeting with Inspekta concludes, walk upwards to the BizzyBoy standing on the bridge. Al is currently going to town on a volleyball. He’s a freak. He’s also very hungry. Give him the dialogue you just collected (once again ignoring the fact he said shaboingboing – like I said, freak). From there, the bridge will open up.
Miss Mitternacht
Cross the bridge, and walk up to Miss Mitternacht’s chamber. It’s currently boarded up. Use the Megapon to get rid of the boards. With the passage now clear, walk through.
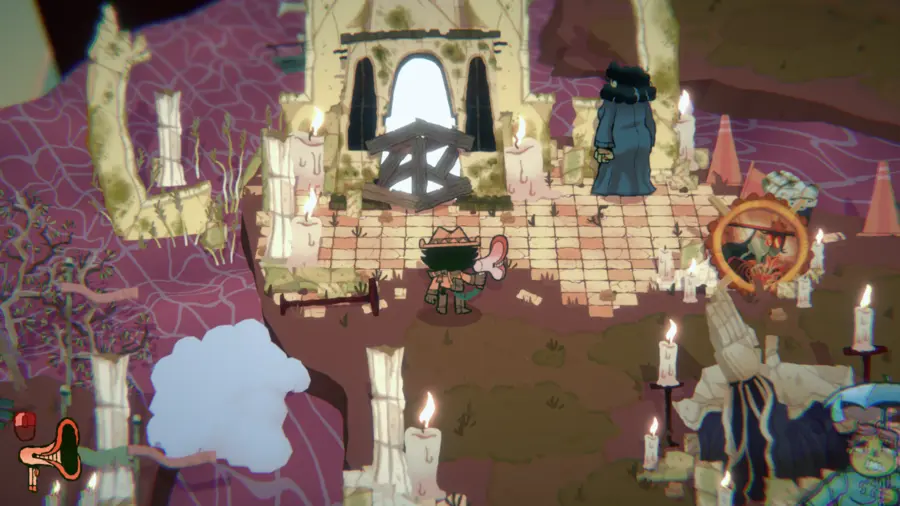
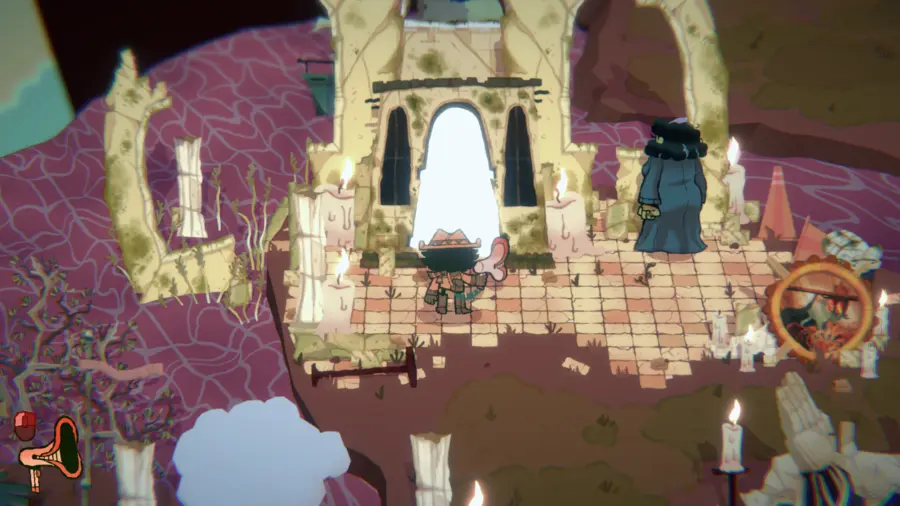
Engage in the fine, leisurely activity of talking with Miss Mitternacht. Unfortunately, you’re not one for conversation, and you’re only going to make her cry harder.
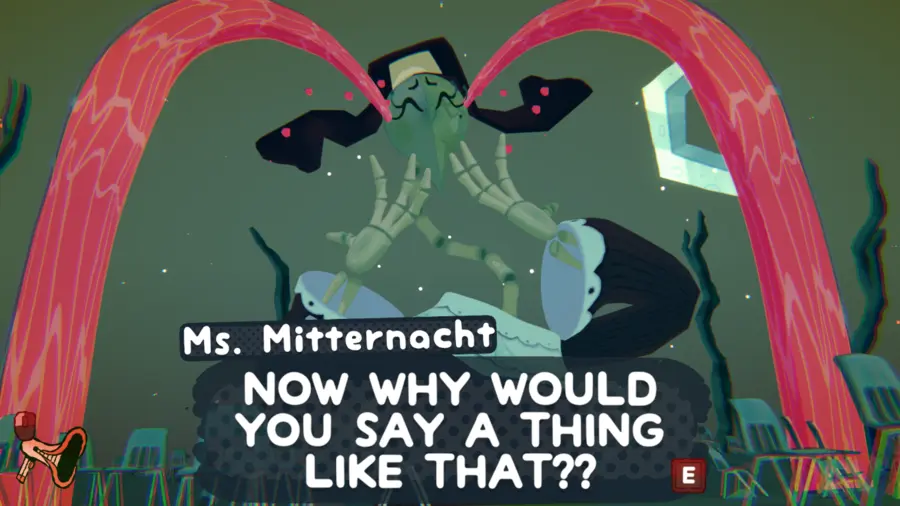
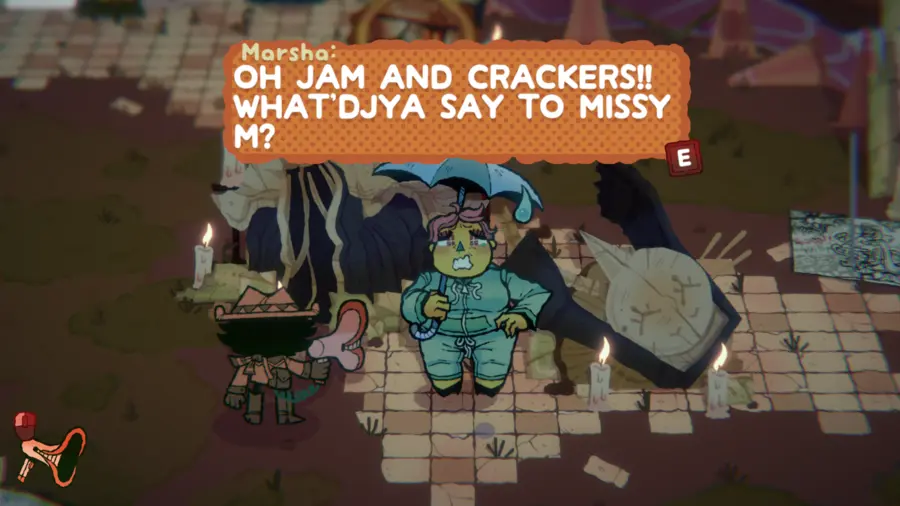
After finishing the dialogue with her, walk out of her chamber. Talk to Marsha, who’ll promptly mock you for your poor conversational skills. She’ll give an example of something better you could’ve said to Mitternacht instead. Suck up “DON’T WORRY MISSY! INSPEKTA WILL SAVE THE DAY!”
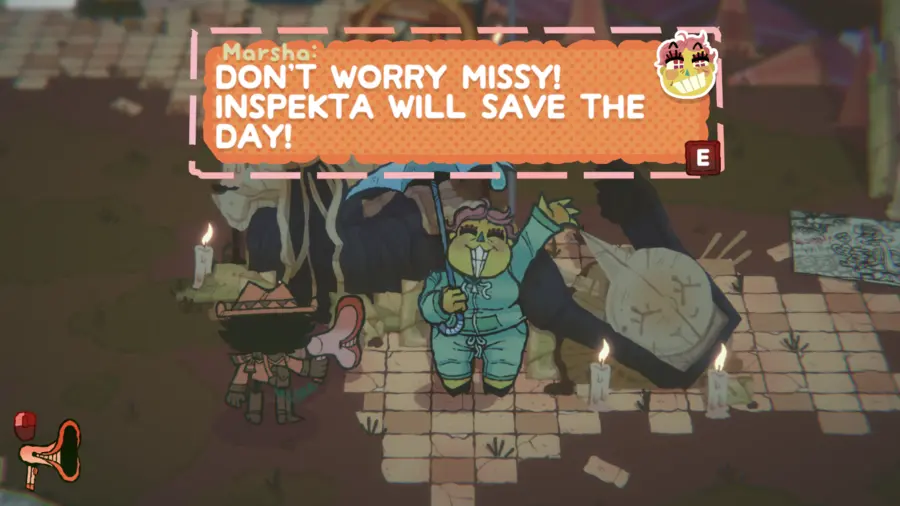
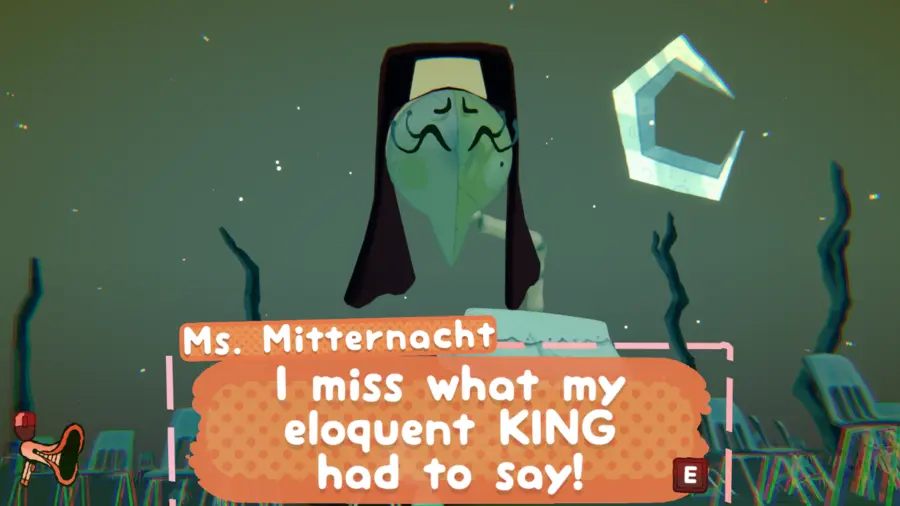
Return to Miss Mitternacht’s chamber and give her the dialogue you just collected. Unfortunately, Marsha’s a fool, and way out of her depth. Miss Mitternacht doesn’t want to hear about Inspekta at all. Suck up “I miss what my eloquent KING had to say!”


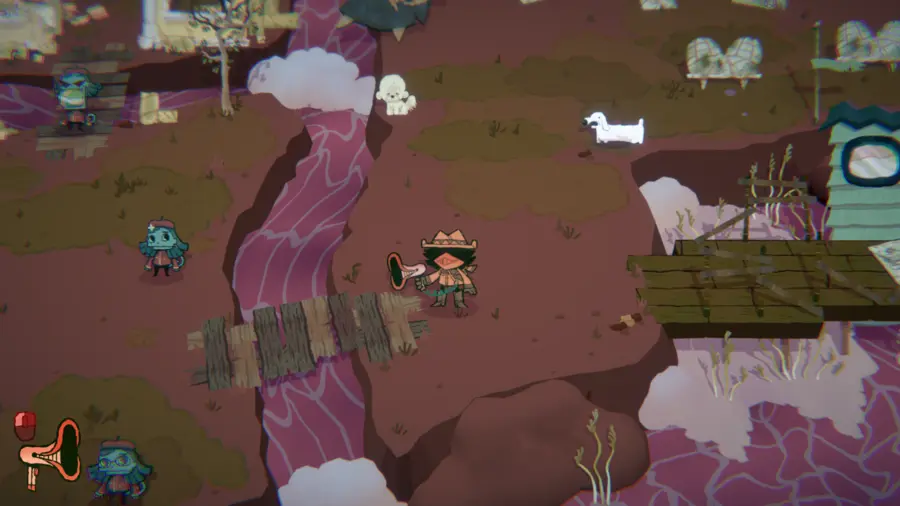
Returning outside her chamber, Lumber Jacqueline is standing next to a broken bridge. She wants you to help fix it. Collect three pieces of wood floating down the Cove’s streams and give it to her. Upon completion, the bridge will be fixed, and Jacqueline will leave to go stuff her boyfriend into a mason jar.
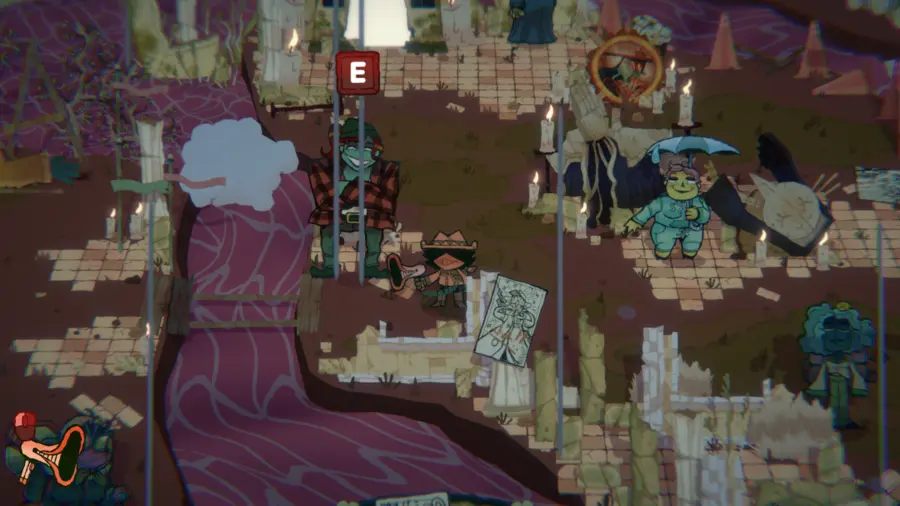
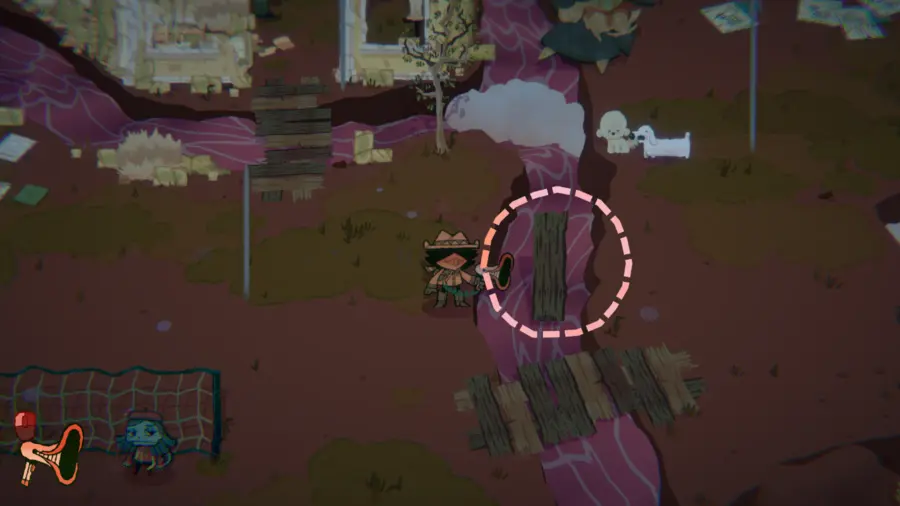
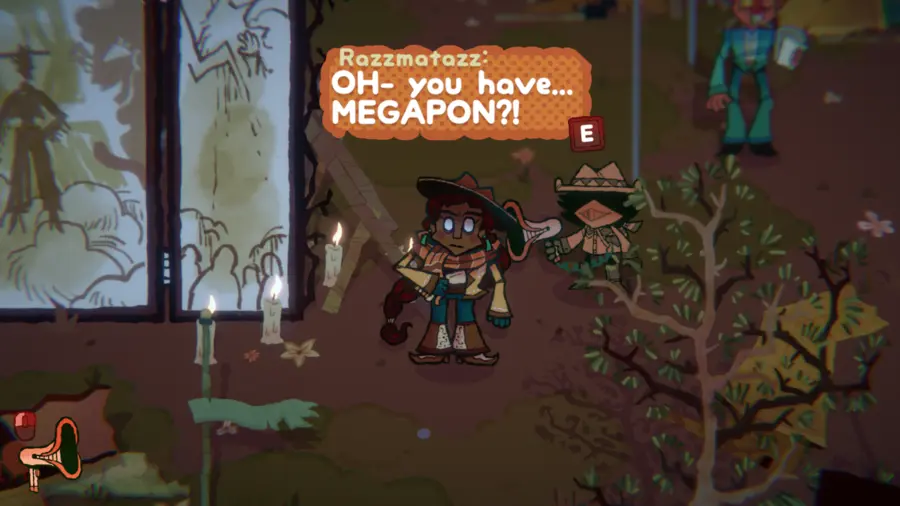
Cross the bridge and talk to Razzmatazz. She was King’s best friend, and remembers every word King has ever said. Shoot “I miss what my eloquent KING had to say!” at her. As she talks, suck up “With the power of communication, I can bring the gods together!”
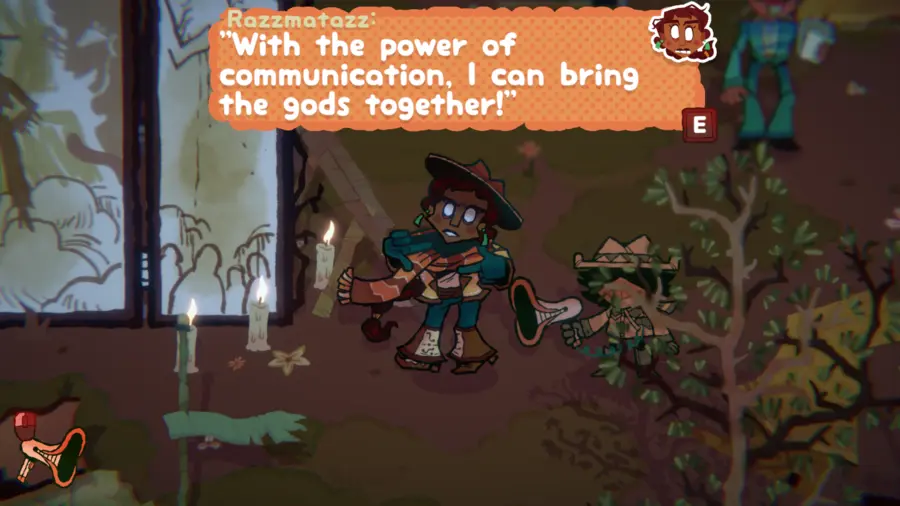
Return to Miss Mitternacht’s chamber and give her the dialogue you just collected. This will finally cheer her up. She’ll instruct you to help the other Gods out and unite them so they can close the rift.
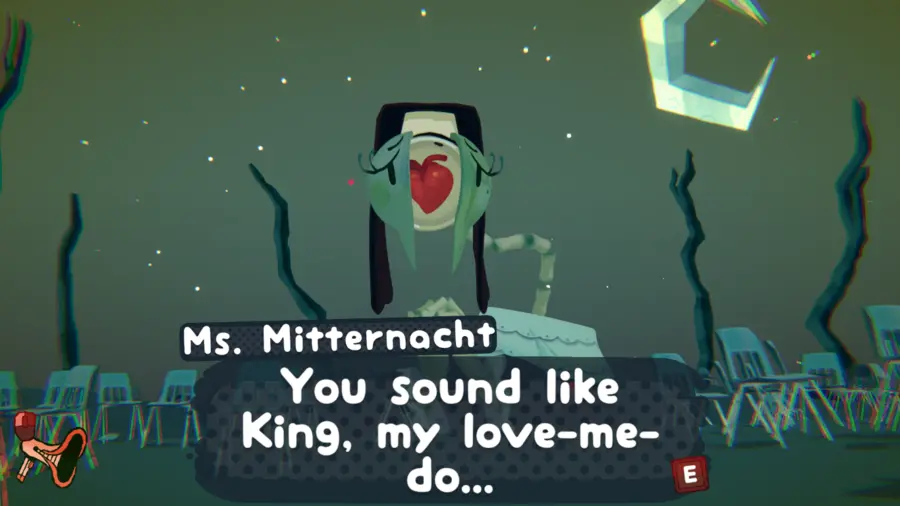
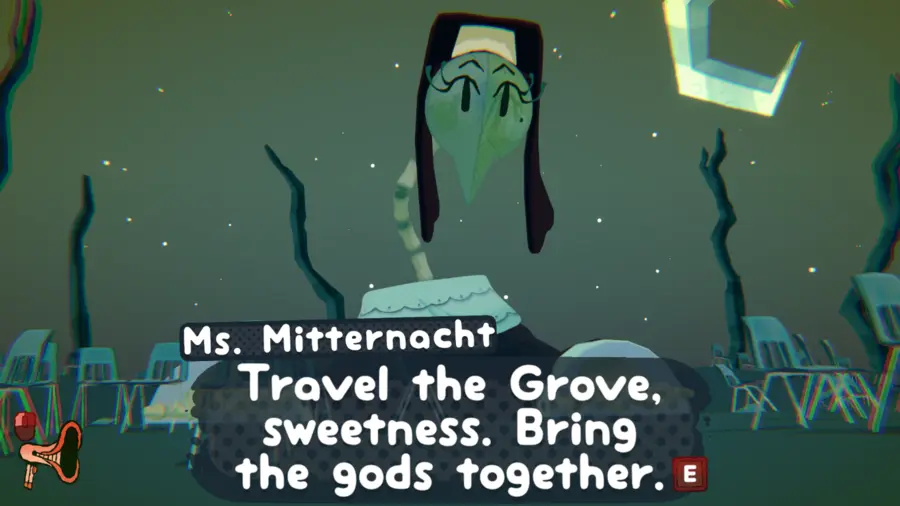
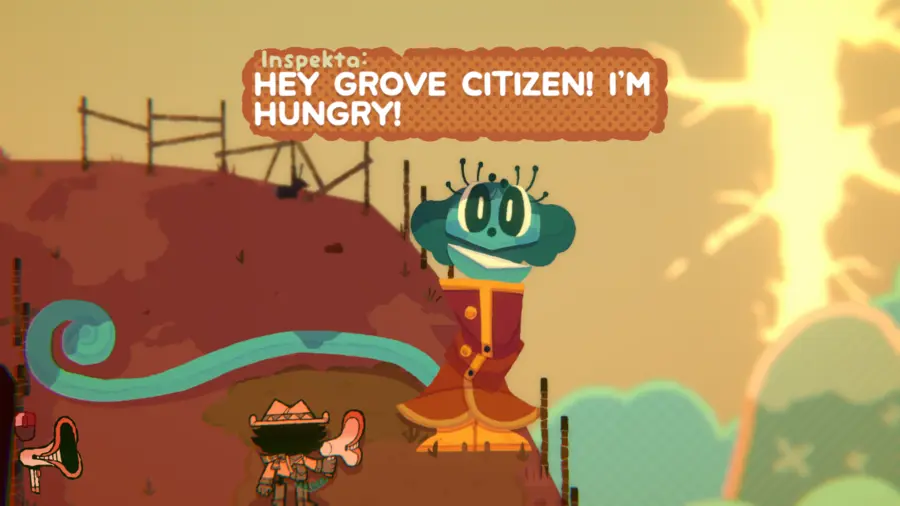
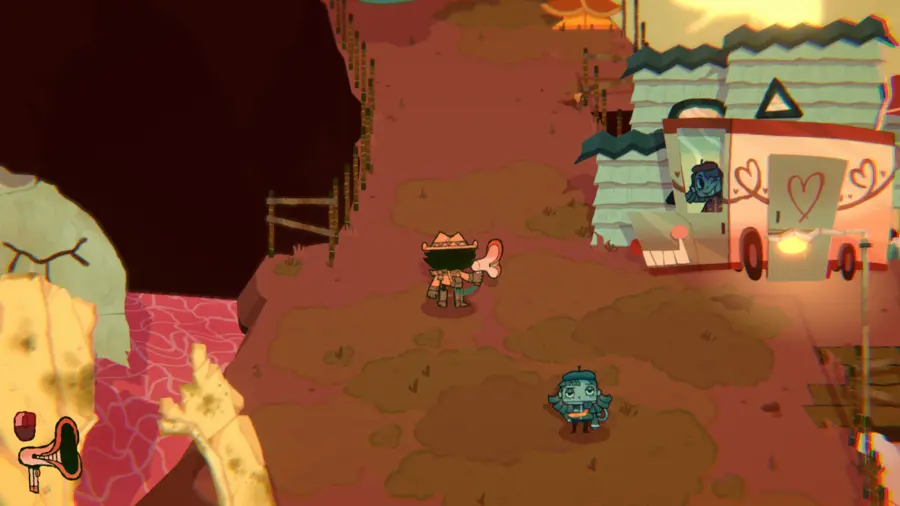
Upon exiting her chamber, the flood will cease, and the bastard Capochin will give all your work’s credit to Inspekta. Inspekta will be parked just above you. Talk to him, and he warns you about another of King’s letters that has been sent to the citizens of Milldread.
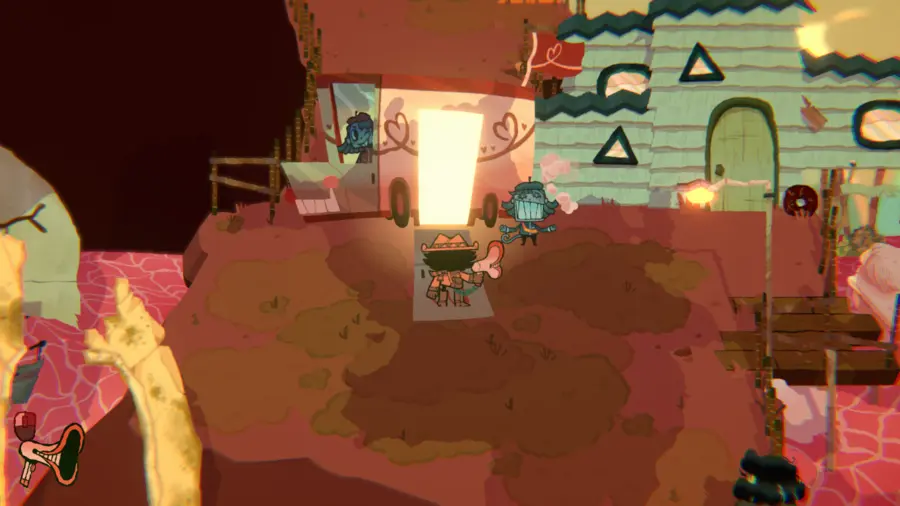
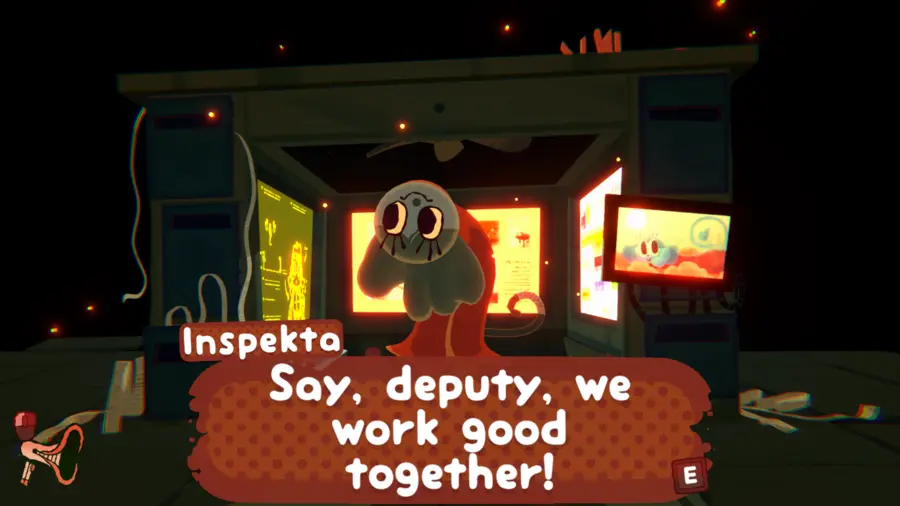
Exit Inspekta’s campaign van, and the path ahead will be opened for you. Make sure your inventory is empty, otherwise you can feed any remaining items to a very hungry replica of Inspekta. Once finished, walk ahead to Milldread.
Chapter 2: Milldread Walkthrough
Better Call Saul
Upon entering Milldread, your path will be blocked by a very angry Saul. He won’t let you pass until he finishes a blood sacrifice. He has a very inflated ego (and probably believes lightning bolts can shoot from his fingertips).
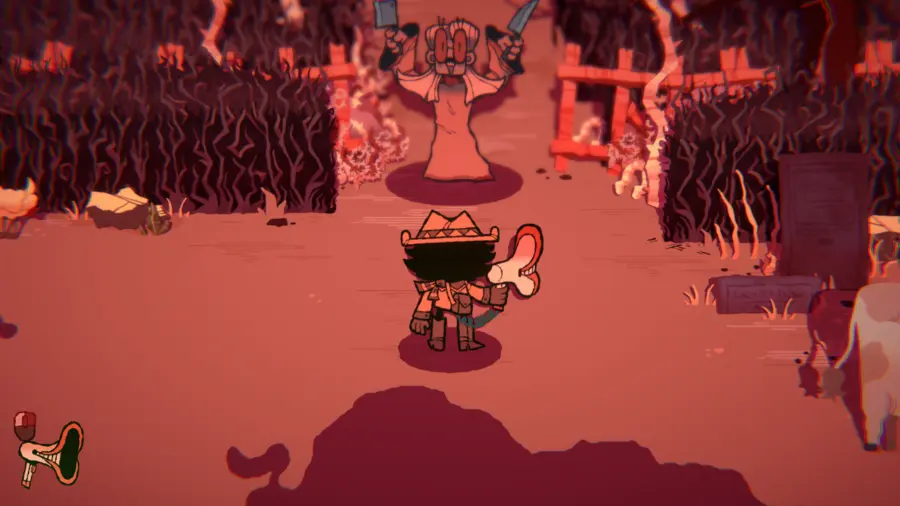
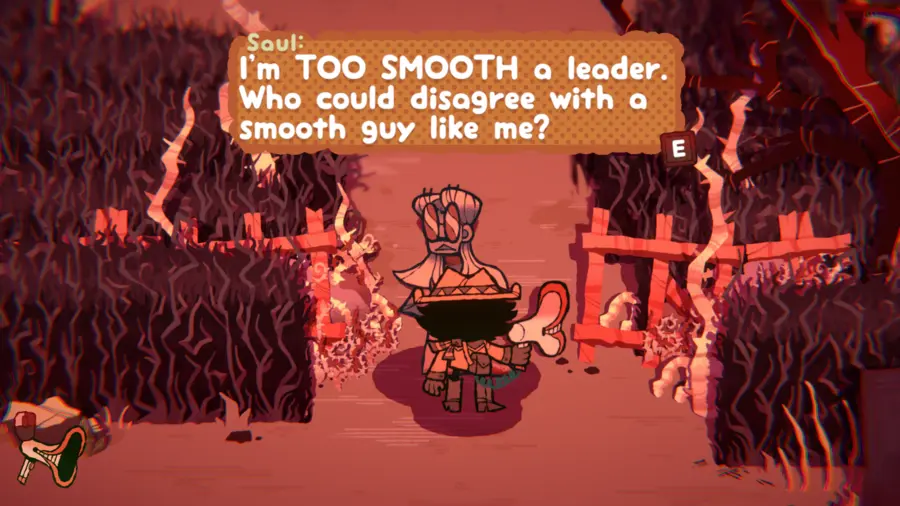
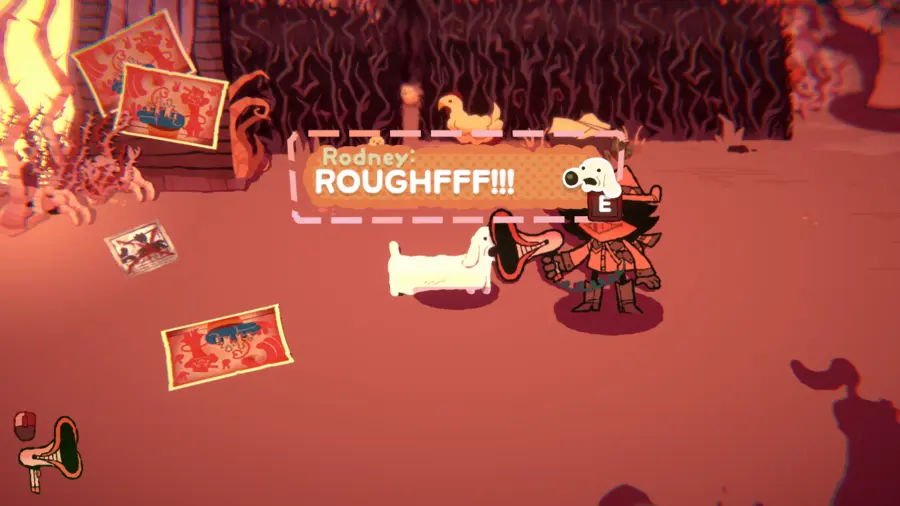
Nobody around is brave enough to insult him, since he’s currently brandishing several weapons. However, dogs don’t share the same concerns. Talk to the Rodney next to him, and suck up “ROUGHFFF!!!”
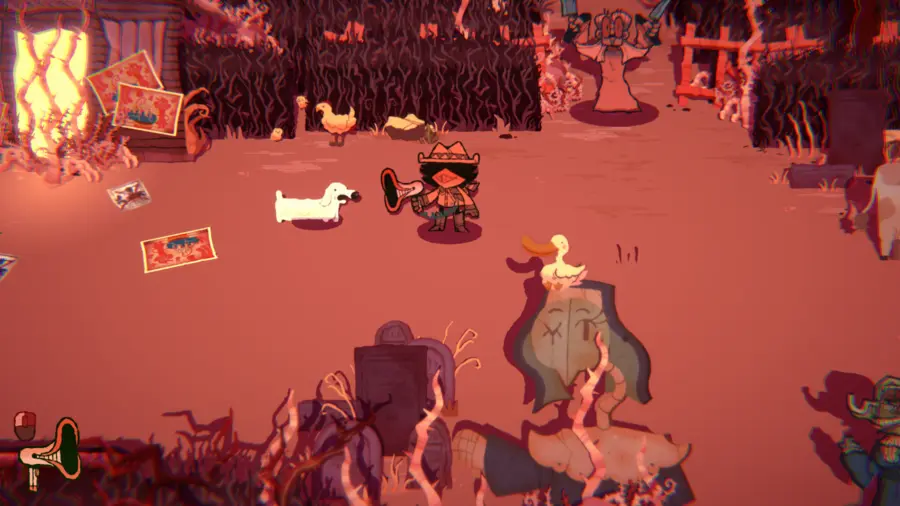
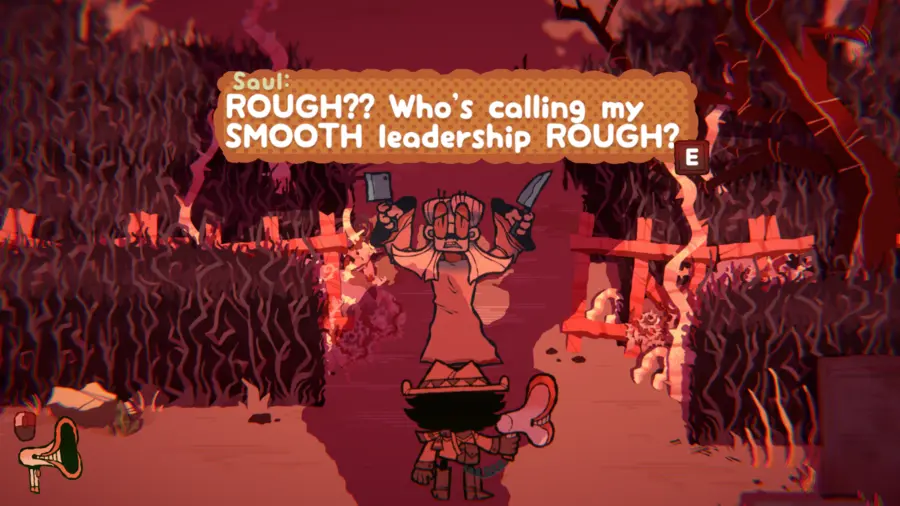
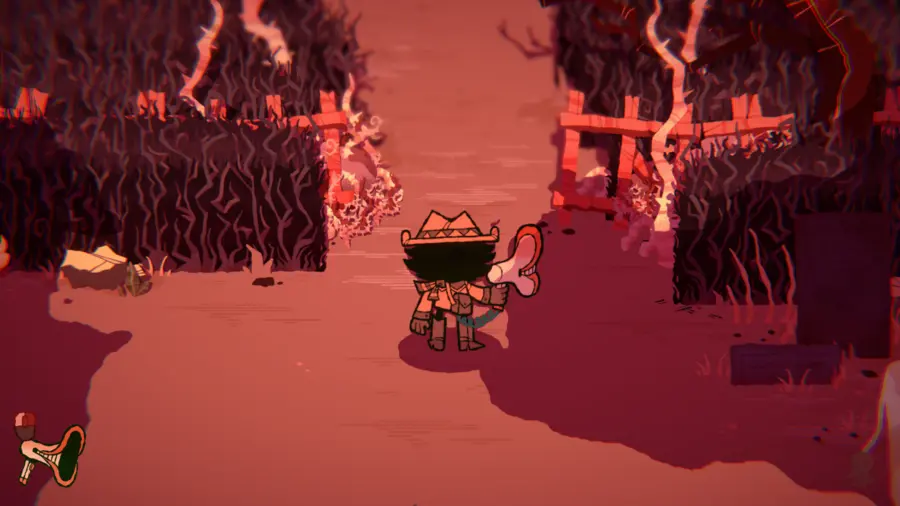
Shoot the dialogue you just collected straight into Saul’s stupid little face. He’ll try to find out who insulted him, leaving the path ahead open for you.
The Schoolhouse (and Cobigail)
Walk past Saul and talk to Pollina. She’s a choir teacher, but the vines covering the schoolhouse are blocking her outside. Suck up “WON’T SOMEBODY SMASH THE SCHOOL DOOR WITH THE HEAVIEST THING THEY GOT???”
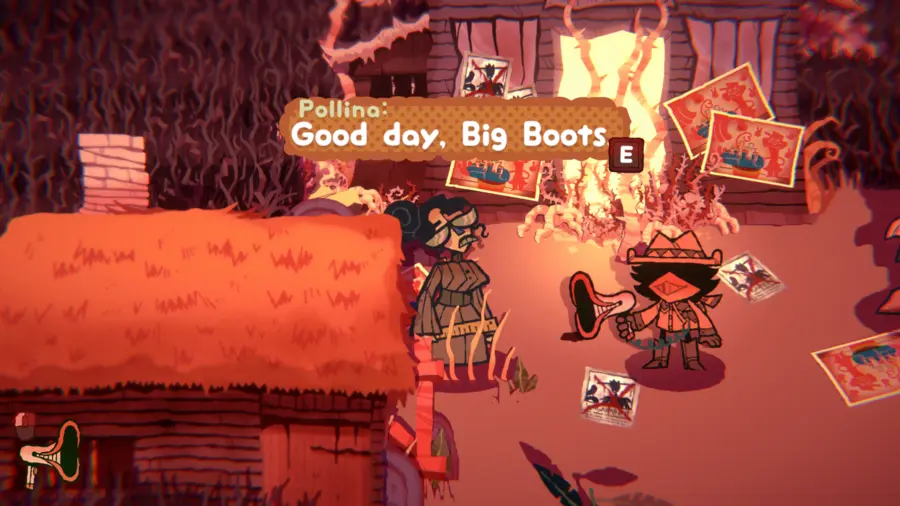
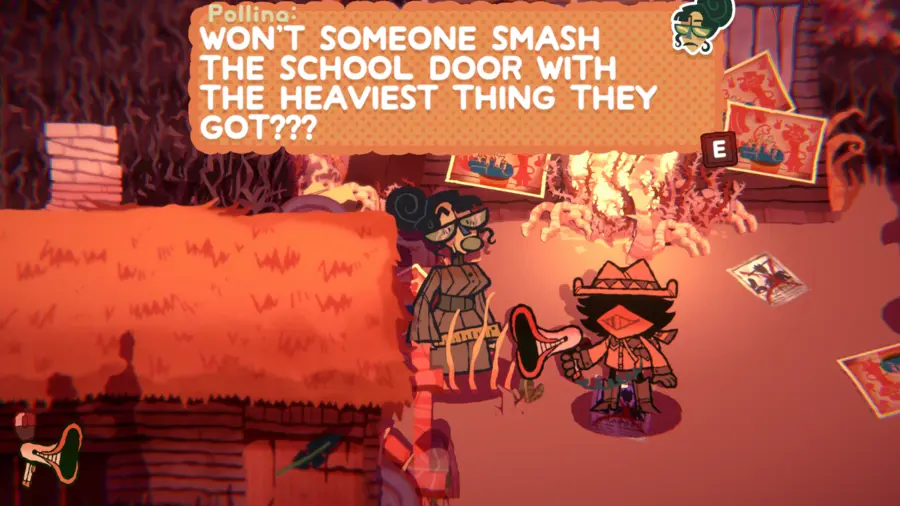
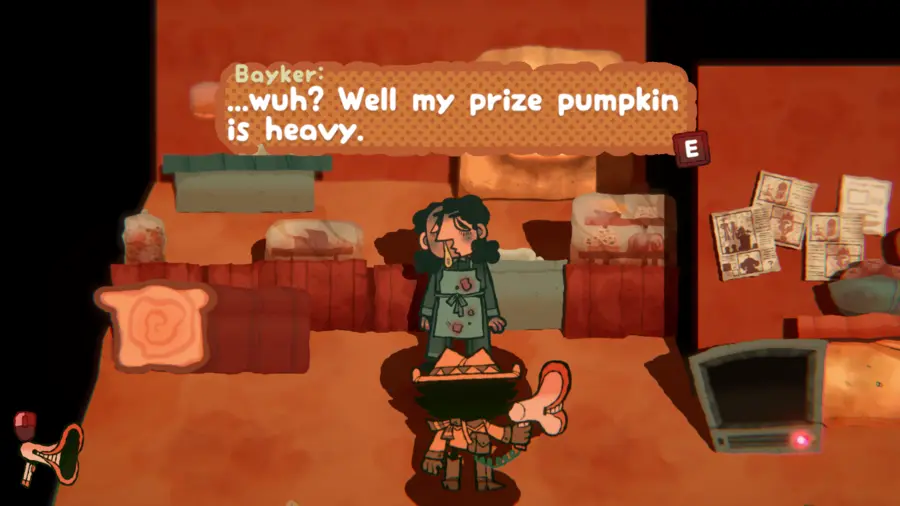
Walk through the now-open pathway, and head to the right, towards Bayker’s Bakery. Give them the dialogue you just collected. Bayker will offer to give you their prized pumpkin, but since they were saving it to bake a pie with Goody, you’ll need to find a new gift idea.
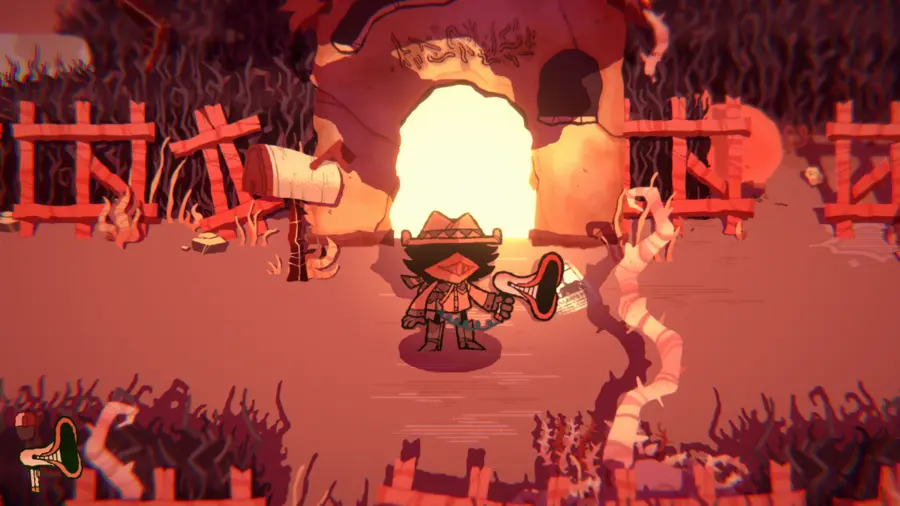
Exit the bakery, and head towards the bottom of Milldread, by the entrance. Talk to Goody, who’ll immediately begin to give you ideas of some new inventions. Suck up “Like for example, what if they had edible lipstick?”
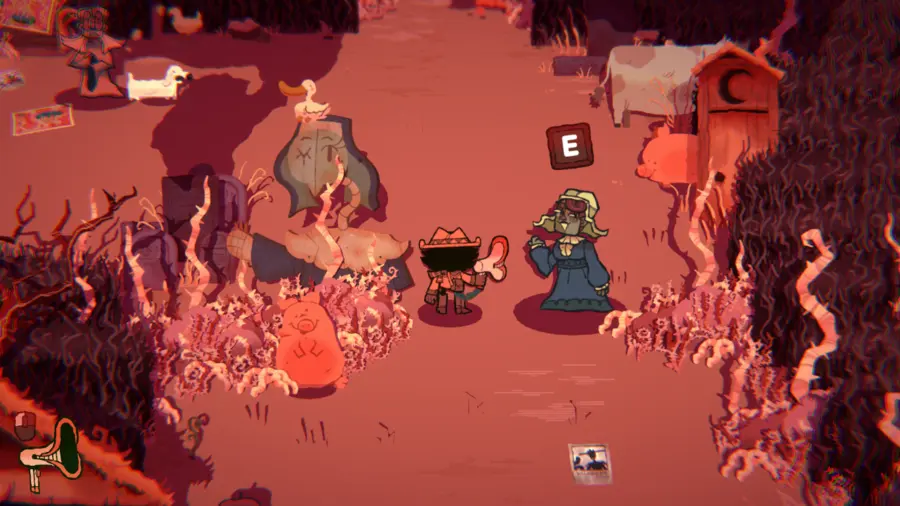
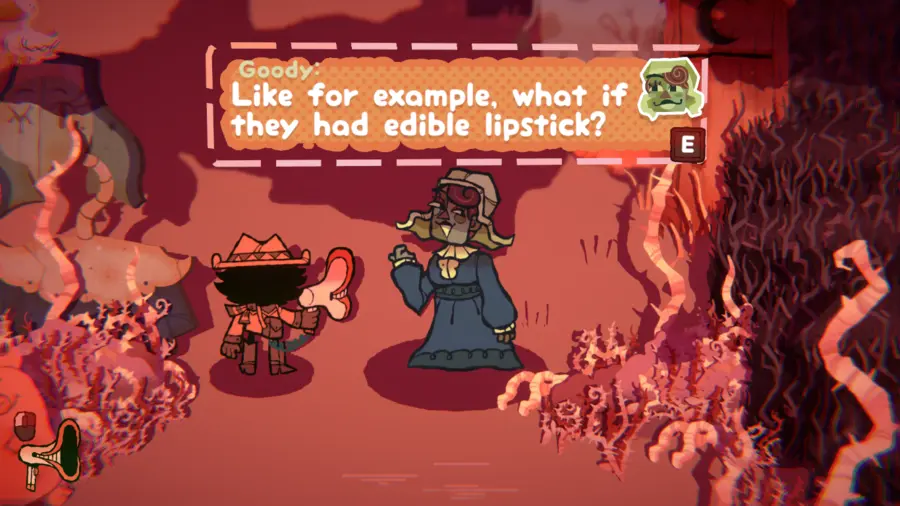
Return to Bayker with news of her new, novel idea. Although weirded out at first, Bayker goes along with it. Collect the lipstick pie they make.
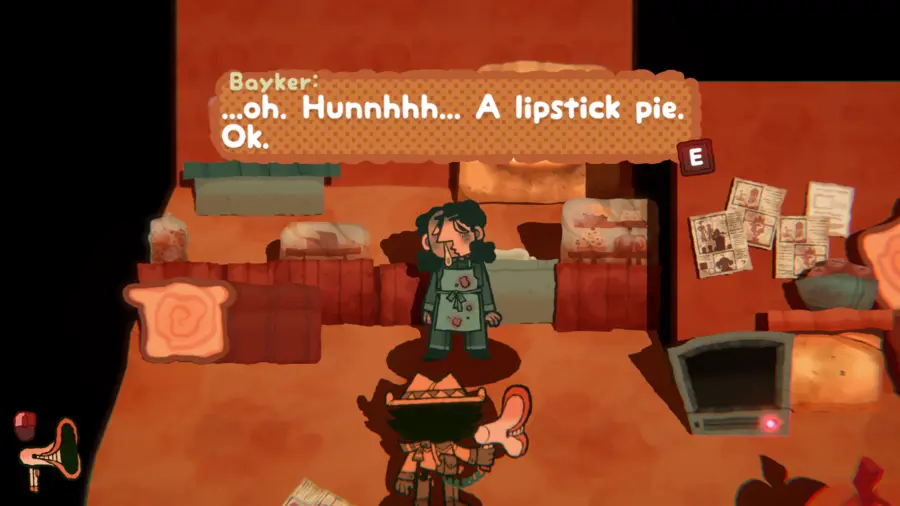
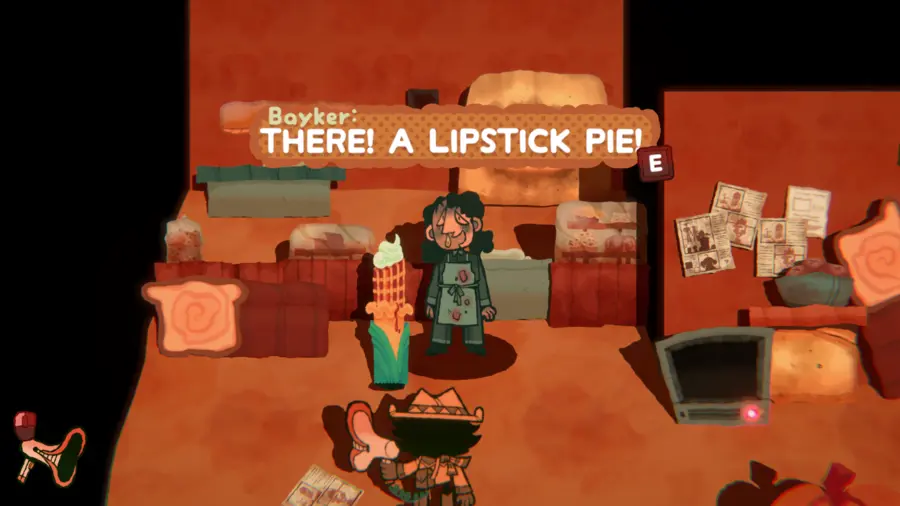
Walk back to Goody and give her Bayker’s pie. Suck up “Oh Bayker… I LOVE IT!”
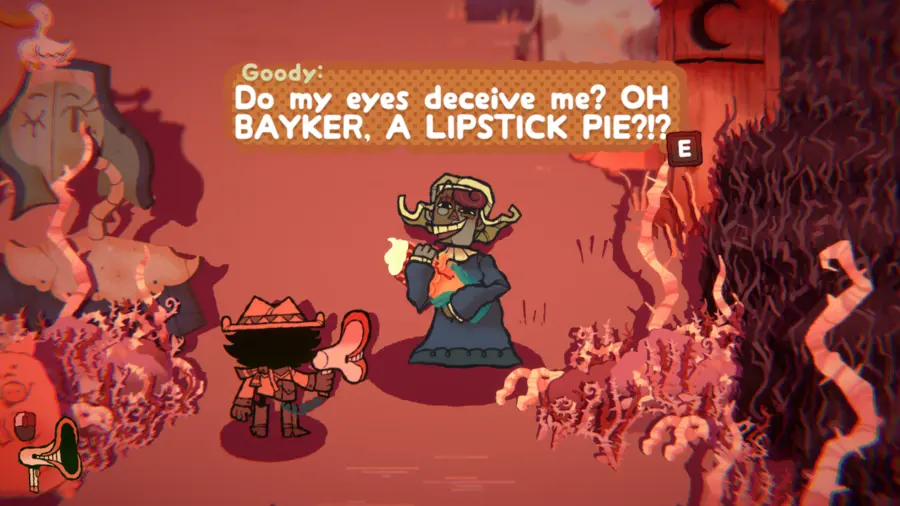
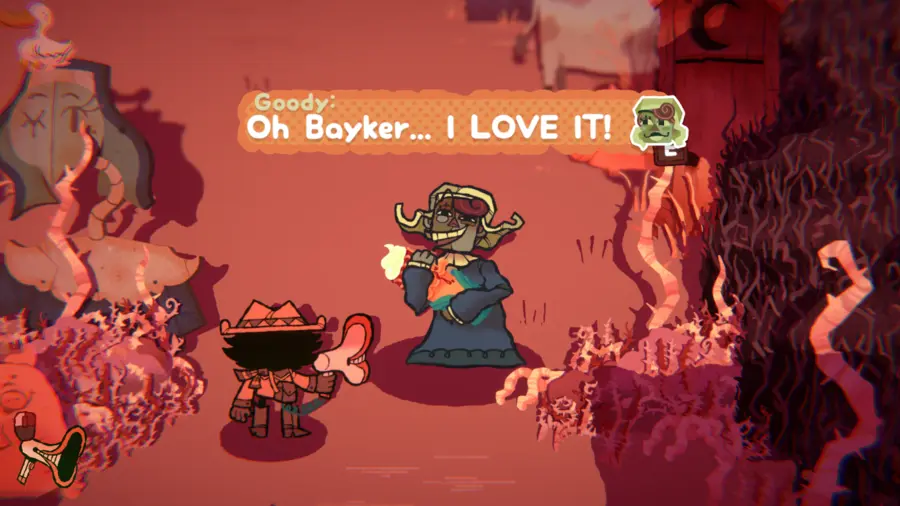
Return to Bayker again to tell them about Goody’s thoughts. They’ll now let you collect their prized pumpkin.
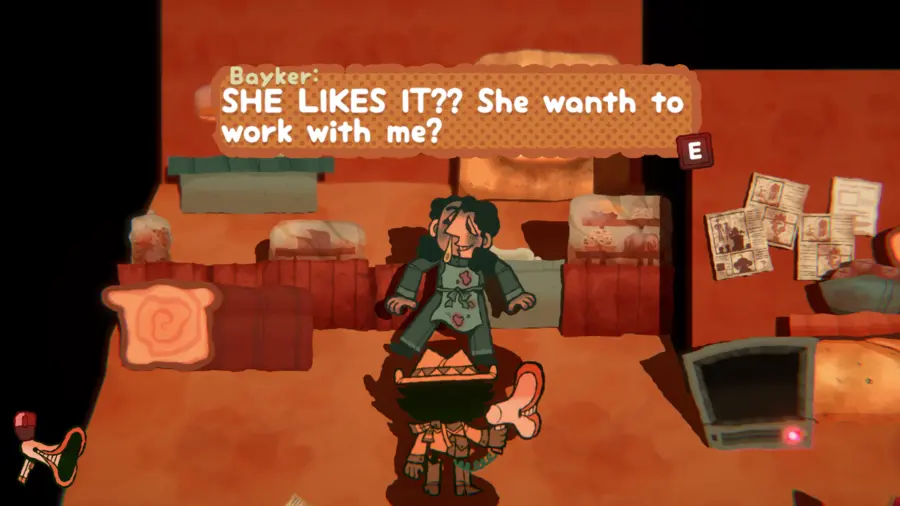
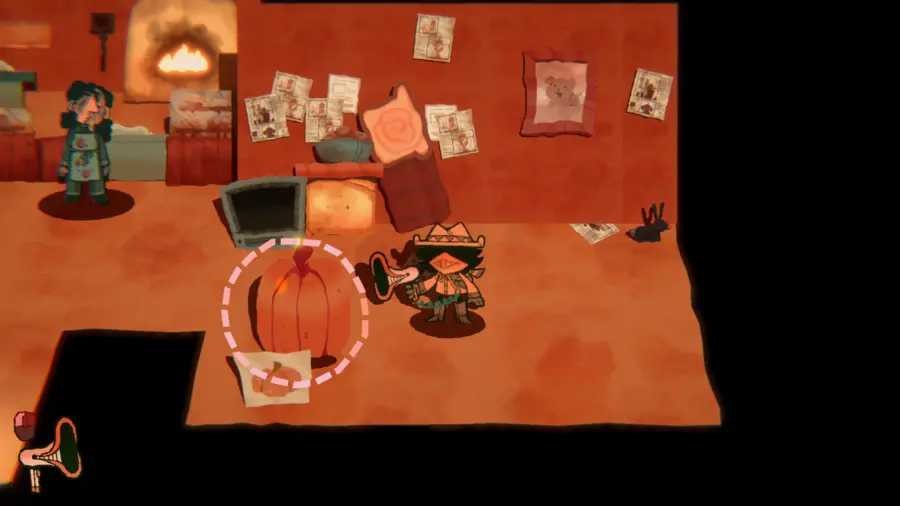
Head back to the schoolhouse, and use the prized pumpkin to smash the vines covering it. With the entrance now clear, go inside.
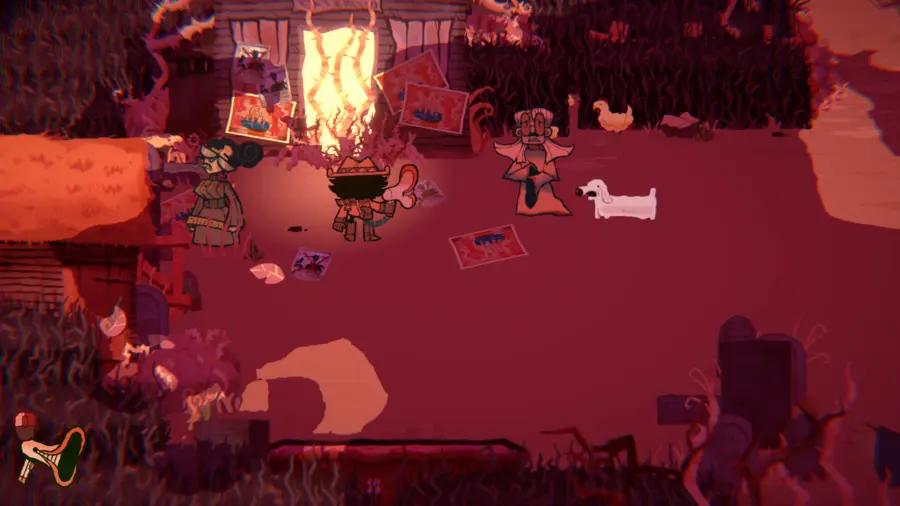
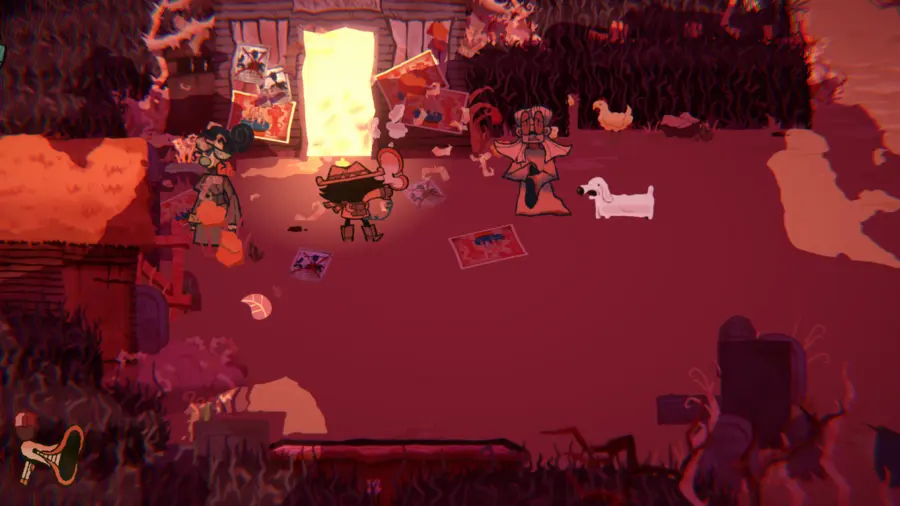
When inside the schoolhouse, Cobigail’s chamber is blocked by a bookshelf. Use the Megapon to get rid of it, then enter her chamber.
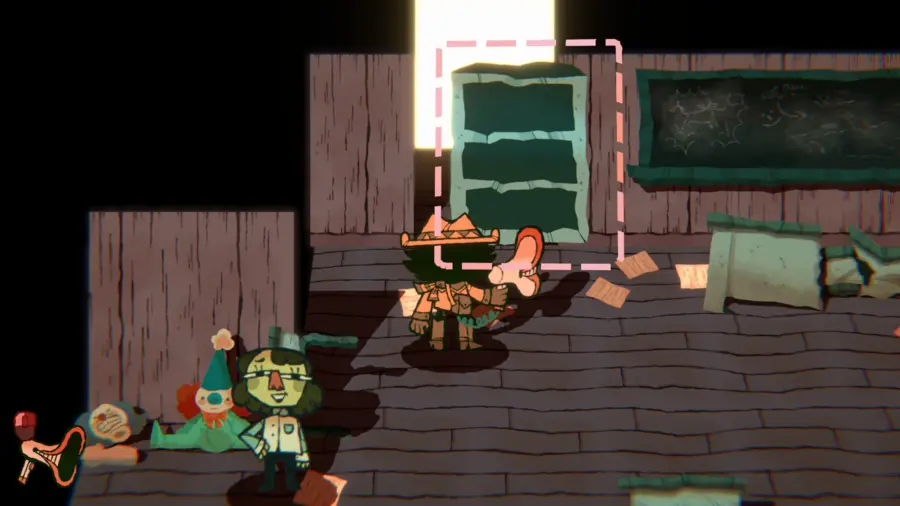
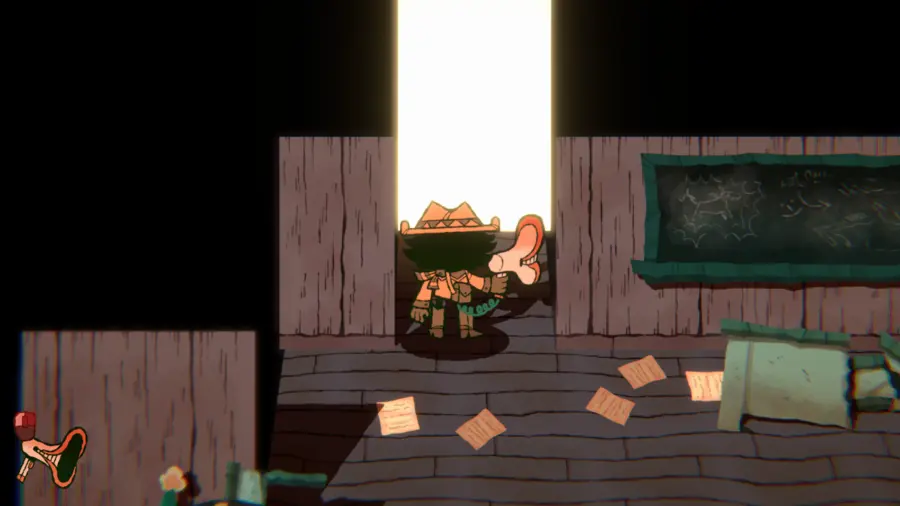
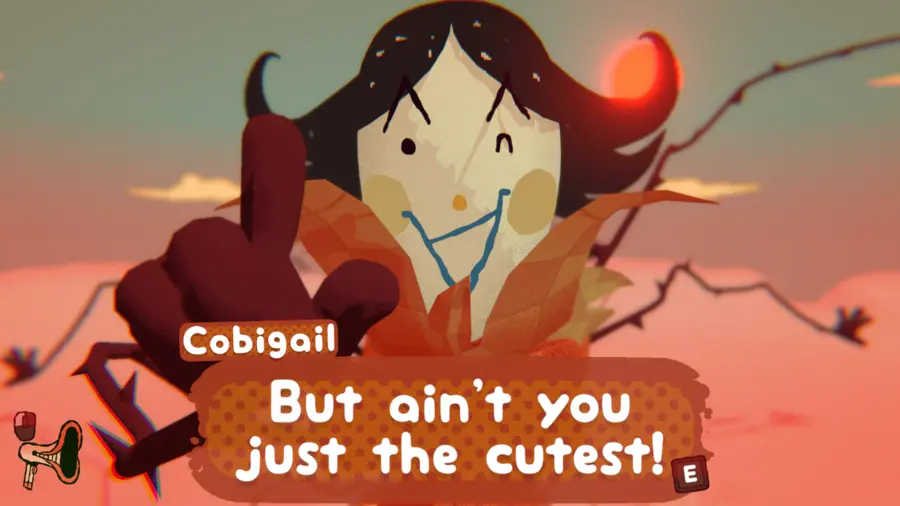
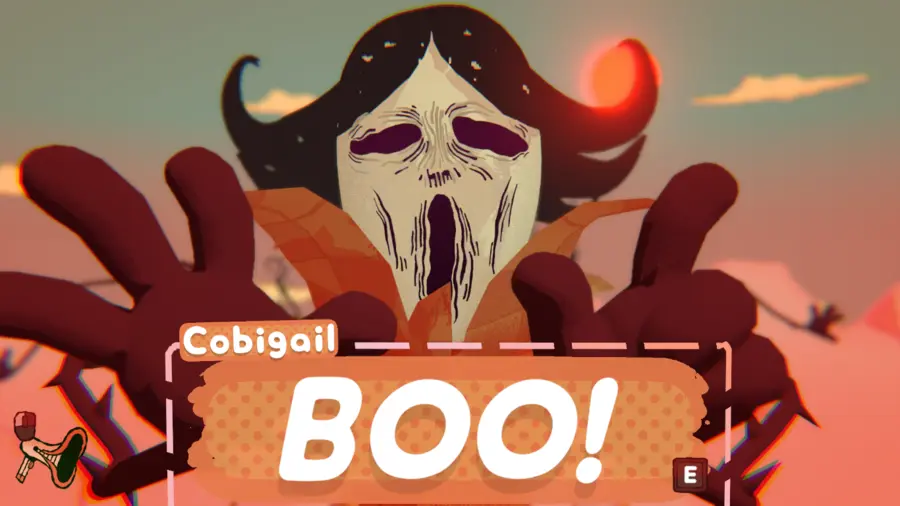
Cobigail’s scary. She’ll instruct you to learn everything you can about Milldread and its history. After sitting through her dialogue, suck up “BOO!” right before you leave.
The History of Milldread
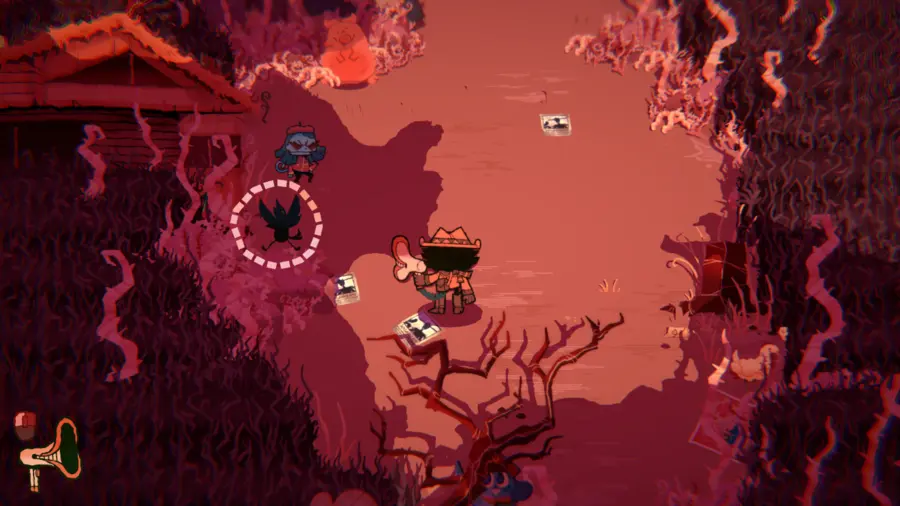
Head to the top-left of Milldread. There, you’ll find a handsome scarecrow named Bronch. They’re blocking the pathway to a cata-home (catacomb plus home), and are very bored while doing it. Bronch’s boredom can be alleviated if you can find their missing crows, which are each hiding in a bush.
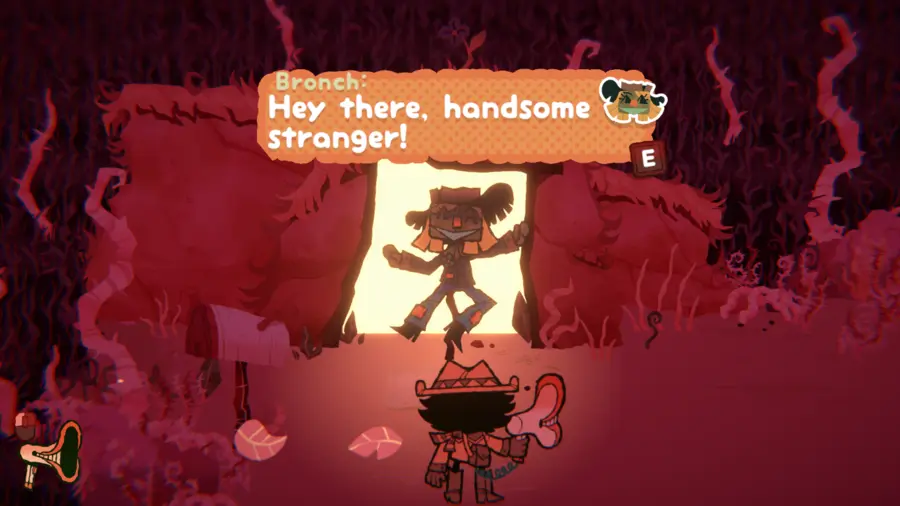
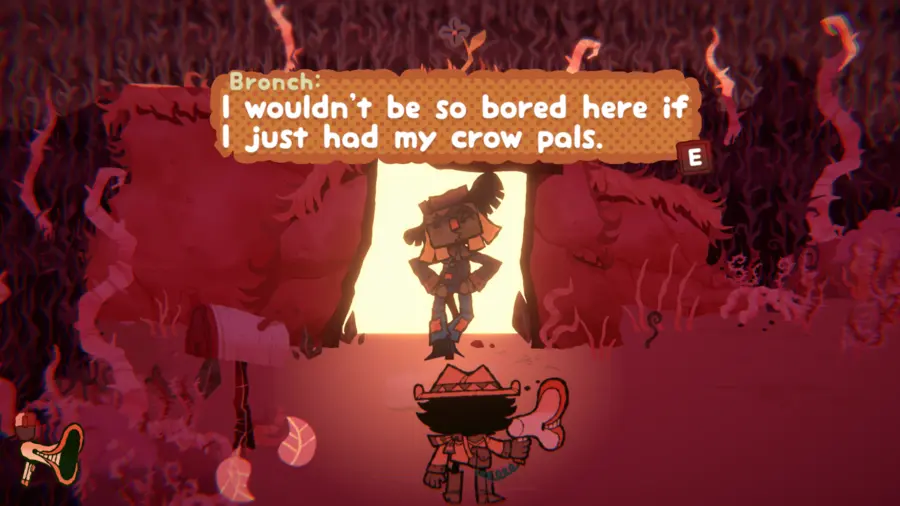
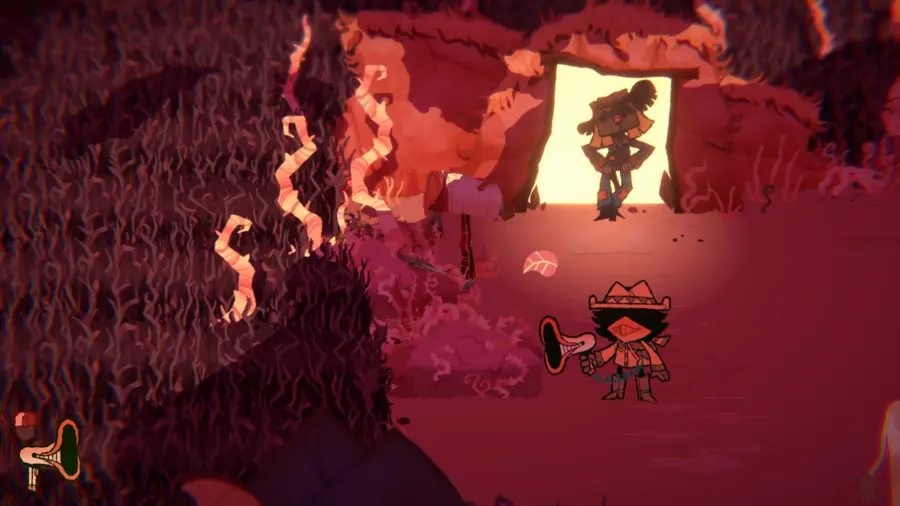
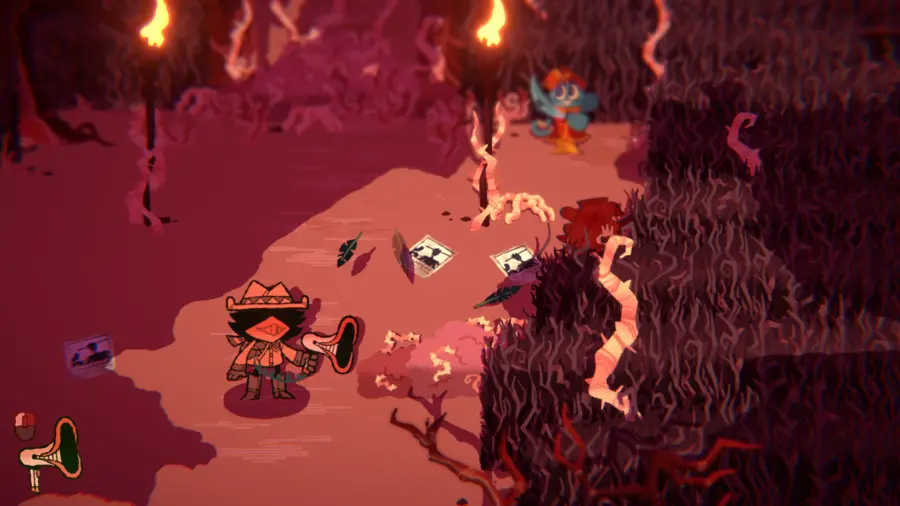
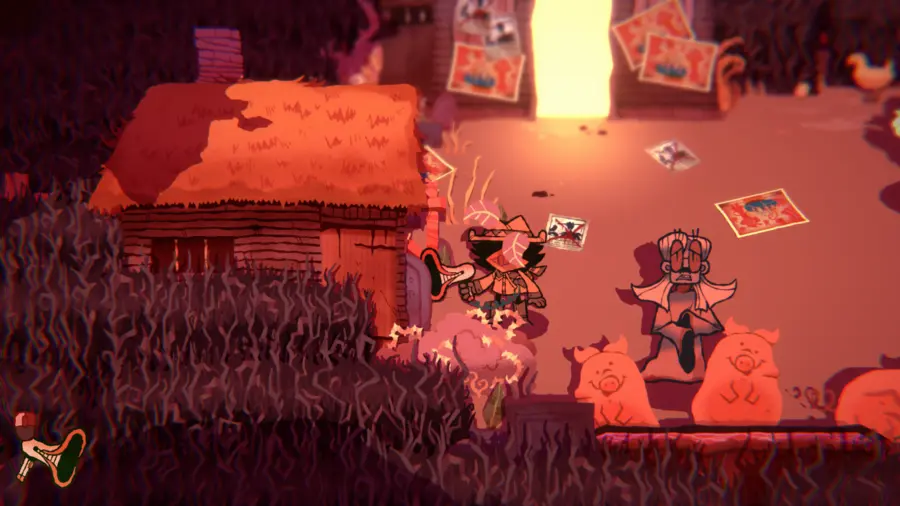
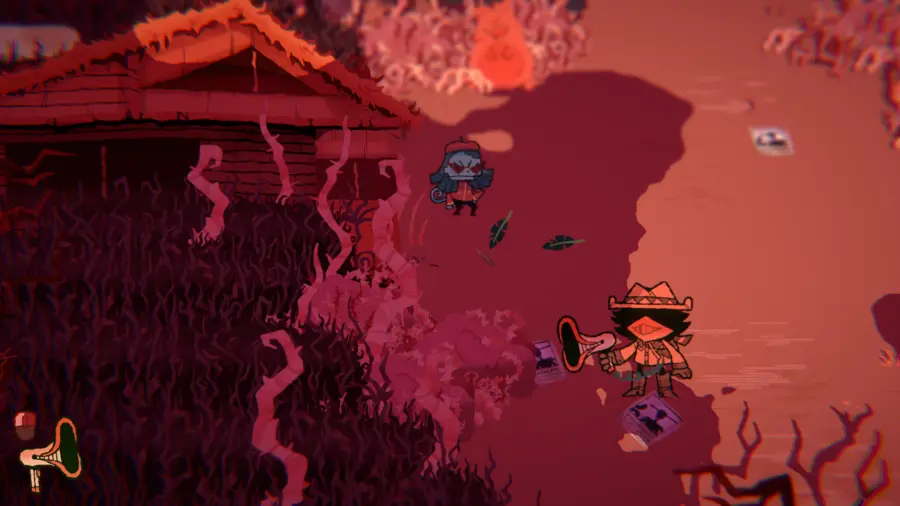
There are three locations that the crows spawn in, with an additional fourth location added in a patch. They can be found at:
A bush to the left of Bronch:
A bush to the far-right of Bronch:
A bush in front of the Schoolhouse:
And a bush right next to Ale:
Each of these crows can be scared out of their bushes by shooting “BOO!” at them. Upon doing so, collect three of these crows and return them to Bronch.
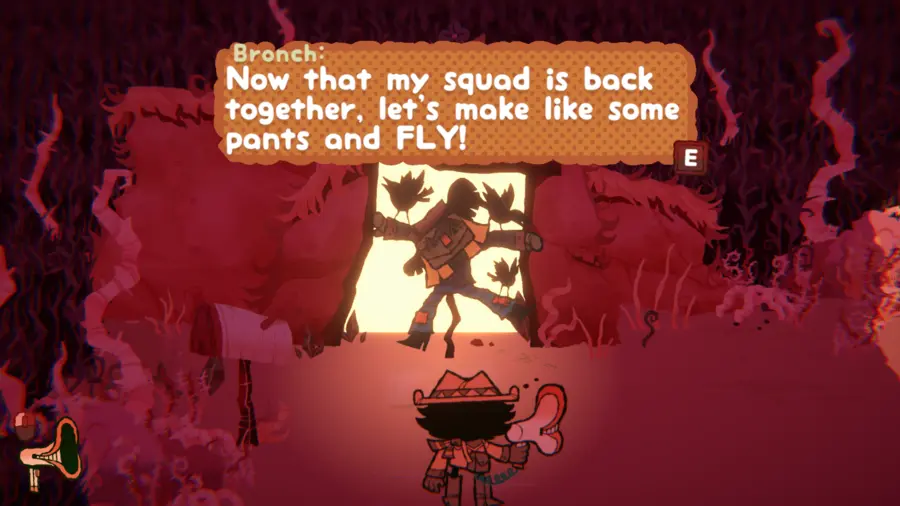
Bronch will move to the side of the pathway, allowing you to enter the cata-home. Once inside, you’ll find Budd, who is terrified of you. This is good. Fear is power, wield it. Unfortunately, Budd thinks you’re one of Saul’s goons. He refuses to talk to you unless you promise you aren’t working for him.
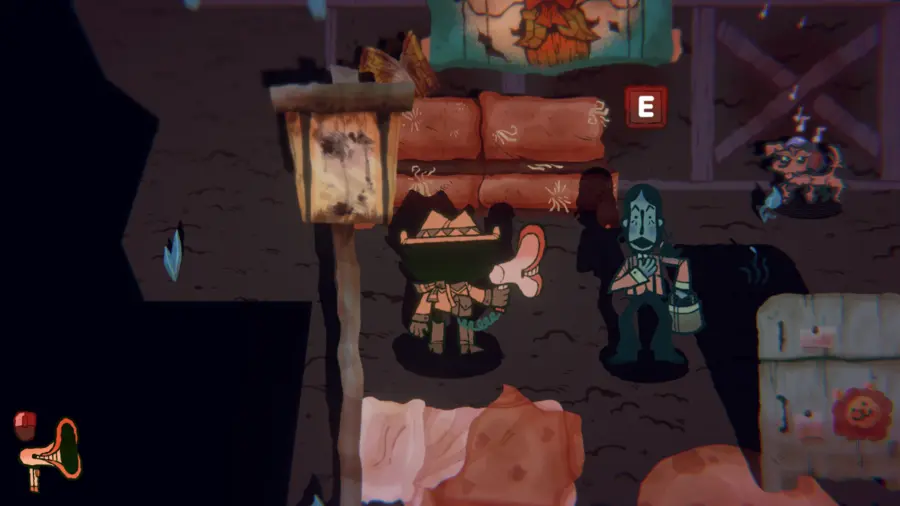
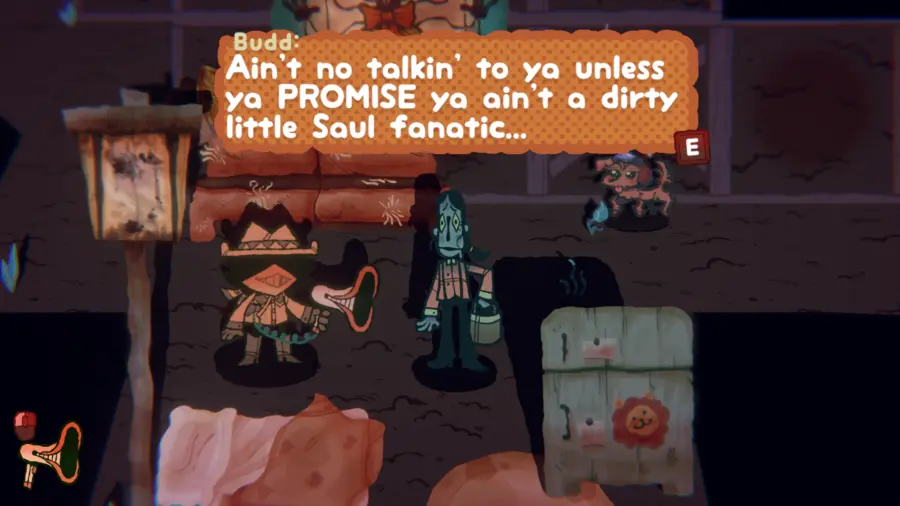
Visit Bayker and suck up “I thwear it on my life!!” Then, make a quick pit-stop by Saul, where the little ♥♥♥ is still crying over what Rodney said to him. Suck up “I… HATE that shaggy little man!”
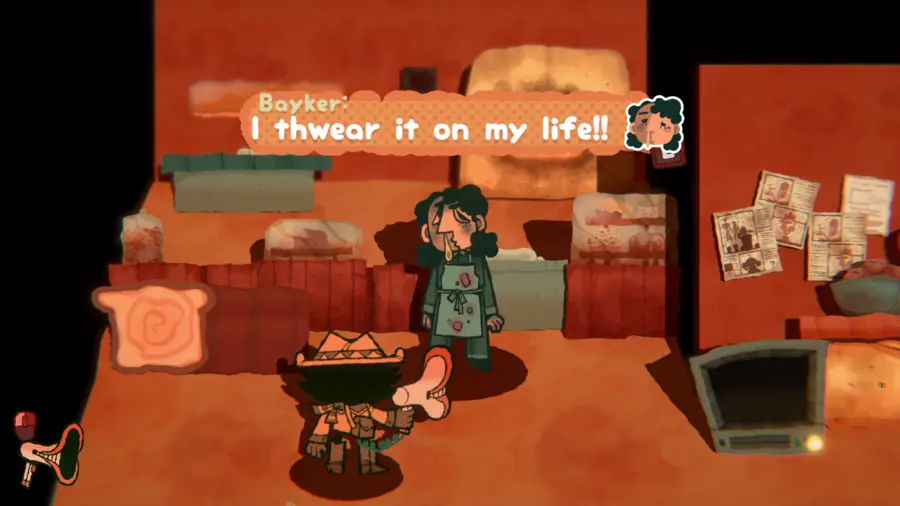
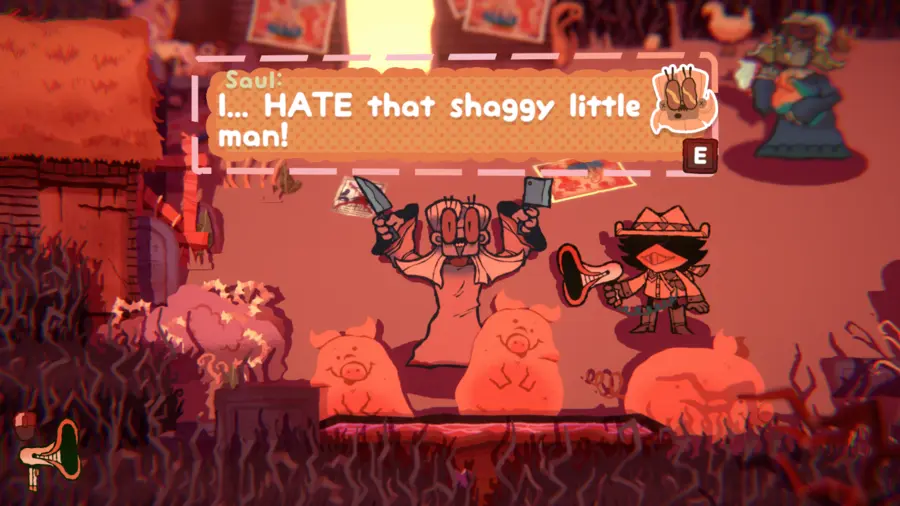
With both dialogues in your Megapon, return to Budd. Give him “I thwear it on my life!!” Unfortunately, he still believes you to be one of Saul’s goons. Budd instructs you to insult Saul as best as you can, to prove you’re really not one of ’em. Now, give him “I… HATE that shaggy little man!”

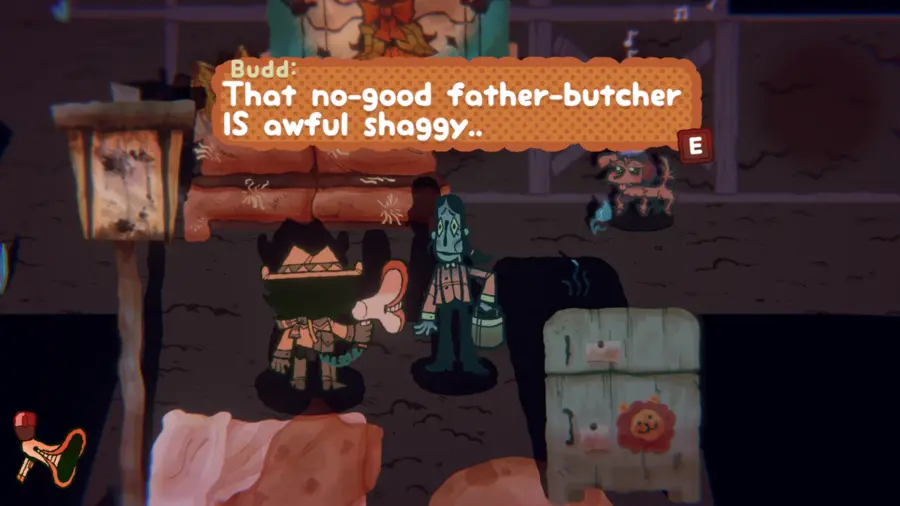
Your innocence now proven, Budd is more than willing to tell you about the history of Milldread. He remembers a song the community used to sing before the harvest, but can only remember one of the four lines. Even then, he’s not sure what the correct order of the lines are. Suck up “The snacks are made of friendliness; the drinks are filled with glee.”
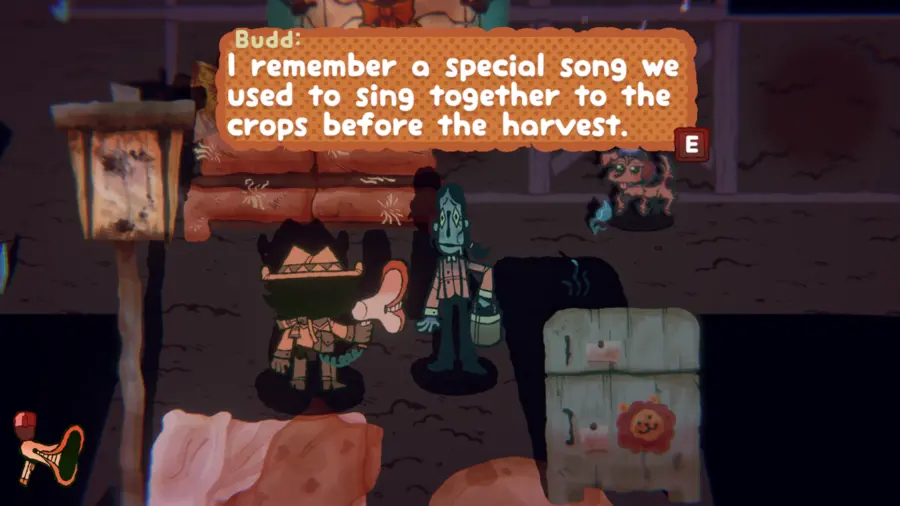
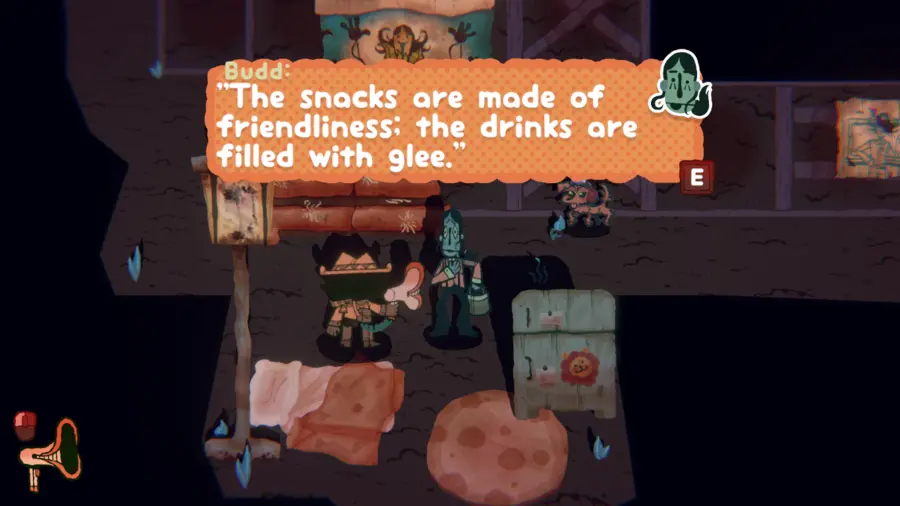
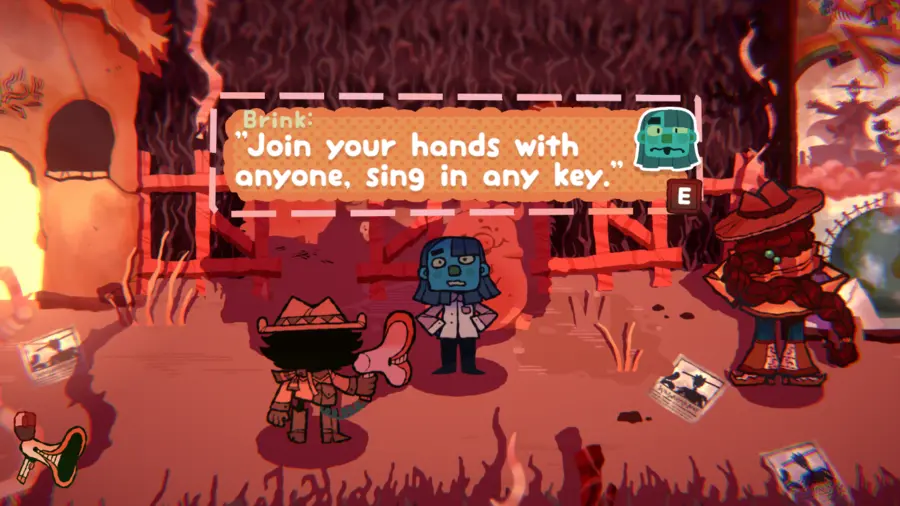
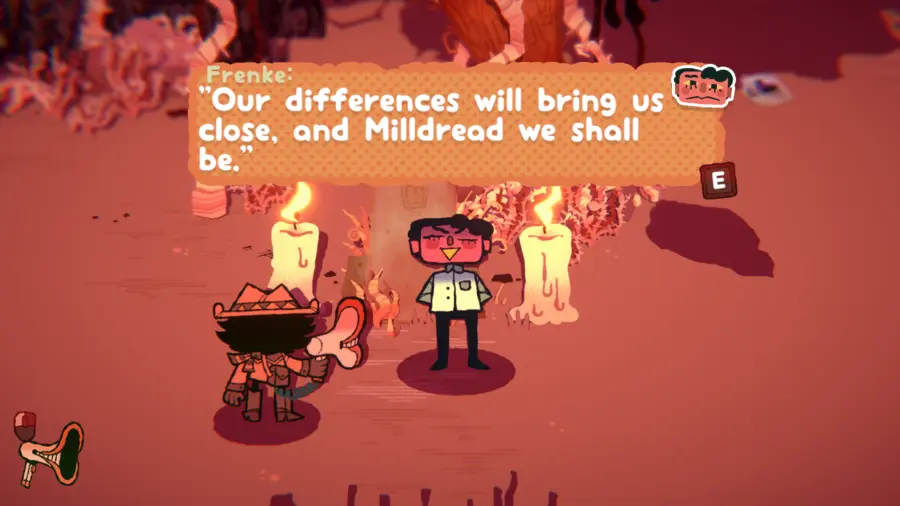
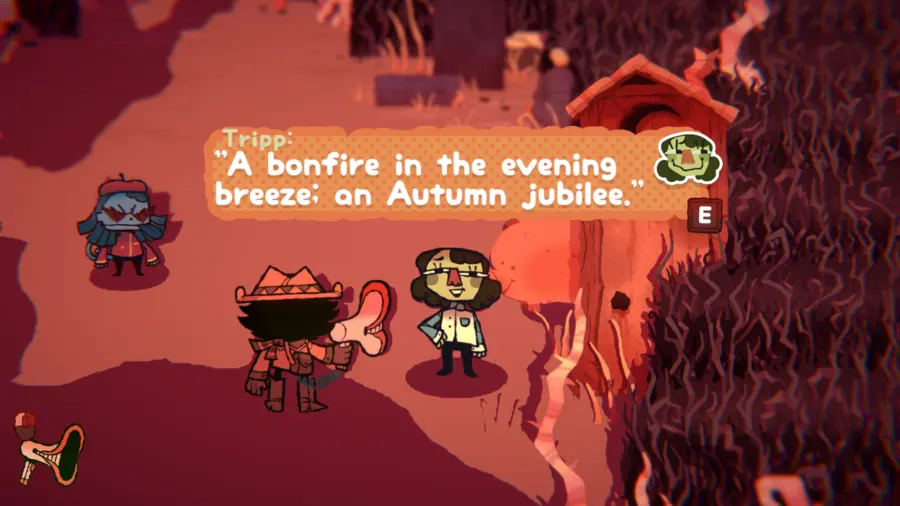
Head out of the cata-home to find the three other lines for the song. These lines are:
“Join your hands with anyone, sing in any key.” with Brink, whose hiding behind a pig outside Bayker’s Bakery
“Our differences will bring us close, and Milldread we shall be.” with Frenke, whose hiding behind a rock near the center of Milldread
And “A bonfire in the evening breeze; an autumn jubilee.” with Tripp, whose hiding in an outhouse next to Ale
After sucking each of these lines up, return to Budd’s cata-home. Deeper inside, there is a lone tree. Give the tree each of the lines, in the order Tripp, Budd, Brink, Frenke. Upon successfully completing the song, a Milldread Berry will grow. Collect it and head outside.
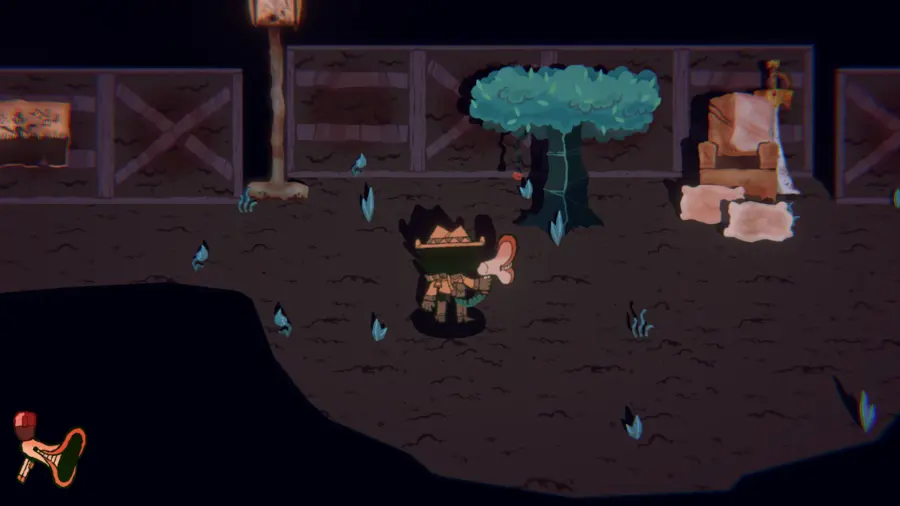
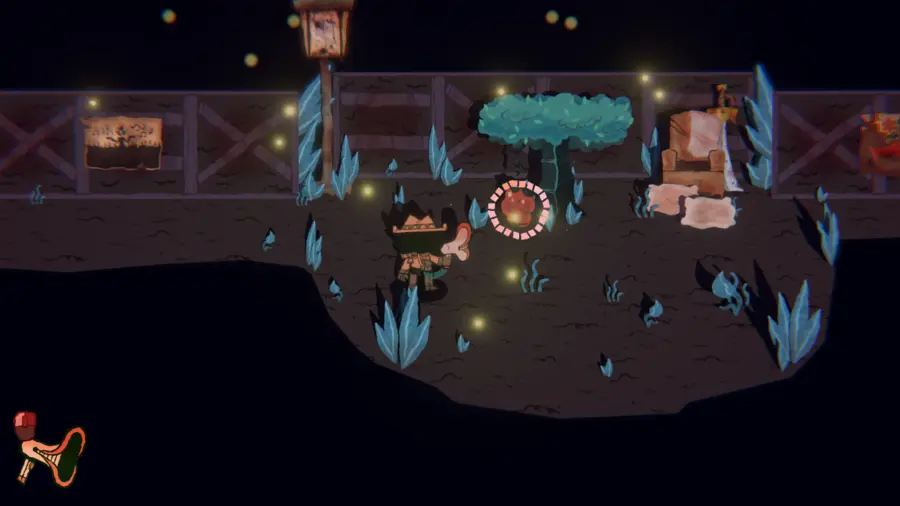
All is not good with Saul at all, y’all. In spite of your efforts, he’s about to enact his blood sacrifice. Luckily for you, he’s really slow with it.
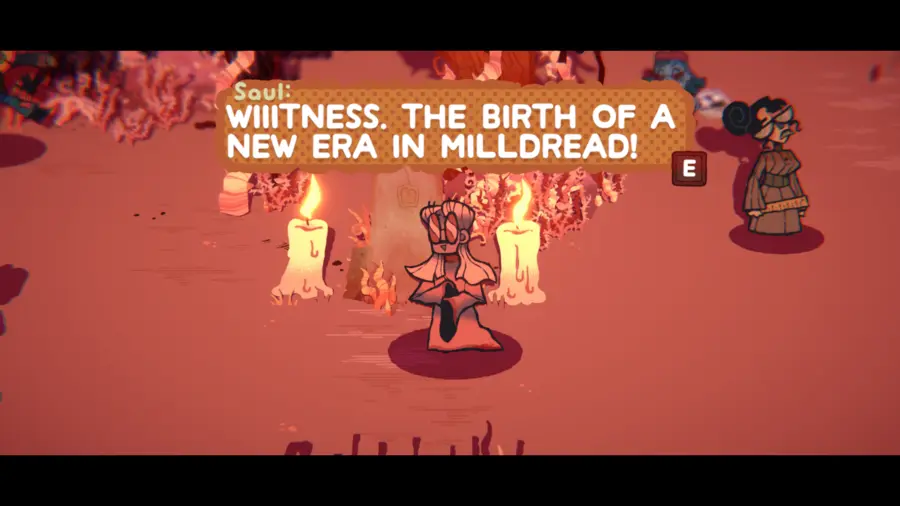
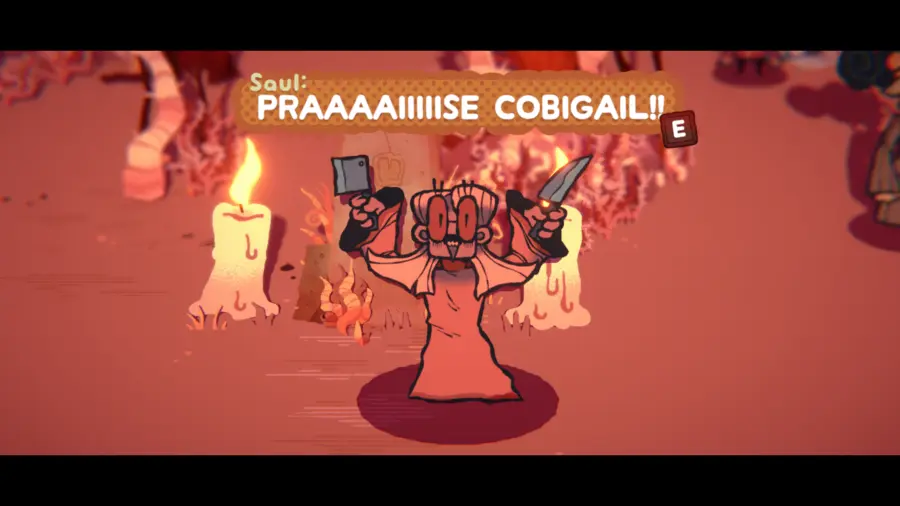
Return to Cobigail’s chamber, and present her the Milldread Berry. She realizes that the town used to eat jam made out of the Milldread Berry. Suck up “Ol’ Bloom used to make milldreadberry jam for the whole town!” Now remembering the true meaning of the harvest, and how the crops bloomed through the power of love and friendship, Cobigail encourages you to begin the harvest proper and remind the townsfolk what it’s really about.
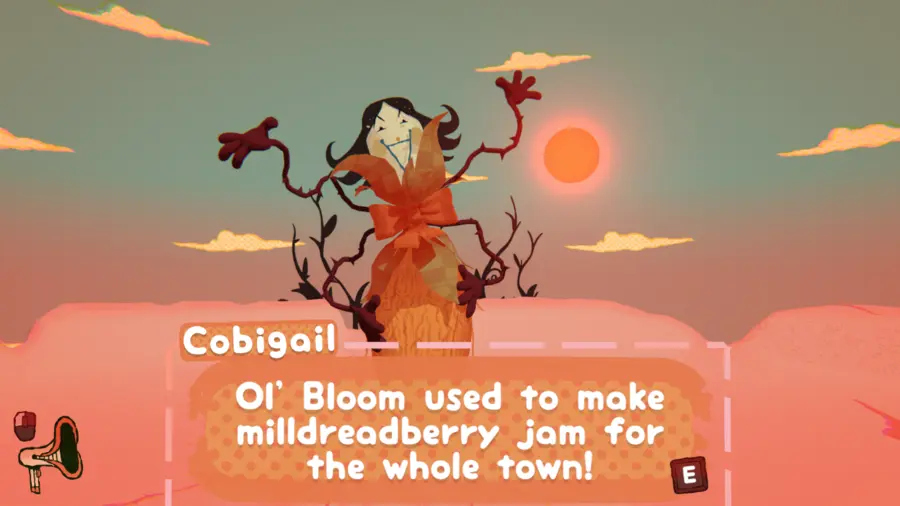
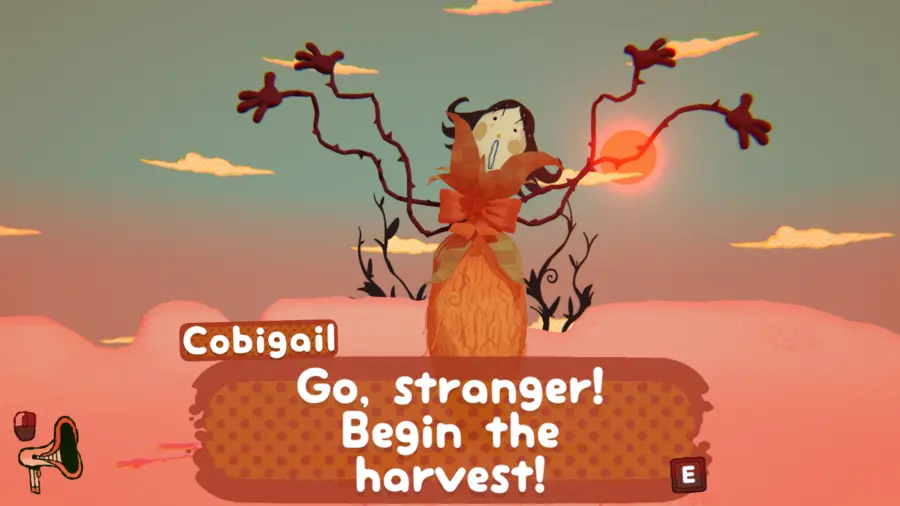
Head to Bayker and present them with the Milldread Berry. After some reminiscing, give them “Ol’ Bloom used to make milldreadberry jam for the whole town!” to remind them of the town’s tradition.
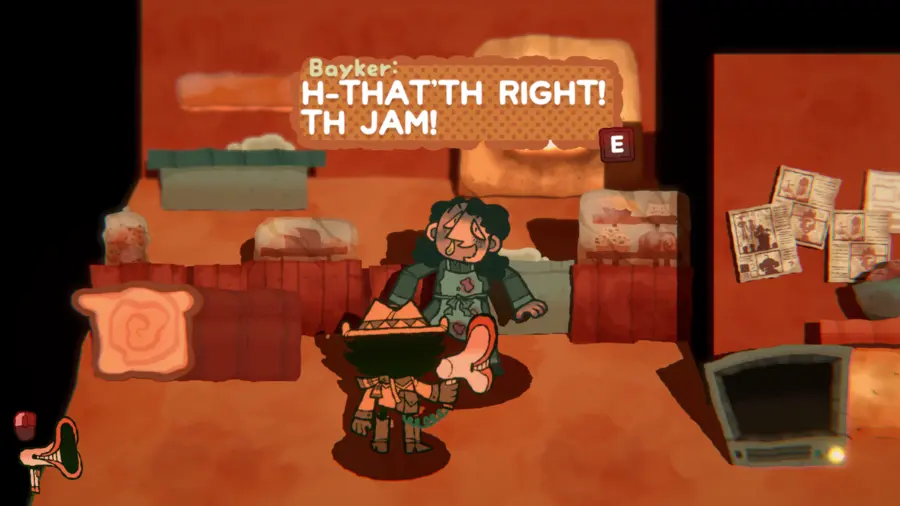
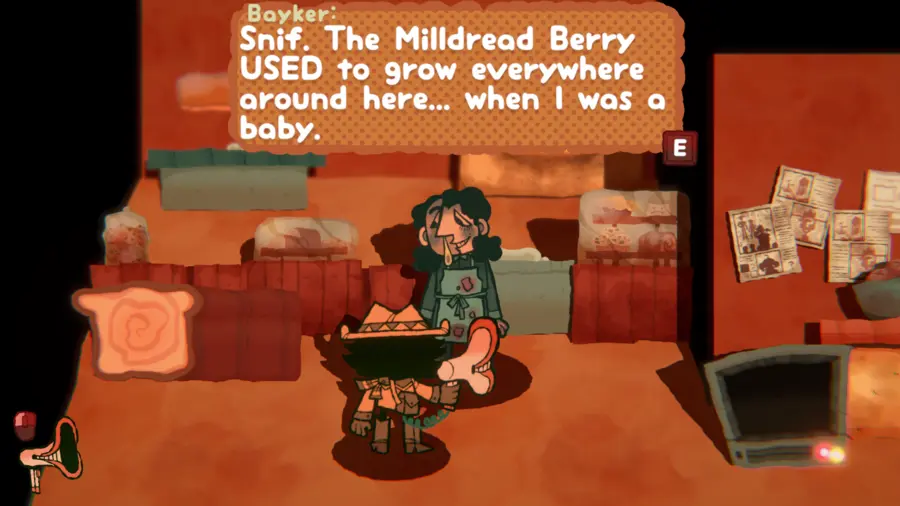
Give Bayker the Milldread Berry again, and they’ll lovingly make a jar of Milldreadberry Jam. Collect it and head outside. Once there, return to Saul and throw the jam jar in his ♥♥♥ face.
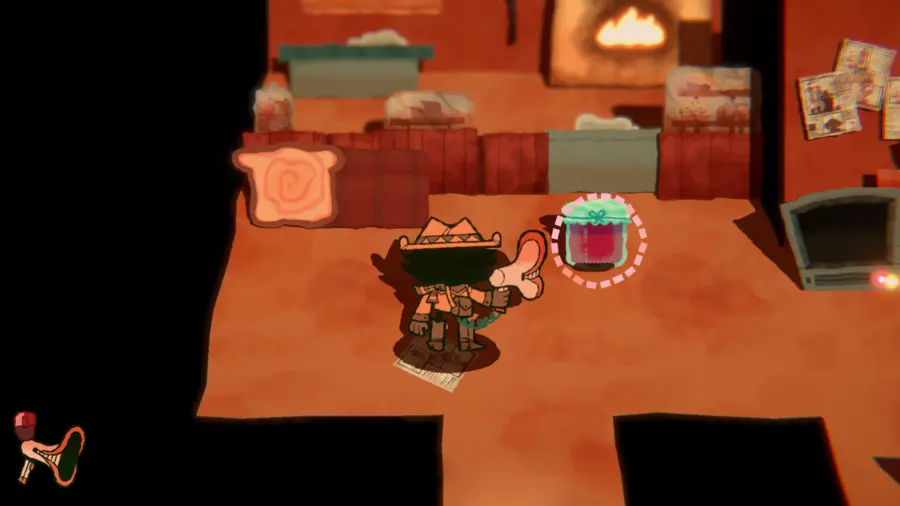
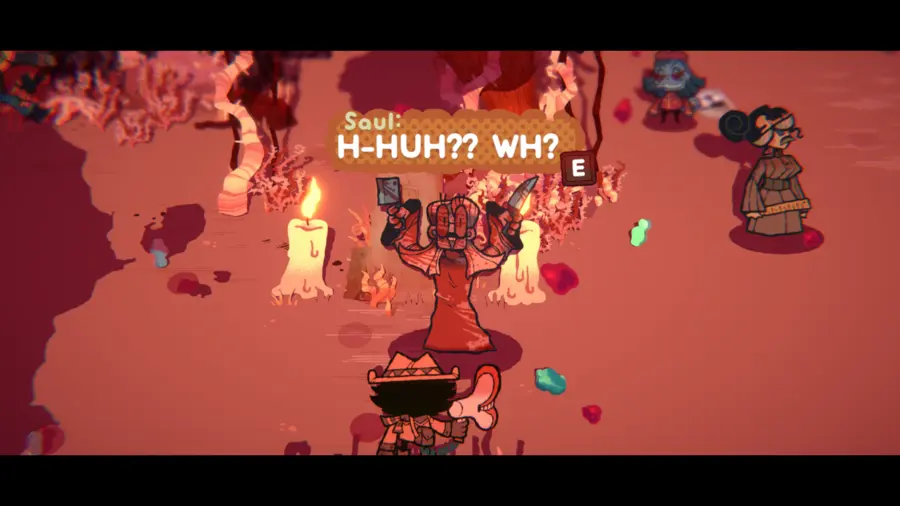
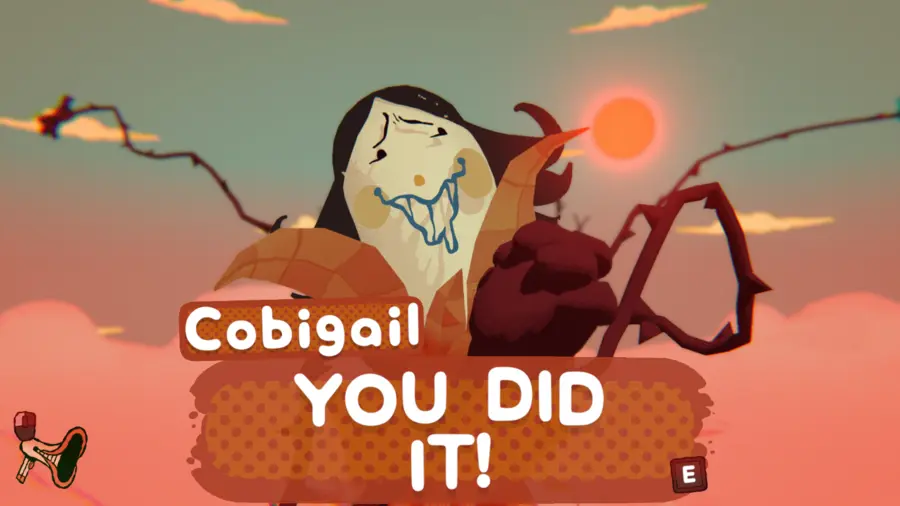
The townsfolk of Milldread are reminded of the true meaning of the harvest. It’s all very heartwarming, and a couple people cry. Return to Cobigail’s chamber, and she’ll praise your efforts. The path through the top of Milldread will now be unlocked, and you’re able to progress further.
BizzyBoy Battle 1: Milldread’s Edge Walkthrough
Upon passing through another Inspekta checkpoint, you’ll be ambushed by the BizzyBoys. They want to arrest you for the crime of stealing a pumpkin, or…something. This commences the first BizzyBoy Battle Sequence.
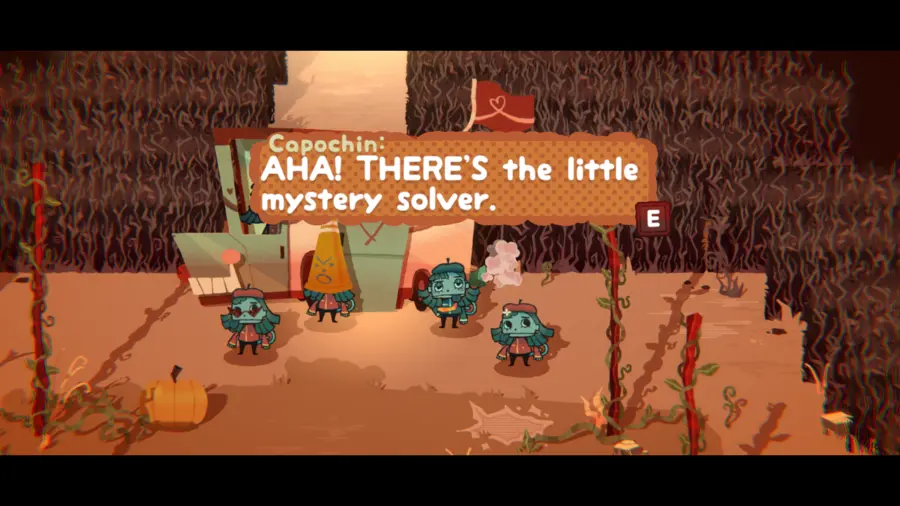
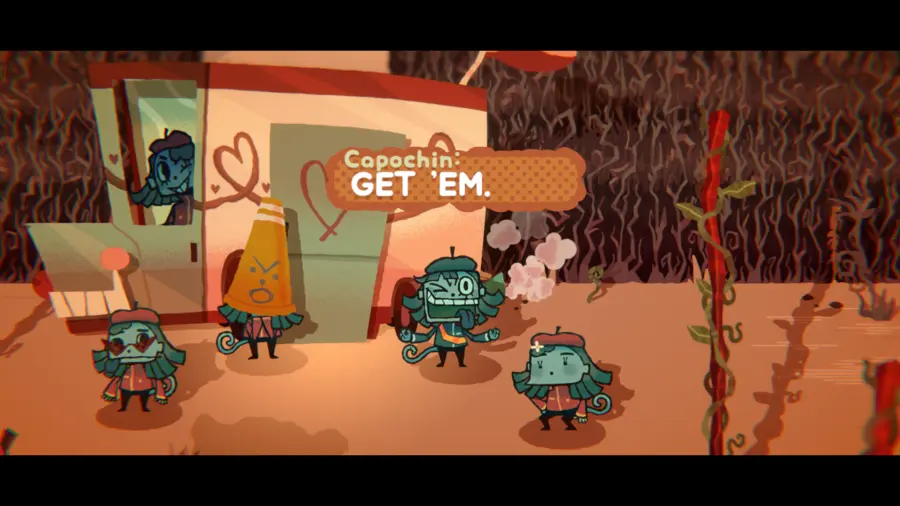
At the start of the battle, Ale and P both charge at you. Beat them into submission by tossing pumpkins at them.
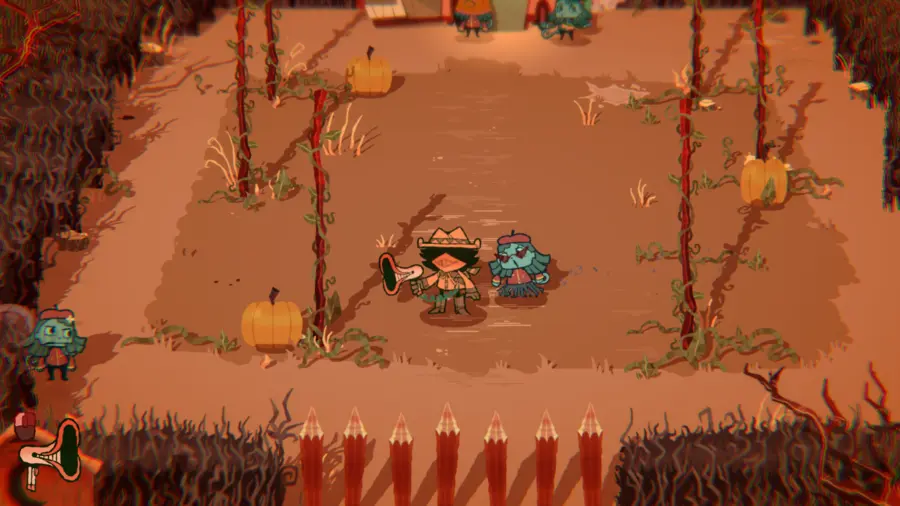
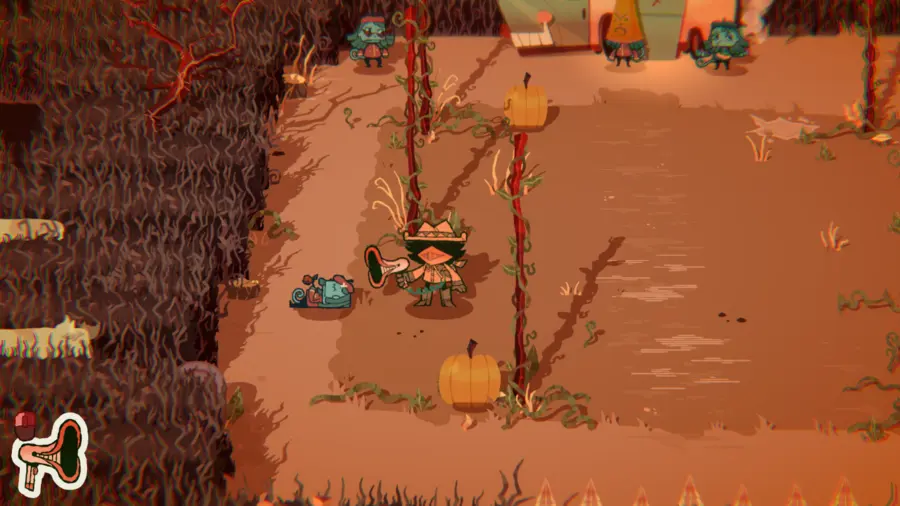
Once the first two foes are vanquished, Capochin deploys one of his Armored Division troops.
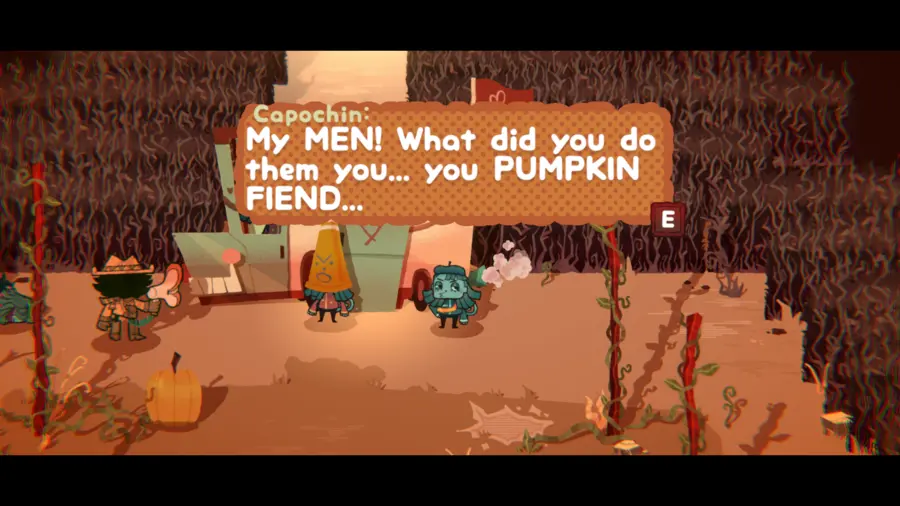
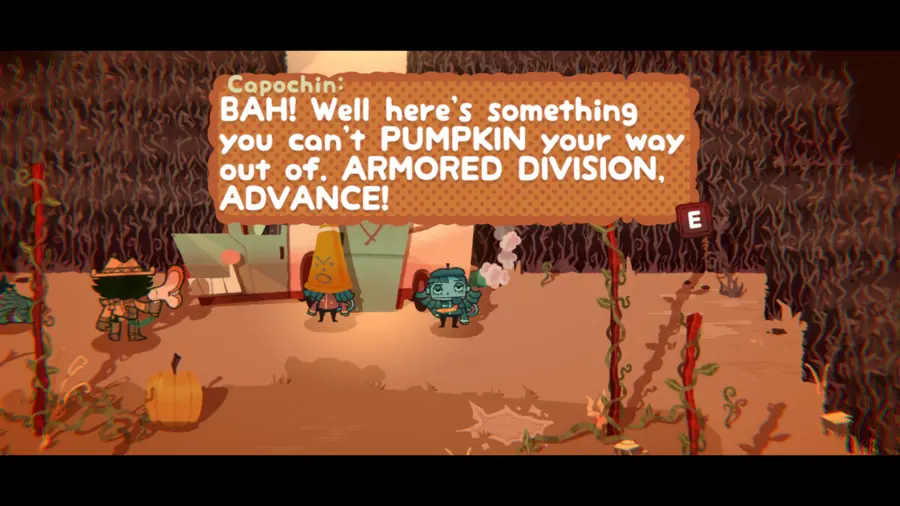
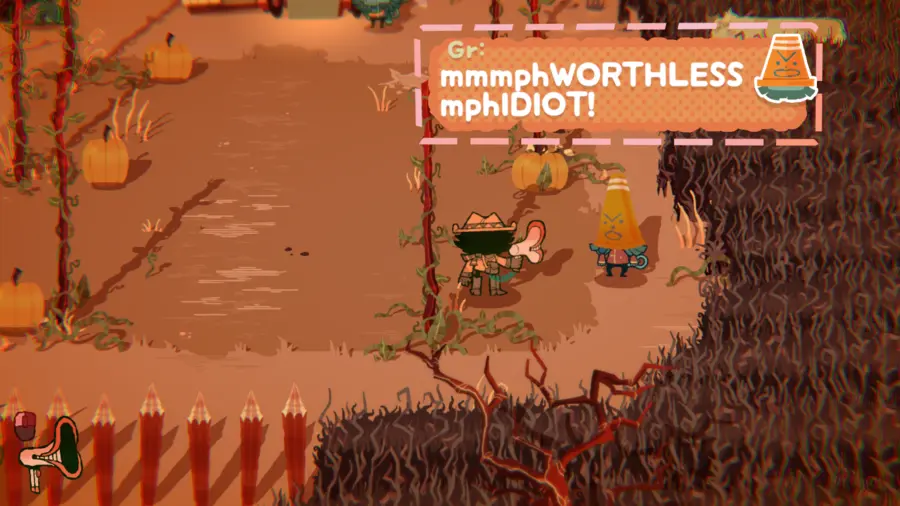
Due to his cone-head protection, Gr cannot be vanquished by your pumpkin-based attacks. Throw a pumpkin at him to trigger his dialogue and reveal his weakness. Suck up “mmmphWORTHLESS mphIDIOT!” and then shoot it right back to him. Gr is emotionally vanquished and concedes the fight.
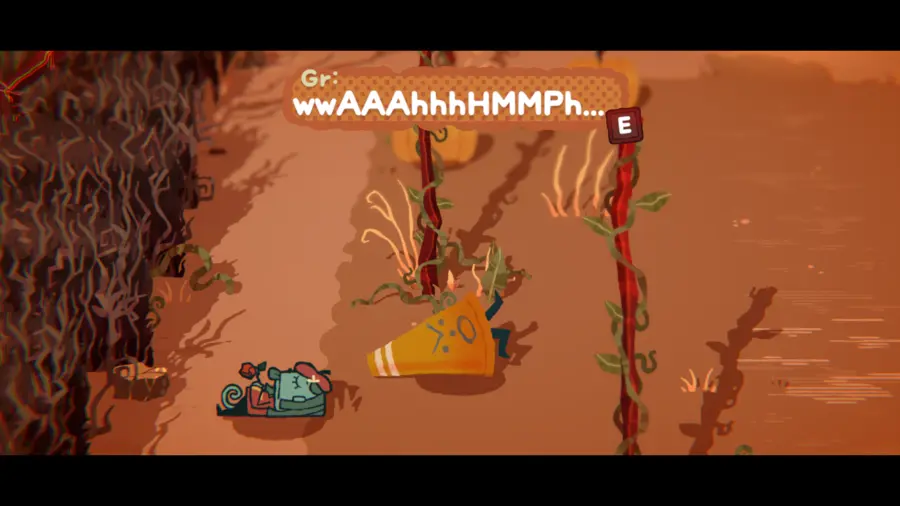
With all three of his champions bested, Capochin surrenders, and pardons the crime(s) you’ve probably committed (?). The door to Inspekta’s campaign van will open up. Inside, Inspekta apologizes on the behalf of his BizzyBoys, and warns you about the upcoming HobbyHoo Hills, where another of King’s letters that was sent to Click Clack.
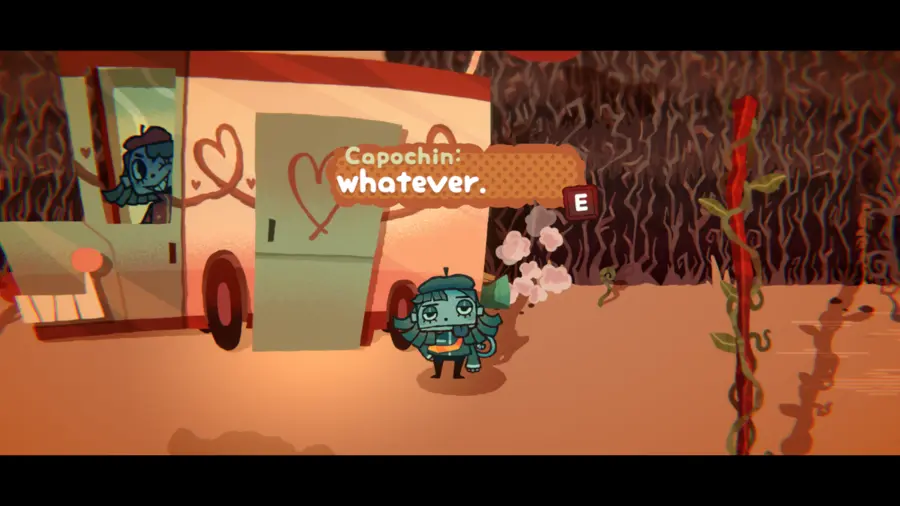
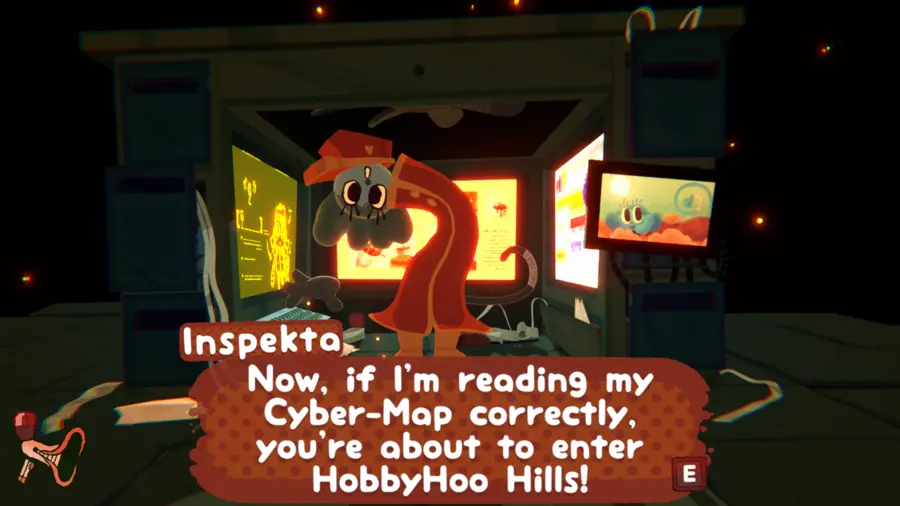
Exit Inspekta’s campaign van, and the path ahead will be opened for you, allowing you to walk towards HobbyHoo Hills.
Chapter 3: HobbyHoo Hills Walkthrough
HobbyHoo Hills (and Thespius)
Upon entering HobbyHoo Hills, the stage play is a dumpster fire, and the actors refuse to play because there’s no music on. Talk to their scoring band, Sunflower Dreamboat, in the bottom of HobbyHoo Hills. There, they explain they’re uninspired by the show’s performance, and beg for Thespius to give them advice.
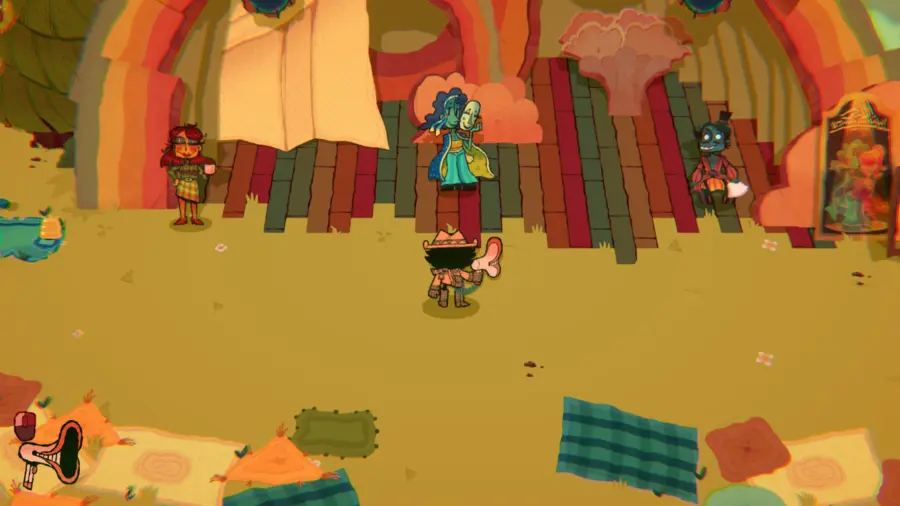
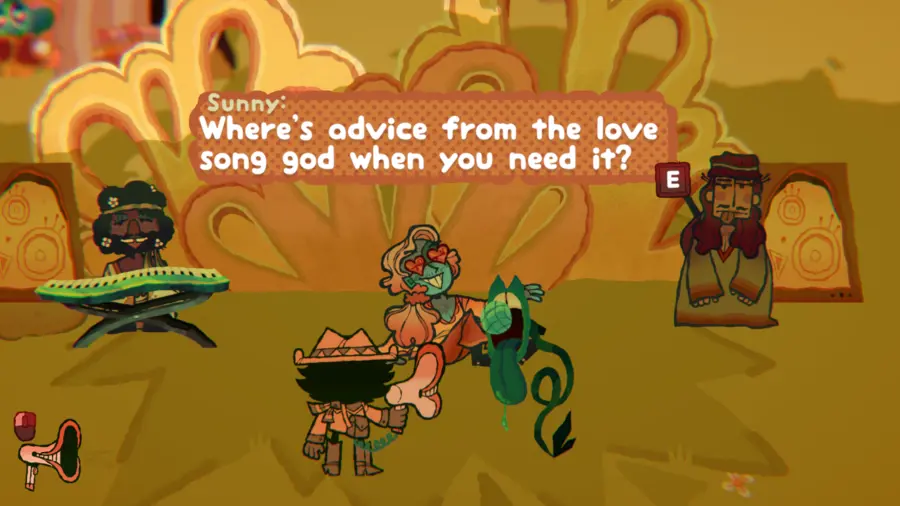
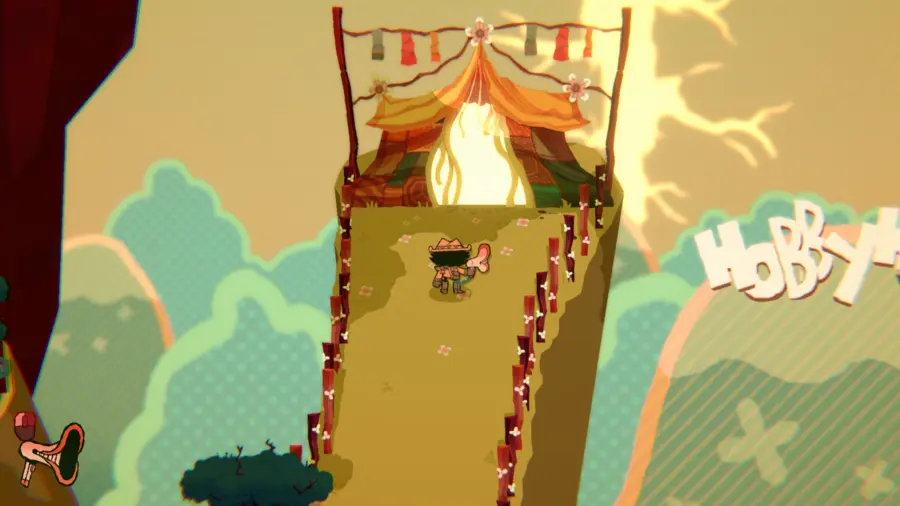
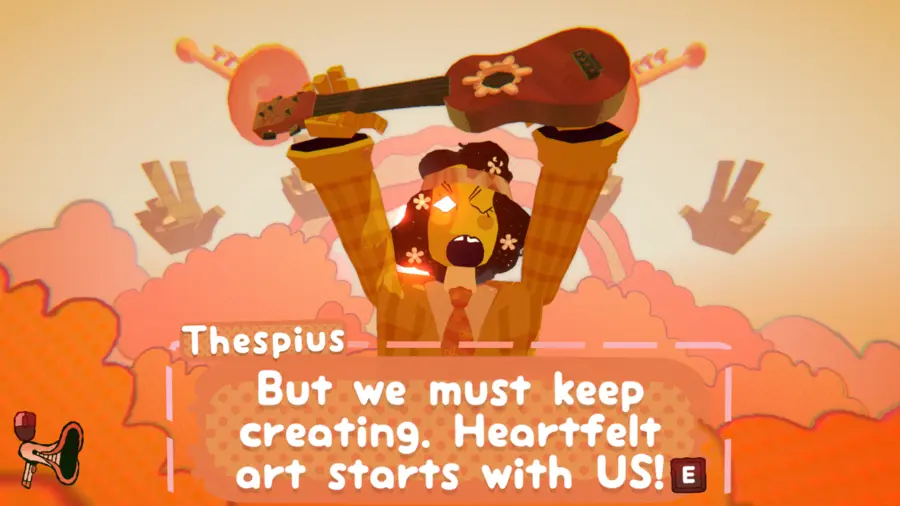
Head to the top of HobbyHoo Hills, into Thespius’ chamber. After sitting through some dialogue, suck up “But we must keep creating. Heartfelt art starts with US!”
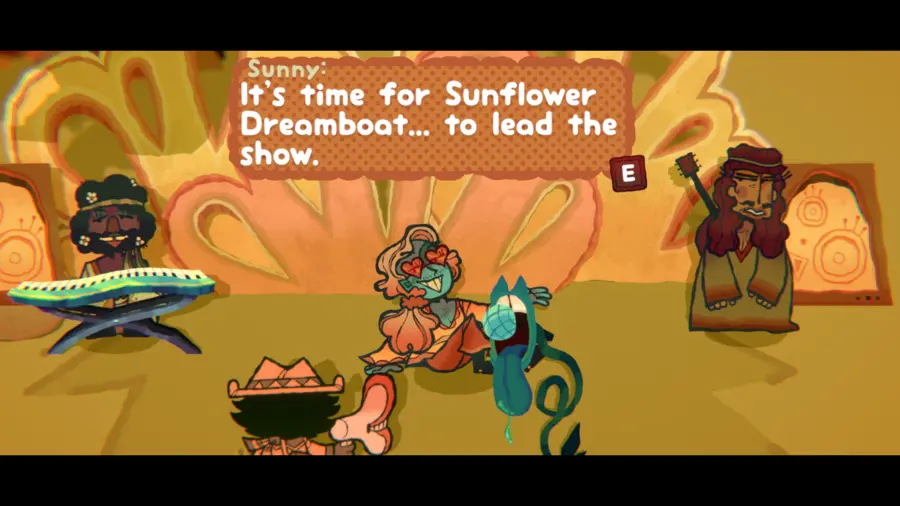
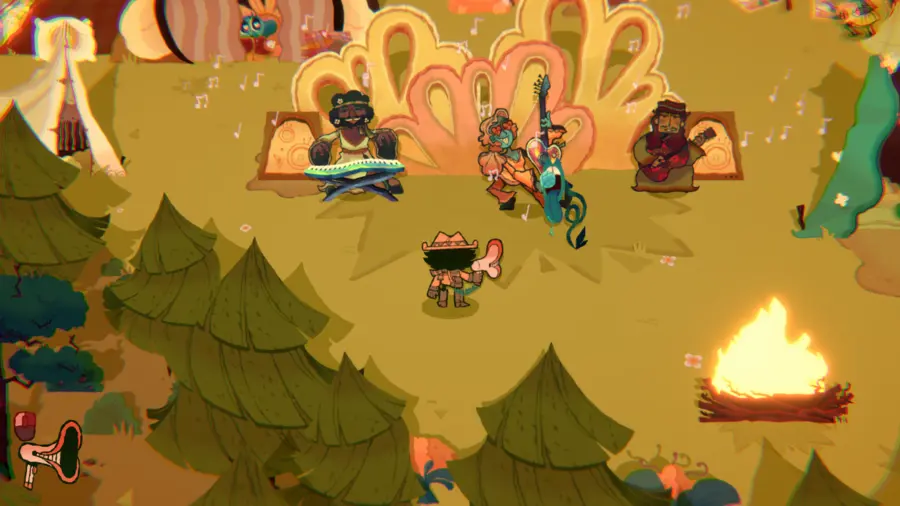
Return to Sunflower Dreamboat and give them the dialogue you just collected. The band will regain their confidence and start scoring the stage play again, changing their music to match the mood of the lighting.
At the stage, use your Megapon to set the mood lighting to upbeat. Then, talk to Byella and suck up “Your personal flair makes your art so special!”
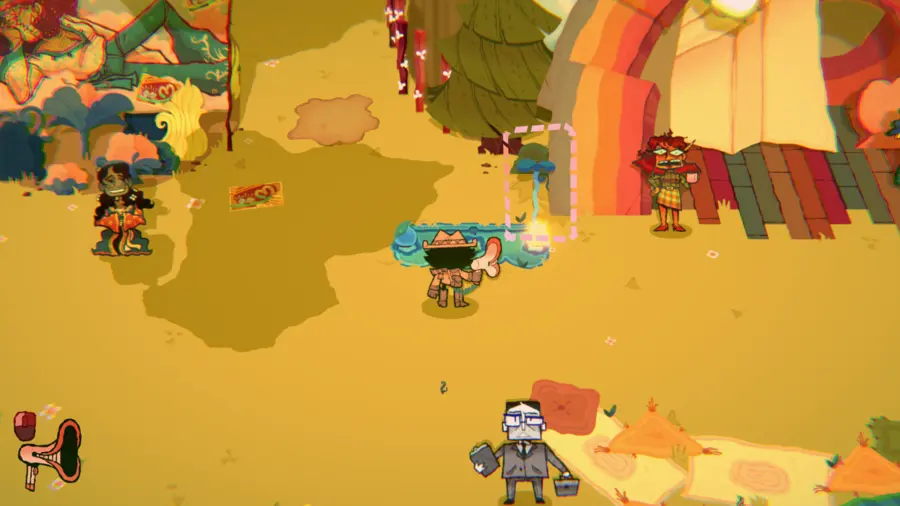
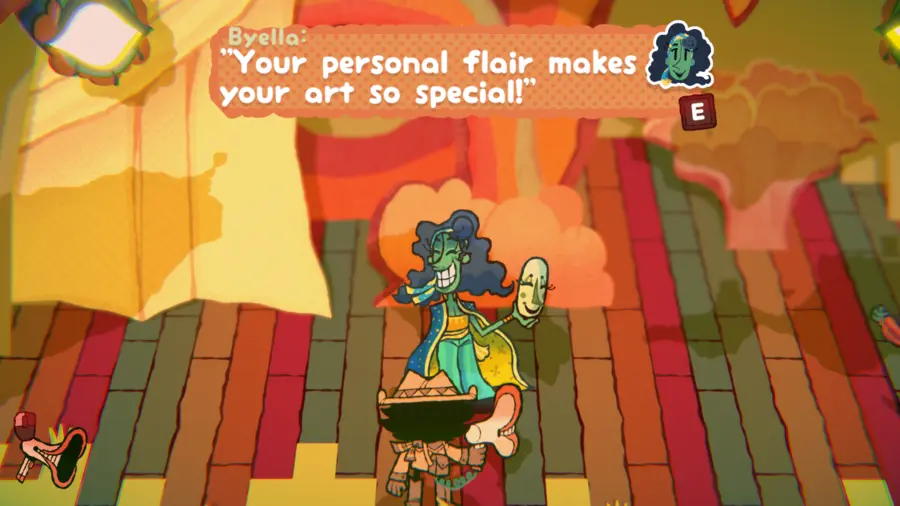
Head past Capochin and talk to Kondle. He’s upset after Rick Brick (a corpo schmuck) told him his act was too weird, and is now afraid to perform. Give him the dialogue you just collected.
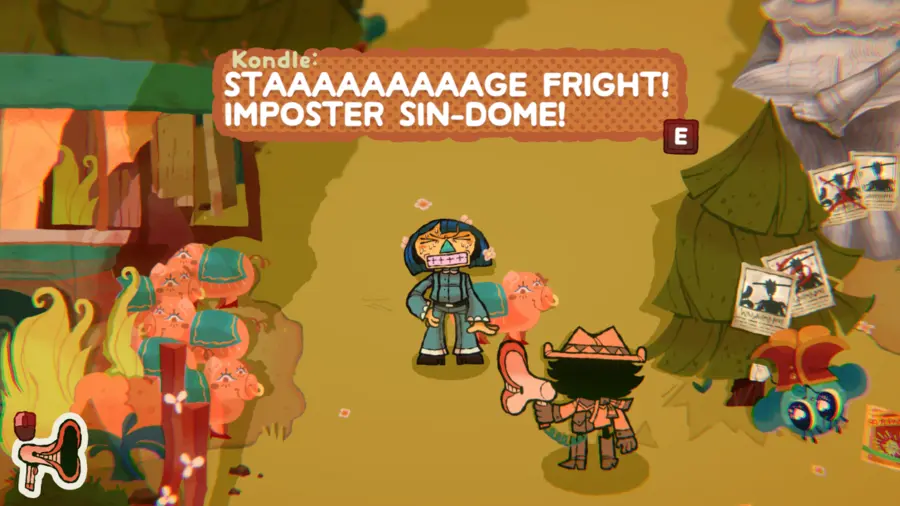
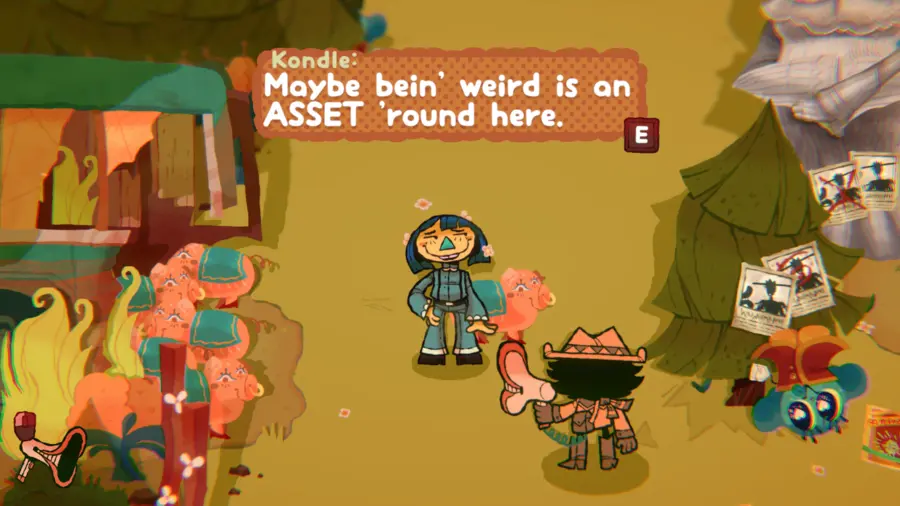
Kondle regains confidence in his skills, and tells you to meet him in the HobbyHoo Strip. Him and his pigs walk off, leaving the bus pathway open.
HobbyHoo Strip (and Click Clack)
Cross through into HobbyHoo Strip. After some dialogue with the BizzyBoys, enter Clicky Tower.
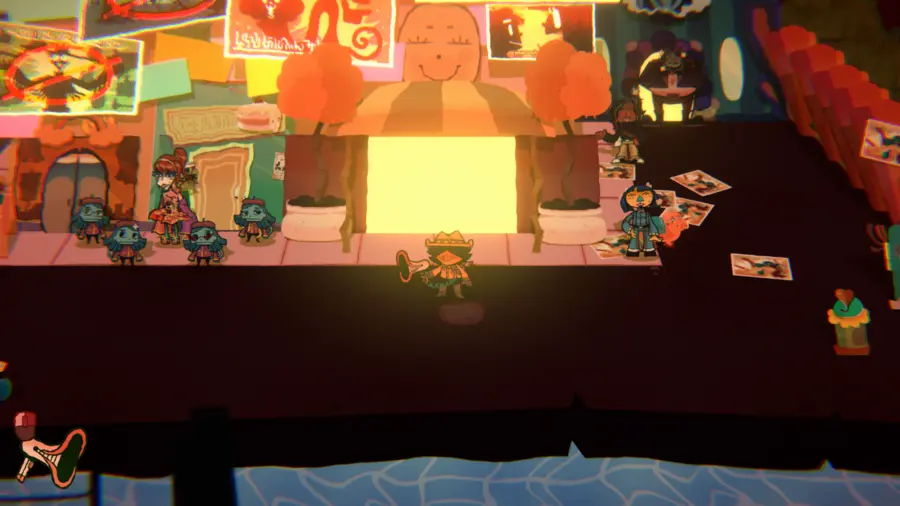
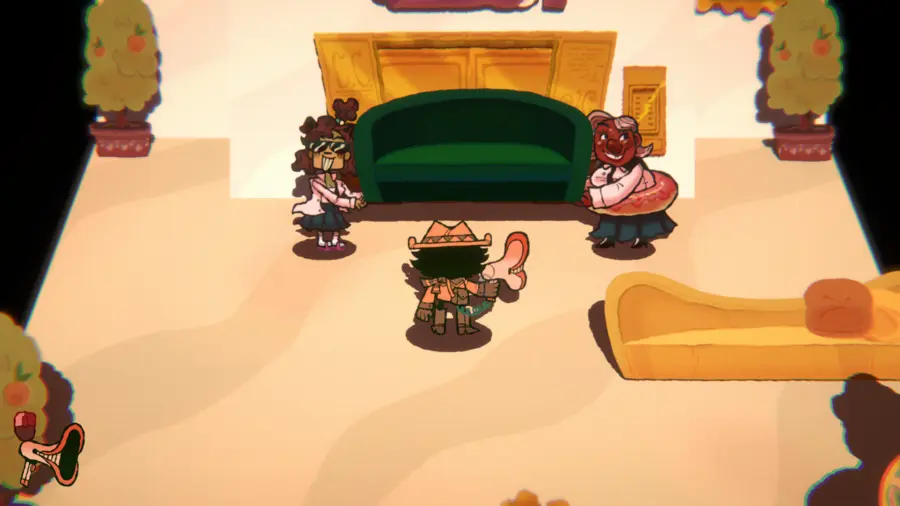
There, two workers are misinterpreting Click Clack’s directions, and pulling a couch in opposite directions. This is blocking the entrance to his chamber. Return to the stage play and set the mood lighting to gloomy.
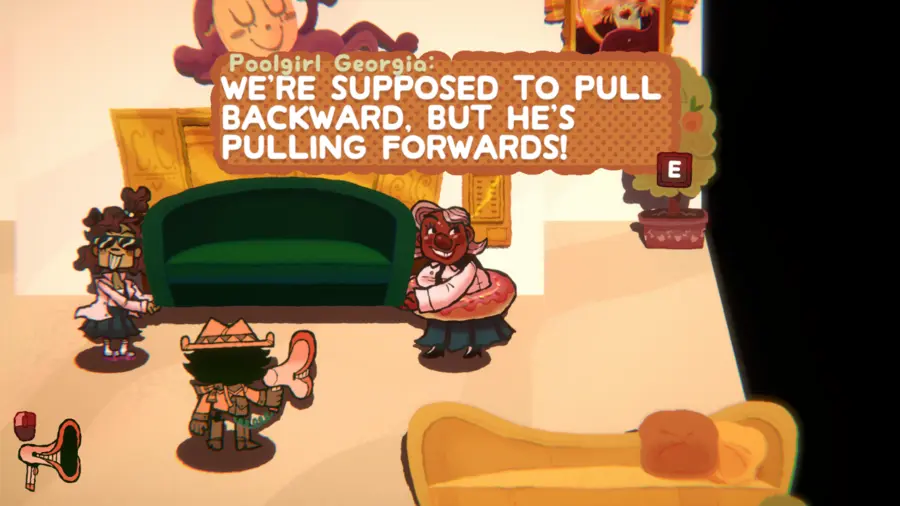
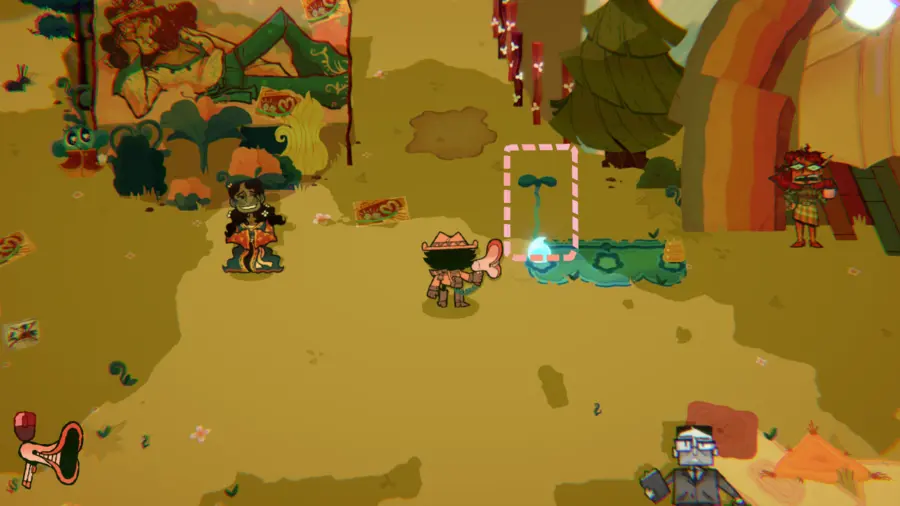
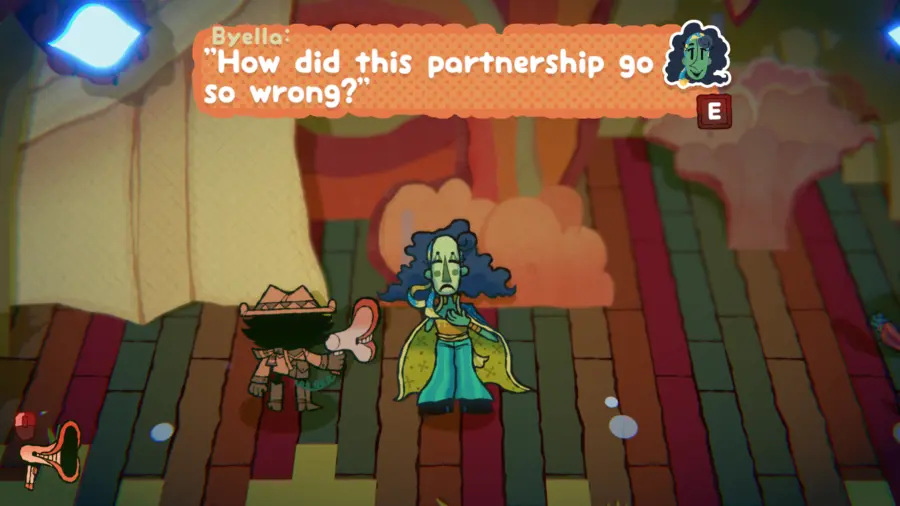
Talk to Byella again, and suck up “How did this partnership go so wrong?” Return to Clicky Tower and give the two workers the dialogue you just collected.
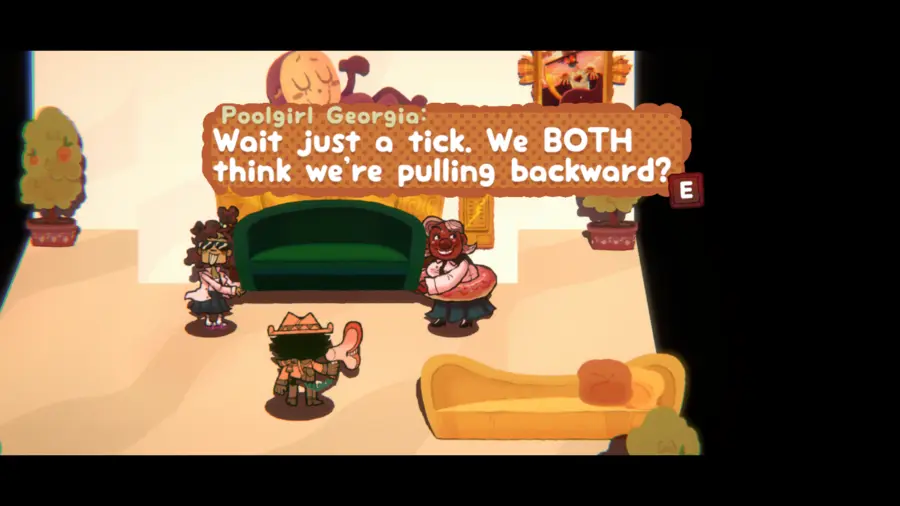
The two workers will come to the realization that they’re both idjits. More importantly, they’ll finally pull the couch out of the way, leaving the entrance to Click Clack’s chamber open. First, return to the stage play and talk to Feldly. Suck up “Whoof, I think it’s time for some editing.”
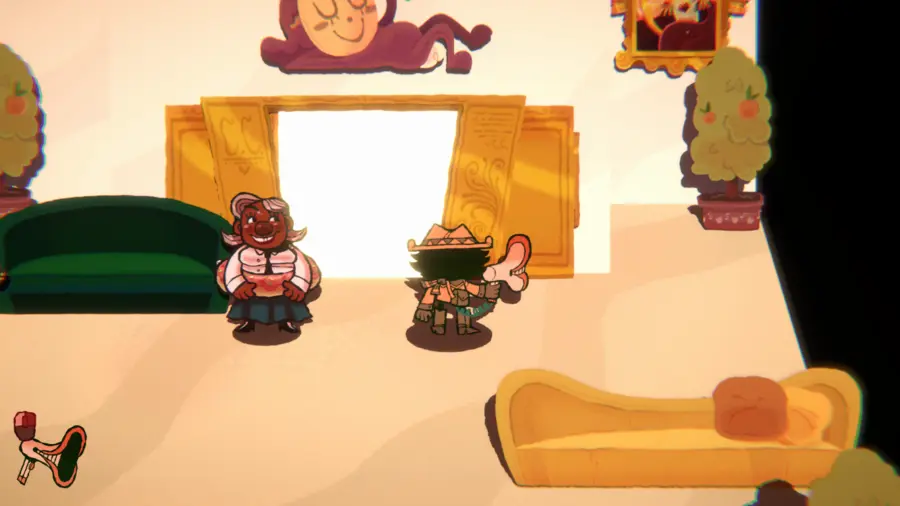
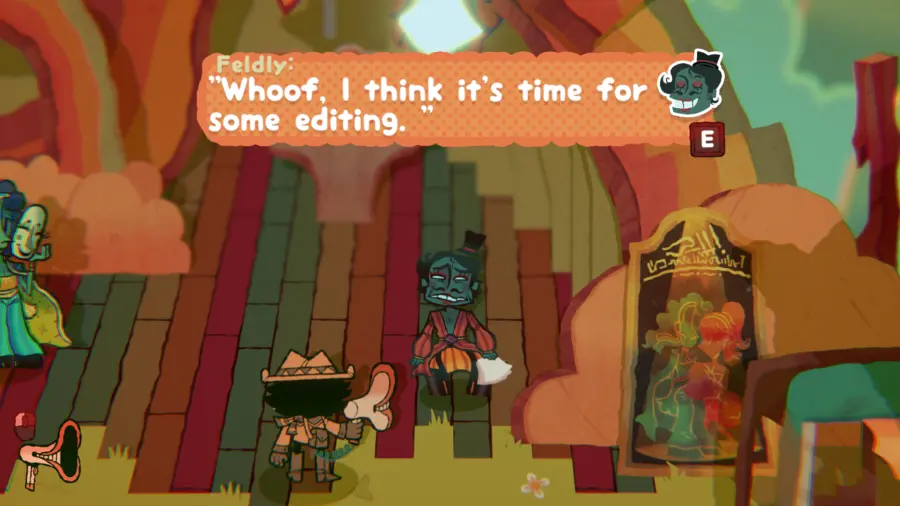
Return to Clicky Tower and finally enter Click Clack’s chamber. Give him the dialogue you just collected. Immediately afterwards, suck up “Editing’s about keepin’ the best stuff and cutting ALL the rest.”
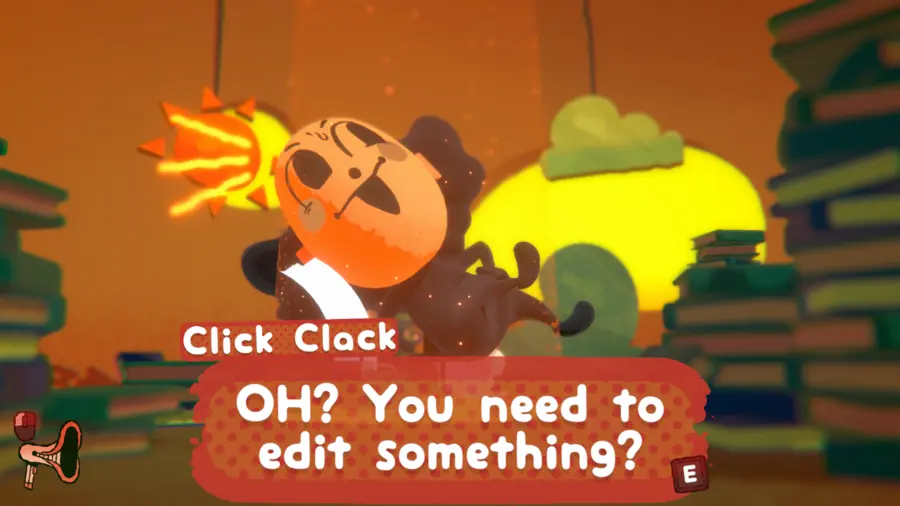
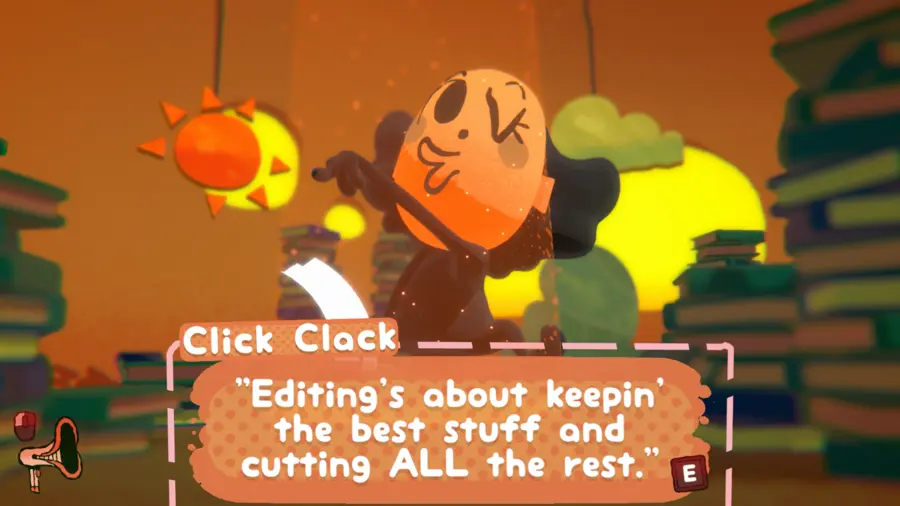
Return to Kondle. While he’s overcome his stage fright, he’s overwhelmed by the sheer amount of stage acts he needs to master. Give him the dialogue you just collected.
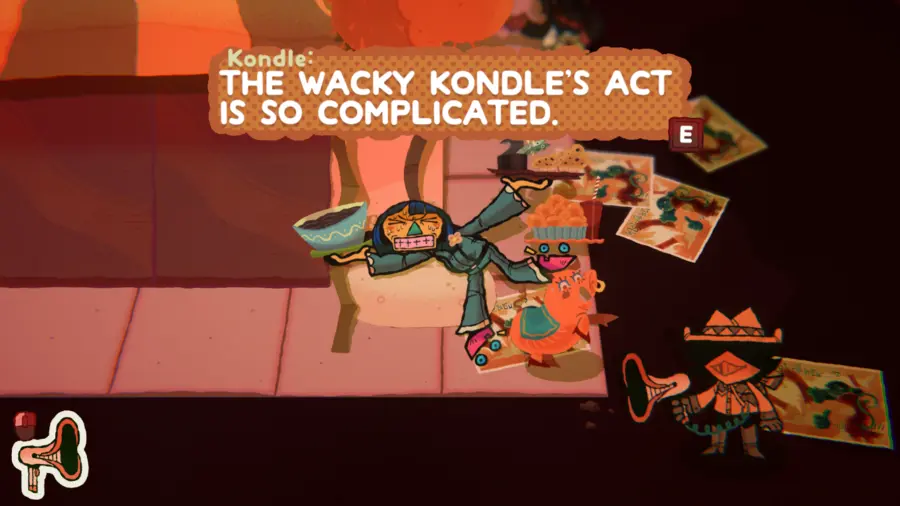
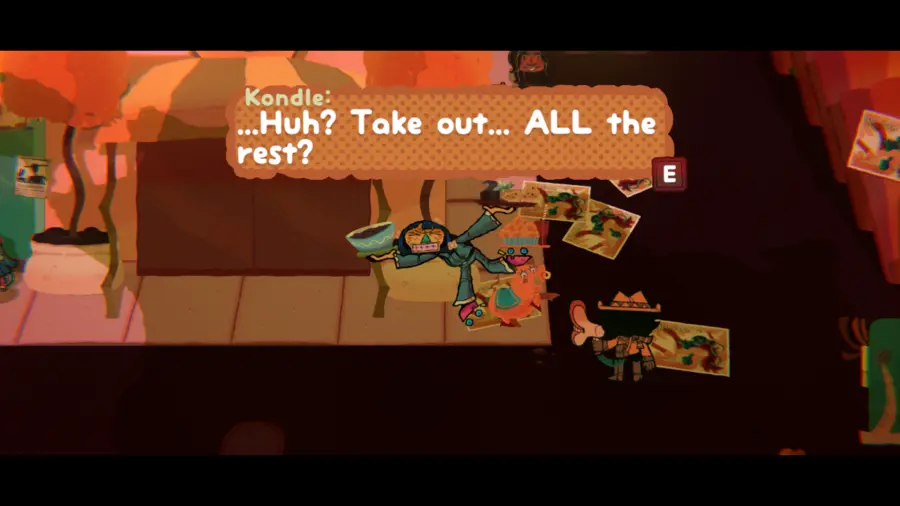
Kondle will begin performing his pigstacking act, which catches the attention of the easily-sidetracked BizzyBoys. With them no longer hounding around Styella, talk to her.
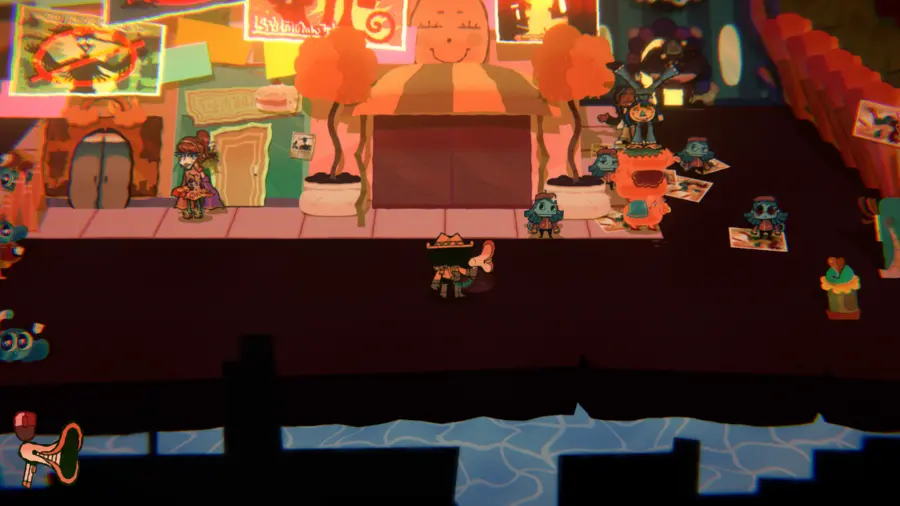
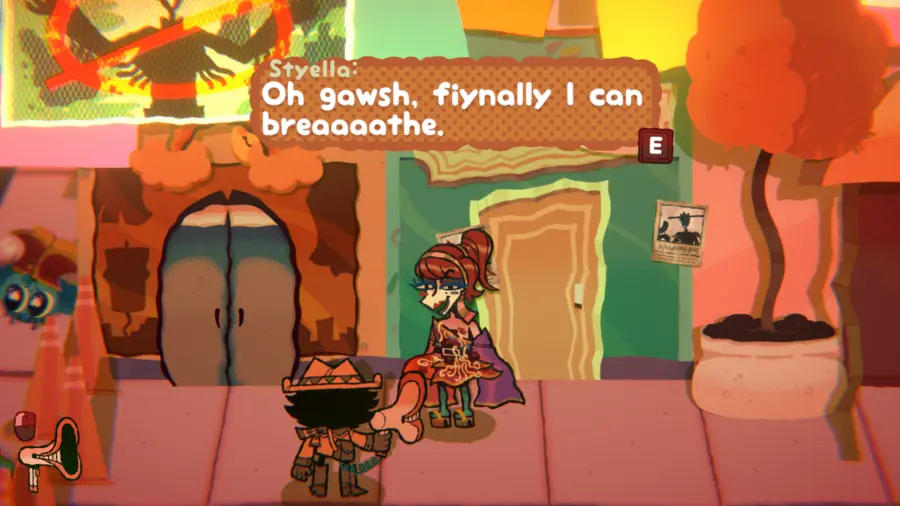
Styella tells you that her dress was ruined due to the stage play’s pasta sauce sponsorship, and she won’t return to rehearsals until she gets a new one. Suck up “Please!!! I need that dress!!!”
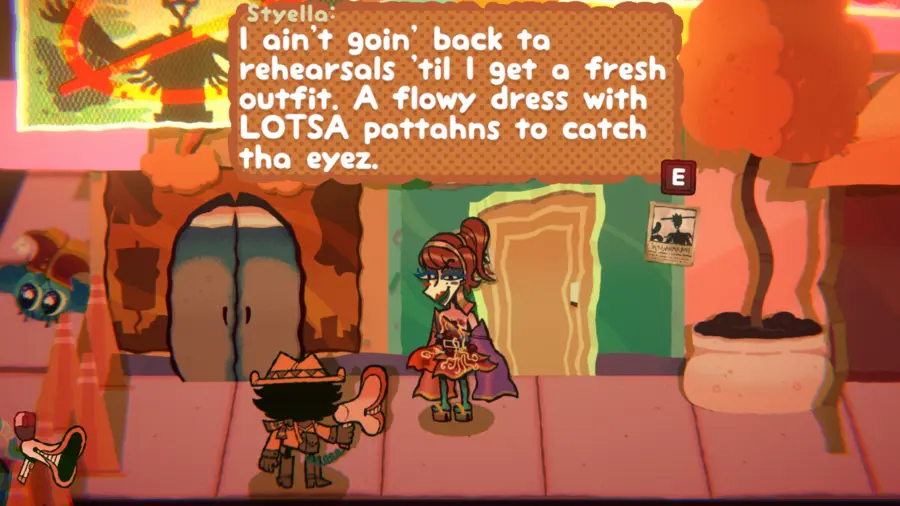
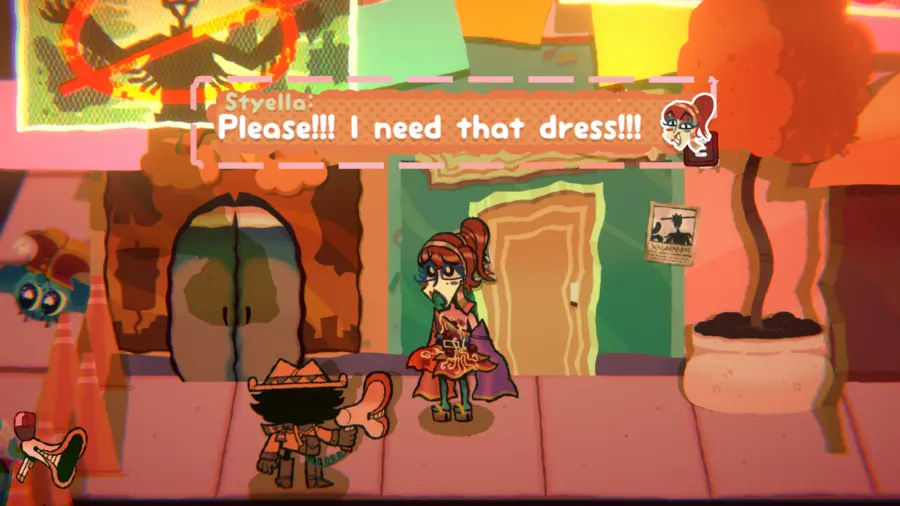
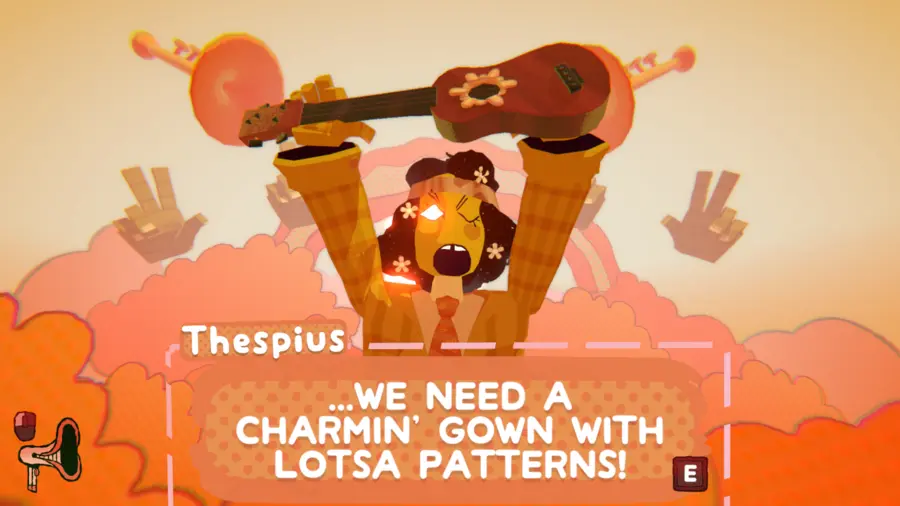
Cross back into HobbyHoo Hills and talk to Byoolah. While they won’t give you their dress now, they would if the offer came from Thespius. Enter Thespius’ chamber and give him the request. Then, suck up “…WE NEED A CHARMIN’ GOWN WITH LOTSA PATTERNS!”
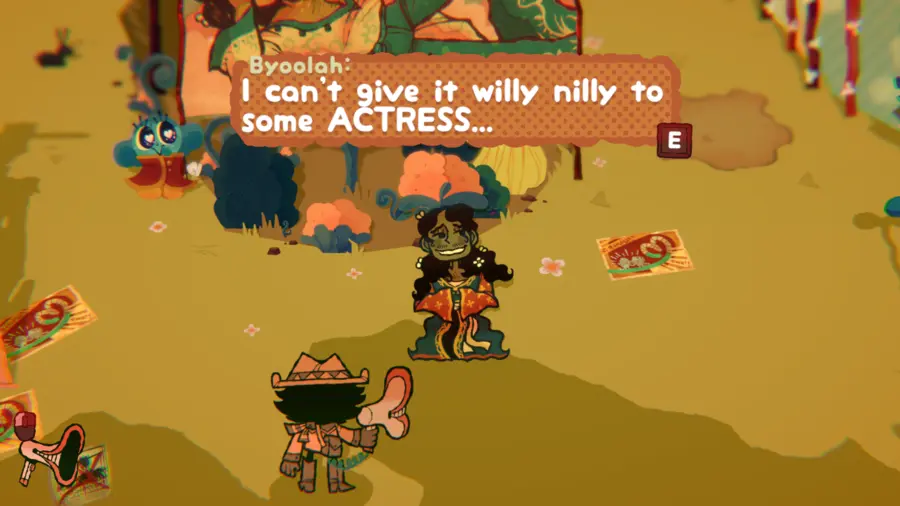
Return to Byoolah and give them the dialogue you just collected. Use your Megapon to suck the clothes right off of them.
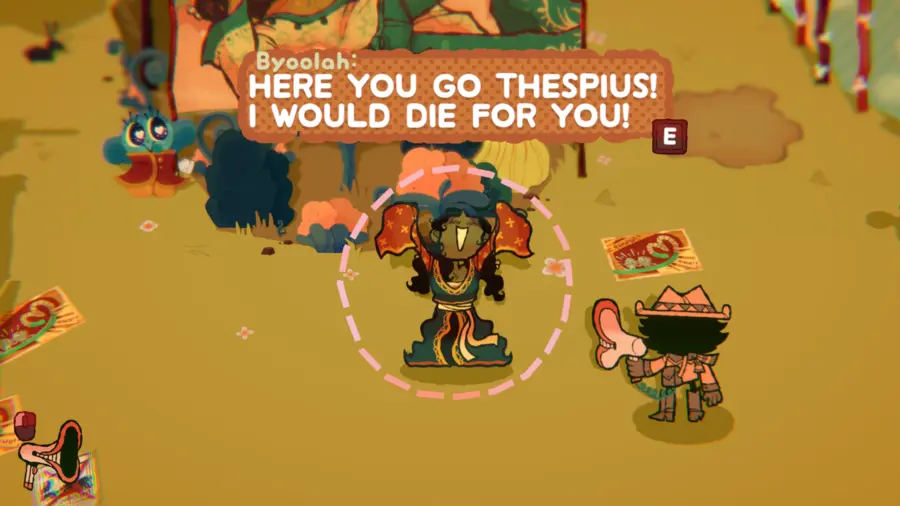
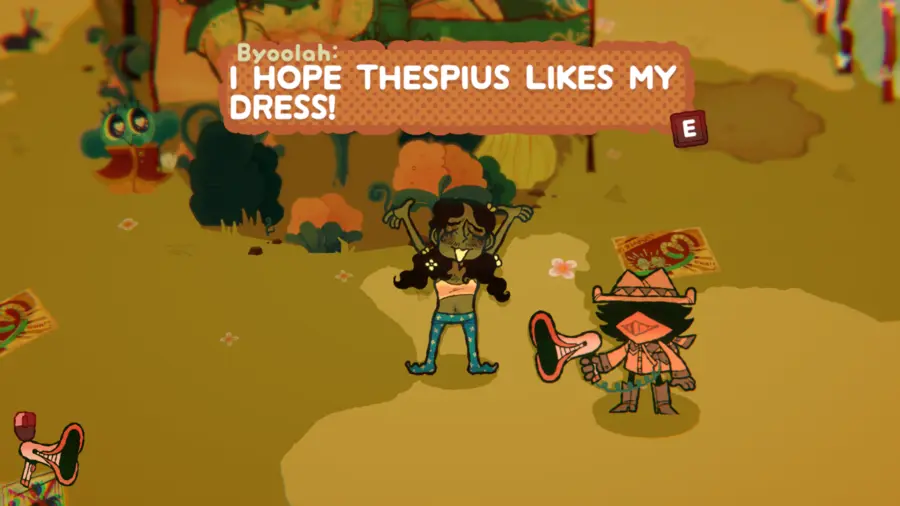
Give the dress you just collected to Styella. She’ll now agree to return to rehearsals. Go back to the stage and talk to her again. Then, suck up “I cain’t take it- OPEN YOAH EYES!!!”
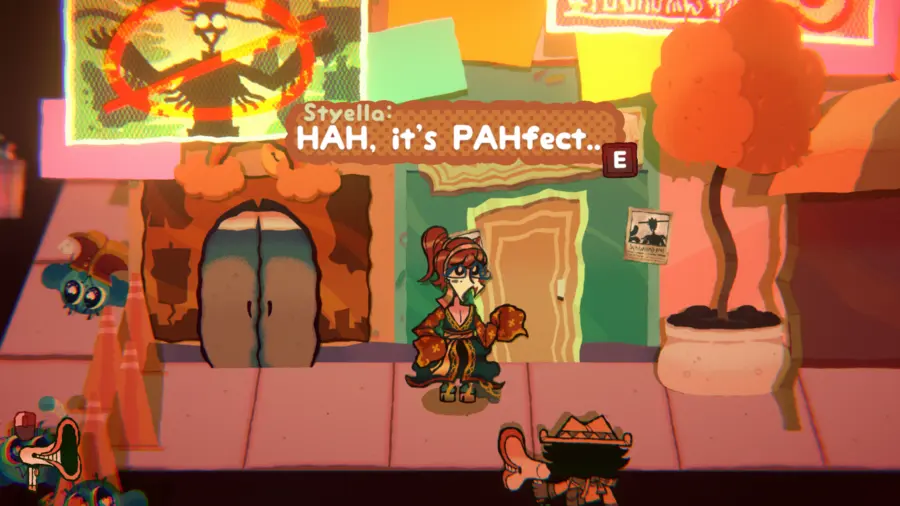
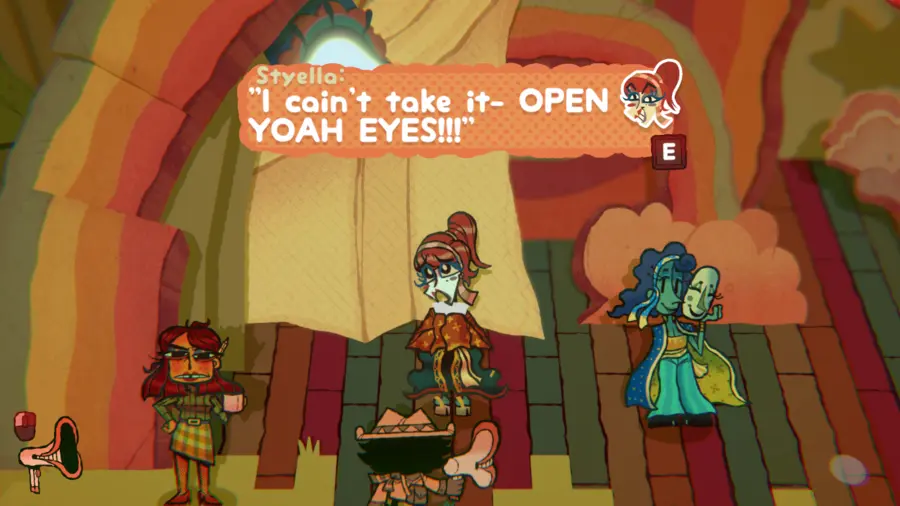
Head back into HobbyHoo Strip. Give the dialogue you just collected to Babua Jon, a sleeping bouncer.
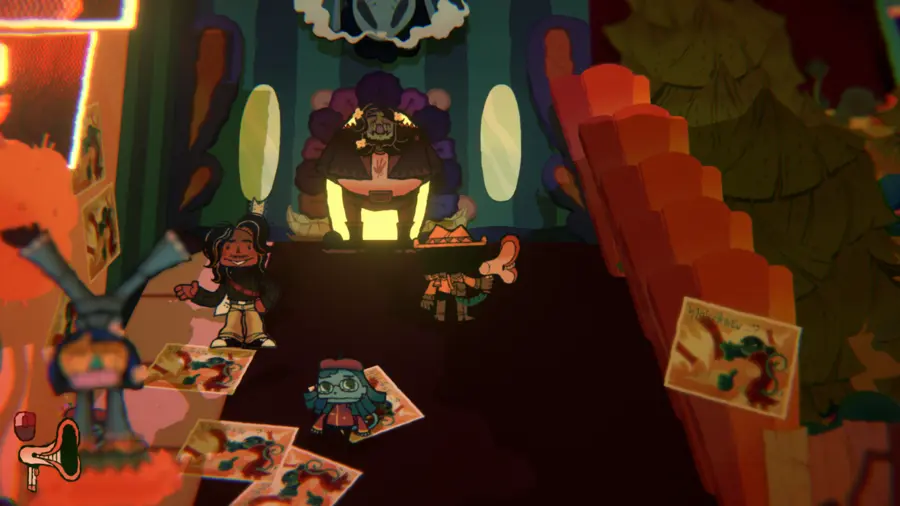
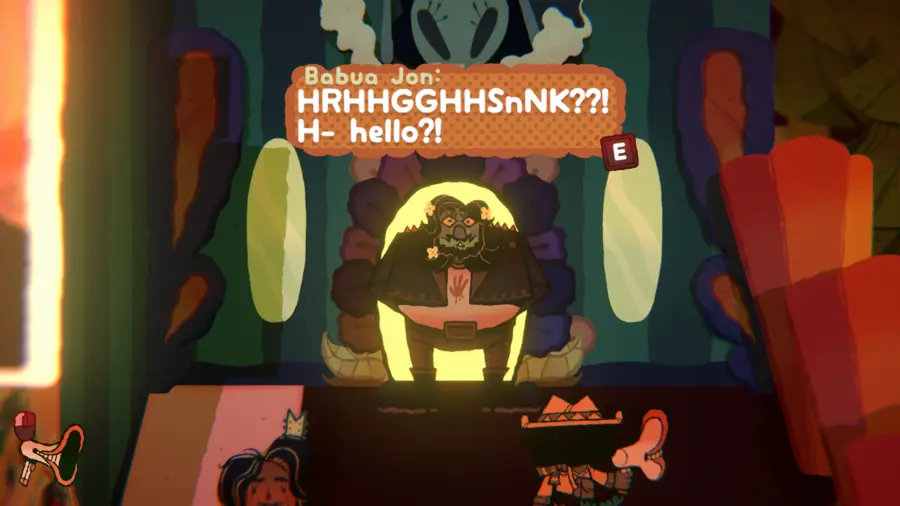
Before entering the club, return to the stage play and talk to Hersha. She notes that while all of the actors are back, it has no real tension due to the removal of the romantic mood lighting. Suck up “If we had that purple bulb we could really spice up our show!”
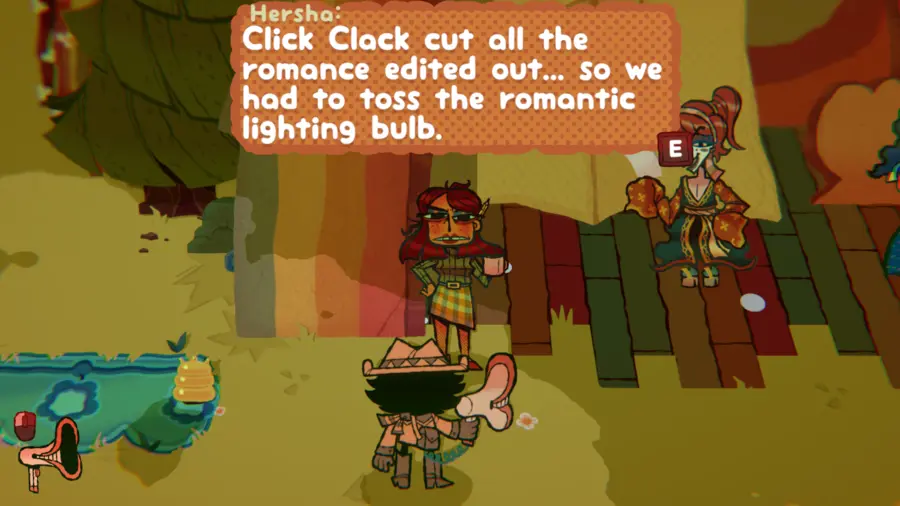
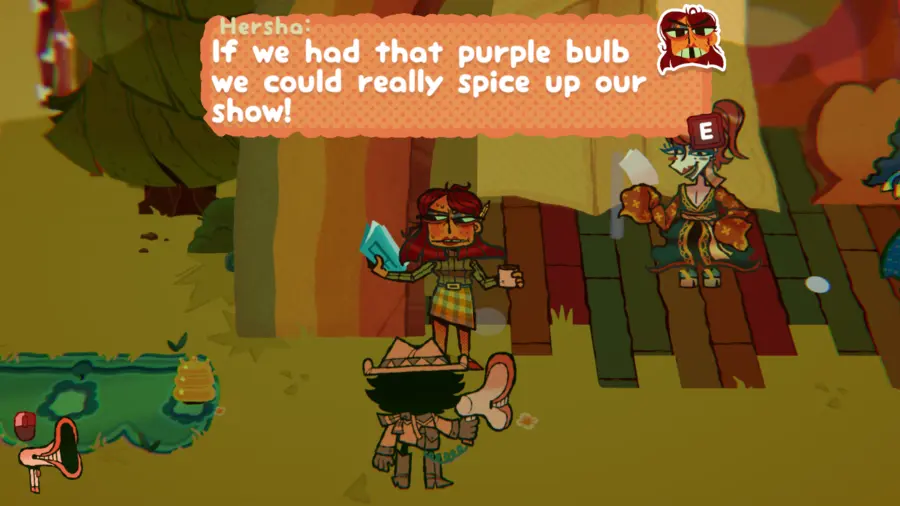
the Cricket Club (and Other Romantic Endeavors)
With the bouncer now awake, you can enter the Soul Cricket Club. Cross back into HobbyHoo Strip and head inside. Give the dialogue you just collected to Patience, whose hosting the club’s speed dating event, amongst her other duties.
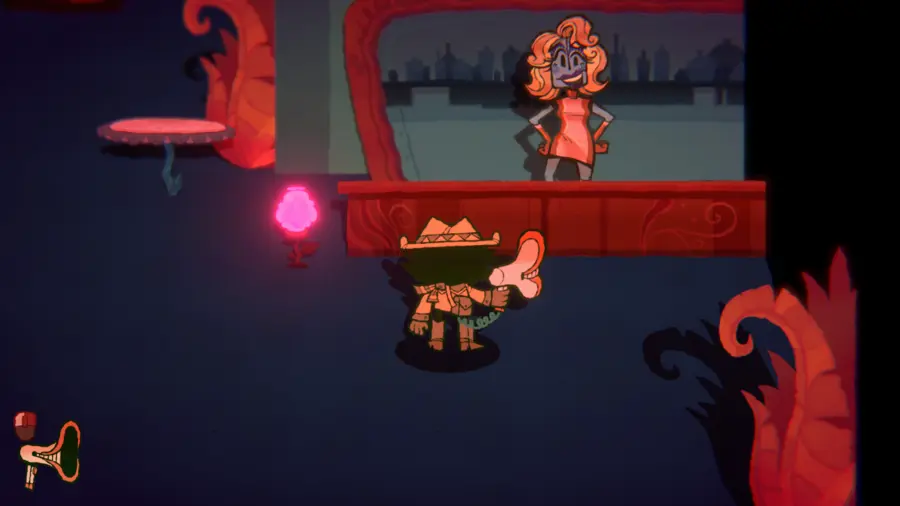
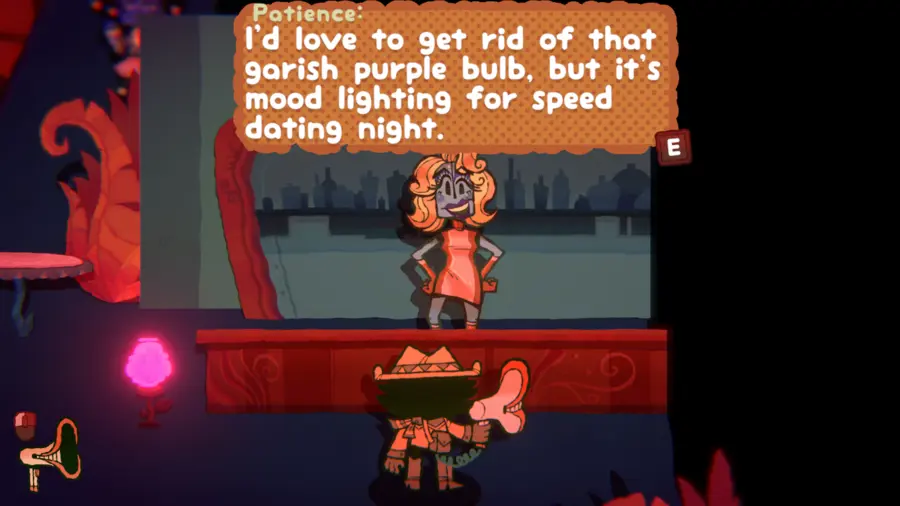
Patience agrees to give you the romantic lighting bulb, but only after you matchmake for each of the club’s guests. These guests are:
Robart, whose looking for a muscle monster of a man to balance out his twiggy build. Suck up “I need a big beefcake kinda guy!”
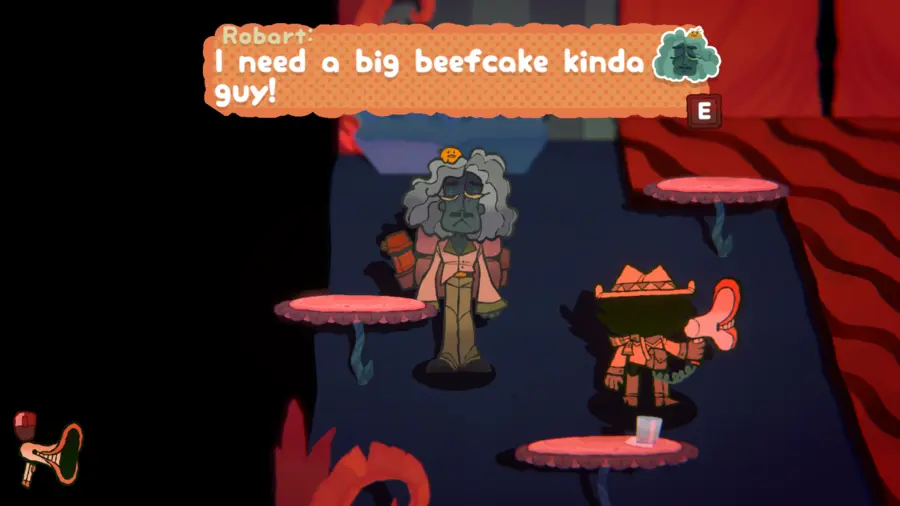
Give the dialogue you just collected to Babua Jon, outside the club, who eagerly agrees. Suck up “I’d love to go on a date with this Robart fella.”
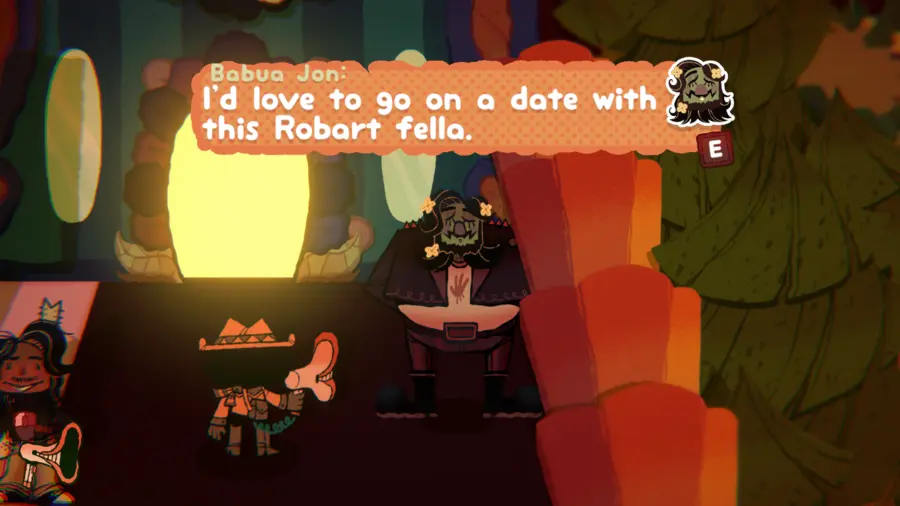
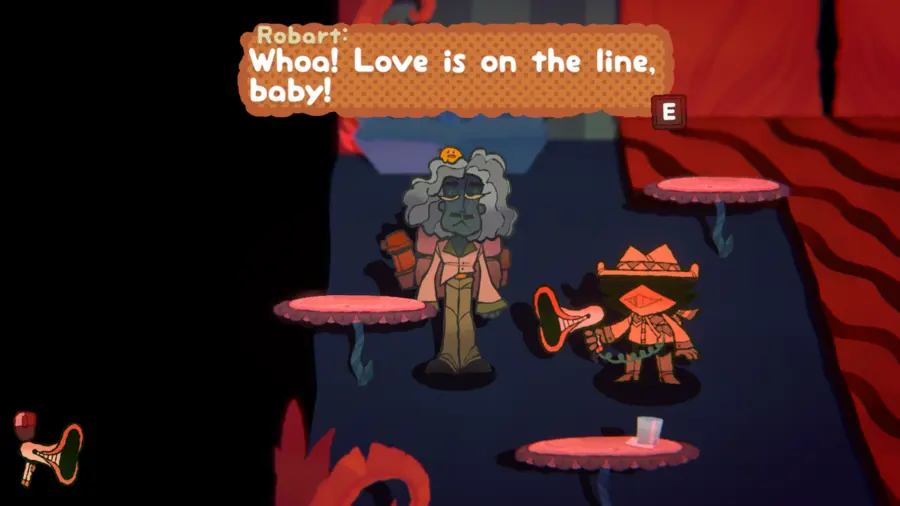
Return to Robart and give Babua Jon’s confirmation. With this, the first round of matchmaking has been completed.
Sheela, whose looking for someone just as busy as she is. Suck up “I need a busy cutie who never has time for me.”
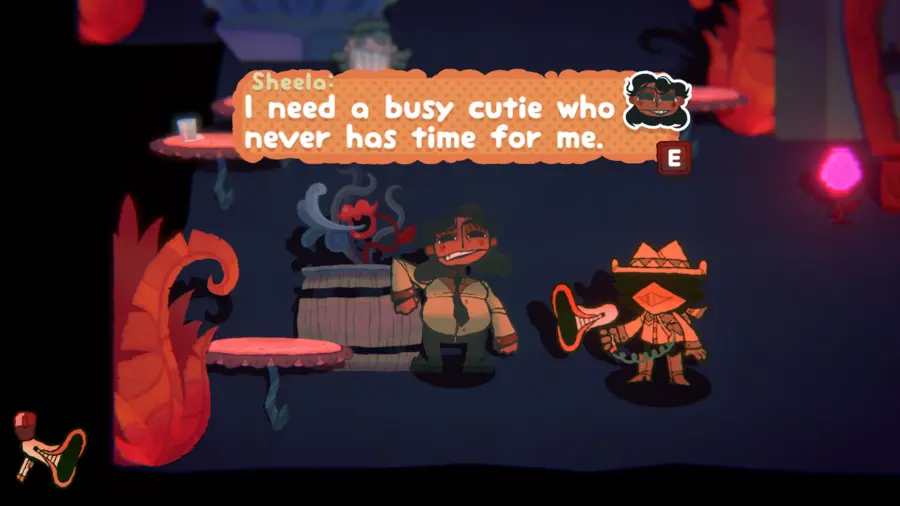
Give the dialogue you just collected to Hersha, back at the stage. Suck up “I’ve got a cool 15 later for lunch. See ya, Sheela.”
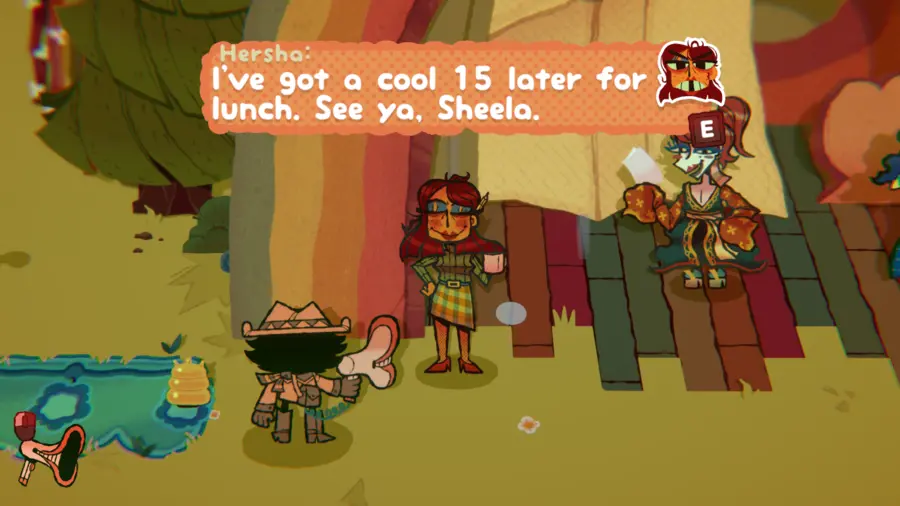
Return to Sheela and give Hersha’s confirmation. With this, the second round of matchmaking has been completed.
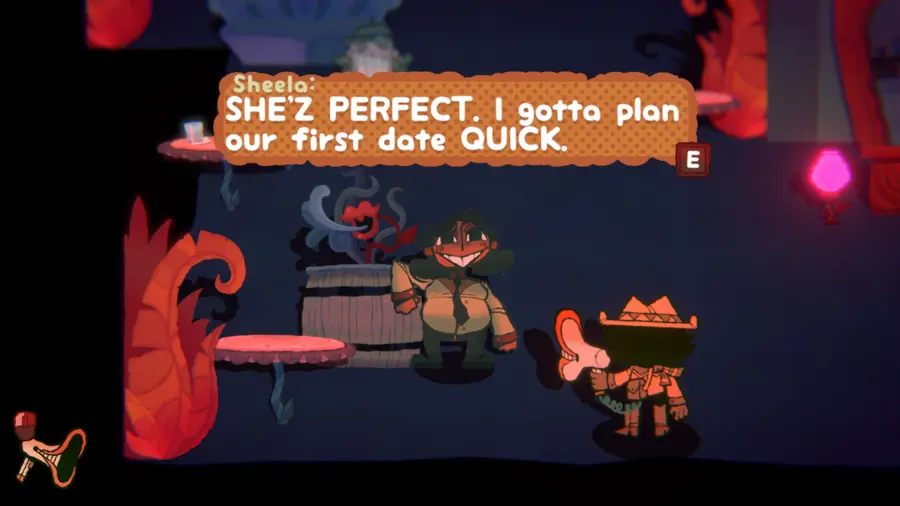
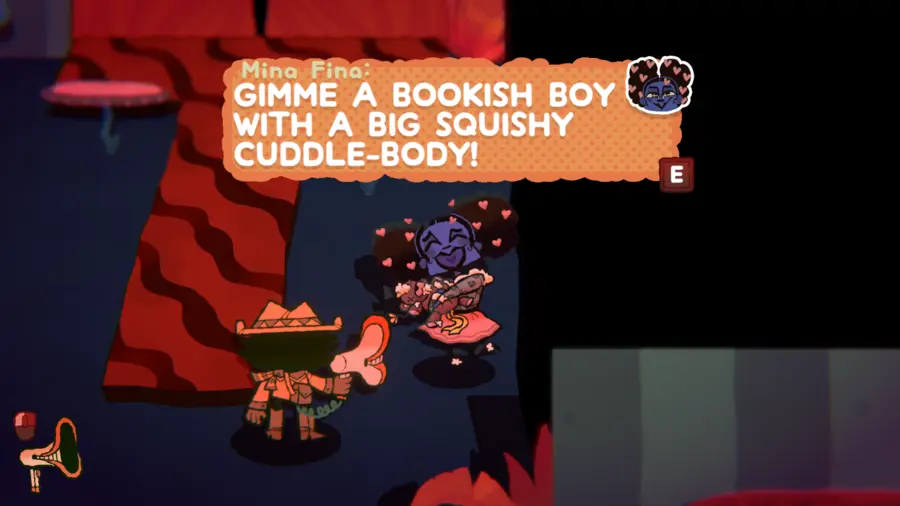
Mina Fina, whose looking for a booky boy who she won’t squeeze to death during one of their cuddle sessions. Suck up “GIMME A BOOKISH BOY WITH A BIG SQUISHY CUDDLE-BODY!”
Give the dialogue you just collected to Click Clack, who agrees to Mina’s offer, but refuses to kiss. Suck up “I don’t smooch humans… But Mina’s welcome to cuddle anytime!”
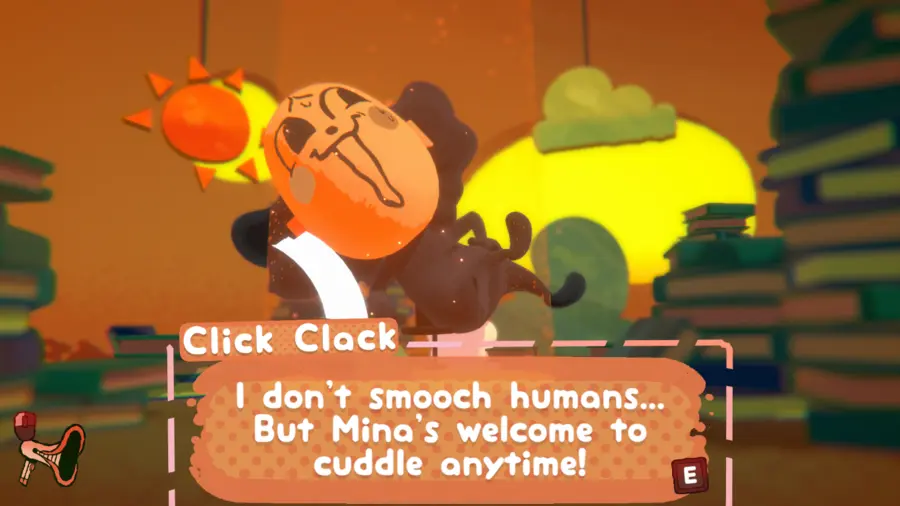
Return to Mina and give Click Clack’s confirmation. With this, the third round of matchmaking has been completed.
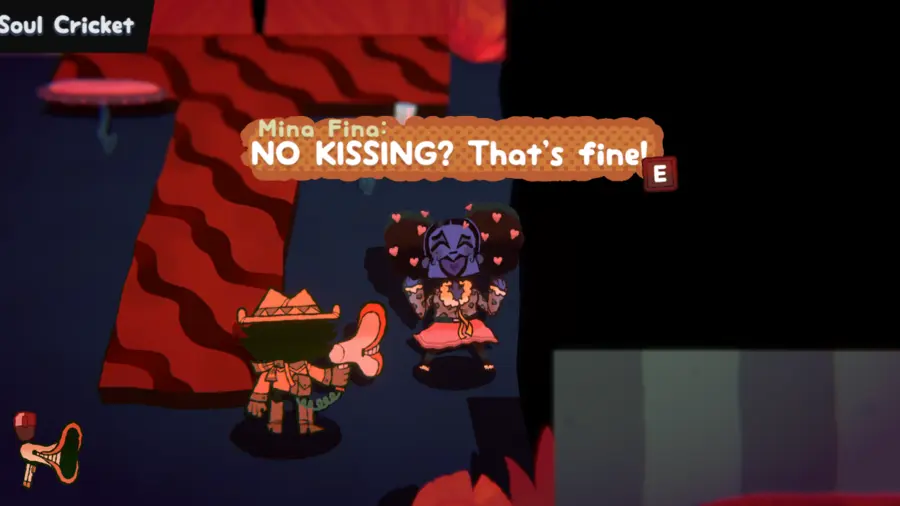
Upon returning to Patience, she praises your matchmaking efforts. However, she wants you to find someone for her – which should be impossible, since nobody has the patience to listen to Patience’s (har har) lengthy stories.
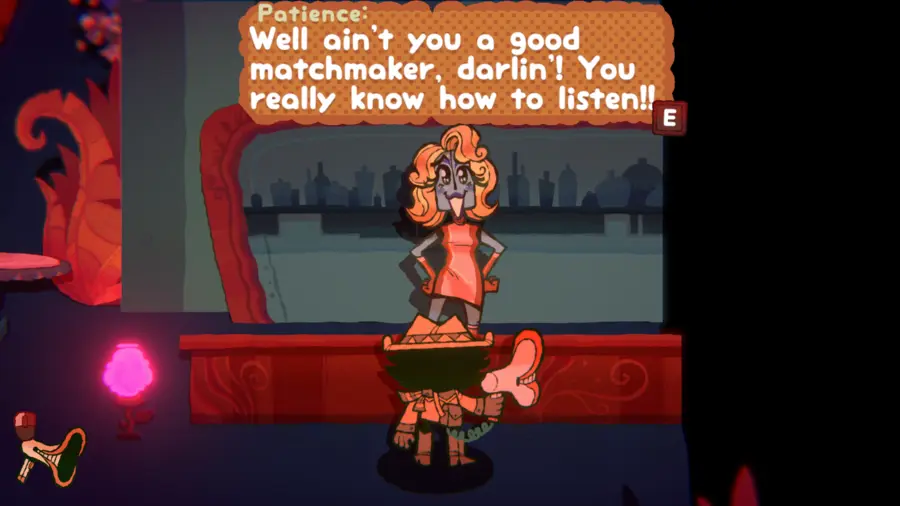
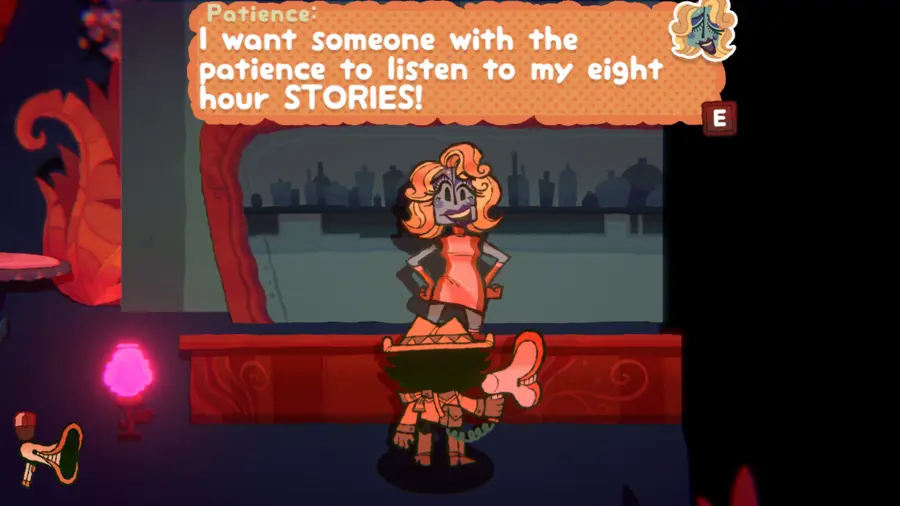
Head back into HobbyHoo Hills and set the stage’s mood lighting to upbeat. Talk to Styella and suck up “It jewst makes me smile ta spend time with yew.”
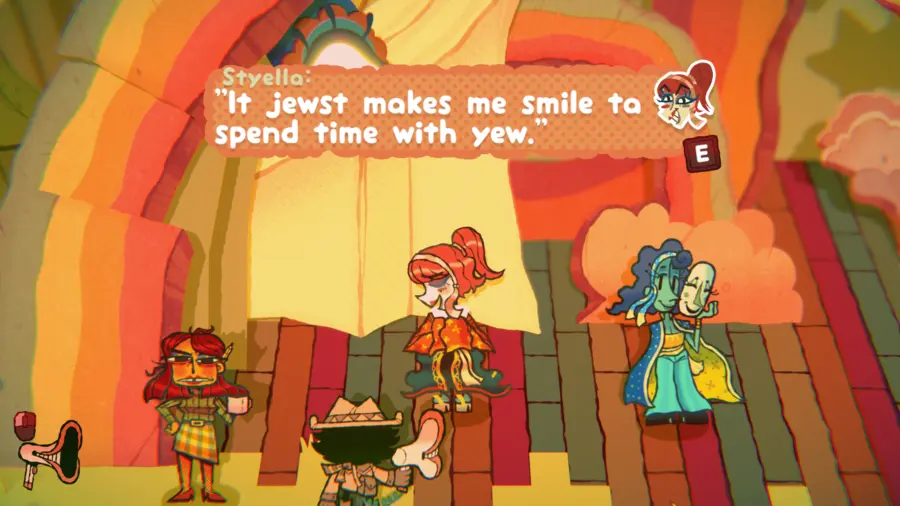
Return to Patience and give her the dialogue you just collected. With her newfound love for you, she deems the speed dating a success, and lets you take the romantic lighting bulb.
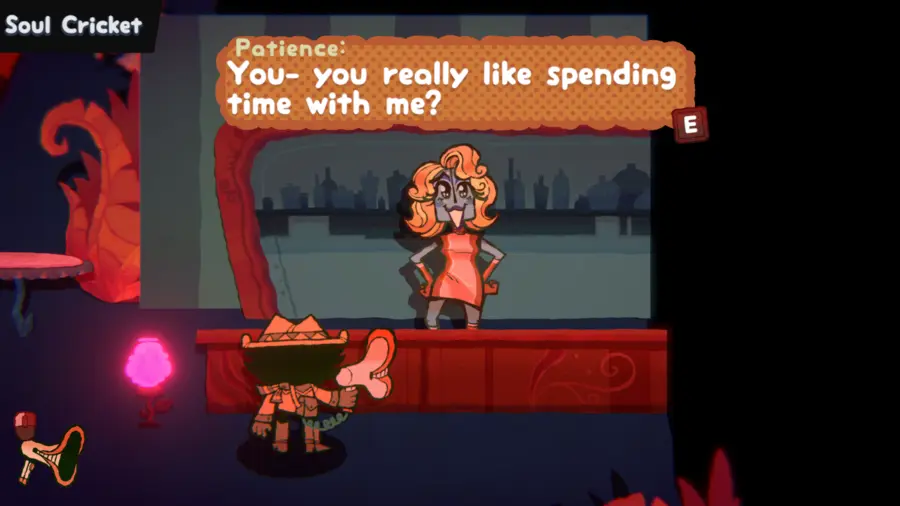
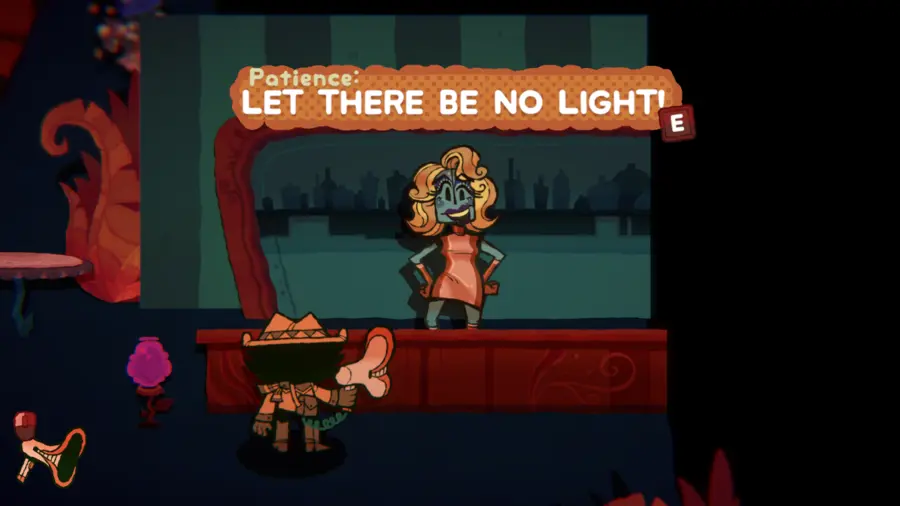
Add the romantic lighting bulb to the stage’s switcher, and change the mood lighting correspondingly. Although it’s an improvement, Hersha still thinks the show is too dry. She wants Click Clack to write a better script for it.
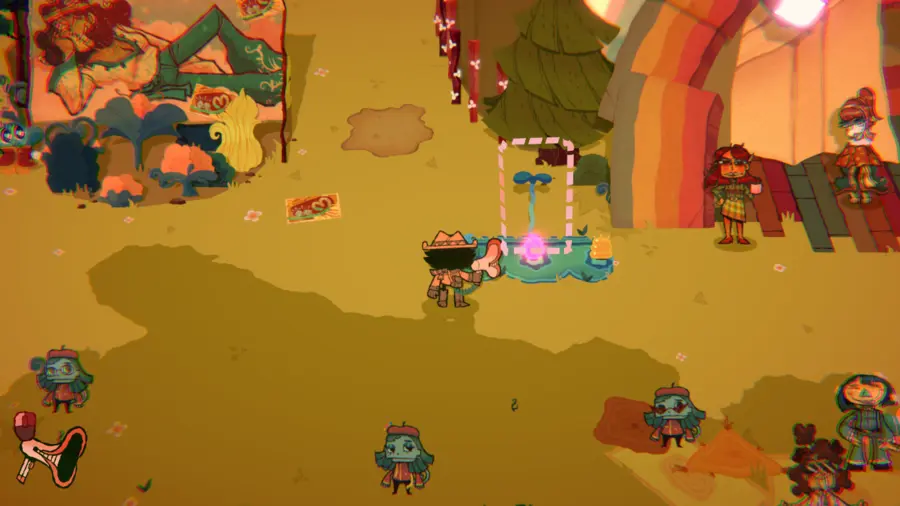
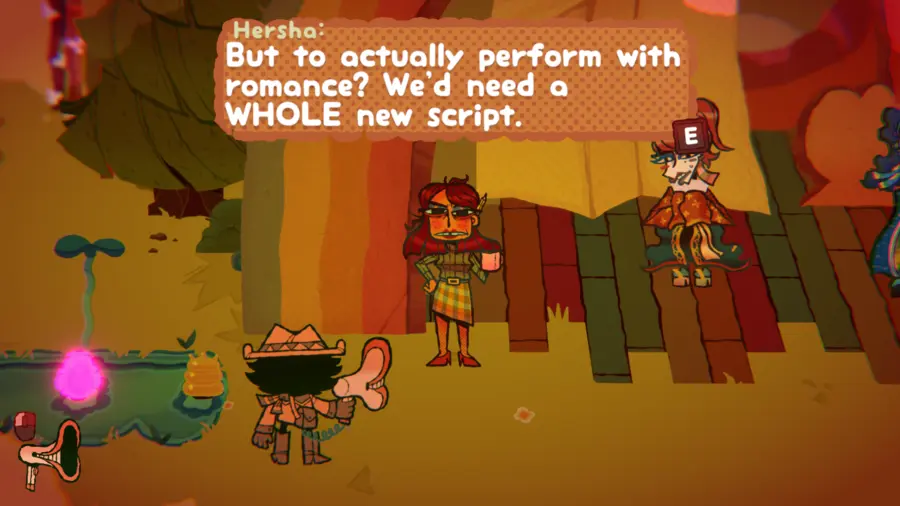
Talk to Byella and suck up “What’s important isn’t the spotlight!” Then, talk to Styella and suck up “It’s obviously YEW!!!”
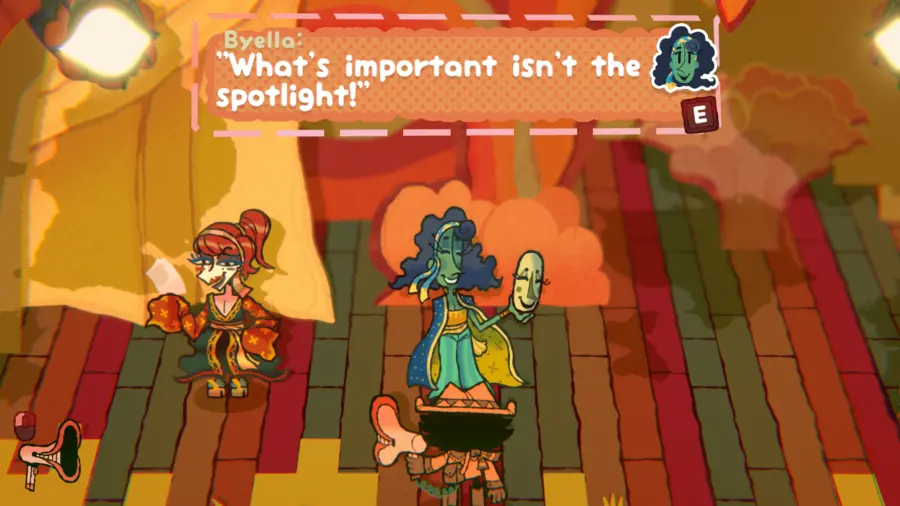
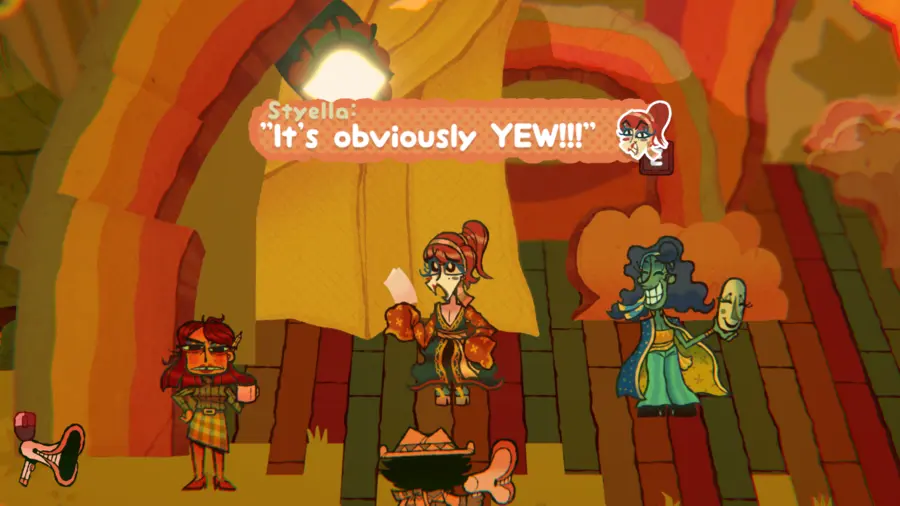
Enter Click Clack’s chamber. Disagree with his sentiment that fame was always what Thespius wanted and give him “What’s important isn’t the spotlight!” When he asks what the stage play is really about instead, give him “It’s obviously YEW!!!”
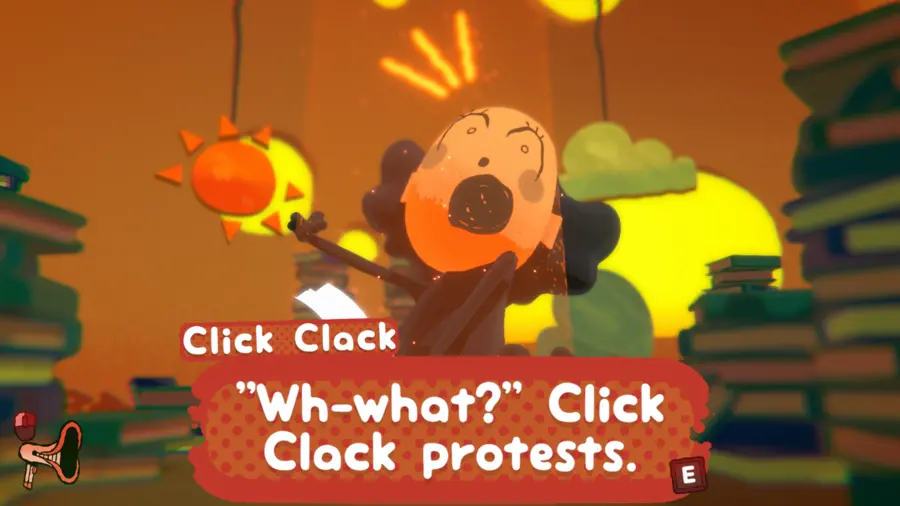
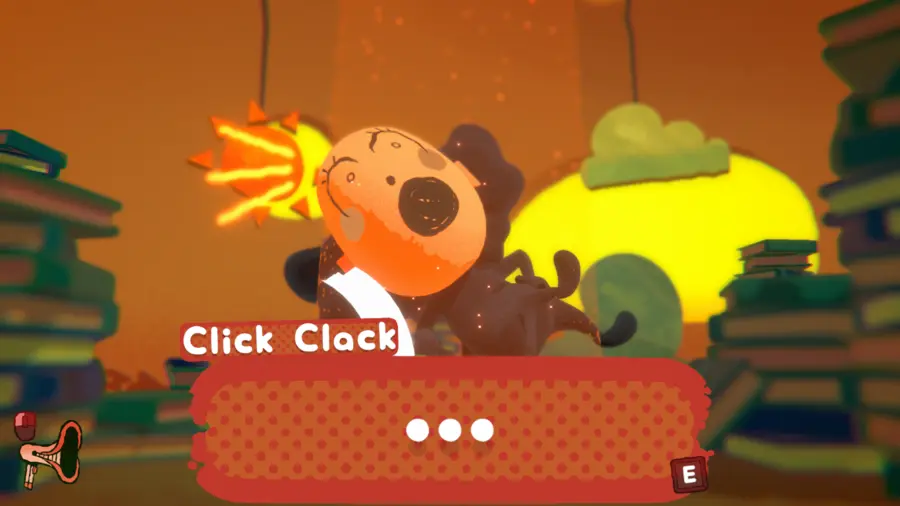
Click Clack realizes his mistakes. After assuring him that he still has time to make things right, he writes a new version of the script, in-line with Thespius’ original vision.
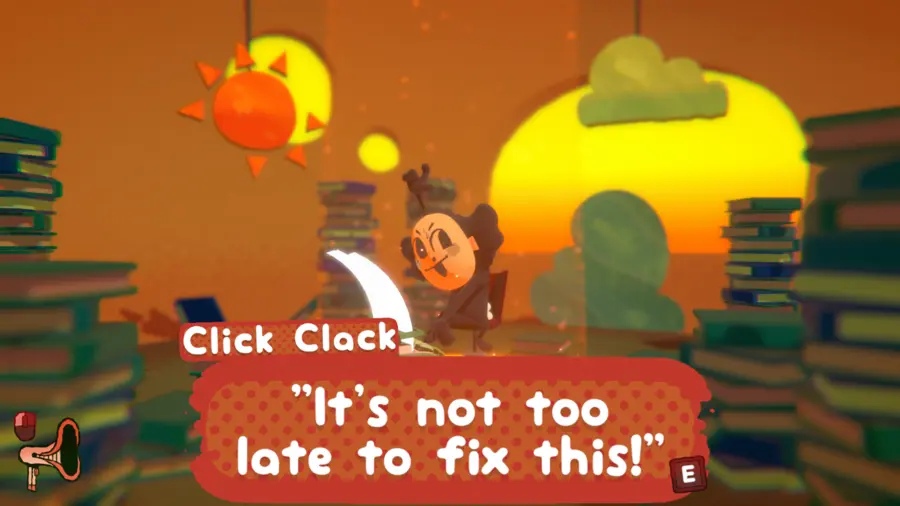
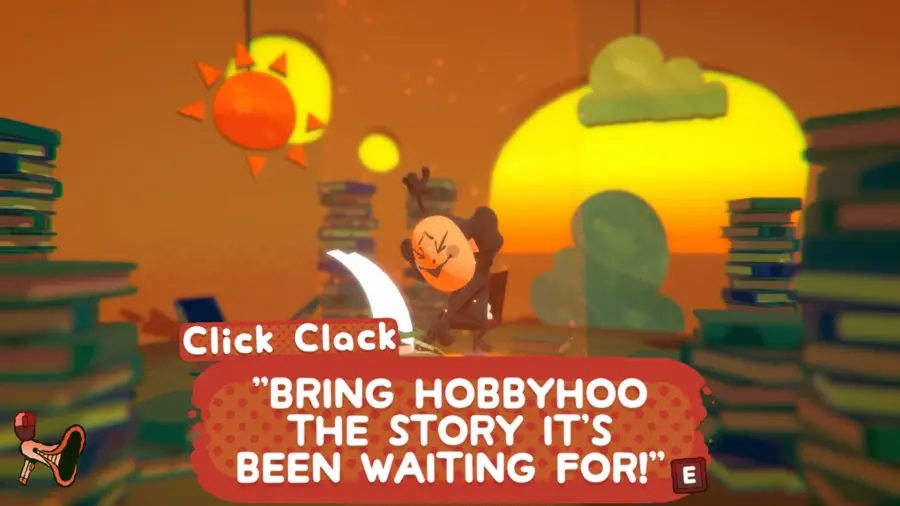
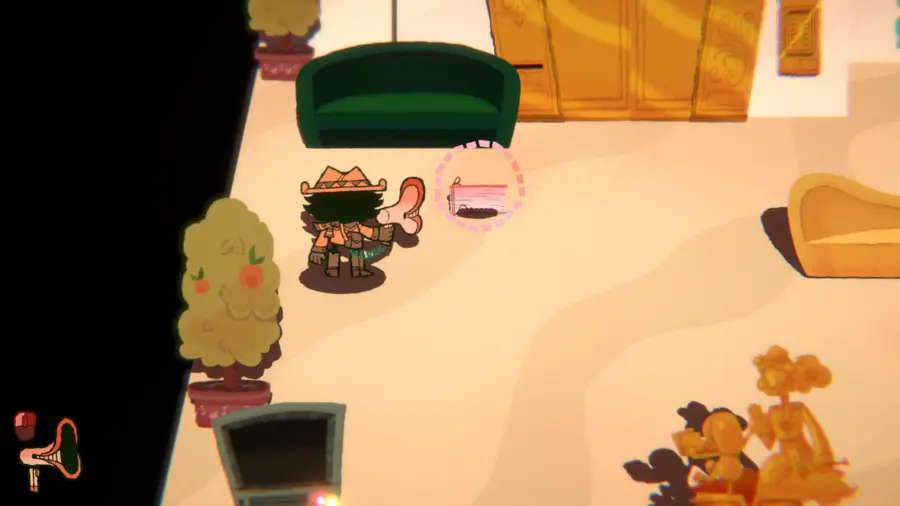
Directly outside of his chamber, the newly-written script can be found. Give the script to Hersha and take a seat in the empty spot in the audience.
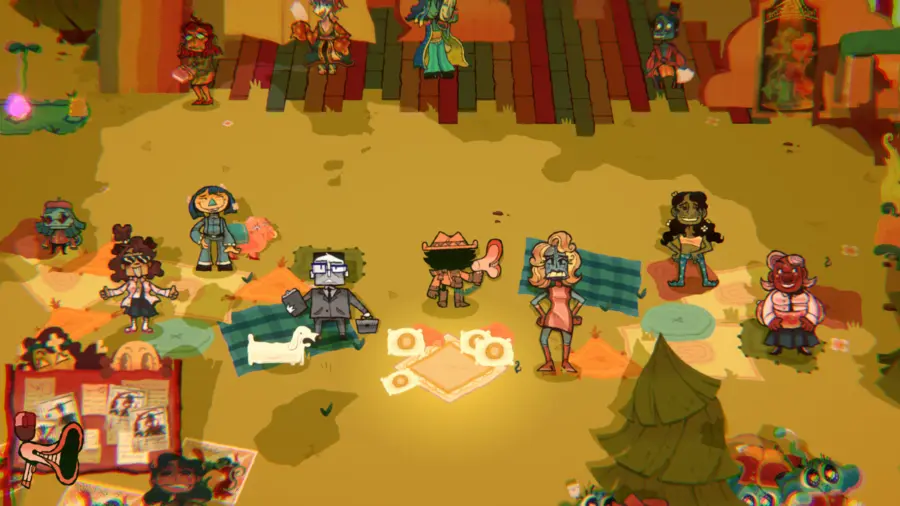
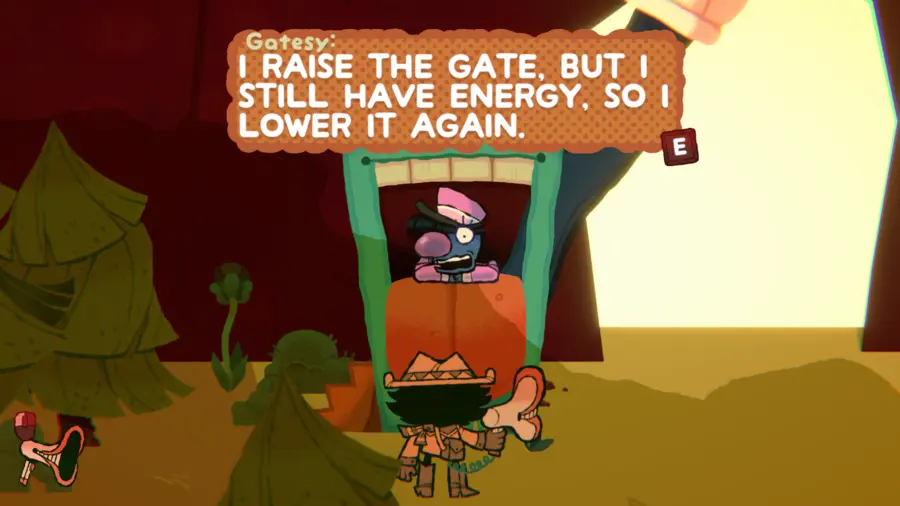
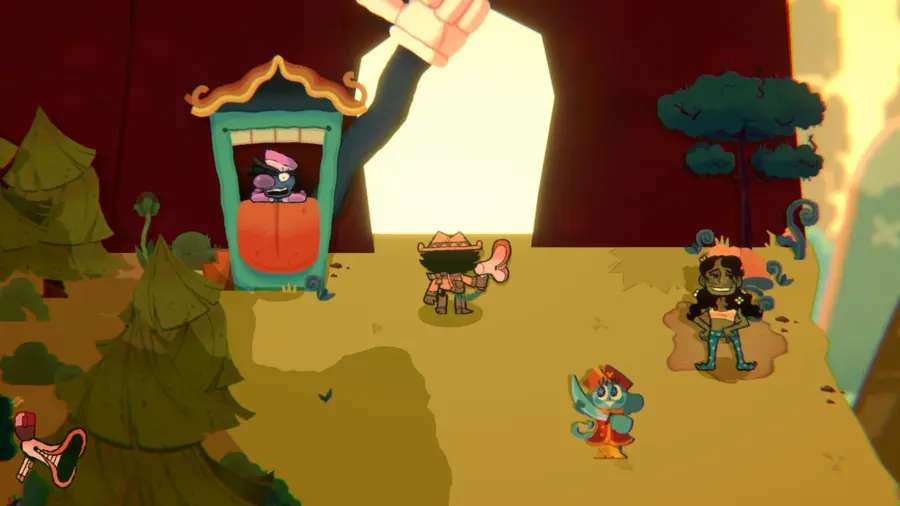
With the stage play finished, the gatekeeper is entertained enough to hold the gate up for you. The path through the top of HobbyHoo Hills opens up, and you’re able to progress further.
BizzyBoy Battle 2: BuzzHuzz Outskirts Walkthrough
Upon passing through another Inspekta checkpoint, you’ll stumble upon the BizzyBoys interrogating an affirmation machine modeled after King. Capochin notices your arrival, and directs a reluctant P to attack you, this time wearing a bucket helmet for protection. This commences the second BizzyBoy Battle Sequence.
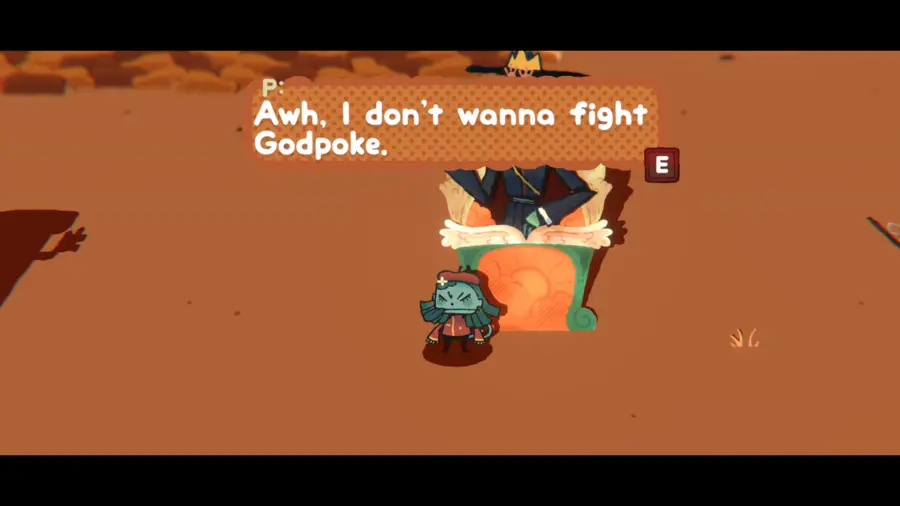
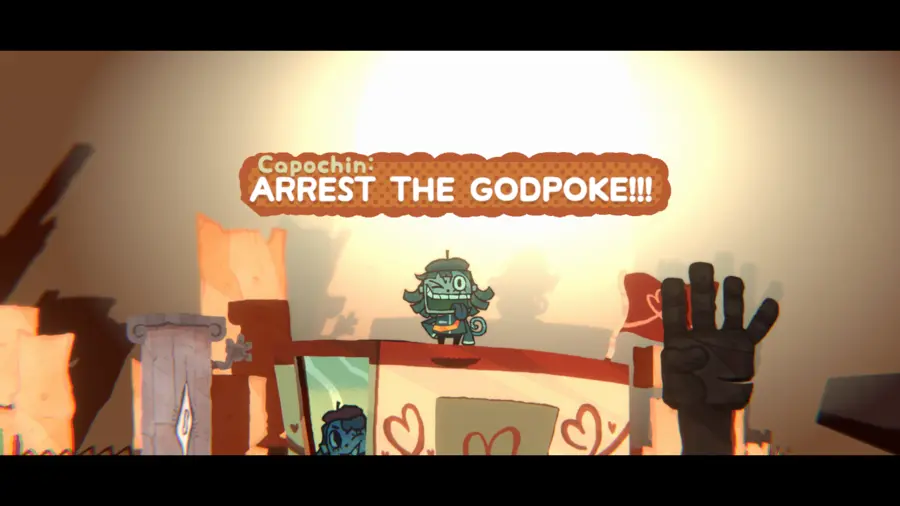
At the start of the battle, P charges at you, with Banana and Alex providing cover fire and throwing various objects. Once one of them tosses out a coin, suck it up with your Megapon and give it to the King machine. Suck up “It’s okay! You can talk to me!”
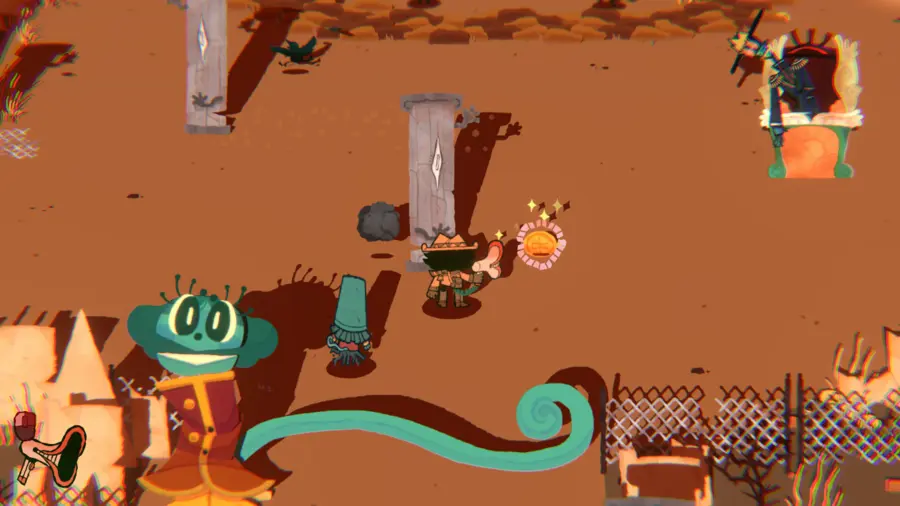
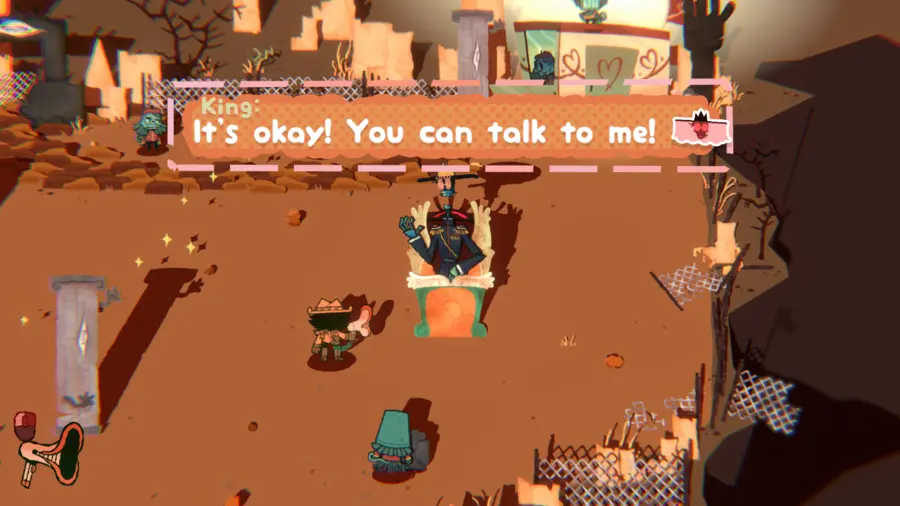
Give the dialogue you just collected to P. The battle pauses momentarily, as he talks about his feelings and how Capochin scares him.
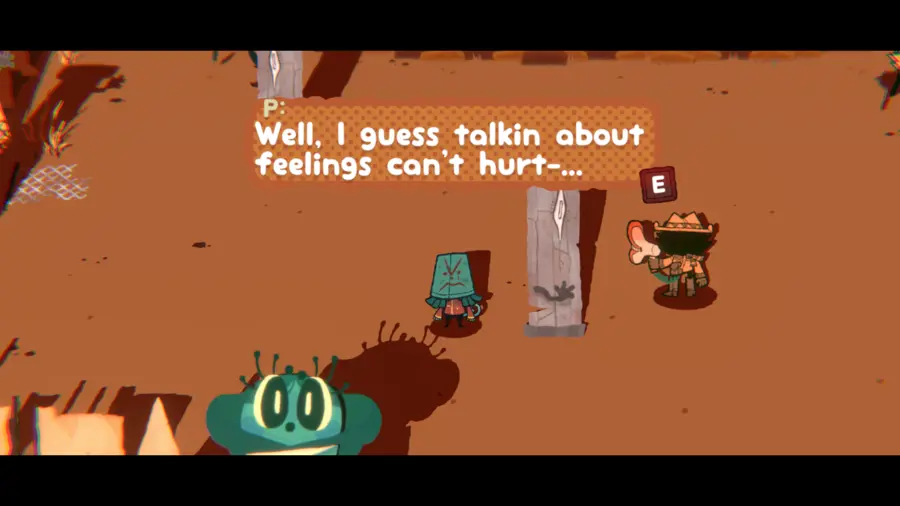
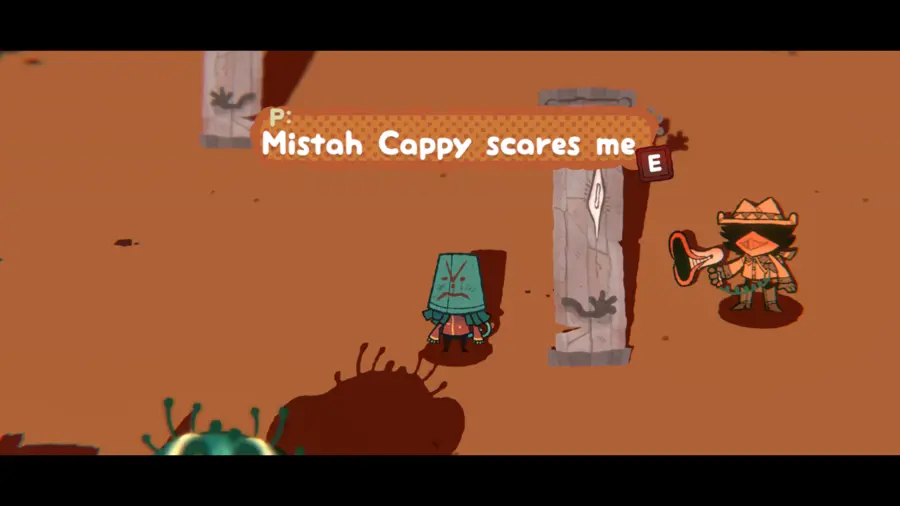
P resumes charging at you, while simultaneously telling you all about his feelings. Collect another coin and give it to the King machine. Wait for it to cycle through dialogue, then suck up “You’ve got nothing to be afraid of!”
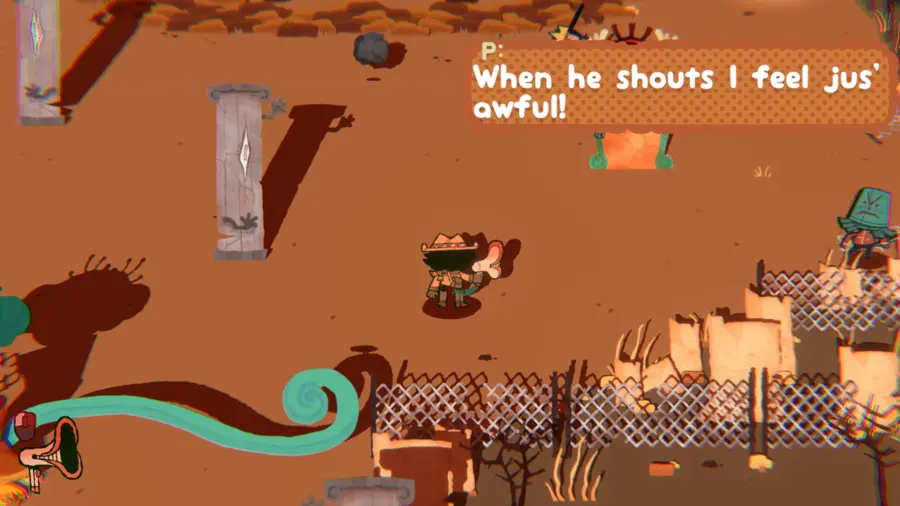
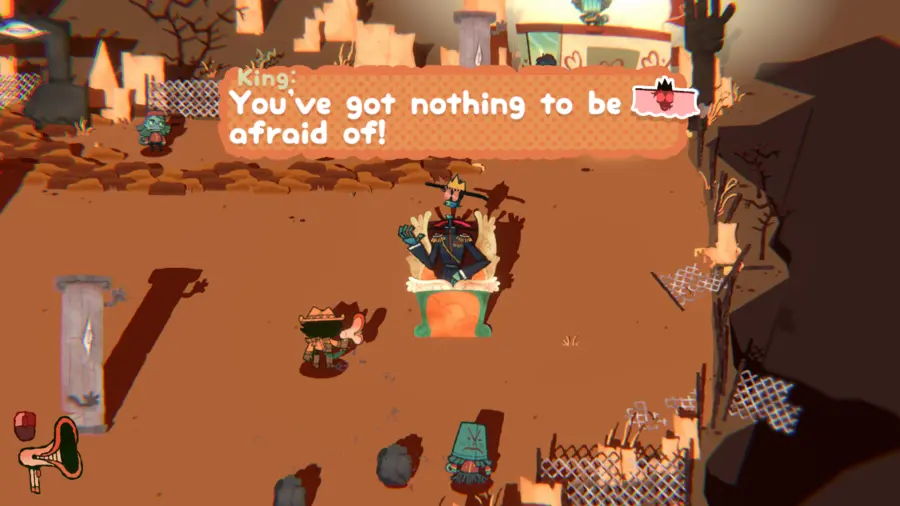
Give the dialogue you just collected to P. The battle pauses again, as he admits he doesn’t even want to fight you, and is only doing so to not disappoint Capochin.
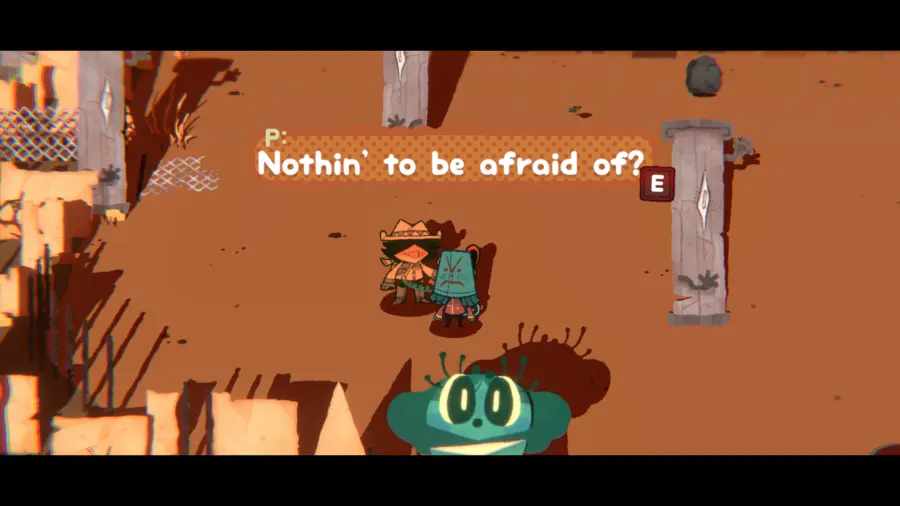
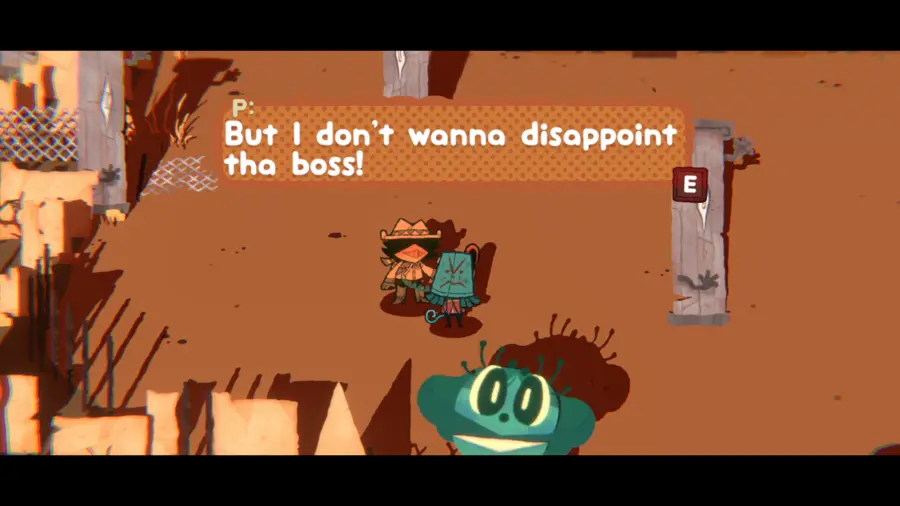
P resumes charging at you again, this time complaining about how Capochin never lets him do what he wants. Collect a third coin and give it to the King machine. Wait for it to cycle through dialogue, then suck up “So stand up for yourself!”
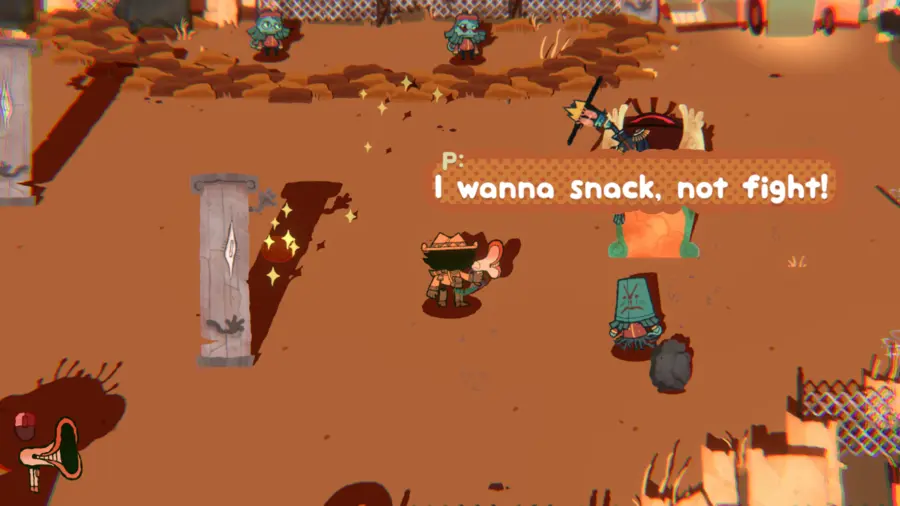
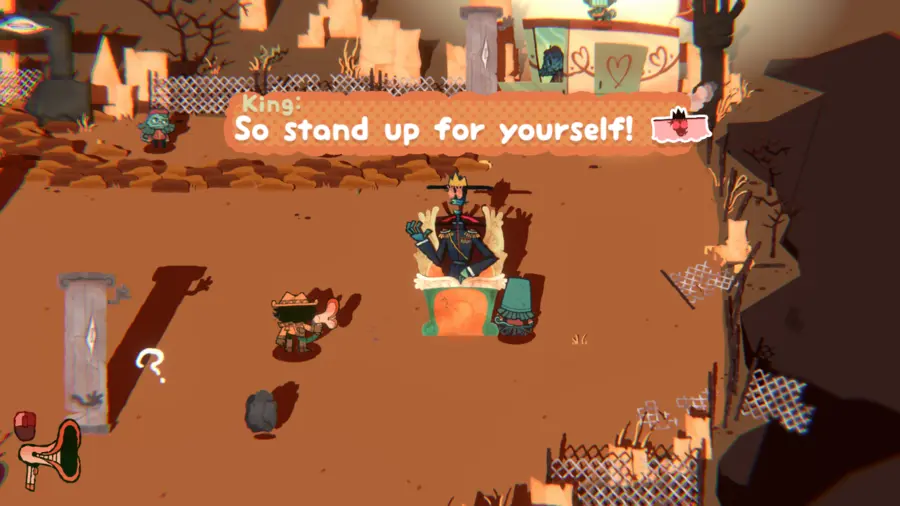
Give the dialogue you just collected to P. With newly-gained confidence, P stops the battle themselves, and a frustrated Capochin relieves the BizzyBoys of their fighting duties. Capochin tells you that you’re not needed, and simply wasting time, as you’ll never make it to King before the rift fully opens.
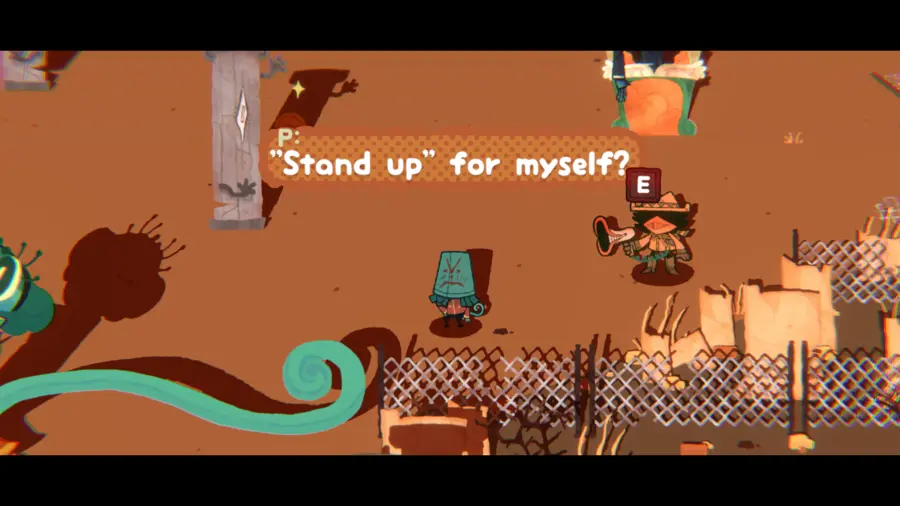
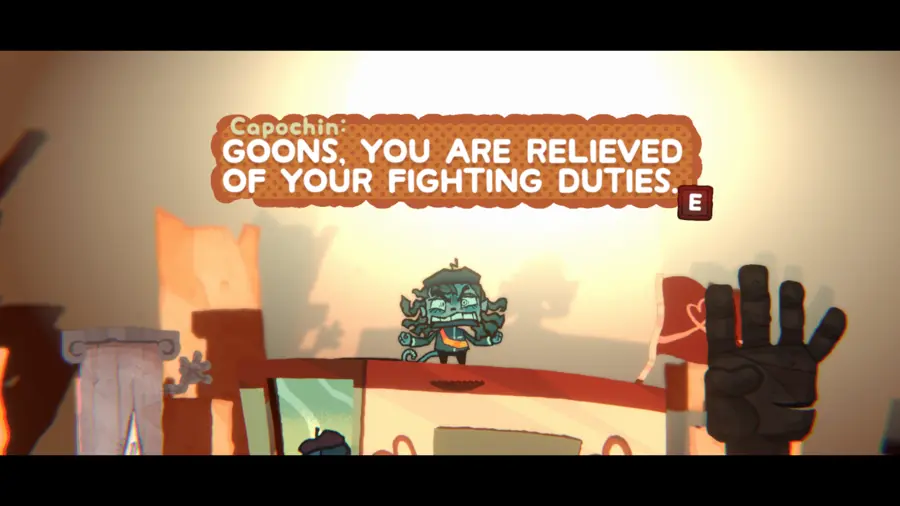
Capochin leaves, and the door to Inspekta’s campaign van opens up. Inside, Inspekta apologizes again for his BizzyBoys trying to beat you up, and warns you about the upcoming BuzzHuzz Plaza, where another of King’s letters has been sent to Bauhauzzo.
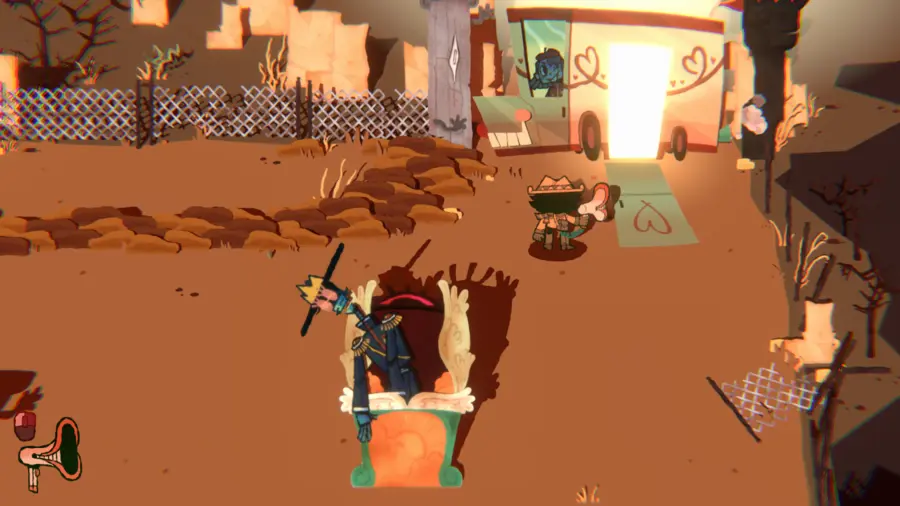
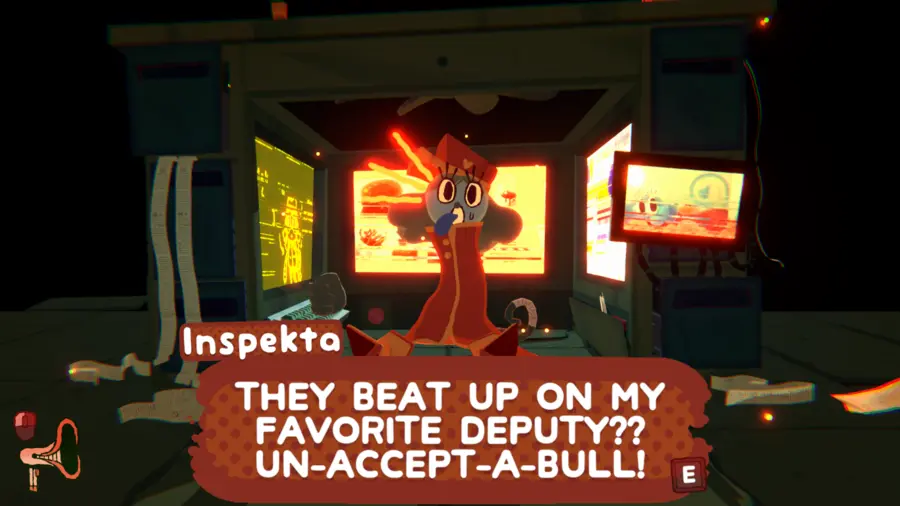
Exit Inspekta’s campaign van, and the path ahead will be opened for you, allowing you to walk towards BuzzHuzz Plaza.
Chapter 4: BuzzHuzz Plaza
Freeing Huzzle Mug
Upon entering BuzzHuzz Plaza, talk to Alexei. A new law prevents him from letting you through until you present five BizzyBoy papers.
These papers can be found on:
- A concrete wall to the right of Alexei
- Further along the right side of the same concrete wall
- Towards the right side of the entrance, on a sculpture of Bauhauzzo
- Towards the left side of the entrance, next to some flags of Bauhauzzo
- And on a wall below Alexei
Give the five papers to Alexei. He worries that he’ll get fired for letting you through, but he walks off, leaving the pathway deeper into BuzzHuzz Plaza open.
After some dialogue with the BizzyBoys, talk to Bananathan, by the right side of the pool. He’s been given orders to block off the alley to Huzzle Mug, and won’t let you through unless someone higher on the chain-of-command gives him the orders to. Suck up “I order you to open this alley!!!”
Enter Bauhauzzo’s chamber, by the top of the pool. Give him the dialogue you just collected. Then, suck up the “I order you to open this alley!!!” said by him.
The Huzzle Mug Resistance
Return to Bananathan and give him the dialogue you just collected. The gate blocking the alley pathway will be removed, allowing you to progress further. A disguised figure is hiding in a guerilla bunker, behind a locked door in the alleyway. They won’t let you in to join their resistance movement until you give them four passwords.
These passwords are:
- “BETRAUELTRY!” with Huzzle Mug, in its chamber further down the alley
- “GETSCRAMLOSTGONE!!!” with Dr. Cara, under a statue at the center of BuzzHuzz Plaza
- “-a SUNNYBRERO.” with Alexei, directly below Dr. Cara
- And “HELLOGREETINGSHI!!” with Kondle, to the left of Alexei
After sucking each of these lines up, return to the locked door and give the disguised figure all four passwords. The door will be opened, allowing you to head inside.
After some dialogue, you’re initiated into the resistance, and instructed to talk to Bayker for your first task. Bayker wants you to get rid of Dr. Cara, whose working as a paint cleaner for the BizzyBoys. Suck up “Excuse me, paint cleaning’th no longer needed!”
Give the dialogue you just collected to Capochin. He thinks the order you told him is dumb, and repeats it back to you. Suck up “Excuse me, paint cleaning is no longer needed!”
Talk to Dr. Cara and give Capochin’s order. He leaves, and your first task as part of the resistance is completed.
Return to the guerilla bunker and talk to Cottin. He wants you to toss a bucket of paint onto the Plaza’s statue.
To get the paint, find Pua the Paintmaster in the west side of BuzzHuzz Plaza. His dye vats have been drained, and you need to fill them up using objects that correspond to the vats’ colors. However, he doesn’t tell you what these colors are, knowing you’ll figure it out on your own.
These objects are:
- A green pigeon, next to Dr. Cara
- A red manifesto…thing, inside the guerilla bunker
- And a blue rose to the left of the bunker
Return to Pua and shoot each of the objects into their respective dye vats. Unfortunately, the vats have only been filled halfway. You now need to collect phrases corresponding to the vats’ colors in order to fill them up the rest of the way.
These phrases are:
- “I’m NOT green with envy! I’m just green.” with Tripp, towards the left of Bauhauzzo’s chamber
- “Your presence makes me blush bright-red-bright-cheek!” with Huzzle Mug, in its own chamber
- And “I am NOT blue with fright. I’m just blue!” with Cottin, inside the guerilla bunker
After collecting each of the phrases, add them into the dye vats to finally fill them up. Talk to Pua, who instructs you to get him a bucket to put the paint into, a task of which he states won’t be very difficult.
Near the Plaza’s statue, P has taken off the bucket helmet he was wearing. Good for him. Use the Megapon to suck the bucket up, and give it to Pua.
After some dialogue, Pua fills the bucket with paint. Take the bucket and shoot it at the Plaza’s statue.
With your second task for the resistance completed, return to the bunker and talk to Bayker again. They want you to find a spare BizzyBoy uniform and launch it at the statue. Suck up “We need a thpare uniform!”
First, talk to Bauhauzzo in his chamber. After some dialogue, suck up “WHY CAN’T YOU JUST LET IT GO?” Talk to P, whose still holding down a rope to the left of the Plaza’s statue. Give him the dialogue you just collected.
P eagerly agrees with your sentiment, tired of working under Capochin. P lets go of the rope, causing it to drop a giant net of art utensils onto Capochin, ruining his uniform.
Now, give Capochin “We need a thpare uniform!” He agrees with your order and repeats it back to you. Suck up “WE NEED A NEW UNIFORM!”
Give the dialogue you just collected to Vibia, in the now-accessible Bizzyboy Barracks at the top of the Plaza. After some dialogue, she lets you take the spare outfit to Capochin.
However, instead of doing that, return to the Plaza’s statue. It’s now being guarded by Alexei, and has a barricade blocking the way to it. Evade Alexei’s charges and use the Megapon to remove the barricade.
With the entrance opened, shoot the Capo-fit at the human-shaped model under the statue. This completes your third task for the resistance. Talk to Colonel Extraño; as your final task for the resistance, she instructs you to find a good catchphrase they can parody for their social commentary.
Speak to Capochin again. He’s frustrated by your defacing of the statue, citing it as being what happens when weird Gods get a say in running things. Suck up “NO USELESS GODS. ONE LEADER’S PLENTY!”
Returning to the statue, its barricade has been reinstated, and Alexei and Bananathan are now both defending it. Using your master-class evasion skills, dodge their attacks and remove the barricade once more. With the barricade removed, shoot the dialogue you just collected at the statue.
The resistance’s social commentary finished, the BizzyBoys rethink their actions and wonder if they’re the baddies. They decide to quit working for Capochin and make art instead. After some dialogue between Bayker and Grujaja, the path through the top-right of BuzzHuzz Plaza opens up, allowing you to progress further.
BizzyBoy Battle 3: The End of the Line
Keep walking towards the right. It’s the only way you can go. After passing by Inspekta’s abandoned campaign van, Capochin is found giving a villainous monologue to an Inspekta checkpoint machine. Capochin challenges you, trying to stop you from getting in the way of Inspekta’s plans. This commences the final BizzyBoy Battle Sequence.
At the start of the battle, Capochin shouts taunts while he charges at you. Suck up “You’re NOTHING to me!”
Give the dialogue you just collected to the Inspekta machine. As the machine repeats the message back to you, suck up the “You’re NOTHING to me!” said by it. Then, shoot this dialogue at Capochin.
While continuing to avoid his charges, wait for Capochin to cycle through some of his dialogue. Then, suck up “-I’M da only one Inspekta will protect!”
Once again, give the dialogue you just collected to the Inspekta machine. Suck up the “-I’m da only one Inspekta will protect!” said by it, and shoot this dialogue at Capochin.
For a third and final time, wait for Capochin to cycle through some of his dialogue. Then, suck up “INSPEKTA ONLY CARES ABOUT ME ME ME ME!”
Give the dialogue you just collected to the Inspekta machine. Suck up the “INSPEKTA ONLY CARES ABOUT ME ME ME ME!” said by it, and shoot this dialogue at Capochin.
Capochin gives up. He realizes they’re no longer being the Grove’s peacekeepers, what the BizzyBoy’s originally set out to do, and that he’s been blinded by his loyalty to Inspekta, hoping it’d earn him respect. He apologizes and encourages you to enter Inspekta’s campaign van – while he’s not in there himself, someone else is. With the door now open, walk through.
Chapter 5: The Spire
Upon entering Inspekta’s campaign van, someone calls out to you. Interact with the mouse in front of you, and press the button it unlocks.
Use the Megapon to pull out Inspekta’s keyboard, and then interact with it.
Pull off a metal cover and flick the switch it reveals.
The person begging you for help is revealed to be King. Unfortunately, she is cut off due to Inspekta’s interference. Miss Mitternacht arrives behind you, realizing that King didn’t actually send those messages, and someone was impersonating her. With the rift growing stronger, she encourages you to cross through to the other side.
Now standing at the top of the Spire, walk up and talk to King. She tells you how she was kidnapped by Inspekta, and unable to defend herself without a voice. Alongside a heartfelt reunion, the other Gods arrive to help close the rift.
Inspekta appears behind you, as the other Gods’ grips on the rift begin to slip. He takes Megapon out of your hands, throwing it away to the side and encouraging you to run after it.
Run to the right while trying to avoid Inspekta’s attacks. There’s no actual penalties for getting hit, but it momentarily stuns you. After running far enough, you’ll be able to pick up the Megapon again.
After some dialogue between the Gods, the battle with Inspekta resumes. Keep running to the right and you’ll eventually reconvene at the top of the Spire. Talk to King and suck up “Why are you frightened?”
Give the dialogue you just collected to Inspekta. He begins to wiggle while assuring you how very much NOT frightened he is. He attacks the Gods, dropping a pile of furniture on them and loosening their grips on the rift more.
While continuing to avoiding Inspekta’s attacks, wait for him to slam a fist onto the ground. When he does, suck it up with the Megapon and shoot it at the pile. Repeat this process twice and the pile will be removed.
Wait for Huzzle Mug to cycle through some dialogue, then suck up “IT’S OKAYALRIGHT TO BE FEAR-FRAID OF DEATH!” Give the dialogue you just collected to Inspekta.
The landscape shifts, and you now need to run forward. Inspekta sets up barricades of hands to block you. Remove them using the Megapon. After completing this process three times, you’ll walk up to Inspekta.
Inspekta covers himself with hands to block out everyone talking. Remove them using the Megapon. Then, suck up “Hector, is this how you want to be remembered?”
Give the dialogue you just collected to Inspekta. He realizes the error of his ways and reverts back to his human form.
The Gods try to pull the rift closed, but it doesn’t work. Suddenly, the BizzyBoys (and associates) arrive on top of the Spire.
After some dialogue, Hector is motivated to use his leadership and try and close the rift. He instructs the BizzyBoys to enter their battle formation. Suck up all the BizzyBoys (excluding Capochin) with the Megapon, and shoot them towards the rift.
With the combined might of Gods and humans, they’re able to successfully close the rift. King joins the Gods, while Hector stays behind as a human to make up for his mistakes.
Once the rift closes, the humans are left alone on the Spire. You can speak to anyone up there. When you’re ready to leave, talk to Lumber Jacqueline and walk onto the elevator, finishing the game.
Credit: Sweetteapureleaf98