Solve every puzzle in Giggleland with clear, step-by-step solutions that help you get out of the park.
Giggleland: All Puzzle Solutions
Chapter 2: Pipes
Puzzle 1: Farmer Terry’s Farm
Find 4 special containers around the farm and put each one into the correct pipe.
Note: this part plays a little differently from the demo version of the game.
Container 1: Sugar
This is the easiest container to find.
- Climb the large wooden stairs.
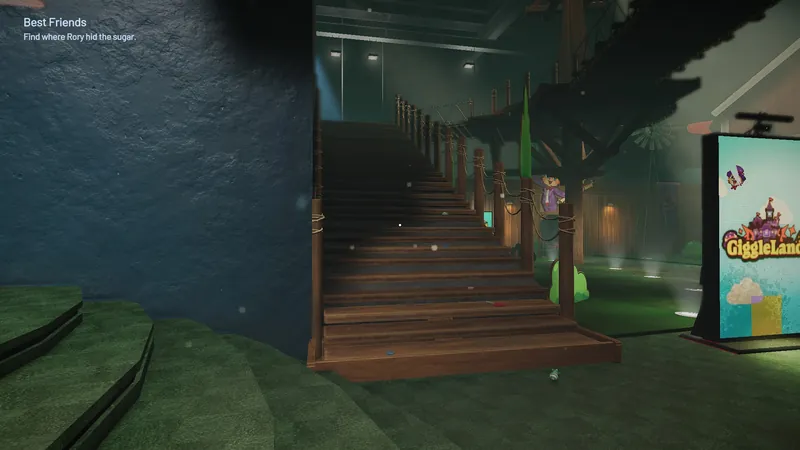
- Follow the candy trail into the room.
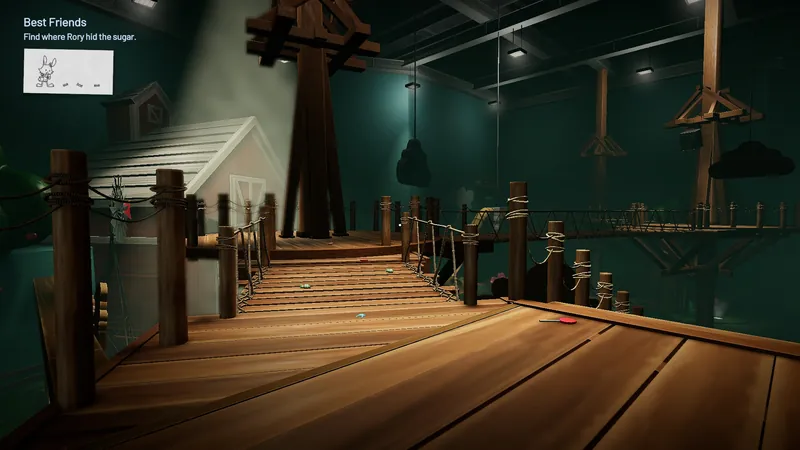
- Look at the shelf. The first container has a white outline.
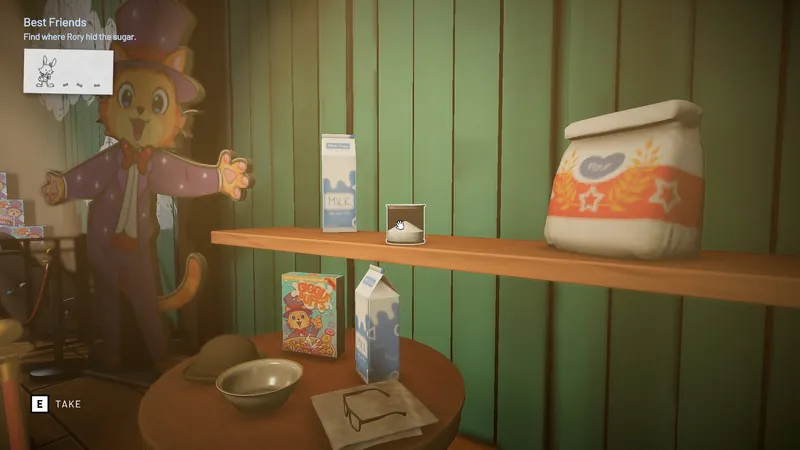
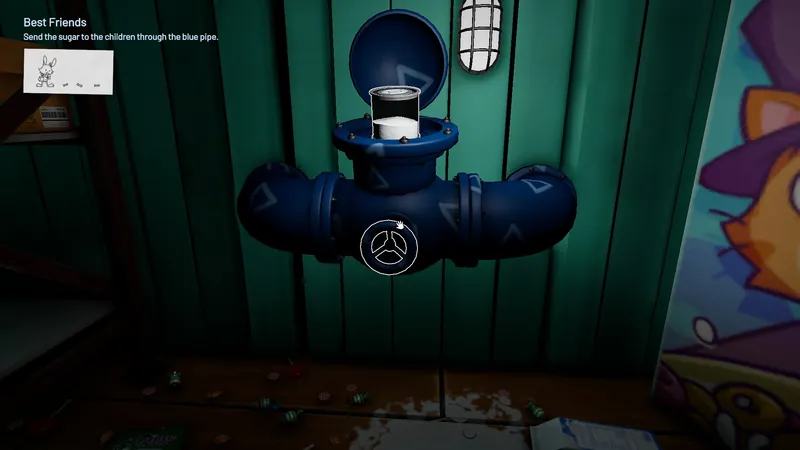
- Take it and put it into the blue pipe on the left side of the same room. The pipe has a white outline too.
Container 2: Fuel
This container fuels the generator. Before you can use it, you need the key to the room with the yellow pipe.
- Go to the far side of the farm. Look for a warehouse-style room with a “NO ENTRY” poster on the wall.
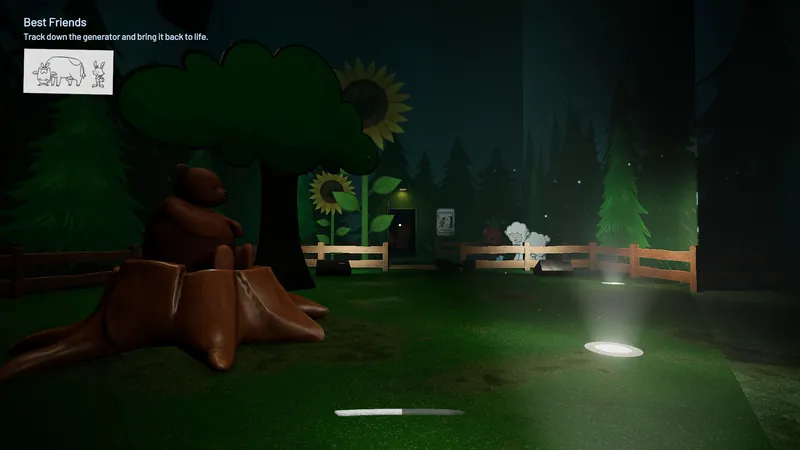
- Take the key from the open employee locker inside.
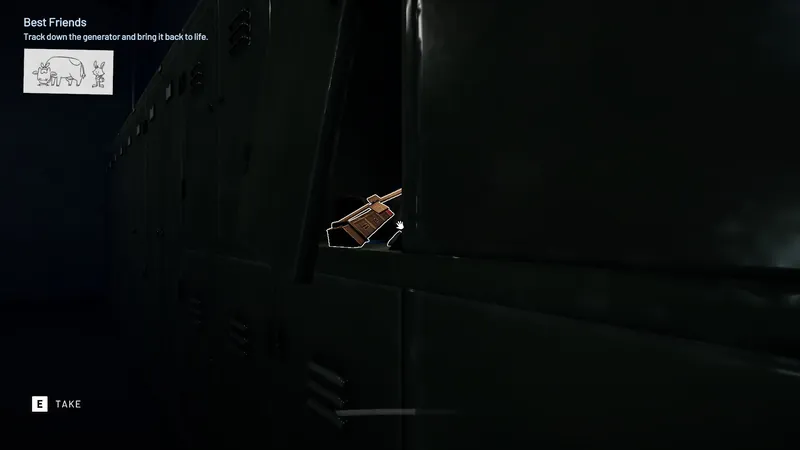
- The shape of the key tells you where the yellow pipe is: the Windmill.
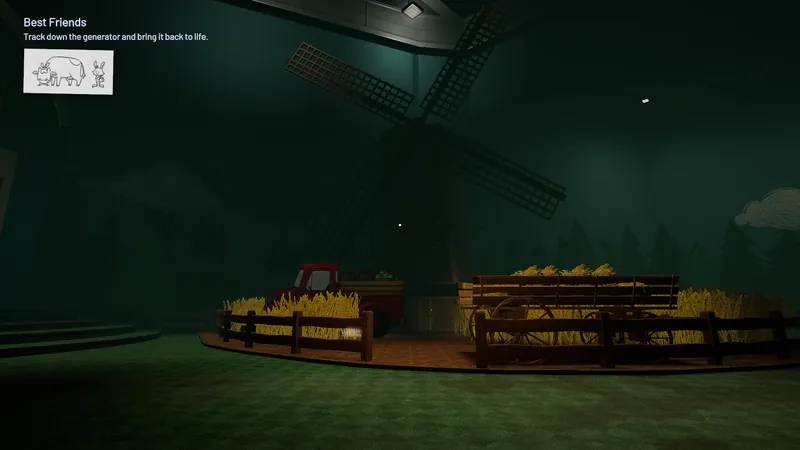
- Go to the Windmill and unlock its door.
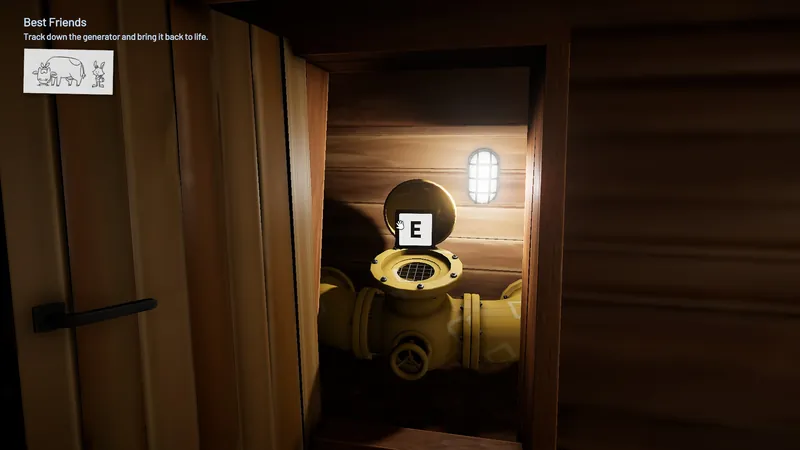
- The second container is behind the cardboard cow. The drawing hint in the top-left corner points to the same spot.
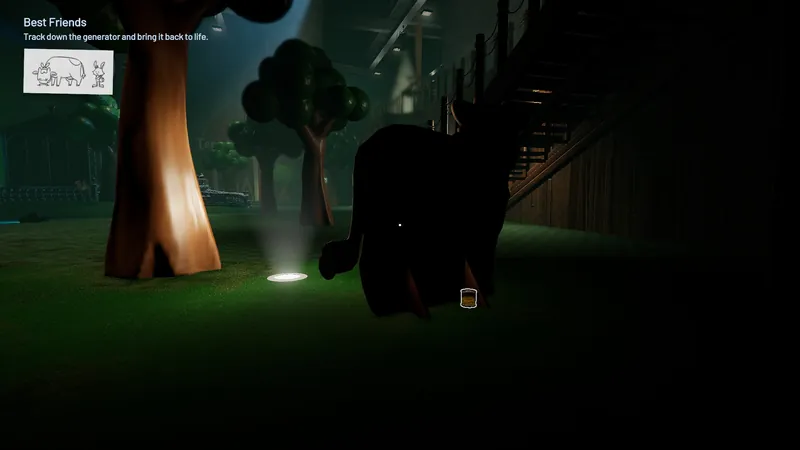
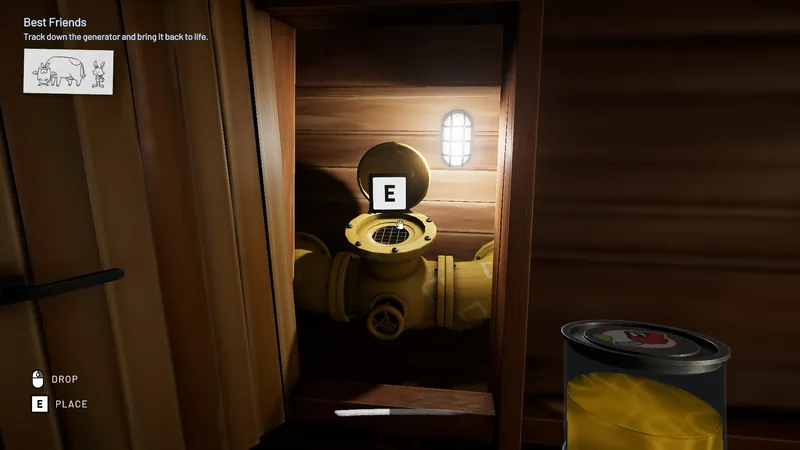
- Take it and put it into the yellow pipe inside the Windmill.
Container 3: Pig Feed
The third container holds pig feed. Start at Harley and Clark’s Hen House, which is already open on your left.
- Climb the stairs inside the Hen House. On the right wall are four colored pipes (Red, Blue, Yellow, and Purple). Each one needs the correct symbol.
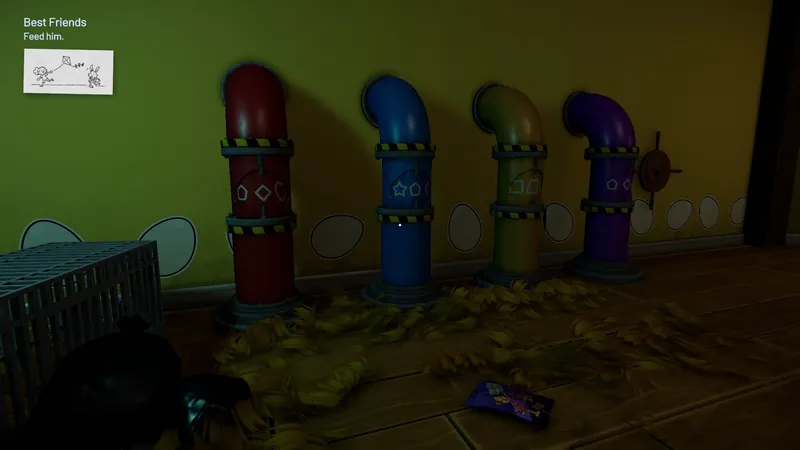
- The symbols are on the matching pipes on the lower floor of the Hen House. You can also find them around the farm, but the lower floor is faster.
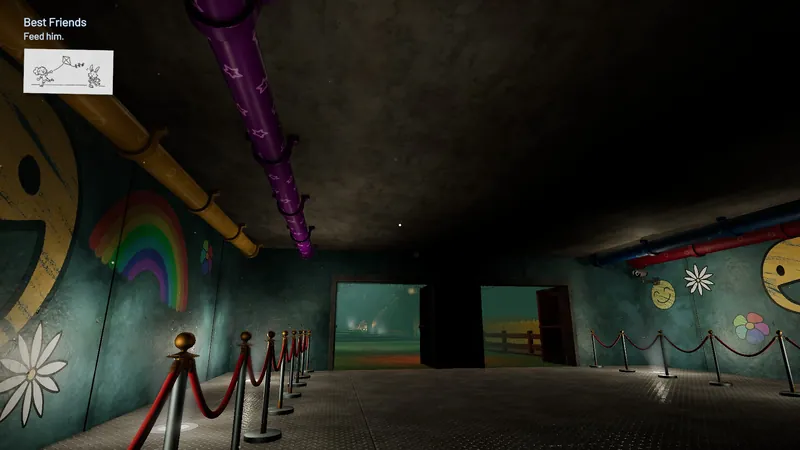
- Enter the symbols on the upper pipes. Quick answer: Circle, Triangle, Square, Star, from left to right.
- Turn the wooden wheel.
- The wheel breaks off. Pick up the broken wooden wheel and head to the far side of the farm.
- Check behind the left stairs of “The Nursery” building. The pig feed container is there.
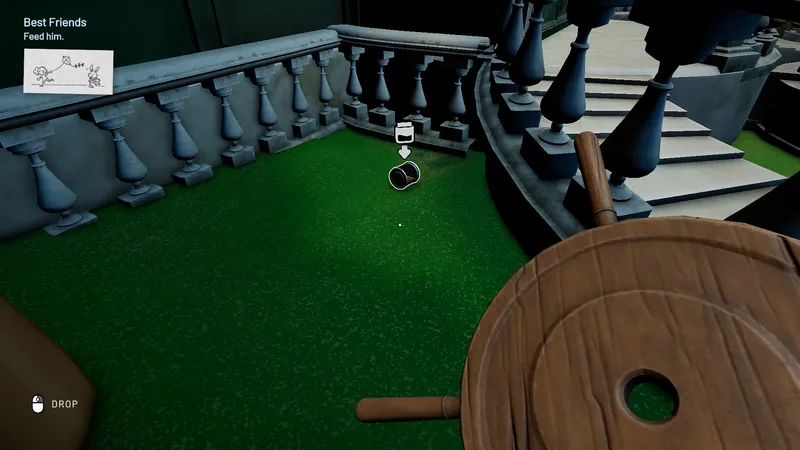
- Go back to the main area and follow the blood trail.
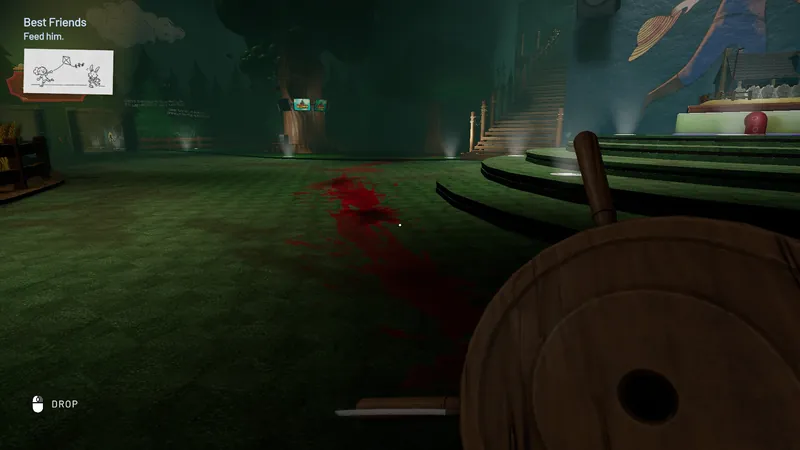
- Take the wooden wheel there first, then come back for the pig feed container. What to do next becomes clear once you arrive.
Container 4: Liquid Insecticide
The last container holds liquid insecticide. This one starts at the Barn.
- Go to the Barn with the flashing police lights and take the newspaper clipping.
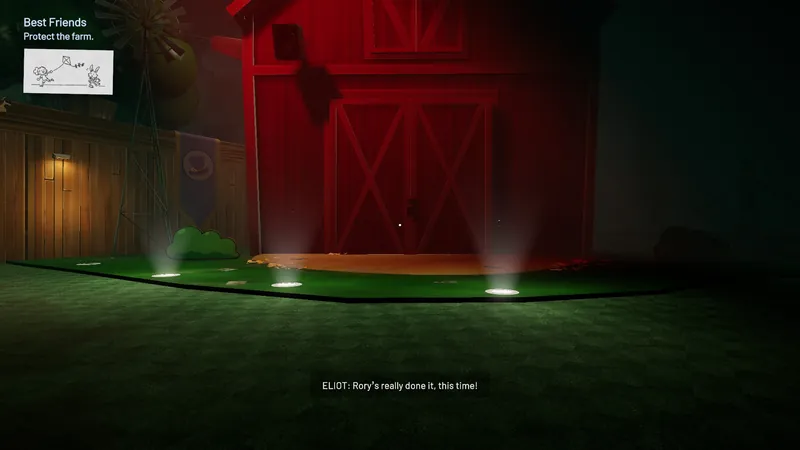
- Follow the blood trail again.
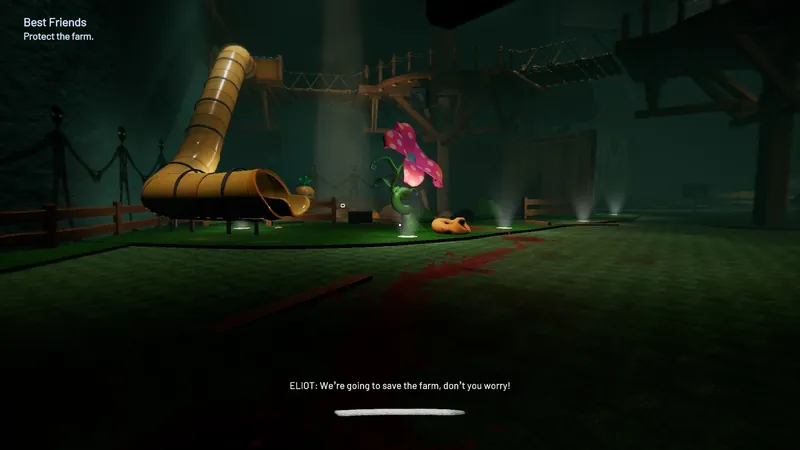
- A lore-related hallucination sequence plays. When you wake up, the last container (liquid insecticide) is already in your hands.
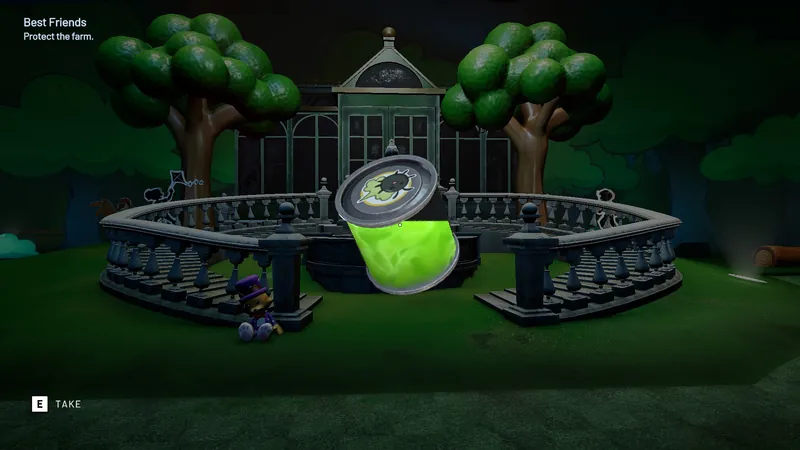
- “The Nursery” is now open. Go inside, find the last pipe, and put the liquid insecticide container into it.
- Return to the main area and follow the next in-game objectives.
Chapter 3: Terry’s House
Puzzle 1: Birthday Candles
Here you need to find a birthday candle.
- Go back to the Kitchen you visited earlier. It has changed, and mannequins now block every door.
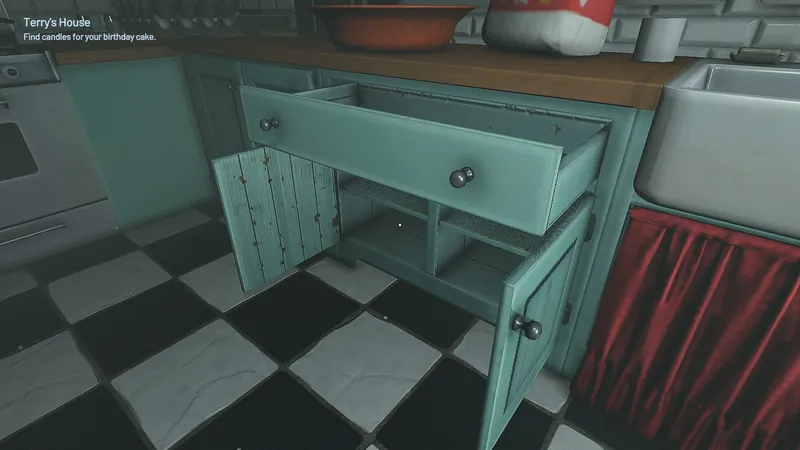
- Open the kitchen cabinets one by one until you hear a chair scraping across the floor.
- Look around. A chair has appeared next to the kitchen counter.
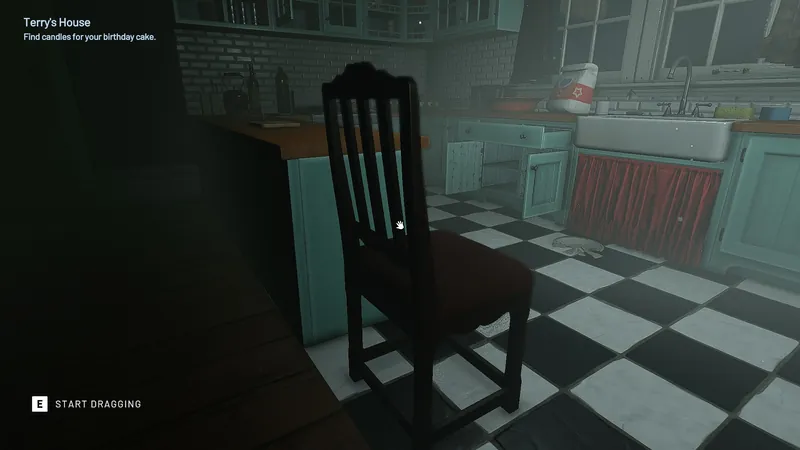
- Push the chair to the marked spot near the oven. A “ghost chair” shows exactly where it goes.
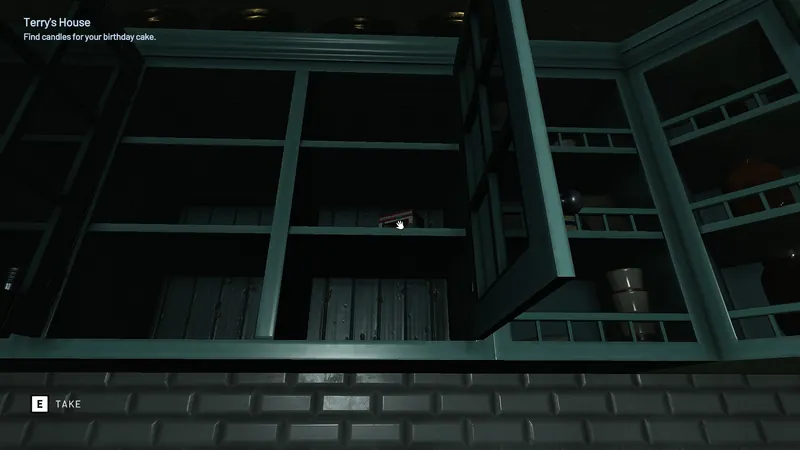
- Climb onto the chair and check the top shelf above the oven. The candles are there.
Puzzle 2: Safe
The safe in the garage is locked with a 4-digit code.
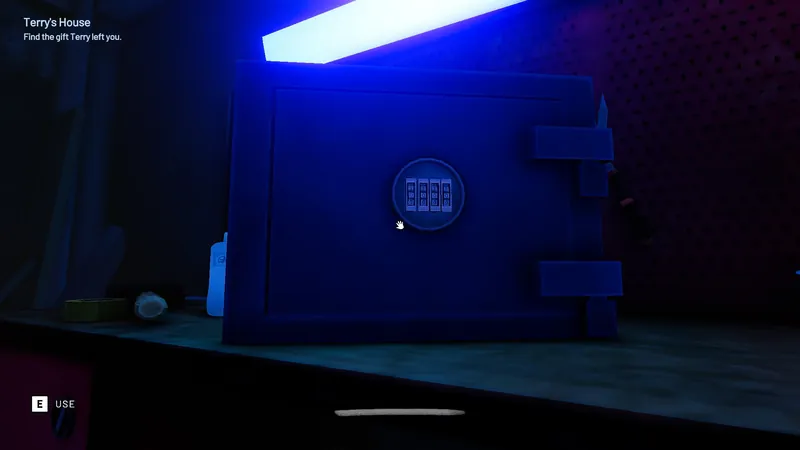
- Go to the living room with the TV and the piano.
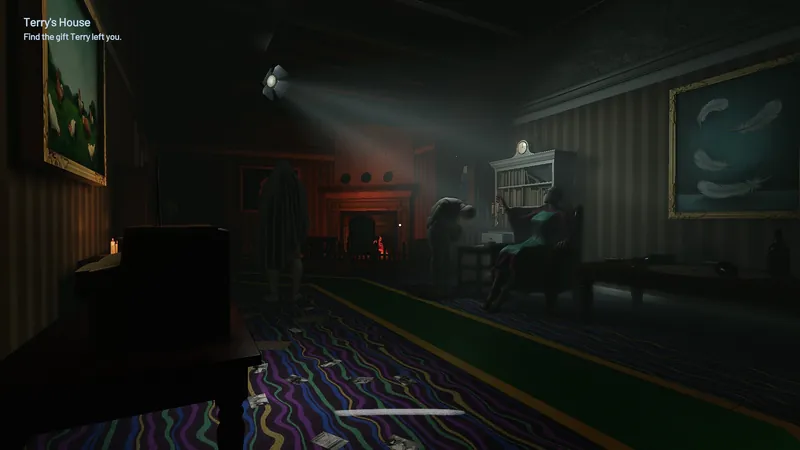
- There is a painting on every wall of the room. Count the objects in each one.
- Start with the painting on the left wall (Egg) and go clockwise around the room. The last painting shows the full-grown chickens.
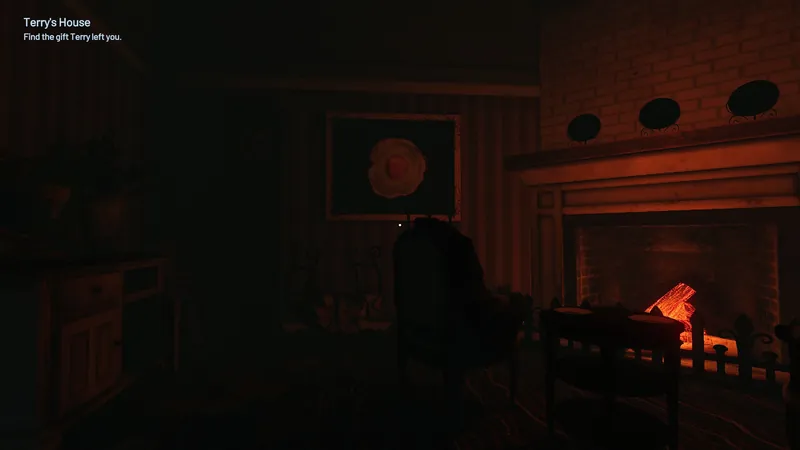
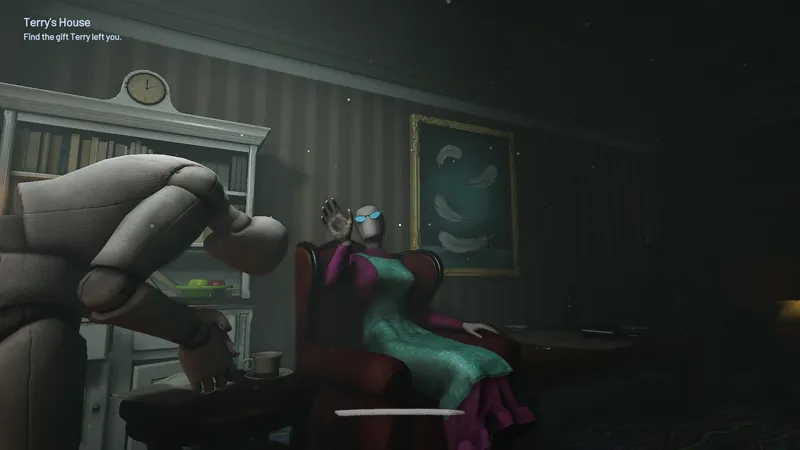
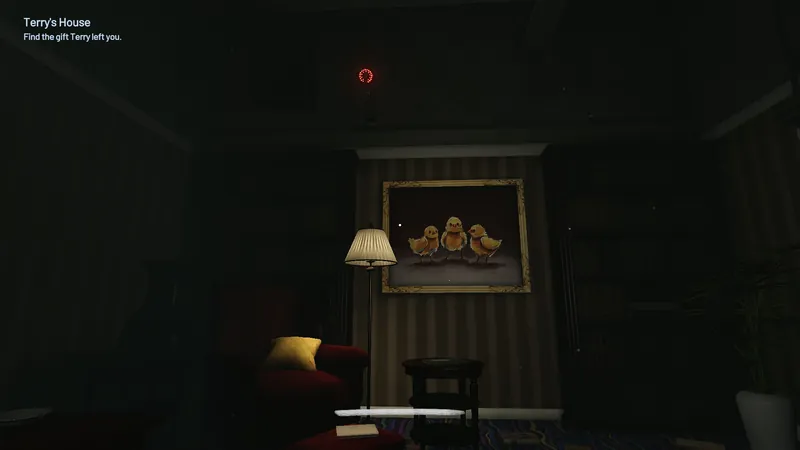
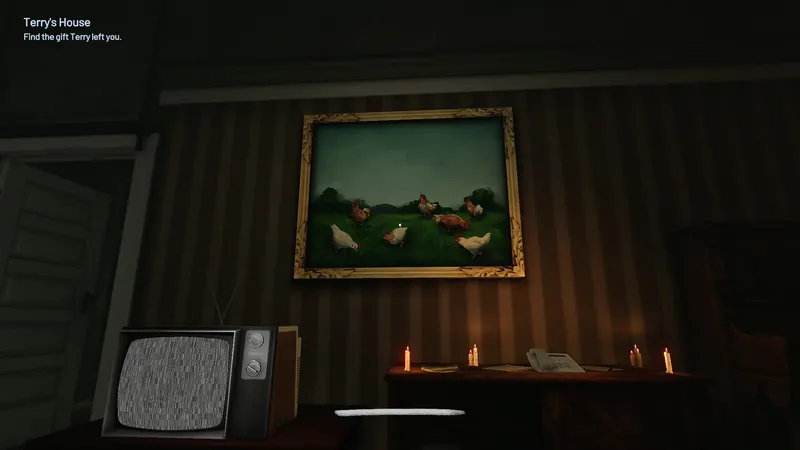
Quick answer: the safe code is 1437.
- Enter the code, open the safe, and take the present.
Puzzle 3: The Locked Box
A locked box on the upper floor of Terry’s House also needs a 4-digit code.
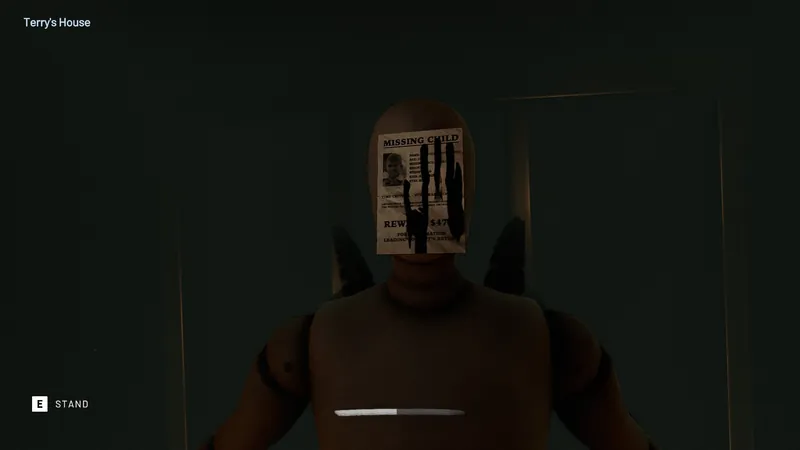
- Go upstairs and find the two missing child posters. Both are for the same child.
- The first poster is on the right, next to the seated mannequin of Ms. Mable near the bedroom.
- The second poster is in the room directly across from hers.
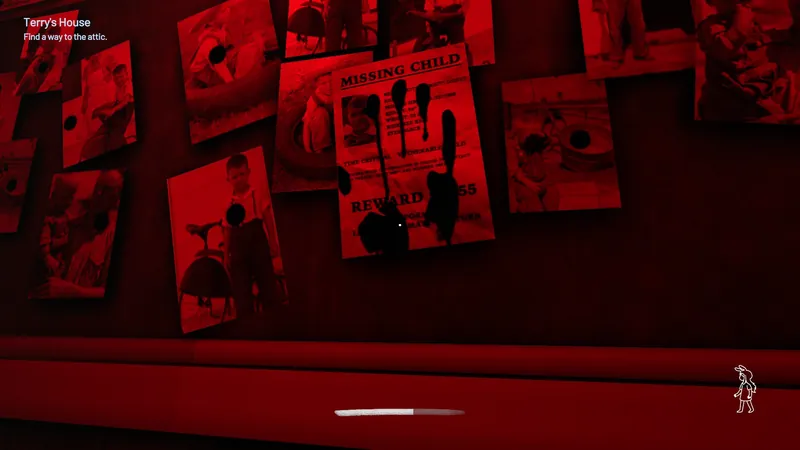
- Check the cash reward on the posters and enter the full reward amount as the box code. Quick answer: the code is 4755.
Puzzle 4: The Gramophone
You can solve this one after you get the vinyl record.
- Place the vinyl record in the gramophone, then interact with it.
- Tune and stabilize the three knobs.
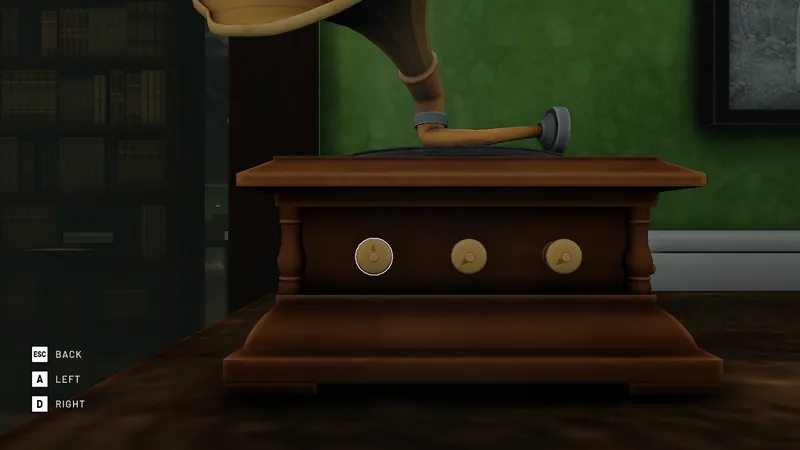
- Adjust each knob slowly until the sound is completely clear.
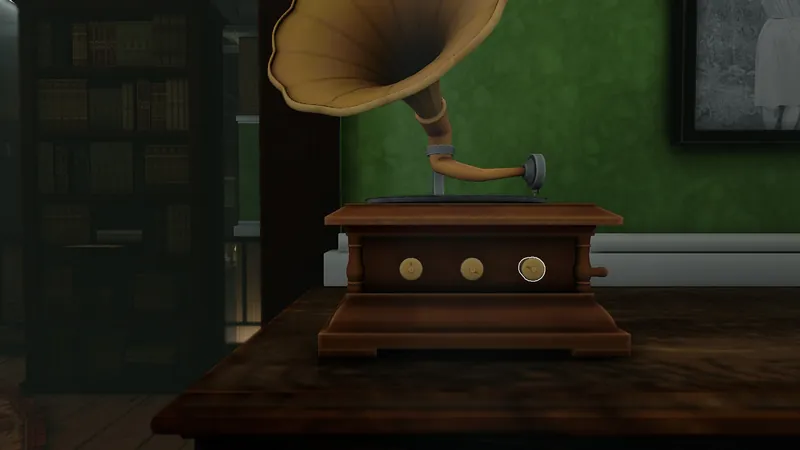
- When all three knobs are set correctly, a mysterious piano melody plays.
Chapter 4: Corridors
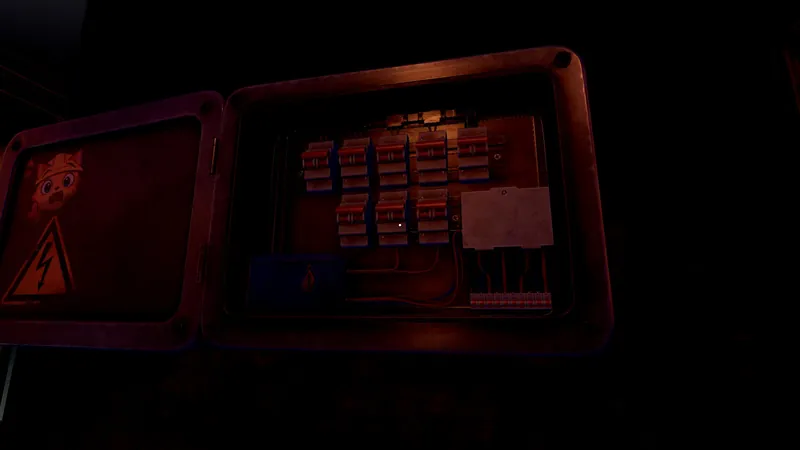
Breaker Box
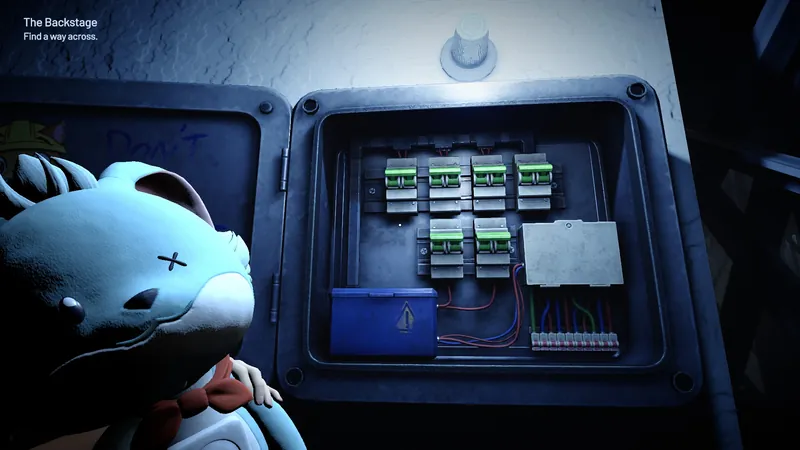
Power comes back only when you flip the circuit breakers in the right order. The number on each breaker below shows when to flip it:
- Top row: 4, 2, 1, 5
- Bottom row: 6, 3
- Flip the 3rd breaker in the top row.
- Flip the 2nd breaker in the top row.
- Flip the 2nd breaker in the bottom row.
- Flip the 1st breaker in the top row.
- Flip the 4th breaker in the top row.
- Flip the 1st breaker in the bottom row.
Puzzle 1: Timed Levers
This warehouse is full of green fog, and three levers block your way. Each lever resets after a countdown, so order and timing matter.
Pull the lever that stays on longest first and the one that resets fastest last. The lever farthest from the entrance is the first one you pull.
- First lever: Make your way through the small shelf maze, leave the warehouse, and go into the fan room next to the second lever. Pull the lever inside. It stays on for 1 minute and 5 seconds.
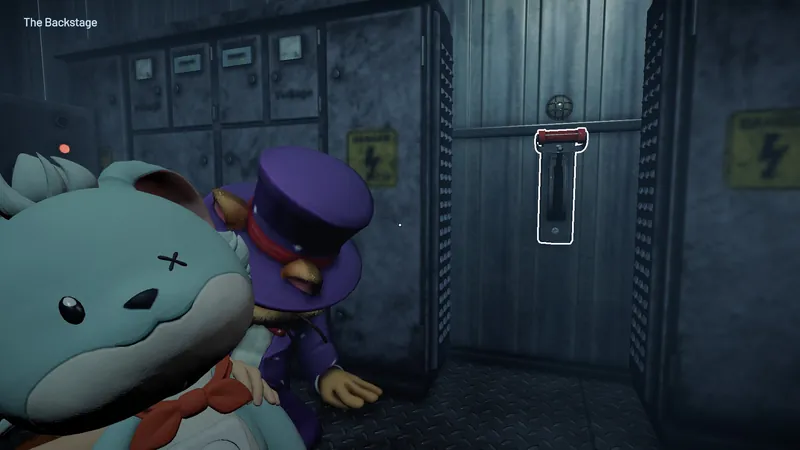
- Second lever: Step out of the fan room and pull the lever on the wall just outside the warehouse maze exit. It stays on for 40 seconds.
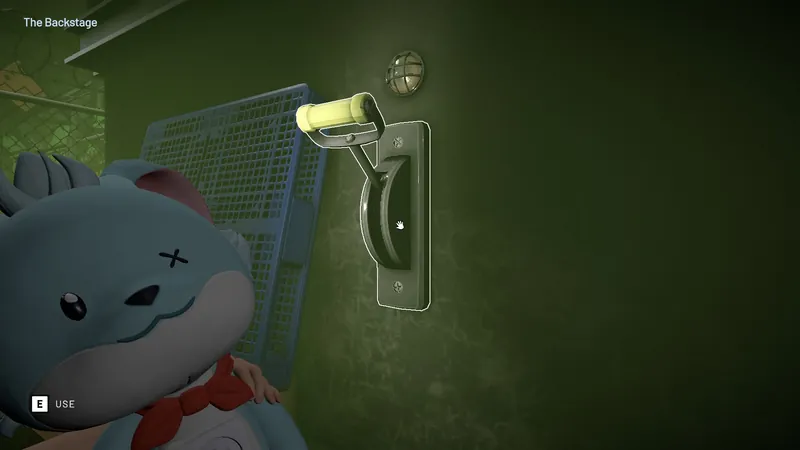
- Third lever: Run back through the shelf maze to where you first entered the warehouse. The last lever is right there. It stays on for only 3 seconds.
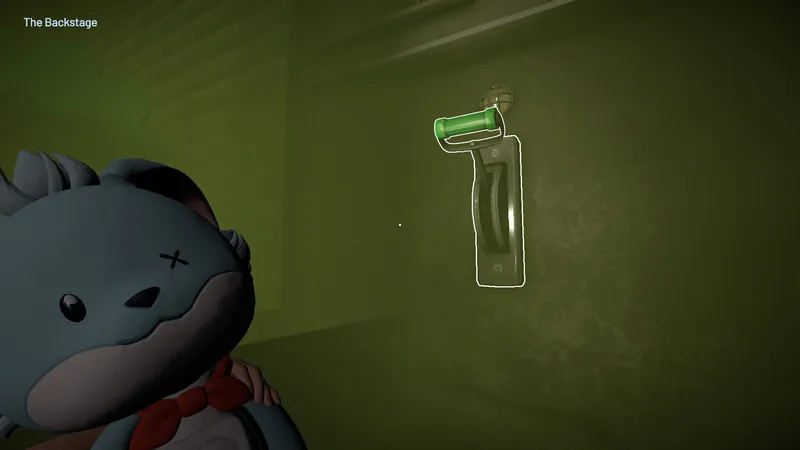
Note: there is enough time for the run as long as you do not get lost in the shelf maze.
Chapter 5: Rory’s Rally
Puzzle 1: Mechanical Workshop Timed Levers
Three timed levers sit in the workshop area of Rory’s Rally. Set up the route first:
- Find the battery and use it to power the vehicle lift holding the tractor-shaped vehicle.
- Ride the lift up to the catwalk.
- Walk along the right side of the catwalk and drop down near the shredder.
- Push the wooden crate away from the door that leads back to the lift area. Keep pushing it until it is inside the Recreational Area.
- Crawl through the vents in the Recreational Area to reach the Monitoring Room.
Before you start: lower the vehicle lift back down. The run goes from the Monitoring Room to the catwalk lever and ends at the lever in the small locker corridor next to the Recreational Area, so every second counts.
- First lever: Pull the lever in the Monitoring Room, then get back out through the vent quickly. It stays on for 1 minute and 5 seconds.
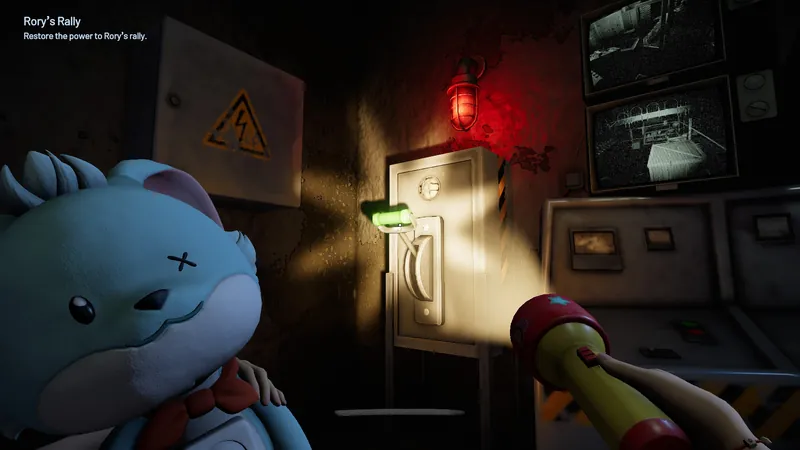
- Second lever: Run to the lift area, ride the vehicle lift up to the catwalk, and pull the lever on the left side. It stays on for 25 seconds.
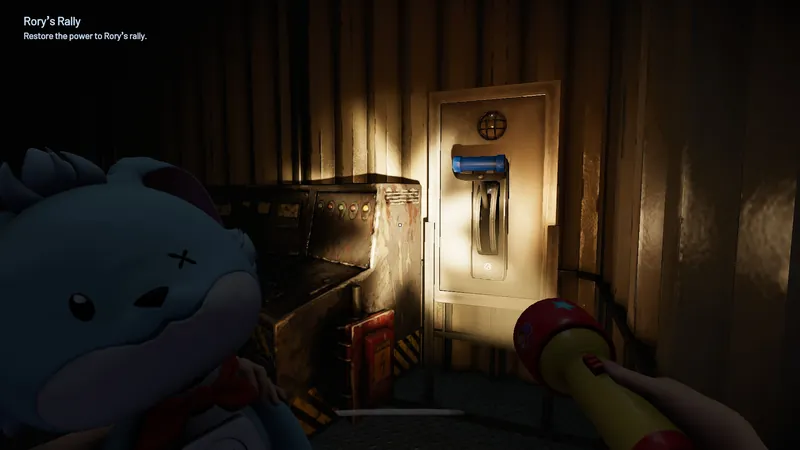
- Third lever: Drop down right away, run through the door you cleared with the crate, and pass the Recreational Area into the small locker corridor. The last lever is in the far left corner. It stays on for only 3 seconds.
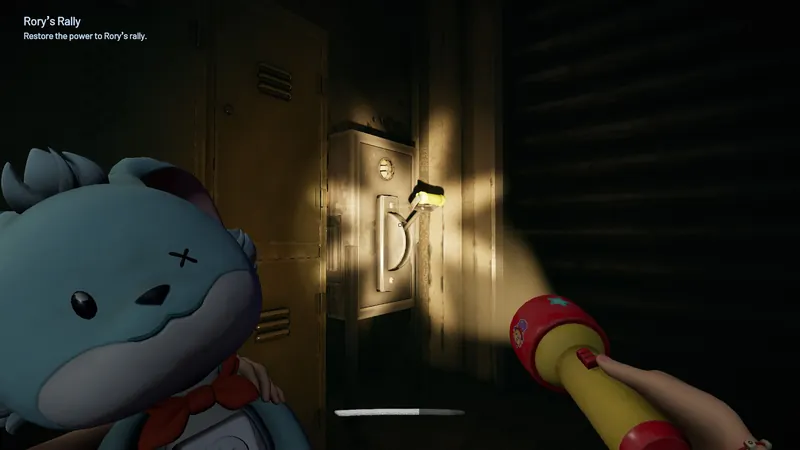
Note: go around the vehicle lift with some space. An invisible wall close to the lift can stop you, and the lost seconds can make the run fail.
Puzzle 2: Rory Levers
Rory hunts you through a room with flashing red lights while you pull three timed levers in a set order. Pulling all three defeats him.
- Run straight ahead until you see an opening on your left. Crouch through it to find the battery.
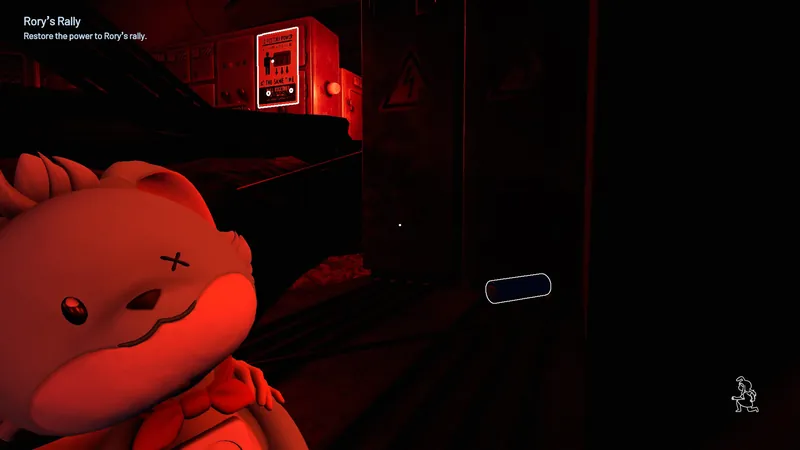
- Crouch to get back out and keep going right until you reach the elevator. Put the battery into the power box next to it to turn it on.
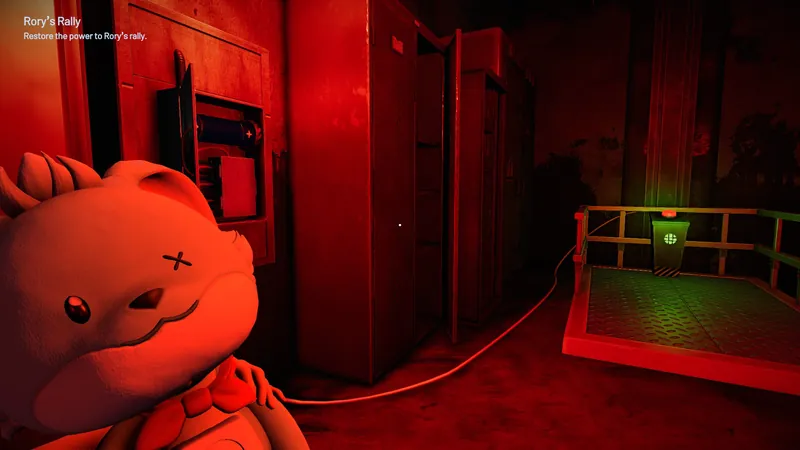
- Ride the elevator up to the catwalk and follow the path until you reach a gap you can drop through.
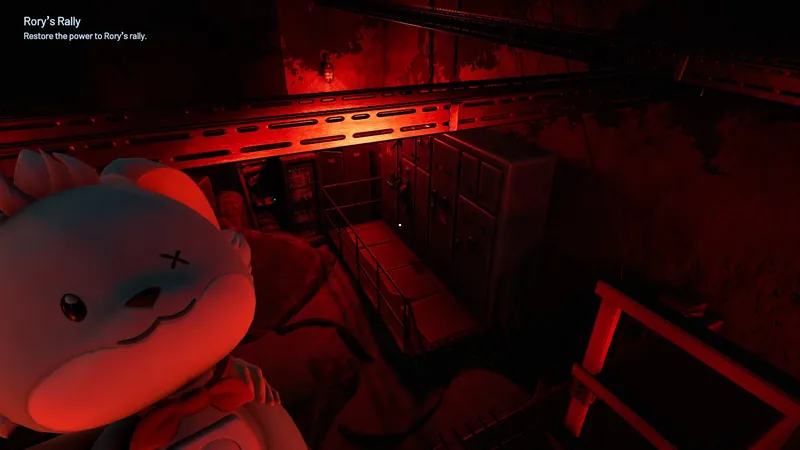
- First lever: Drop down and pull it. It stays on for 1 minute.
- Second lever: Run up the large boulder right away and jump across the electrical boxes. Turn left at once and go to the small stairs with a sign and a letter. The lever is there. It stays on for 40 seconds.
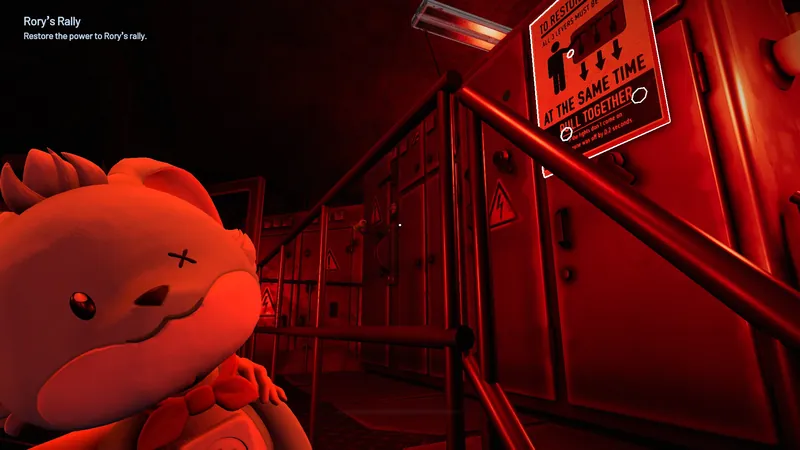
- Third lever: Sprint straight to the doors marked “NO ENTRY”. Pull the lever there to finish. It stays on for only 3 seconds.
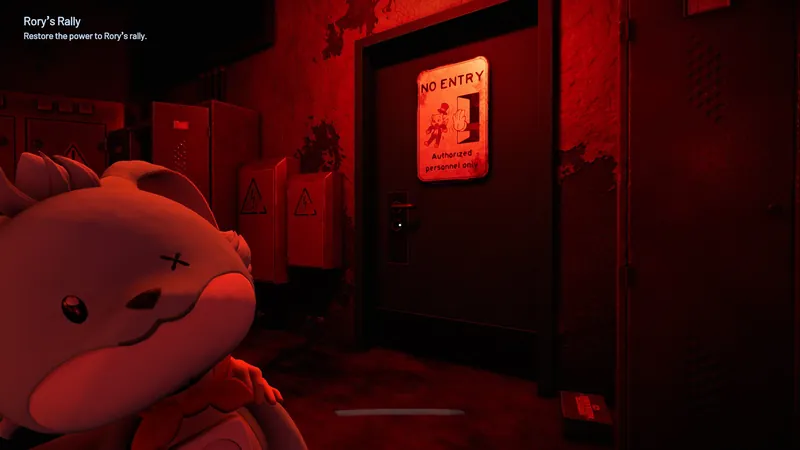
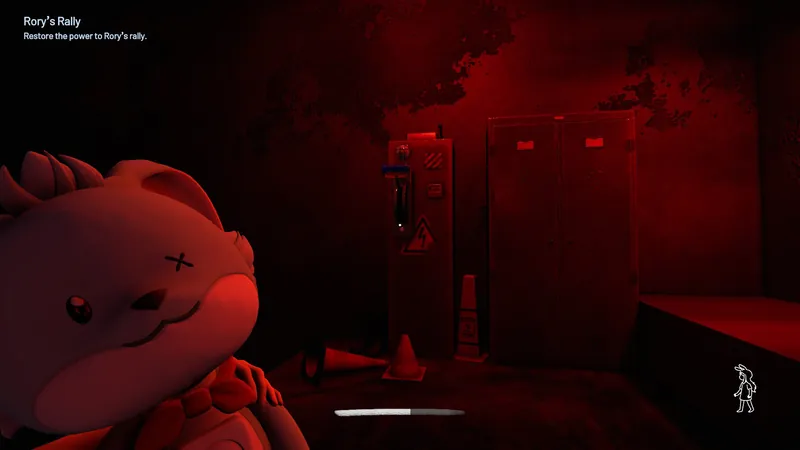
Watch out: do not let Rory get close. If he reaches you, he hugs you and the game is over.
Chapter 6: After Hours
Puzzle 1: Coin Pusher Ferris Wheel Ticket
A Coin Pusher machine in the small Arcade holds a free Ferris Wheel ticket. The machine is rigged, so you need every token in the area before the ticket drops. There are 18 tokens in total.
Loose Tokens (3)
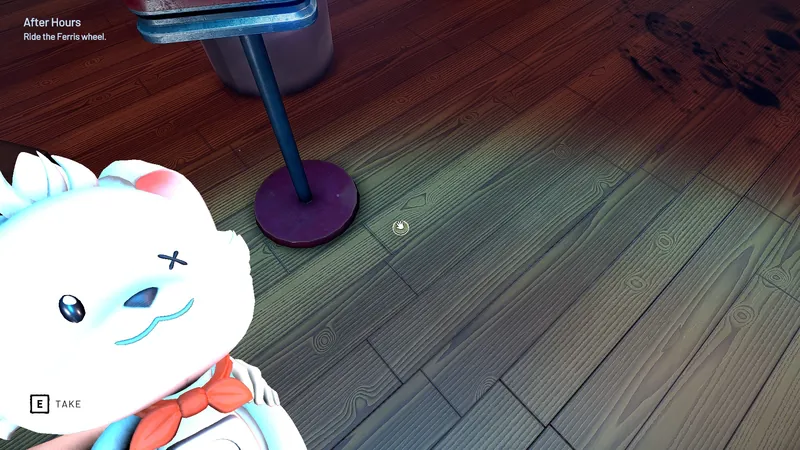
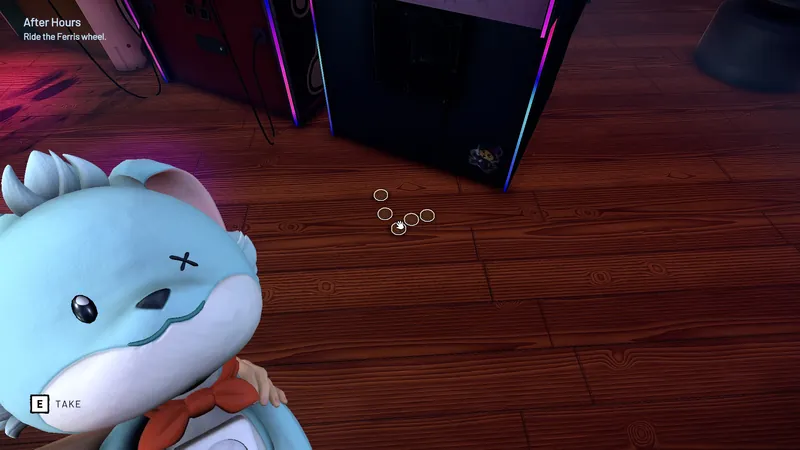
- Token 1: on the floor right next to the gumball machine.
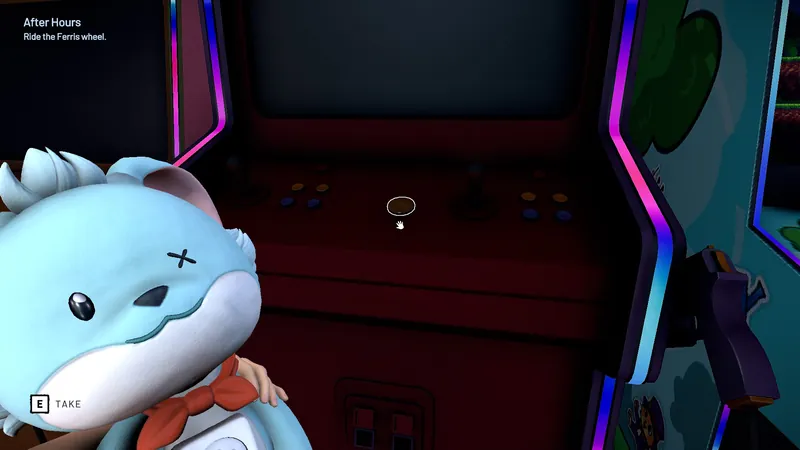
- Token 2: on the button panel of the red arcade cabinet next to “Eliot’s Adventure”.
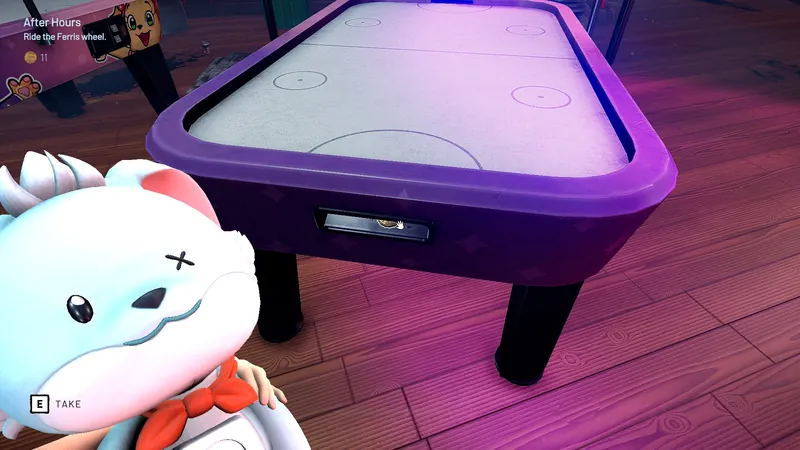
- Token 3: in the puck return slot of the Air Hockey table.
The Smashed Machine (5)
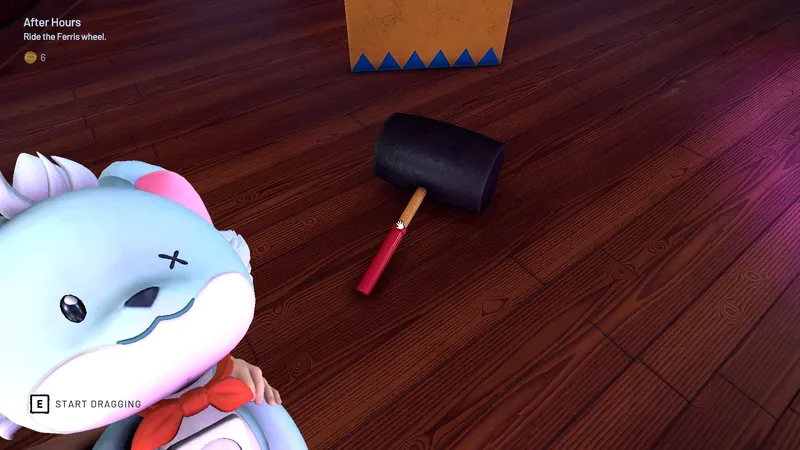
- Find the hammer. You can only pick it up the second time you interact with it.
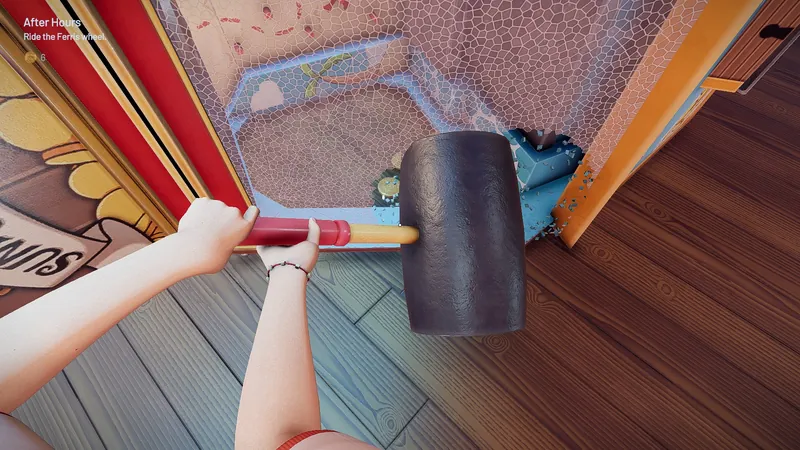
- Smash the glass of the Coin Pusher machine lying on its side on the floor to get 5 tokens.
Whack-A-Rory (5)
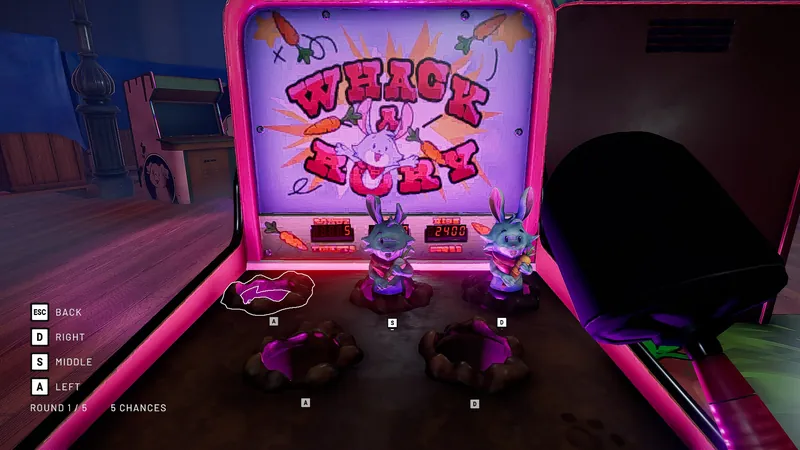
- Play “Whack-A-Rory”, the Whack-A-Mole style game.
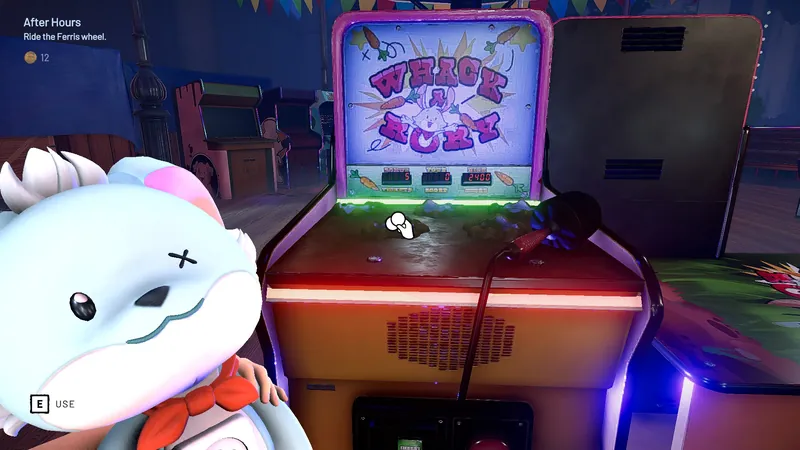
- Beat the high score by reaching 2,500 points. Rory pops up very fast, so you need quick reflexes.
Eliot’s Adventure (5)
- Play the “Eliot’s Adventure” arcade game.
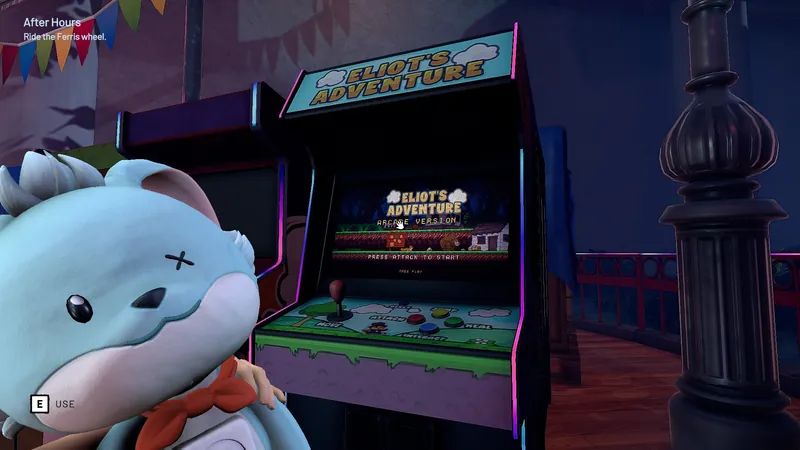
- Survive and clear 4 rounds of enemy waves. The screen then shows an ERROR, and you get 5 tokens.
If the Ticket Does Not Drop
The Coin Pusher also pushes some tokens back out while you play. If you used every token above and the ticket still has not dropped, a spare token appears at one of the loose token spots. Check those spots again.
When the ticket drops, take it to the Ferris Wheel.
Chapter 8: The Castle
Breaker Box
Flip the circuit breakers in the right order to bring the power back. The number on each breaker below shows when to flip it:
- Top row: 5, 4, 2, 1, 6
- Bottom row: 7, 8, 3
- Flip the 4th breaker in the top row.
- Flip the 3rd breaker in the top row.
- Flip the 3rd breaker in the bottom row.
- Flip the 2nd breaker in the top row.
- Flip the 1st breaker in the top row.
- Flip the 5th breaker in the top row.
- Flip the 1st breaker in the bottom row.
- Flip the 2nd breaker in the bottom row.
Color Buttons Puzzle
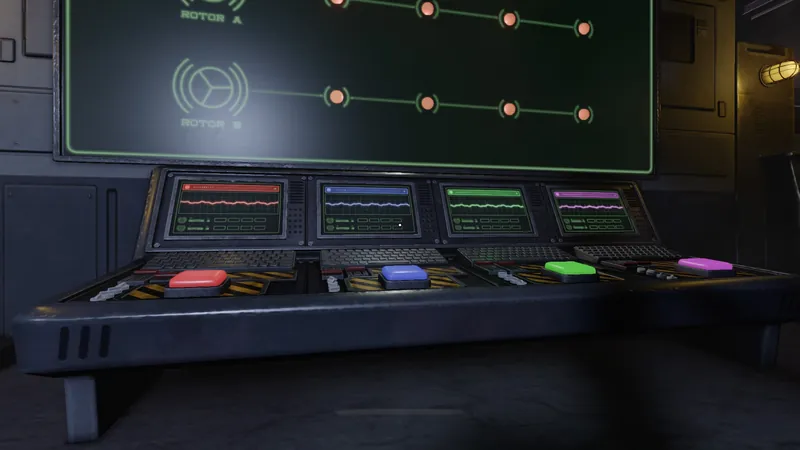
This door leads to the true ending of Giggleland. To open it, line up both color rotors. Each press turns both wheels at once, so it is easy to lose track. Press the buttons in this order, starting from the default position:
- Purple 4 times. This fully resets the rotors.
- Red
- Blue
- Green
- Red
- Blue
- Blue
- Green
- Blue
Short version: Purple x4, Red, Blue, Green, Red, Blue, Blue, Green, Blue.
Bonus: Secret Ending
How to Unlock the Secret Ending
Near the end of Chapter 5, you reach a crossroads. You can follow Ella’s path or Eliot’s path. Pick Eliot’s path every time.
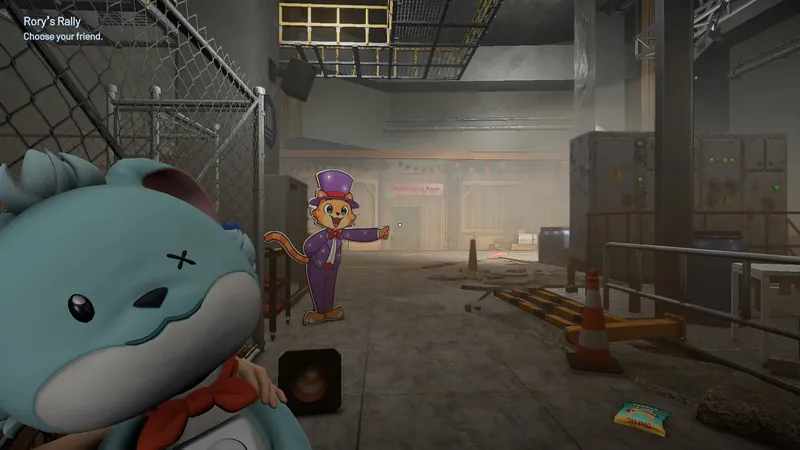
- First time: Take Eliot’s path into the Ride Control Room. The screen glitches as soon as you enter, and you are sent back to the crossroads.
- Second time: Take Eliot’s path again. Another glitch sends you back.
- Third time: Take Eliot’s path once more. You glitch back to the crossroads again.
- Fourth time: Take Eliot’s path one last time. The loop breaks and you end up in a creepy corridor.
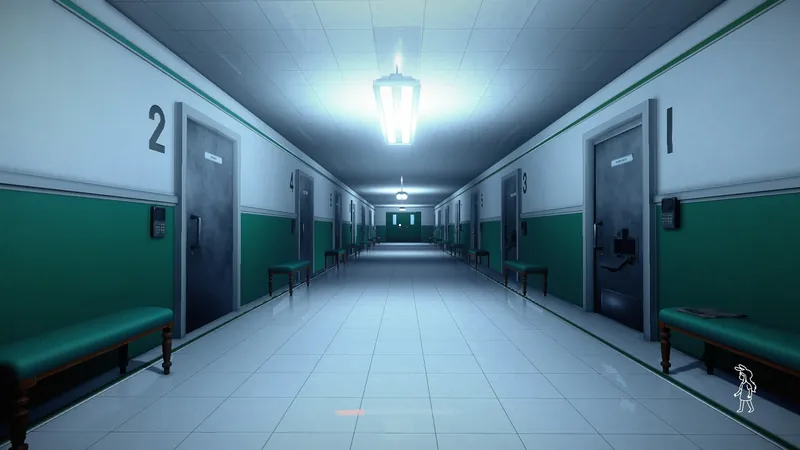
Walk down the corridor to see the secret ending.
Credit: @Bunny