Complete list of all items in Clock Tower: Rewind, including where to find them and how to use them.
Clock Tower Rewind: Item Guide
All items, their locations and where to use them.
Two Types of Runs
I’ll start with the two key items: the Statue and the Cane.
Each run only includes one of these items. When you start a new game, the system randomly spawns either the Statue or the Cane-never both. To determine if you’re on the Statue or Cane route, use one of these methods:
1. Check the second shelf from the left in the library:
- If Jennifer reads about a demonic statue – Statue run
- If not – Cane run
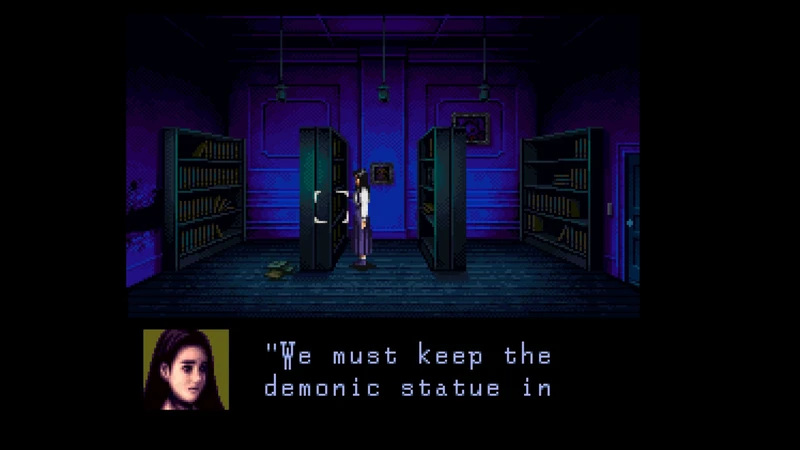
2. In the study room check the mural and then check then the shelf.
- If Jennifer pushes it down – Cane run
- If not – Statue run
3. Alternatively, you can go direct to the cane location.
- If you find it there – Cane route
- If you find a unlikely partner – Statue run
Mandatory Items
These are the items you NEED to have to finish the game:
Statue
- Location: West Wing – 2nd floor, far right near the secret room are a lot of statues, check the second statue from left to right. (You NEED to check the library shelf mentioned above first)
- Use: Place on the altar in the ritual room to open the trapdoor to the underground.
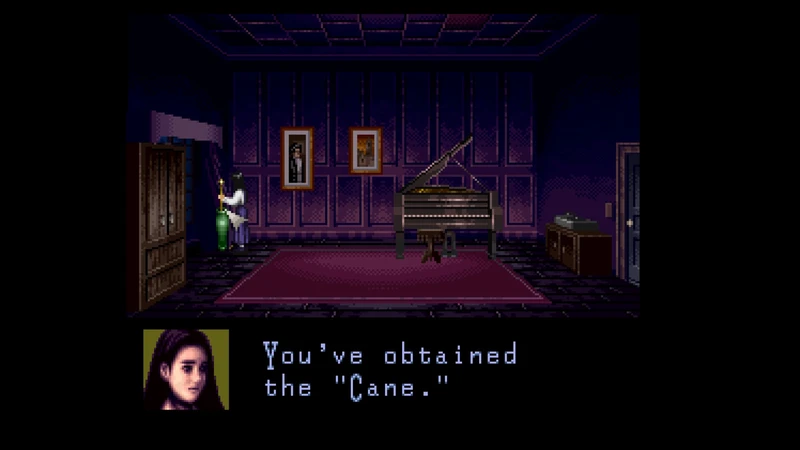
Cane
- Location: West Wing – Piano room, behind the curtain
- Use: Place on the vase in the ritual room to open the trapdoor to the underground.
(Although you can get the cane without going to the study room, you cannot use it without pushing the shelf and looking the complete mural).
West Building Key
(The game randomly spawns the key on one of these location)
- Location A: East Wing – TV room, on the box above the drawer.
- Location B: East Wing – 2nd floor, on the corridor, use the box to reach the bird’s nest.
- Use: Open both the 1st and 2nd floor door to the west wing.
(This item doesn’t show up on the inventory, Jennifer will use it automatically when trying to open the door).
Sharp-edged Stone
- Location: East Wing – 1st floor, collapsed corridor, on top of the junk mountain.
- Use: In the same room you find, use it on the wall to open the path to the courtyard.
(You need only one of the west key or the stone to reach the west building, but you can get both without any problems).
Ritual Key
- Location: West Wing – 2nd floor, baby room, inside a box below the clown doll.
- Use: Opens the ritual room door in the west wing – 1st floor.
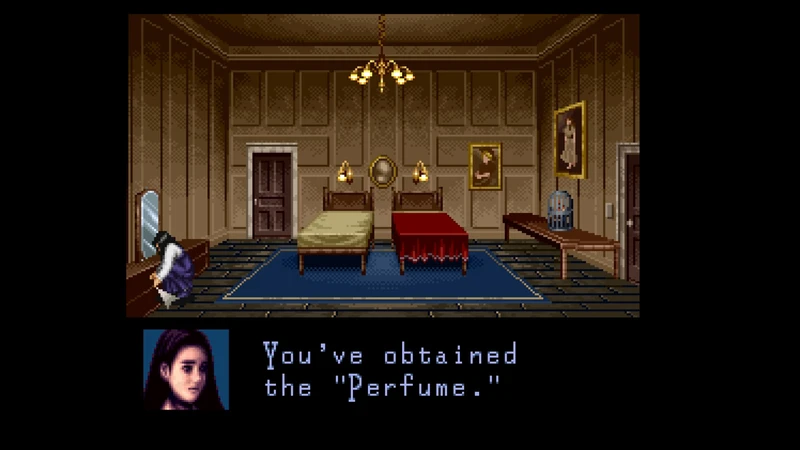
Perfume
- Location: East Wing – 1st floor, bedroom, on the drawer below the mirror.
- Use: Combine with the Black Robe to pass the dog on the underground.
Black Robe
- Location: East Wing – 2nd floor, storage room, on the chest behind the shelf, use the box to reach it.
- Use: Combine with the perfume to pass the dog on the underground.
Optional Items
These items are optional and used for exploring the mansion and getting the requirements for the endings:
Pesticide
- Location: East Wing – 2nd floor, storage room, on the floor near the door.
- Use: Kill the bugs on the refrigerator in the kitchen. The Gold Key is inside it.
(If Bobby chases you to this room he will kick this item leaving the room filled with the pesticide, you have to exit and re-enter the room to be able to pick it up).
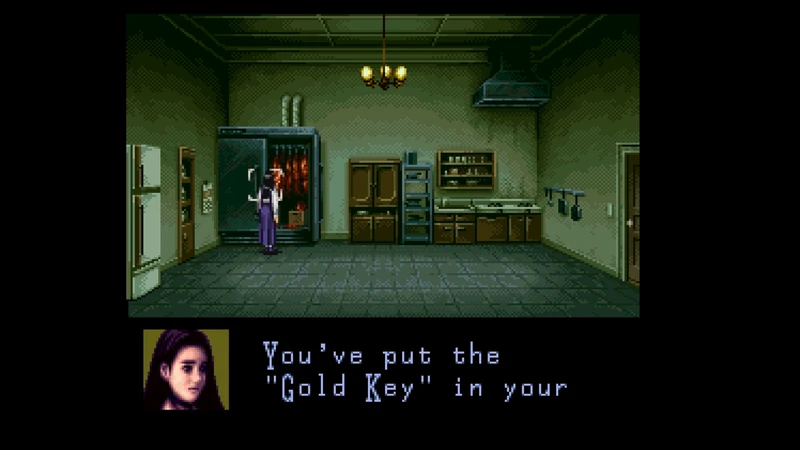
Gold Key
- Location: East Wing – 1st floor, kitchen, inside the refrigerator, you need to kill the bugs to get it (for more details check the Pesticide above).
- Use: Opens the phone room door in the east wing.
(This item doesn’t show up on the inventory, Jennifer will use it automatically when trying to open the door).
Silver Key
- Location: East Wing – Phone room, below the glass on the table (Mary must not be in the room).
- Use: Opens the study room door in the east wing.
(This item doesn’t show up on the inventory, Jennifer will use it automatically when trying to open the door).
Ham
- Location: East Wing – 1st floor, kitchen, inside the fridge.
- Use: Give it to Simon Barrows before he attacks you in case you are dragged to the jail cell in the courtyard shack by Mary after meeting her in the phone room.
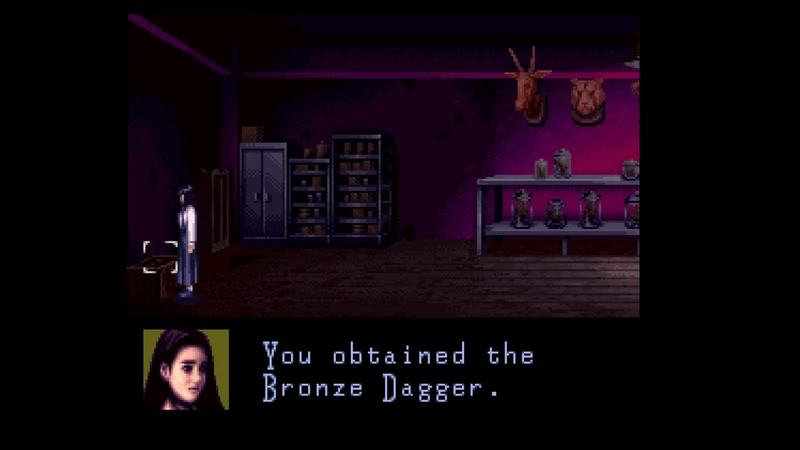
Bronze Dagger
This item is exclusive to Rewind mode.
- Location: West Wing – Animal head room, on top of the box in the left corner (only appears when the lights are out)
- Use: Kills the undead that gets out of the metal closet right next to the dagger. He drops the Cage Key.
Cage Key
(This is the only item that has different location depending on the mode you are playing).
- Location A (Rewind mode): West Wing – Animal head room, drops from the undead inside the metal closet (for more details check the Bronze Dagger above).
- Location B (Classic mode): West Wing – Cage room, on top of the table with the dead crow.
- Use: Opens both the cage with the crow and the rats inside the cage room. The crow helps with ending S and A, the rats don’t do nothing.
Rope
- Location A: East Wing – 2nd floor, storage room, on the floor in the center of the room.
- Location B: West Wing – 2nd floor, painted wall room, on the floor in the center of the room.
- Use: In case you got in a chase on the far right of west wing – 2nd floor and didn’t put the wooden plank, Bobby will break the floor and you can’t go back. You need to use it on the first statue to be able to return to the 1st floor.
Lantern
- Location: West Wing – 2nd floor, fireplace room, on top of the table in the center of the room.
- (Only appears if you saw Anne’s optional window death)
- Use: In the library, use to light the dark hole on the wall to get the Copper Key.
Copper Key
- Location: West Wing, library, inside the hole on the wall, you need the lantern to be able to get it (for more details check the Lantern above).
- (Only appears if you saw Anne’s optional window death)
- Use: Opens the jail cell in the courtyard shack without needing to wait for Lotte to save you.
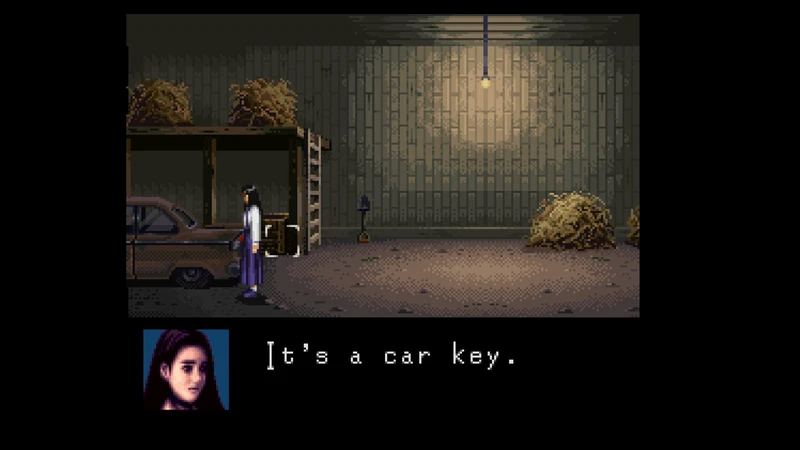
Car Key
- Location: East Wing – 1st floor, garage, next to the car on top of a box.
- Use: Start the car three times to get the G or H ending.
Item Tips
In each run, some rooms have its locations randomly placed:
- The phone room and study room in the east wing places can have its places swapped between them
- The animal head room and mannequin room in the west wing can have its places swapped between them
- The west wing bathroom, bedroom, piano room, library and cage room can have its places swapped between them. (The west wing bedroom only appears on rewind mode, on classic mode there is a door you can’t interact with it)
- (The rest of the rooms have their place fixed every run)
The statue run is quite shorter than the cane run as you don’t need to enter the study room to drop the shelf and see the mural, by extension you don’t need the silver key, gold key and neither the pesticide.
You don’t have a limit on your inventory, you can get all of the available items but never get to use a few in a run.
The only item that “kinds” of lock you out of an ending is the lantern and the copper key, and that’s because if you get them, you saw both Laura and Anne dying, meaning you can’t get ending S or A.