Start your first runs in the Pantra region of Batomon Showdown with clear, simple tips for new players.
Batomon Showdown: Pantra Beginner’s Guide
Everything below is based on patch 1.4.1.
Game Basics
You play as a trainer with a team of up to six monsters. Battles use asynchronous multiplayer: your opponent is picked at random from a pool of similarly ranked players who are on the same Day as you. Starting a battle also adds your own team to that pool for others to fight.
To win a run, you need 10 player-vs-player victories before your lives run out. Hover over your lives to see how many a loss will cost you.
Hover over a monster to check its stats. Right-click it to open a detailed pane that also shows bonus Cooldown speed, level bonuses, and shiny bonuses.
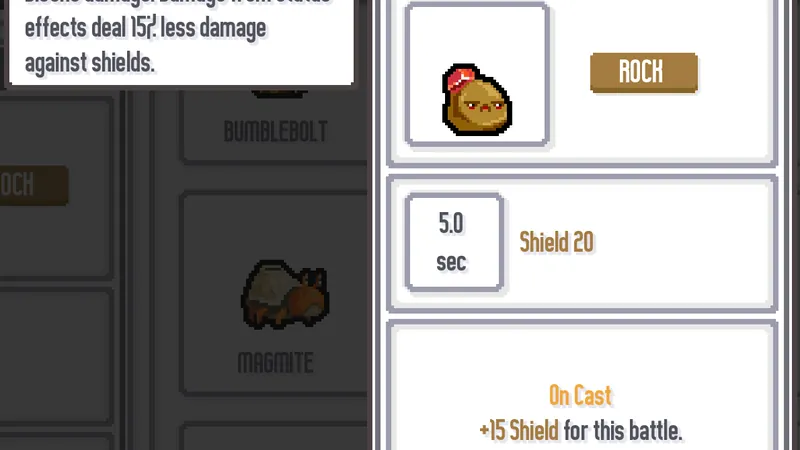
- Right-click every Batomon you don’t know yet. Aim to tell its types and how it grows with levels at a glance.
- Most monsters without abilities only gain stats when they level up. Most monsters with abilities get stronger abilities instead.
- Some monsters evolve. Right-click one to see its evolved form.
- Use the Batopedia to see which monsters are in the shop now and on future turns. You can filter it by type.
Buying 3 copies of a level 1 monster levels it up. This is different from evolving, which only certain monsters can do. Two level 2 monsters combine into a level 3, so a level 3 costs 6 level 1 copies in total. Once you own a level 3 monster, its duplicates stop appearing naturally in the shop.
Each level-up gives you a gift of the same rarity as the monster. A Common monster gives a Common gift, an Uncommon gives an Uncommon gift, and so on. Rarer monsters nearly always cost more, so you need to find a balance. The current shop rarities sit to the left of your money, together with your Shop Rank. Shop Rank shapes which rarities show up and rises by 1 at the start of each day.
Every monster has a cooldown and stats, and some also have abilities. A monster with a 5-second cooldown triggers at 5 seconds into the battle, then at 10, and so on. Any extra cooldown speed already shows in the examine pane, so you don’t need to work it out.
Here are the stats, from simplest to most complex:
- Damage: Lowers the opponent’s HP by the listed amount. Trainers start Day 1 with 300 HP, so 300 damage wins the fight.
- Healing: Restores HP, but never above your maximum HP.
- Shield: Appears to the right of your HP bar and blocks damage. It can stack far higher than your HP.
- Poison: The affected player takes damage equal to their poison at the start of every second. Both players take poison damage at the same moment, so a poison mirror match can end in a tie. A tie still counts as a win.
- Burn: Deals periodic damage like poison, but it ticks every half-second, twice as often as poison, and it drops by 1 each time it deals damage. A single monster with 10 burn deals 10, then 9, then 8, and so on, for 49 damage in total. That’s why several burn monsters work well together: they keep topping up the burn before it hits 0.
- Shock: Every hit from a casting monster deals extra damage equal to the opponent’s shock. If the opponent has 25 shock, a monster that deals 10 damage hits for 35 each time it casts. Shock only applies when the opponent is attacked. Applying poison or burn, or their ticks, doesn’t trigger it. A poison or burn monster that also has a damage value does trigger shock with its cast. A red number under a monster means its cast triggers the opponent’s shock.
Starting Trainers
Your first few runs are mostly scripted, so play the tutorial as normal and use this guide for strategy afterwards. Your trainer has a big effect on which builds succeed, so plan your early monster purchases around it. The groups below are listed roughly from most to least recommended.
Type Trainers
Any trainer that references a Batomon Type: Bug Catcher, Musician, Swim Coach, Alchemist, Redhead, and Chef.
These are the simplest picks. Choose one and lean into its types. Pantra has fairly clear synergies within each type, and the builds section below covers them.
Value Trainers
These give value with a direction: Egg Breeder, Monster Ranger, Scavenger, Twins, and Youngster.
- Monster Ranger: A top recommendation. Uncommon monsters are almost always stronger than the Commons in your Day 1 shop, so build around whatever Monster Ranger gives you.
- Egg Breeder: Less upfront value. Hover over the egg to see which monster it will hatch into, and try to build synergy around that monster. If no support shows up, you can sell it for a lump sum.
- Scavenger, Twins, and Youngster: All three reward rerolling to some degree. Youngster is the easiest: reroll for duplicates whenever you can. Twins are also powerful. Even in the worst case, once you have a level 3 monster, you can sell the original and keep the $0 duplicate to get half your money back.
The remaining trainers are either greedy or complicated, so try the ones above first. Most trainers are fairly balanced, so give each one a go when you get the chance.
Events
On Day 3, Day 6, and Day 9, an event lets you pick one of three options that change your run. Options in bold are the powerful or noteworthy ones.
Day 3 Events
Bug Catcher
- Gain a Level 2 Guardiant
- Gain a Gildshell with +20 damage
- Gain a Brawlmantis with +1 Multicast
Rainbow Berry
- Turn a monster Shiny
- Gain the Rainbow Berry
- Gain $20
Foreign Merchant
- Gain a Rare Batomon from another region and add it to your shop pool
- Gain Kaleidoscope
- Gain Rough Diamond
Dragon’s Hoard
- Gain a Dragon’s Egg that hatches in 2 turns
- Gain the Hero’s Sword
- Gain $20
Day 6 Events
Ancient fossil
- Gain Talonite
- Gain the fossil
- Gain $40
Fairy Batomon
- Get Shop Rank +2
- Get +10 income
- Gain Wishwash
Meteorite landing
- Level up a Level 1 Batomon
- Gain the Meteorite
- Gain $40
Lost Ignit
- Gain Ignit
- Get a Rare trinket gift
- Gain $40
Day 9 Events
Mad scientist
- Transform ALL of your monsters one rarity higher
- Give a monster Electric typing and +5 shock
- Get +$30 income
Batomon Professor
- Level up ANY monster (max. 4)
- Get Research notes
- Get $60
Forest statue
- Give a monster Grass typing and gain a Dryadell
- Your monsters do +20% Damage
- Get +30% HP
Dragon tamer
- Gain a Shiny Draconarch
- Gain a Shiny Onsetra
- Gain a Shiny Saberhorn
Plan ahead for the Day 9 events in particular. Holding a Legendary Batomon, even on your bench, is close to an auto-win if Mad scientist appears and you upgrade it to Mythical. Batomon Professor can also push a monster to Level 4, which is often a big jump in power over Level 3.
Popular Builds
Most Pantra builds fill the board with monsters of mostly matching types. They’re listed from easiest to hardest to play and understand. Keep in mind that most of them favor certain trainers.
Poison
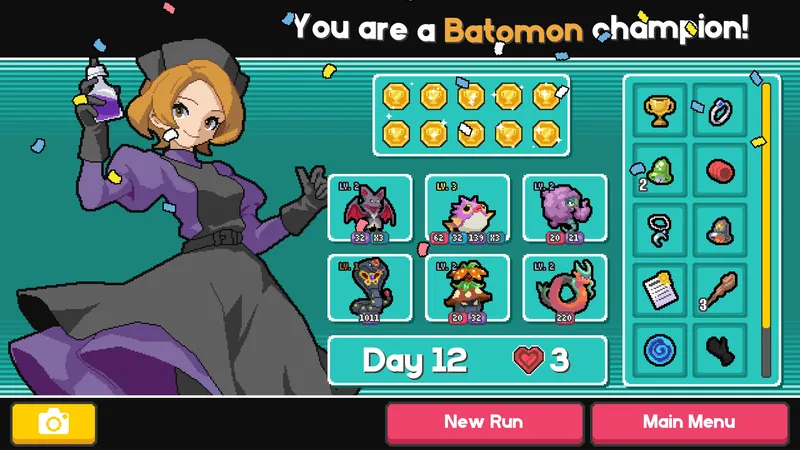
Puffloon is the core of almost every poison build. Make it trigger quickly through fast cooldowns or high multicast, then add a payoff. Cobrex, Noxnimbus, or Noxalith are common choices for big poison numbers, paired with Fumungus or Thorntail for speed. Alchemist makes this build easy: Spinarai and Venopuff are strong early, and even stronger with Alchemist’s flat poison bonus across the board.
Burn
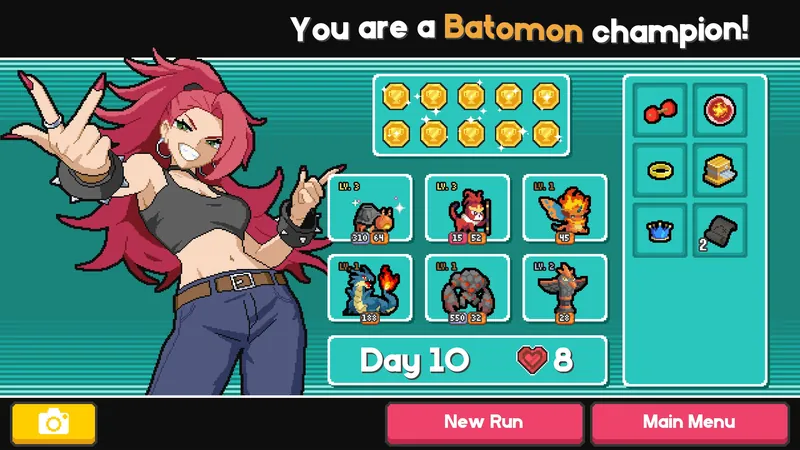
Burn also has strong Common monsters that you can carry into the late game. Sunsage, the evolved form of Scorchimp, is one of the most popular carries. Reaching high burn numbers is harder than with poison because burn has no Noxnimbus, so Redhead and Chef are recommended. If you take Ignit from the Day 6 event and evolve it twice, Basilord can carry your board with help from Stellagon and/or some Cooldown speed. Stellagon also works great with (non-shiny) Magmite and Blazewing.
Shock
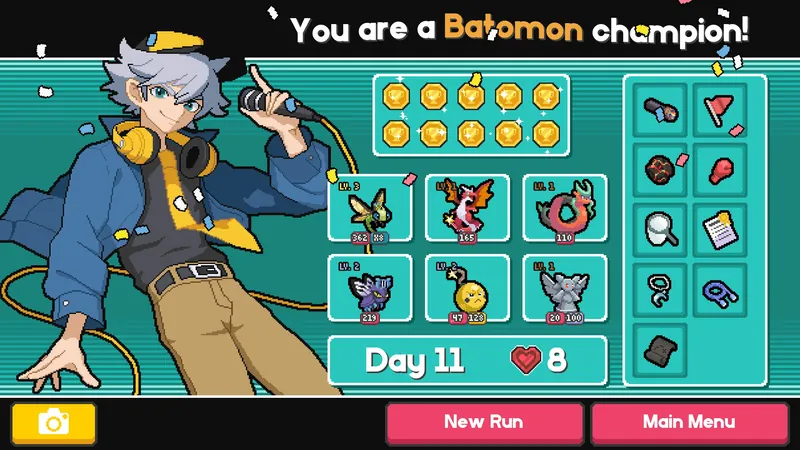
Shock is probably the hardest of the three debuffs to understand and the hardest to stack outside combat. Electranade is a good answer, since it has the highest base shock of any monster in the game. Keep it from fainting with Cherubble, and pair it with fast, high-multicast monsters to make use of that big number. Stellagon shines here as well, even with the Commons Bumblebolt and Joltail, but Velocect is your most important piece. Pick it up early, especially a shiny one, and stack base damage on it. If your shock values accelerate fast enough, shock can beat burn or poison for speed, because it can trigger more than twice per second.
Cherubble has to be faster than Electranade, or Electranade will faint. Ironcore can make Electranade too fast, but it’s still often worth holding, since it supports Galvanine. With enough support, Galvanine can carry the board on its own.
Big Numbers
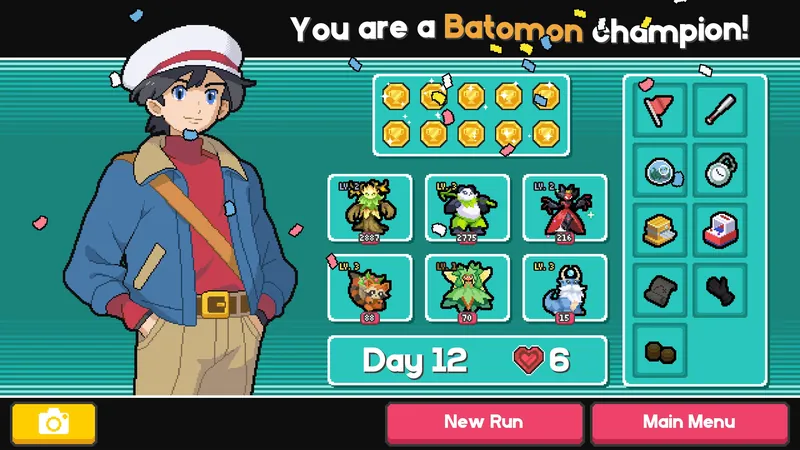
The three most popular big-number Batomon are, in order, Panbud, Guardiant, and Prismagon. All three need support: the goal is to make them cast more often and scale faster. Saberhorn and Dracana are core monsters for these builds.
- Guardiant: Focus on Basic bait and on trinkets at Common, Uncommon, and Rare.
- Panbud/Bambudo: Get Boomagon or Berroon early for cooldown reduction. Later, secure a Dryadell backed by Saberhorn or Gaiadrasil.
- Prismagon: Strongest with the Painter trainer, but it can work without her. Expect at least four different types on your team. As with Bambudo, make it cast often with Saberhorn and/or Dracana.
Additional Builds
These builds rely more on luck or are harder to pull off, especially early. They’re still popular and worth considering.
Mythical Monsters
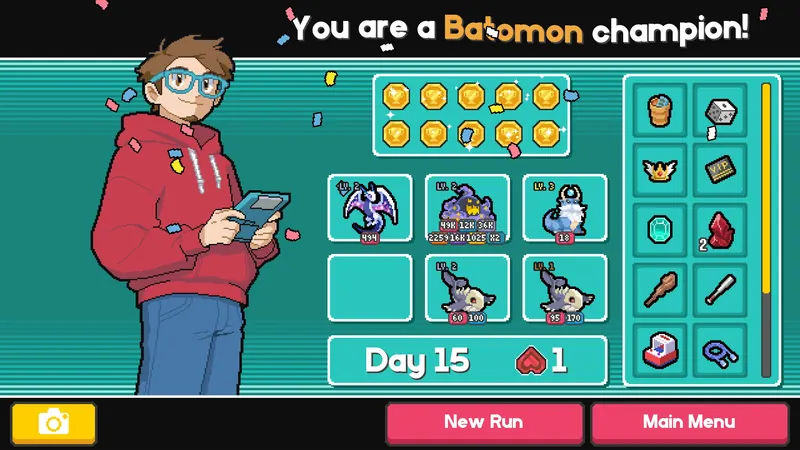
There are only a few ways to get a Mythical monster:
- Gamer, Treasure Hunter, and Shopkeeper can get them naturally through Day 9 or Crimson items/gifts.
- The Super Rare Trinket Mysterious Mask can give you one of those trainers’ abilities.
- The Day 9 Mad Scientist event can upgrade a Legendary monster into a random Mythical.
None of the 5 Mythical monsters will win their first combat on their own without proper support. Dracana is again key for charging monsters that would otherwise be slow. Omnichrome is often the best carry, because Ironcore, Dryadell, Cicadence, and others can support it. Cosmivore is also very strong, but it’s slow and can take a few rerolls. The others are more situational. If you can get a Legendary by Day 8, it’s still worth holding for the 1/4 chance at a Mythical.
Water
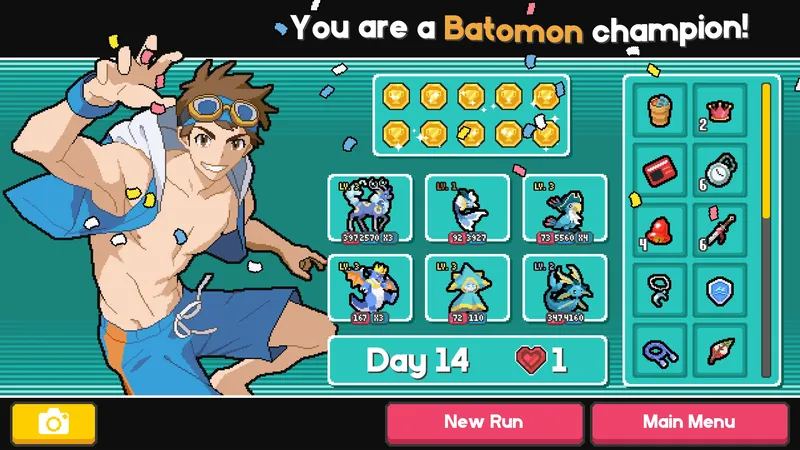
Water often has trouble finishing fights. For a stall board like this, the best way to win is a Legendary trinket such as Mighty Bell or Metronome combined with huge multicast. Emperooze and Plunderbird form a solid core if you can win early. Draconarch adds strong, greedy scaling alongside Aster and Emperooze. Most late-game boards sell Emperooze for Sirenade and Torrantler to stall even longer.
Zephyrex + Flying Dracana
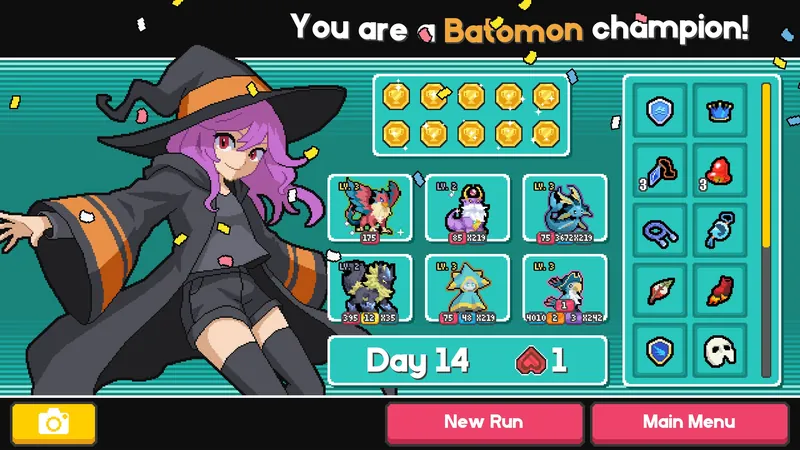
This combo is hard to set up, but it’s nearly unbeatable in the late game.
- Get the Super Rare item Rocket Boots. It gives the monsters in your shop the Flying type.
- Buy a Dracana after that, so it has Flying.
- Zephyrex gives the Flying Dracana multicast, and Dracana in turn charges Zephyrex faster.
- After a few battles, Dracana has nearly infinite multicast. You can then move it onto another carry, such as Galvanine or another late-game carry.
The big risk is how greedy it is. You need a unique Super Rare trinket and a very slow, expensive Super Rare monster, so most of the time it isn’t worth chasing. If an early Flying Charm comes up and taking it doesn’t cost you another strong Super Rare trinket, it’s worth trying.
Note: The build is much easier as Painter. If your Dracana is painted, you don’t need Rocket Boots.
Shield Rocks
This build is often too slow and needs some expensive monsters, but it easily beats Water and Poison stall builds that have no way to kill you. Link Cable is a very valuable Rare trinket here, since most high-rarity Rock monsters care about adjacency, notably Geminiss and Aegistruct. You need Stalagrove to actually win, and Draconarch, especially with Link Cable, can push your team’s numbers into the tens of thousands. Multiplicative bonuses stack additively: Geminiss triggering its 50% bonus twice gives 100%, not 125%.
Trainer Tier List
S-Tier
- Witch: Her potions are still very strong after nerfs, and sometimes game-breaking. She’s hard to make work because she’s so unique, but the payoff is huge.
- Monster Ranger: A free Uncommon monster on Day 1 means you almost always win Day 1. At worst, it’s $10 every two days, which is weak but not terrible. At best, it gives you an early direction and easy level-ups for that build.
- Alchemist: Her flat poison bonus makes Spinarai deadly on Day 1. Poison is an easy, consistent build. Since the poison stacks on your trainer and not on your monsters, you can easily pivot from Spinarai to Aristobat or something else.
- Twins: Great money, and they can enable some nearly broken builds. Double Sunsage is very popular and powerful, and even double Velocect or Bambudo can be devastating.
- Musician: Shock builds depend more on mass multicast than on lots of Electric monsters. Shock is also harder to stack, so Musician pairs well with Electranade, the Pantra monster with the highest base Shock. Velocect or Plunderbird work very well with this trainer.
A-Tier
- Bug Catcher: Bugs are strong early, and both Guardiant and Velocect are very effective carries. The $10 per day is one of the best economy boosts of any trainer. You need to win early, though, so use your early combat strength in the first few days. The Day 3 Bug Catcher event gives a Level 2 Guardiant, which is very useful and usually the best pick with this trainer.
- Youngster: Another strong economy trainer: you get $9 worth of rerolls every day. That makes it easy to force reroll builds around the Common evolution monsters, like Panbud, Scorchimp, or Dribblet.
- Painter: Your Day 3 event has a 1/4 chance to be Rainbow Berry, which is almost always worth taking and carries you through the early game. +52 damage to your team is significant and often much stronger than making one monster shiny. Painter may also be the strongest late-game trainer thanks to powerful interactions with monsters like Dryadell and Ironcore. She can struggle early if your painted Commons and Uncommons aren’t useful or don’t synergize.
- Swim Coach: The economy boost is inconsistent, but the early combat boosts matter. An early Emperooze is nice, and Mosslug is also strong in the early days, especially with other Water stall monsters. Late game, Swim Coach can give Torrantler, which is worth $25 and often fits into a Water board. That makes this trainer a simple and powerful choice.
- Mad Scientist: Works more often than you’d expect. Any values you stack on monsters, including Cooldown, Damage, Shock, Burn, Poison, and multicast, carry over to the transformed Legendary monster. They also carry over if you hit the Scientist event on Day 9. You can sell the Legendaries for good value, and you can bench any monsters you want to keep at the end of Day 6.
B-Tier
- Smuggler: Like Painter, Smuggler can be very strong. It’s hard to play and dilutes your monster pool, but Jinto monsters are clearly stronger than Pantra monsters across the board. Some monsters will be duds because certain synergies are missing, Fighting and Ghost monsters especially. Monsters with easy crossover types in Pantra, like Toxic and Fire, can be very strong if used well. This placement is subjective, and Smuggler may be A or S-tier for you.
- Masked Man: In some runs, he’s strictly better than trainers like Gamer and Mad Scientist. Often, though, he loses too many fights in a row because he does nothing for the first 3 days. His strong late-game potential keeps him from ranking much lower.
- Lucky Girl: Many shiny monsters are much stronger, with better scaling, and some gain completely new effects. You only get a chance at shinies, not a guarantee, so some runs end up unlucky and lose. Still, some Common shinies like Velocect are twice as effective, and some, like Bumblebolt, go from support to carry. That opens up builds that would otherwise be rare. Shiny Cherubble and Cicadence pair very well with Velocect.
- Chef: The early +2 burn is notable, and adding Fire typing is strong with monsters like Sunsage. However, Chef is often outscaled by Redhead, who isn’t that strong herself. On Day 1 you almost need to find 2x Scorchimp or risk losing the run.
- Redhead: Sunsage and Magmite often lose early, which makes it hard for Redhead to get going. Once you have a critical mass of Fire monsters, she becomes a real force.
- Scavenger: Scaling Uncommon trinkets like Rally Flag and Earth/Sea Crest make Scavenger playable. Get Uncommon monsters or Treasure Maps early to make the most of those snowballing trinkets. It loses value late, but the Commons and Uncommons you get stay playable.
- Egg Breeder: A level 2 Super Rare is worth at least $60, which is a big cash boost right before the Day 6 event. Knowing which monster will hatch lets you build around it, but sometimes the support you need never shows up. You also get nothing on turns 1-4, so there are plenty of chances to lose up to 6 lives.
C-Tier
- Gamer: Fun, but almost strictly worse than Masked Man. Knowing which Mythical you’ll get is nice, but its value is less synergistic, so you can’t plan around it the way Egg Breeder can. Goldora, Riglet, and Faebloom rarely save a losing board, and with no trainer benefit until Day 9, you’re likely to lose a few times to stronger trainers.
- Rich Lady: $10 on Turn 1 is strong, and Uncommons can win games early. The upfront benefit is limited, though, because you quickly run out of money for expensive, rare monsters.
- Gentleman: Like Rich Lady, the economy isn’t good enough for higher-rarity monsters, so you need another way to make money. Some of the best economy monsters are Uncommon (Plunderbird and Gildshell), so this trainer falls a bit flat. Dirgefin builds can sometimes rob people, but almost any trainer can do that with a small pivot.
- Shopkeeper: Early Rare items can be nice and Mythical items can win games, but the strongest items usually don’t appear until Day 6 onward, which makes Shopkeeper one of the slower trainers. Tickets are also common early, and they don’t benefit from the discount.
- Treasure Hunter: Mostly the same issues as Shopkeeper. Early Uncommons that stack value are nice, but they’re rarely game-defining.
- Burglar: Quality beats quantity. Better in Jinto, where mass Trinkets are more effective.